What to know
-
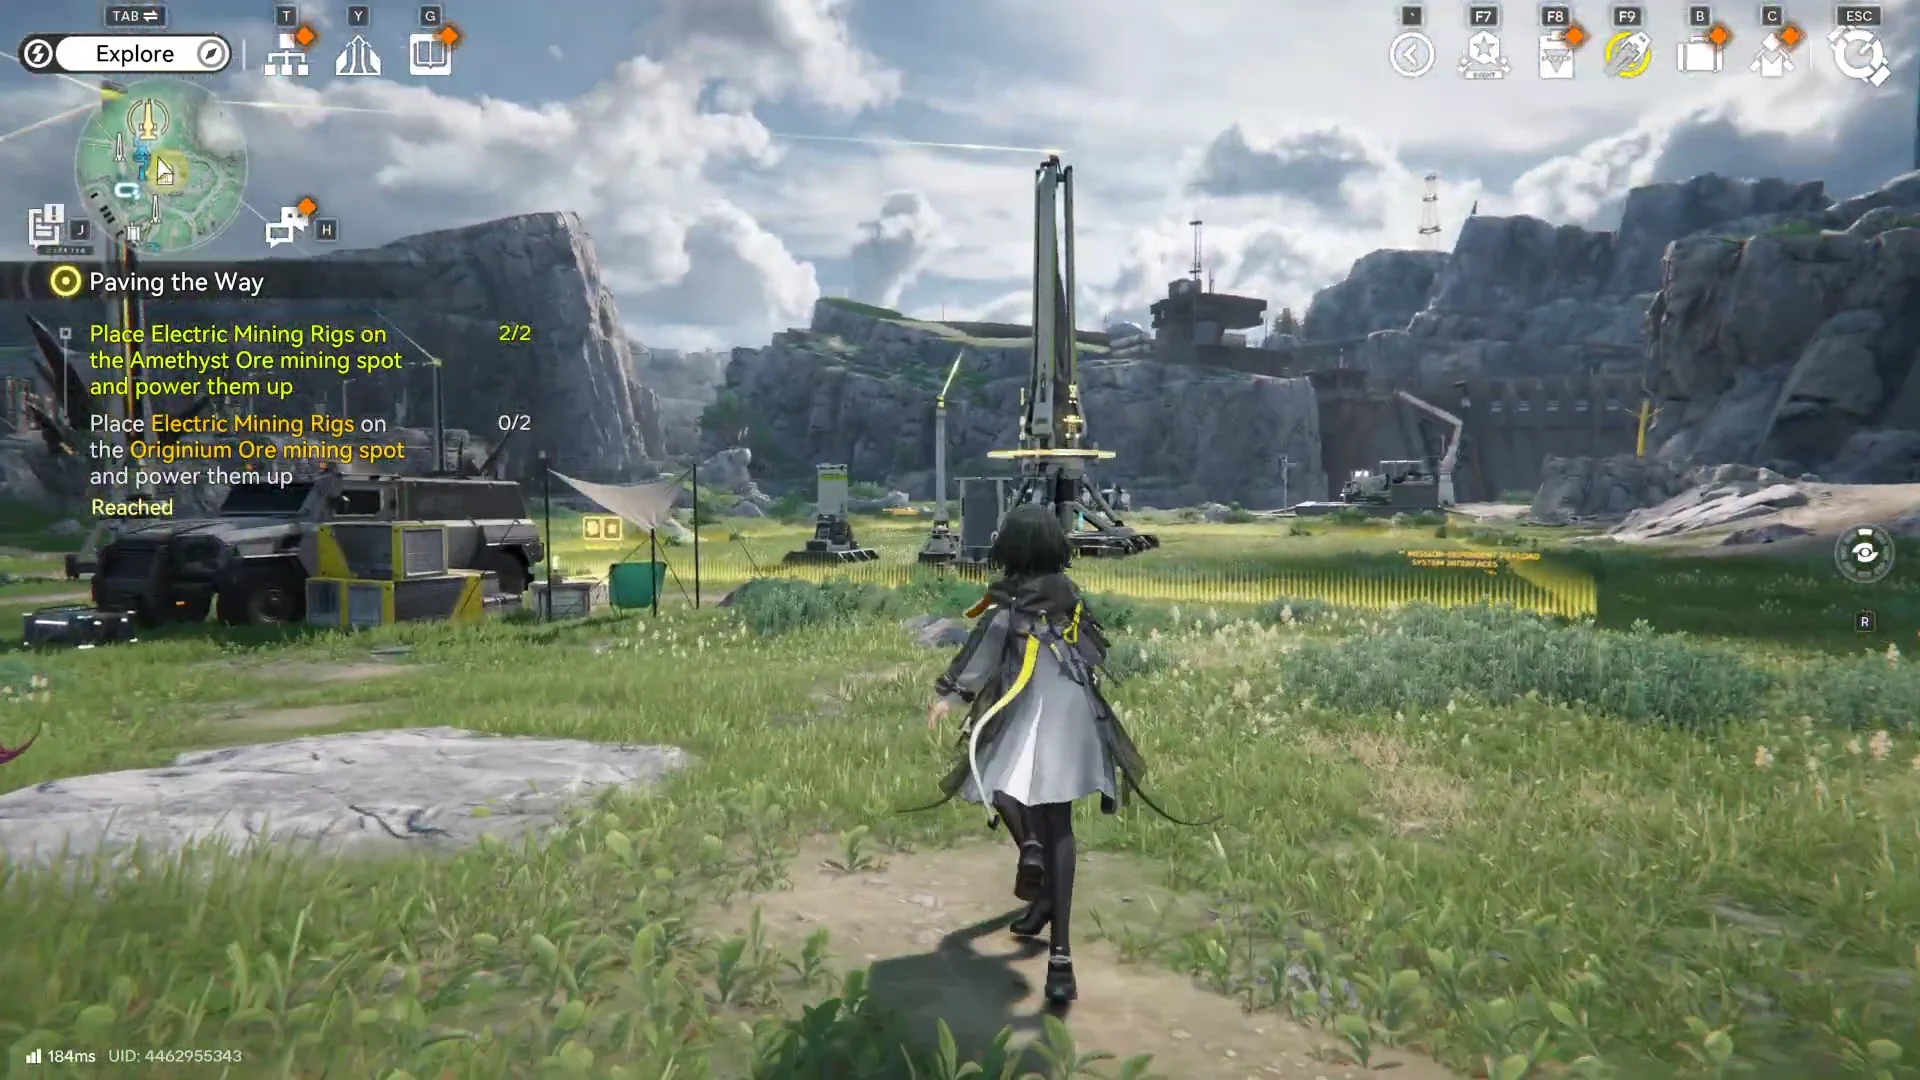
Building edits happen inside the AIC/base-building mode, not in normal exploration movement.
-
Moving is ideal for quick layout fixes (better belt routing, tighter clusters, better power coverage).
-
Destroying (demolishing) is the fastest way to remove a misplaced structure and rebuild correctly.
-
Always re-check power after changes because power is spatial and relies on infrastructure placement.
AIC building in Endfield is meant to be iterative: you’ll place machines fast, notice belt/power inefficiencies, and then relocate or remove structures to keep throughput high. Keeping belts clean and avoiding unnecessary crossings is a common optimization goal, so moving/demolishing are tools you’ll use constantly.
How to move a building in your AIC layout

When moving is the right choice
Moving is best when the building itself is correct (right tier/type), but its position is causing problems like belt congestion or awkward input/output alignment.
Step 1
Open the AIC/base-building interface (the factory planning view) so buildings become selectable as placeable objects rather than world props.
Step 2
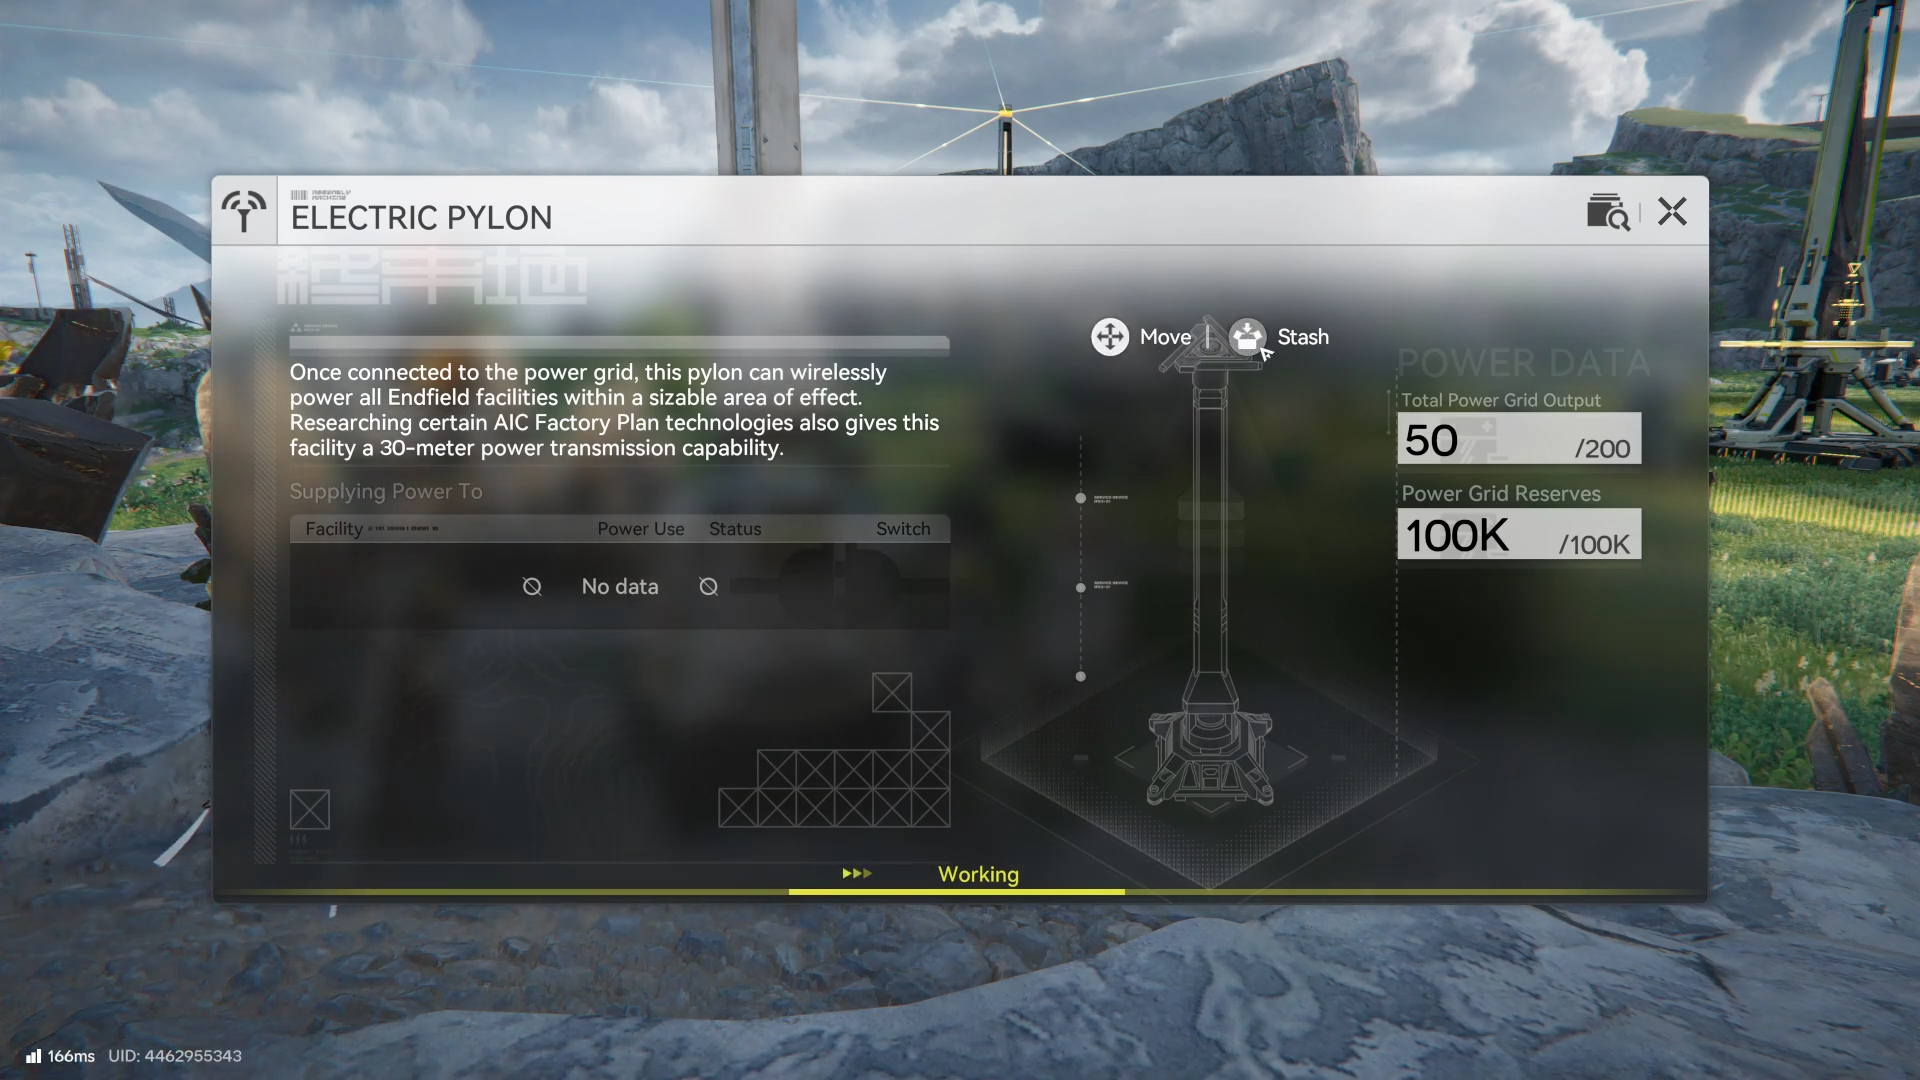
Select the building you want to relocate (for example, a smelter, factory, pylon-supported machine, or a storage/depot-type building).
Step 3
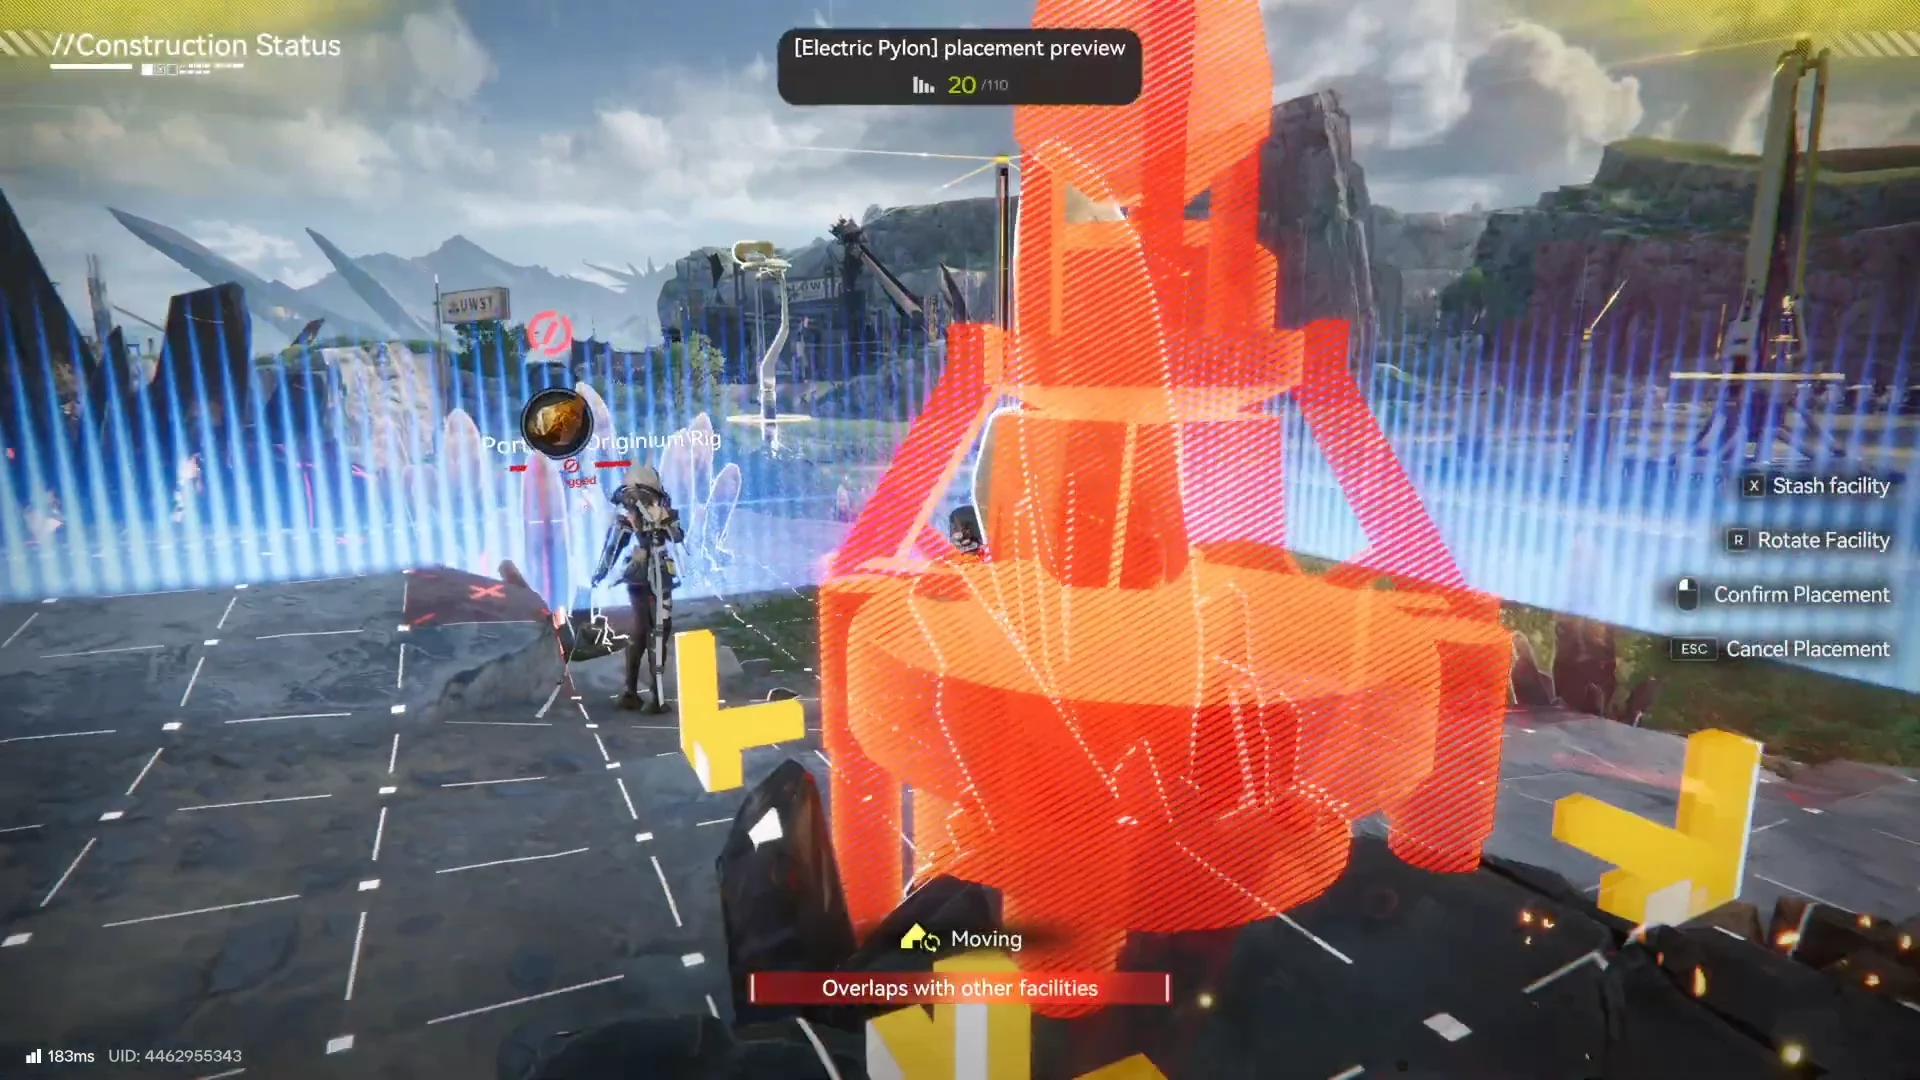
Use the move/relocate action from the building’s edit controls, then place it at the new position that improves belt flow and access to adjacent machines.
Step 4
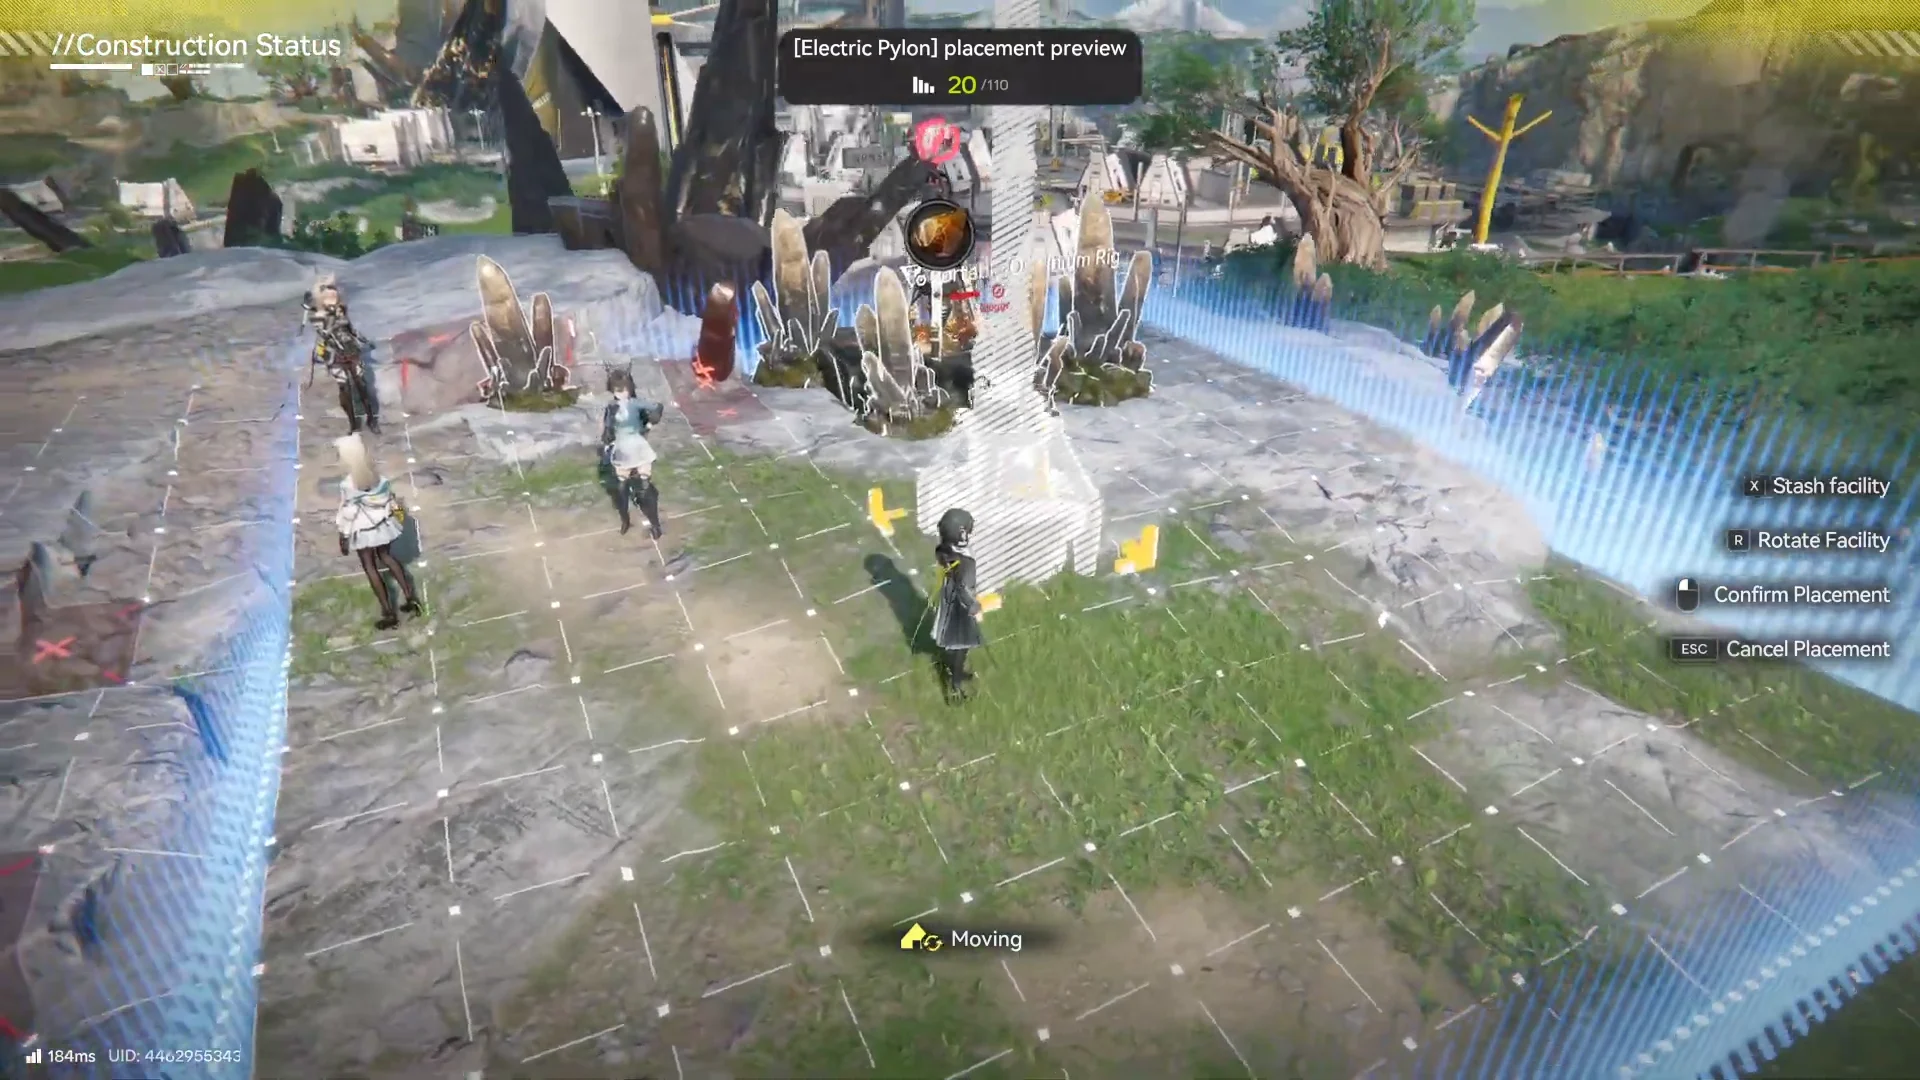
Reconnect logistics: ensure the building’s input/output links and conveyor directions still match your intended production chain (miners → smelters → factories → storage).
Step 5
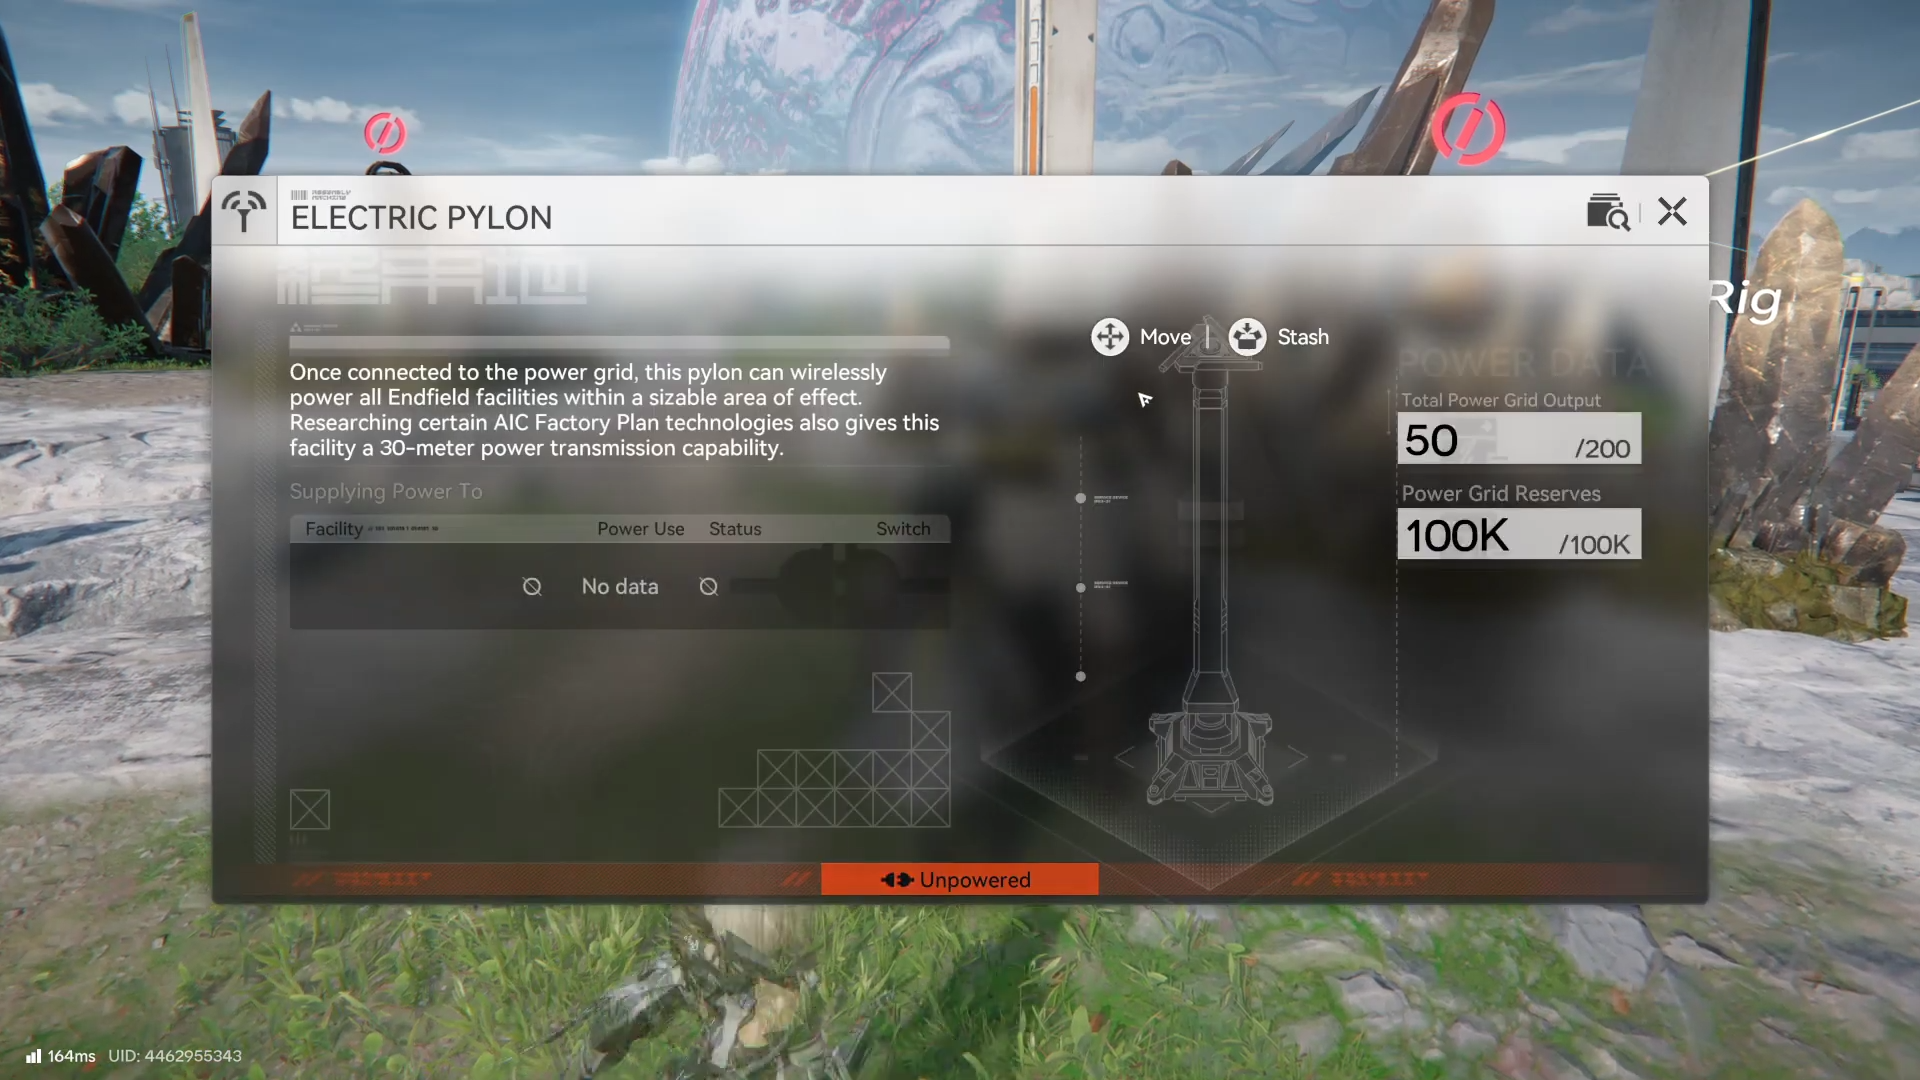
Verify power reach after placement, since power must physically reach machines via your power network and coverage (not a global “base power” pool).
How to destroy (demolish) a building safely
Destroying is usually best if the building is fundamentally wrong (wrong type/tier) or if it’s faster to remove and rebuild than to untangle belts around it.
Step 1
Enter the AIC/base-building interface so you can interact with the structure as an editable building.
Step 2
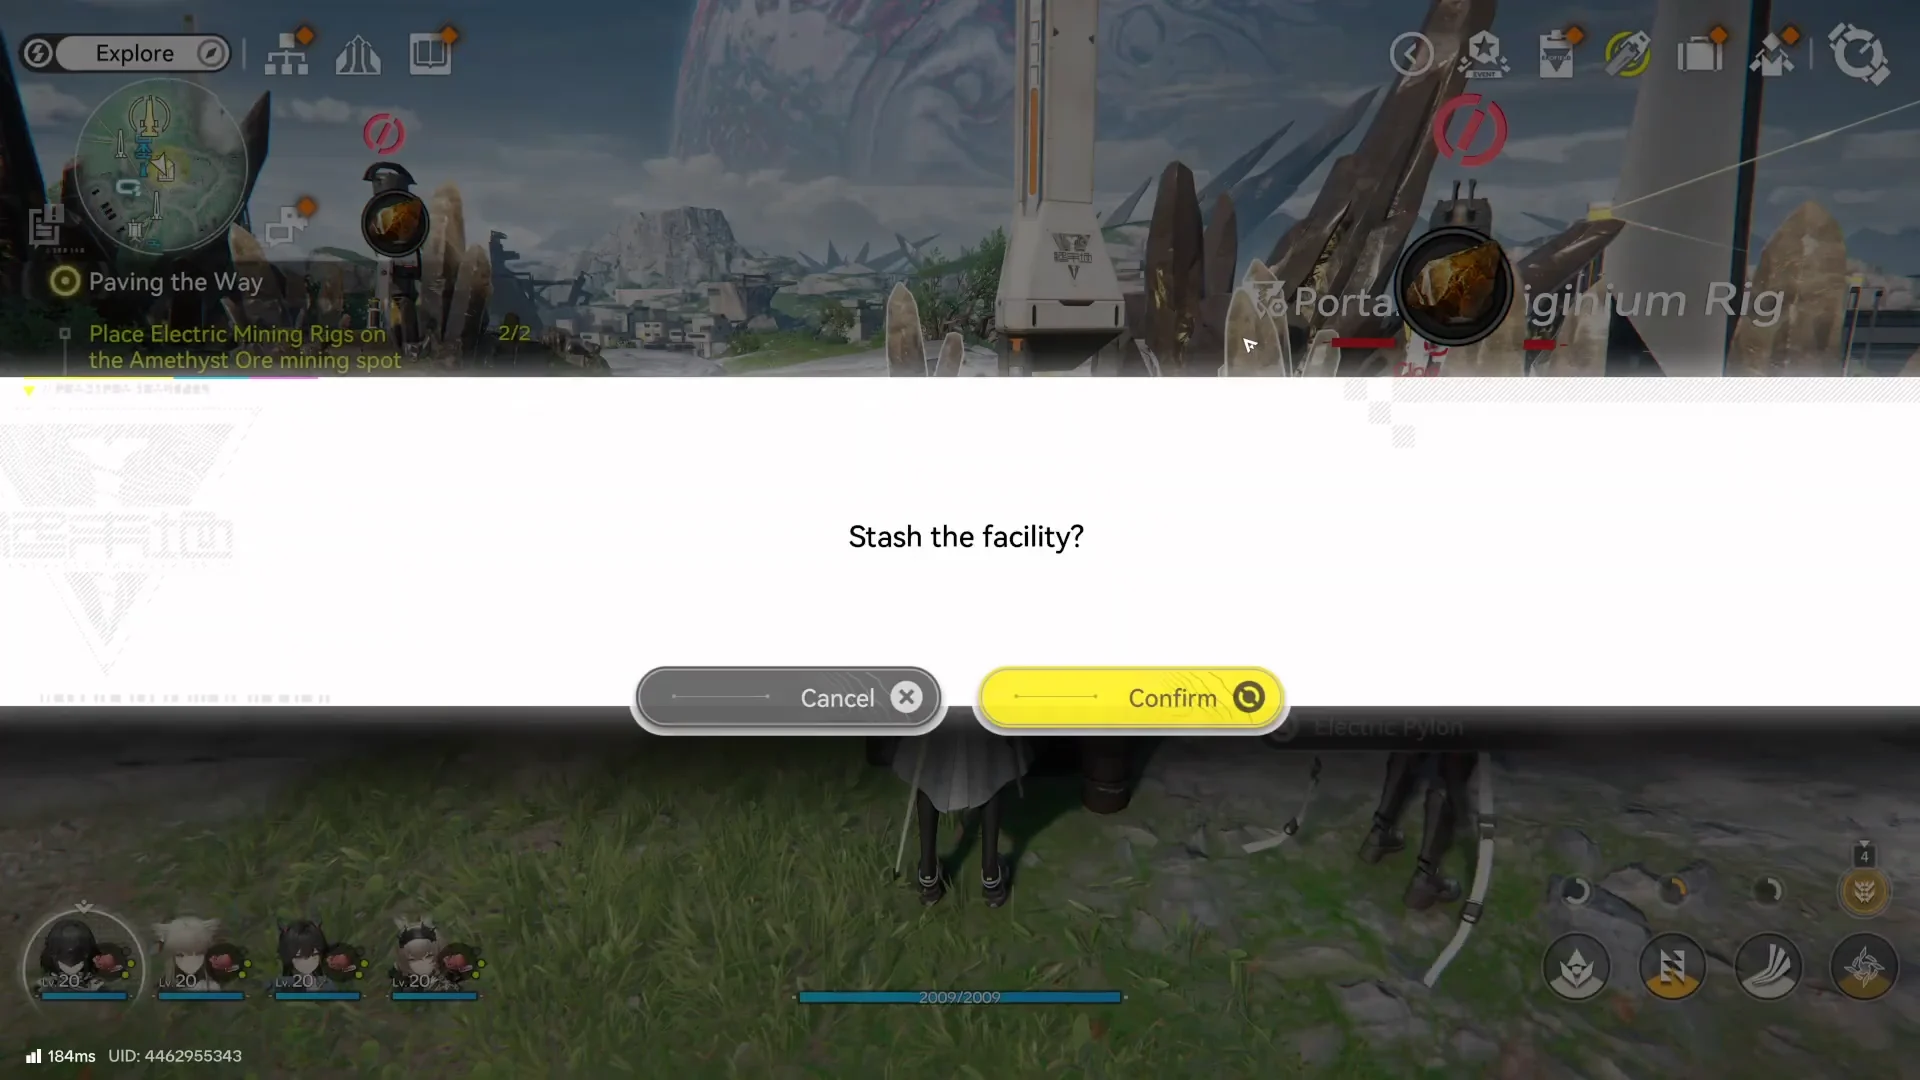
Select the building and choose the destroy/demolish option from the building controls to remove it from your layout.
Step 3

Immediately check nearby belts and connections so you don’t leave a “dead end” that stops items and causes upstream production to stall.
Step 4

Rebuild the structure in a cleaner spot, prioritizing short belt paths and minimal crossings to keep throughput stable.
Layout habits that make moving and demolishing easier
Production lines work best as a tight, readable loop (mining → processing → crafting → storage), and messy belt crossings can slow or halt production if output can’t be carried away. Power also needs deliberate planning because it must be delivered through your network/coverage rather than being automatically global, so relocating a machine can accidentally move it out of effective power.
Simple placement checklist
-
Keep belts short and avoid crossing routes unless you truly need it.
-
Leave “maintenance lanes” so you can move buildings without rebuilding half the line.
-
After any move/demolish, confirm the whole chain still reaches storage (otherwise production backs up and stops).
Rebuilding without losing momentum
Moving and destroying buildings is part of normal optimization in Arknights: Endfield—use move for quick positioning fixes, and demolish when the easiest path is to rebuild cleanly. Efficient layouts and reliable power coverage keep production running while you explore and fight.