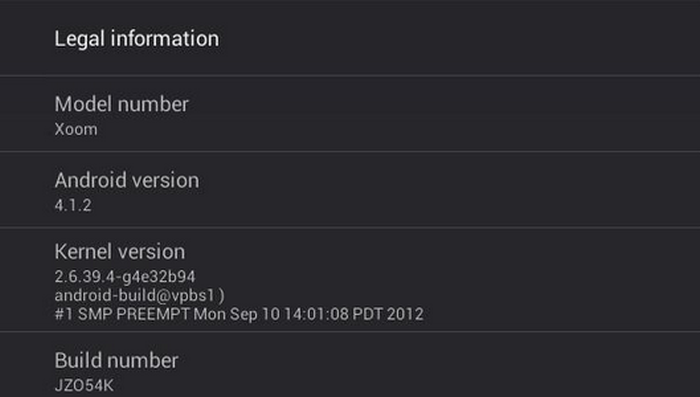
Nexus 7, Samsung Galaxy Nexus and Nexus S users have already received the official Android 4.1.2 update from Google, and it looks like the Motorola Xoom WiFi – MZ604 has also been included by Google as one of the privileged devices that doesn’t have to wait too long for the official update. Owners of the 3G, LTE and other variants of the Xoom will have wait a bit, as they are not categorized as GEDs or Google Experience Devices.
However, if you are rooted and running a custom ROM, updating the Moto Xoom WiFi through the official OTA method would mean that you would need to flash a stock factory image, get the OTA update, and then go through the entire rooting process again. Here’s where we come in, to save you the time and effort of having to go through all of that. XDA member stachre has posted a stock, rooted 4.1.2 JZ054K update for the Moto Xoom WiFi, which can be easily flashed through Clockworkmod recovery. That way, you will update your system to stock Android 4.1.2, and still have root access. Keep in mind that this is not a Custom ROM, rather it’s a rooted stock ROM with the stock kernel.
We’ve put together a short guide for you, which will help you update your Xoom WiFi to stock, rooted Android 4.1.2
Compatibility
This ROM and the guide below are compatible only and only with the Motorola Xoom WI-FI MZ604. It’s not compatible with other variants or any other device. Check your device model in Settings » About phone.
Warning!
The methods and procedures discussed in this guide are considered risky and you should not attempt anything if you don’t know completely what it is. If any damage occurs to your device, we won’t be held liable.
How to Manually update the Motorola Xoom WiFi to Android 4.1.2
- This procedure will wipe all your apps, data and settings (but it will NOT touch your SD card, so don’t worry about those). Backup your Apps and important data. This Android backup guide would help you.
- Make sure you have ClockworkMod recovery . This guide will assume you are using ClockworkMod recovery. hIn case you do not have CWM installed, you can follow this guide to download and install it
- Download the modded Android 4.1.2 update zip file from the official development page
- Copy the zip file downloaded in step 3 to the external microSD card on your Xoom
- Power off your Xoom and boot into recovery Mode — for this, press power key and then press the Volume down key 2-3 seconds after the red Motorola Dual Core Logo appears on the screen while it boots. Then, hit Volume Up when you see the “Android recovery” text (on the top left of the screen) to boot into recovery.
In recovery, use volume keys to scroll up/down and the power button to select options. - Select wipe data/factory reset, then select Yes on next screen to confirm. Wait a while till the data wipe is complete (this will not erase your personal files).
- Next Select Wipe Cache Partition, and confirm wipe on the next screen
- Now from the main recovery menu, Select Advanced, and then Wipe Dalvik Cache on the next screen.
- Now select install zip from sdcard, then select choose zip from sdcard. Scroll to the “update_US-Xoom-WiFi-4.1.2-JZO54K_stachre_v01″ zip file on the sdcard and select it. Confirm installation by selecting Yes – Install _____.zip on the next screen. This will start the upgrade to Android 4.1.2
- After the installation is complete, select go back and then select reboot system now to reboot your tablet. This will initiate installation of the new bootloader.
- You should now see the message “Congratulation! Your bootloader was successfully upgraded” , immediately followed by an automatic reboot.
Once the system has rebooted, go to the Settings Menus, and check the About Tablet option. You will see that your Motorola Xoom WiFi has been updated to Android 4.1.2. So go ahead and try it out, and let us know if you need any help along the way.


how come i dont see the sd card in the recivery i just see usb and my tablet is rooted
how come i dont see the sd card in the recivery i just see usb and my tablet is rooted