A detailed walkthrough for the Mist-Shrouded Prison tomb in Where Winds Meet, including all chest locations and how to navigate the looping rooms.
In Where Winds Meet, the Mist Shrouded Prison is a tomb with repeating loops and evolving environments. It involves solving a complex sequence of events to collect all chests and claim the treasure. Here’s everything you need to know about it.
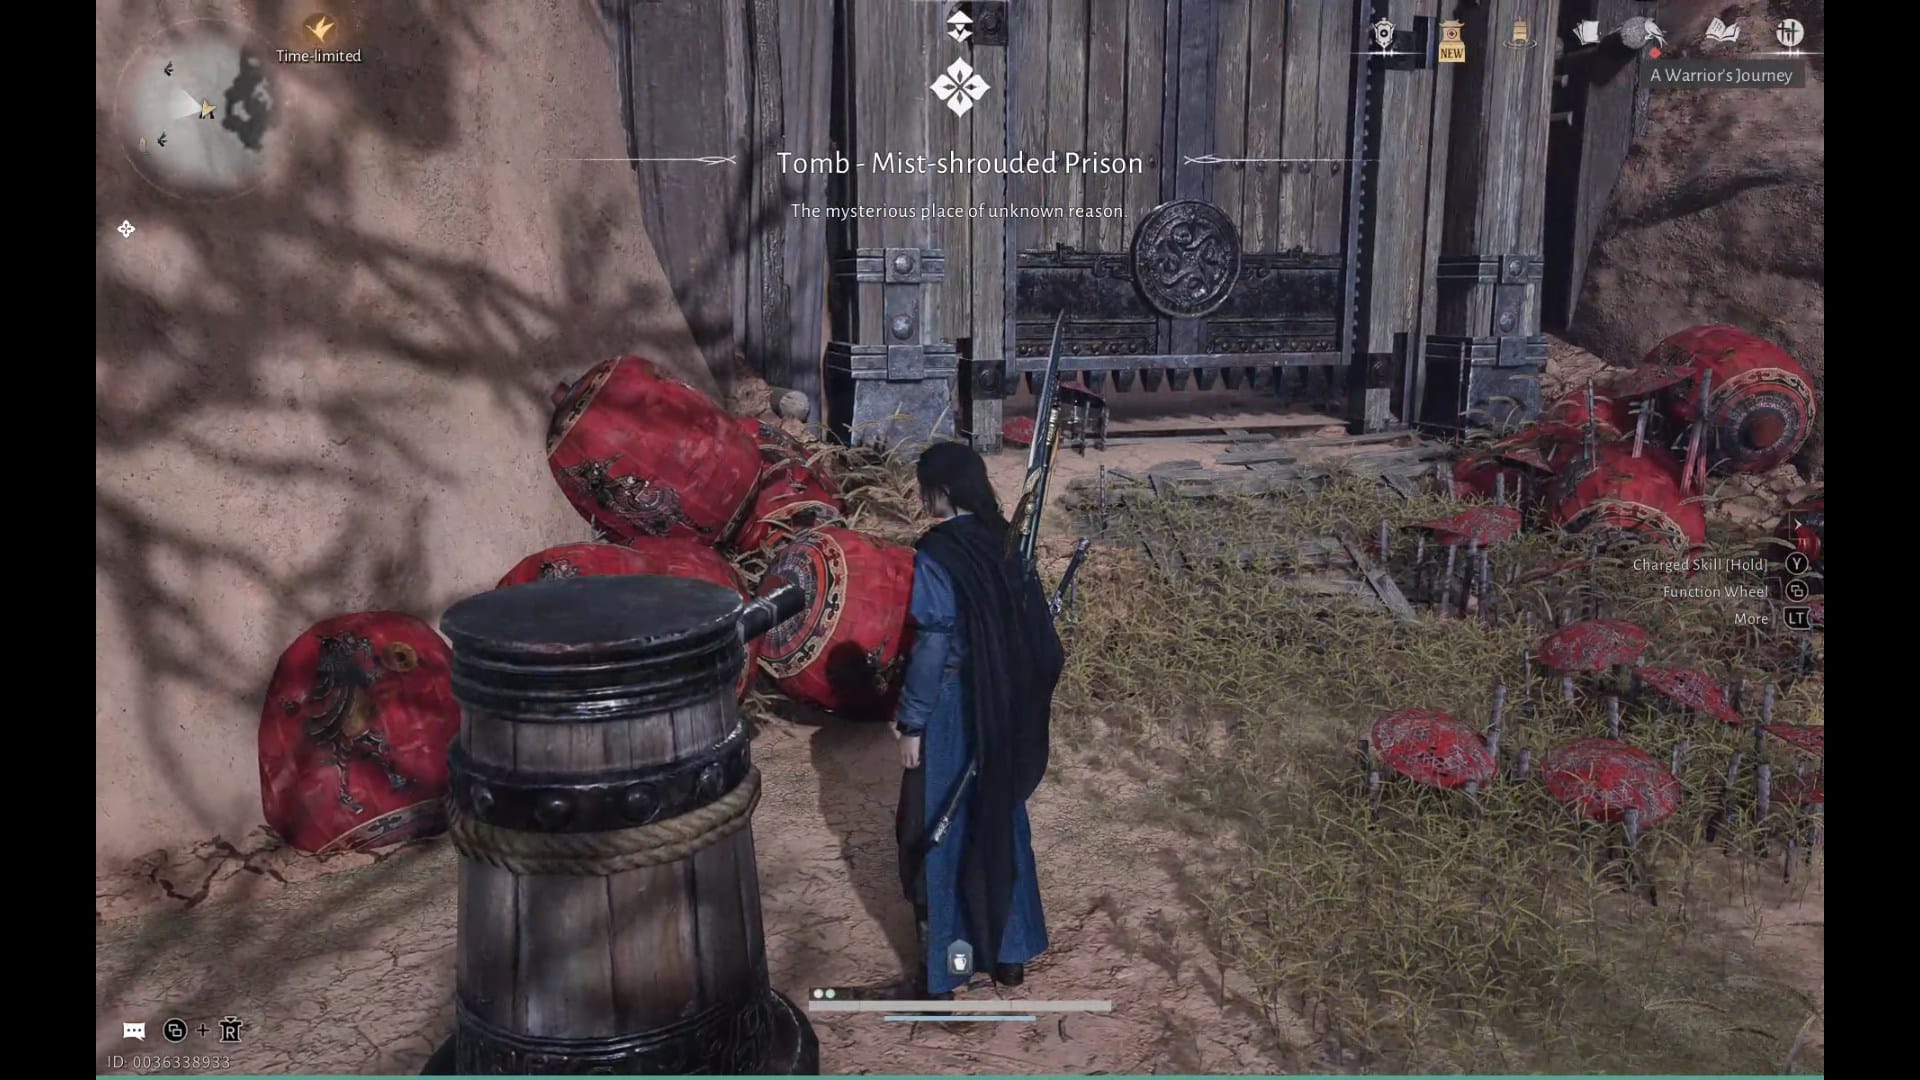
Location and How to Start
Mist Shrouded Prison takes place in Granary of Plenty in Kaifeng.

The nearest waypoint is Central Mistveil Forest.

To start the puzzle, simply interact with the lever outside and enter the gate.
Mist Shrouded Prison Mechanics
The prison dungeon cycles through three loops, with each loop distinguished by where the “red lady” NPC appears:
- Loop 1: Red lady is inside the red room.
- Loop 2: Red lady stands near a ladder.
- Loop 3: Red lady is in a blue-flower-filled corridor.
The prison uses these loops to change room layouts subtly, unlock new paths, and introduce new chests and traps, making exploration feel like a layered puzzle.
Walkthrough
Step 1
Interact with the lever outside and enter the Mist Shrouded Prison. Then pull the lever inside and go down.

Step 2
Shoot down the blue bud on the wall.

Step 3
Go through the door and check out the journal on the table.

Step 4
Take the ladder on the left.

Step 5
Take right through the broken wall and go through the misty corridor.

Shoot the blue fungus poison bud at the end of the corridor to clear out the mist.

Step 6
Move ahead through the broken wall.

Step 7
Go down the stairs and grab the chest. Be careful, as soon as you get the chest, return to the stairs.

A contraption will fall. Jump on it.

As it is going up, hop on to the platform on the left.

And grab the chest.

Step 8
Return to the contraption. This time jump towards the opening on the left.

Step 9
Climb the stairs. To your left will be a contraption.

Go right and through the gate.

Wait for the contraption to follow.

While it’s retreating, go back to the stairs. Then, wait until it moves and clears the way.

Then go left and grab the chest.

Step 10
Return to the stairs and wait for the contraption to return. Once it has gone past, go right and through the open gate again.

Step 11
Hop down and take the longer ladder on the right.

You will come across a red lady.

Step 12
Go to the right corridor.

This is the same corridor as before. Go through the same path as before and return to the ladder. You won’t find the red lady this time.
Go straight and grab the chest.

Step 13
Return to the corridor with the horizontal spike contraption. Just before the open gate on the right, use the fire arrow to destroy the blue bud on the wall.

Step 14
Return to the start. Pull the lever to go upstairs.

Then pull the lever to go down.

Step 15
The door behind the table would now be unlocked. Go through it.

Step 16
Go to the right and grab the chest.

Step 17
Select ‘Rest in Peace’ before the coffin.

Return to the loop. The red lady will now have shifted to inside the room.

Step 18
Go through the loop again. When the red lady has shifted inside the misty corridor, strike the blue bulb on top of her.

Step 19
Move through the corridor. Here, a new opening would lead to a table with another anonymous letter.

Step 20
Return to the corridor. On the left will be the red lady standing next to a chest. Grab it.

Step 21
Go back to the room with the letter. Then take a right.

Look down. Wait for the contraption to stop under you. Then jump on it.

Step 22
As it is receding, jump to the upper level.

Step 23
Turn left. You will have to fight an enemy here.

Step 24
Behind the enemy will be the last chest.

Rewards
- Frostbane Bracers – x1
- Petal’s Woes – x1
- Medicinal Tales – x2
- Echo Jade – x25
- Qinghe Exploration – x25
- Character EXP – x10800
- Coins – x10800

One of the more complicated puzzles, the Mist Shrouded Prison can be a confusing and often scary challenge. We hope our walkthrough helped ease your way. Until next time!


