What to know
-
Mewgenics has dozens of bosses split across acts, regions, house invasions, and secret zones, each built as a tactical puzzle rather than a simple stat check.
-
Bosses fall into clear types: minibosses, end-of-zone and end-of-act bosses, roaming house bosses, and one-per-run secret bosses with big meta rewards.
-
Many bosses share rules: random item drops, limited move lists, and strong gimmicks such as dodging, terrain control, or status spam.
-
Progression bosses like Guillotina and the Throbbing King permanently change future runs via cursed quest items and new high-risk zones.
Mewgenics does not just throw a few chunky enemies at you; it structures an entire roguelike around a surprisingly dense roster of bosses and mini‑bosses. Each act, region, and meta layer has its own set of encounters, from early trash‑talking rats to late‑game kaiju cats that literally invade your house. This guide walks through how boss types work, then maps out the major named bosses, their locations, and the rewards.
Major bosses by region and act
The following table focuses on the major named bosses, grouped by where you meet them. This is not every single miniboss in the game, but it covers the ones you’re most frequently and likely to encounter.
| Location | Act | Miniboss examples | Final or headline bosses | Notes |
|---|---|---|---|---|
| Alley | 1 | Fenrir, Lucy | Radical Rat, Queen Hippo | First region of every run, introduces boss structure |
| Sewers | 1 | Rat King, Flushmaster | Boris | Mid‑game step up from Alley, heavy terrain gimmicks |
| Caves | 1 | Big Slime and other slime or trap bosses | Spinnerette (after Baby Spider) | End‑of‑act boss on one Act 1 branch |
| Boneyard | 1 | Various skeletal and spirit minibosses | Dybbuk | Alternate Act 1 branch end boss |
| House hub | 1+ | — | Guillotina (three escalating fights), Pyrophina later | Timed home invasions, meta‑progression |
| Throbbing Domain | 1+ | — | Throbbing King | Secret zone boss unlocked via Guillotina quest chain |
| Desert | 2 | Various gun and sand themed minibosses | Zodiac | Early documented Act 2 final bosses |
Alley region bosses in Act 1
The Alley is the tutorial‑ish chapter one area, but its bosses still punish sloppy positioning and poor builds.
Fenrir – early Alley miniboss
Fenrir is one of the earliest minibosses you can encounter, appearing as a mid‑chapter checkpoint in the Alley. The fight revolves around two things:
-
He is extremely fast for an early boss and can take multiple actions per round.
-
He constantly throws down bear traps that punish melee cats and lock down tiles.
Ranged units such as Hunter and Mage make the fight far safer, since Fenrir deflects melee attacks and you ideally want to destroy traps from a distance. You are rewarded with random drops, with confirmed examples including Body Spray and Stem Cells trinkets that feed into early builds.
Step 1: Scout and mark Fenrir’s traps.
Step 2: Prioritize ranged damage dealers.
Step 3: Use turns between his bursts to clear traps.
Step 4: Chip him down while keeping melee cats away.
Lucy – psychic Alley miniboss
Lucy is another mid‑way Alley boss, built around psychic control and displacement. She can:
-
Use telekinesis‑style moves to reposition your units.
-
Make it very hard for slow or short‑range cats to close distance.
Success here comes from building at least one strong ranged attacker and treating crowd control as important as raw damage. If you over‑commit to melee early in the Alley, Lucy is often the first run‑ender.
Step 1: Bring at least one high‑range attacker.
Step 2: Spread out to reduce multi‑target control.
Step 3: Focus on mobility tools and movement buffs.
Step 4: End the fight quickly before your formation collapses.
Radical Rat – Alley final boss option

Radical Rat is one of the two possible final bosses of the Alley, gating your choice to return home or push into Sewers or Junkyard. His pattern is simple but punishing:
-
He repeatedly throws bombs onto tiles near your team.
-
Bombs explode in a cross pattern after a delay but only have one health.
-
After throwing bombs, he hides under a bucket for a brief invulnerable stance.
The encounter is designed as a positioning check: you are expected to destroy bombs before they explode and use his self‑imposed downtime to close distance.
Step 1: Field at least one reliable ranged unit
Step 2: Always destroy active bombs before attacking Radical Rat
Step 3: Use his hiding turns to reposition aggressively
Step 4: Avoid clustering cats so one bomb cannot hit everyone
Confirmed drops from Radical Rat include items such as Meek Stone necklaces and Mushrooms trinkets, but like most bosses, the exact reward is random per run.
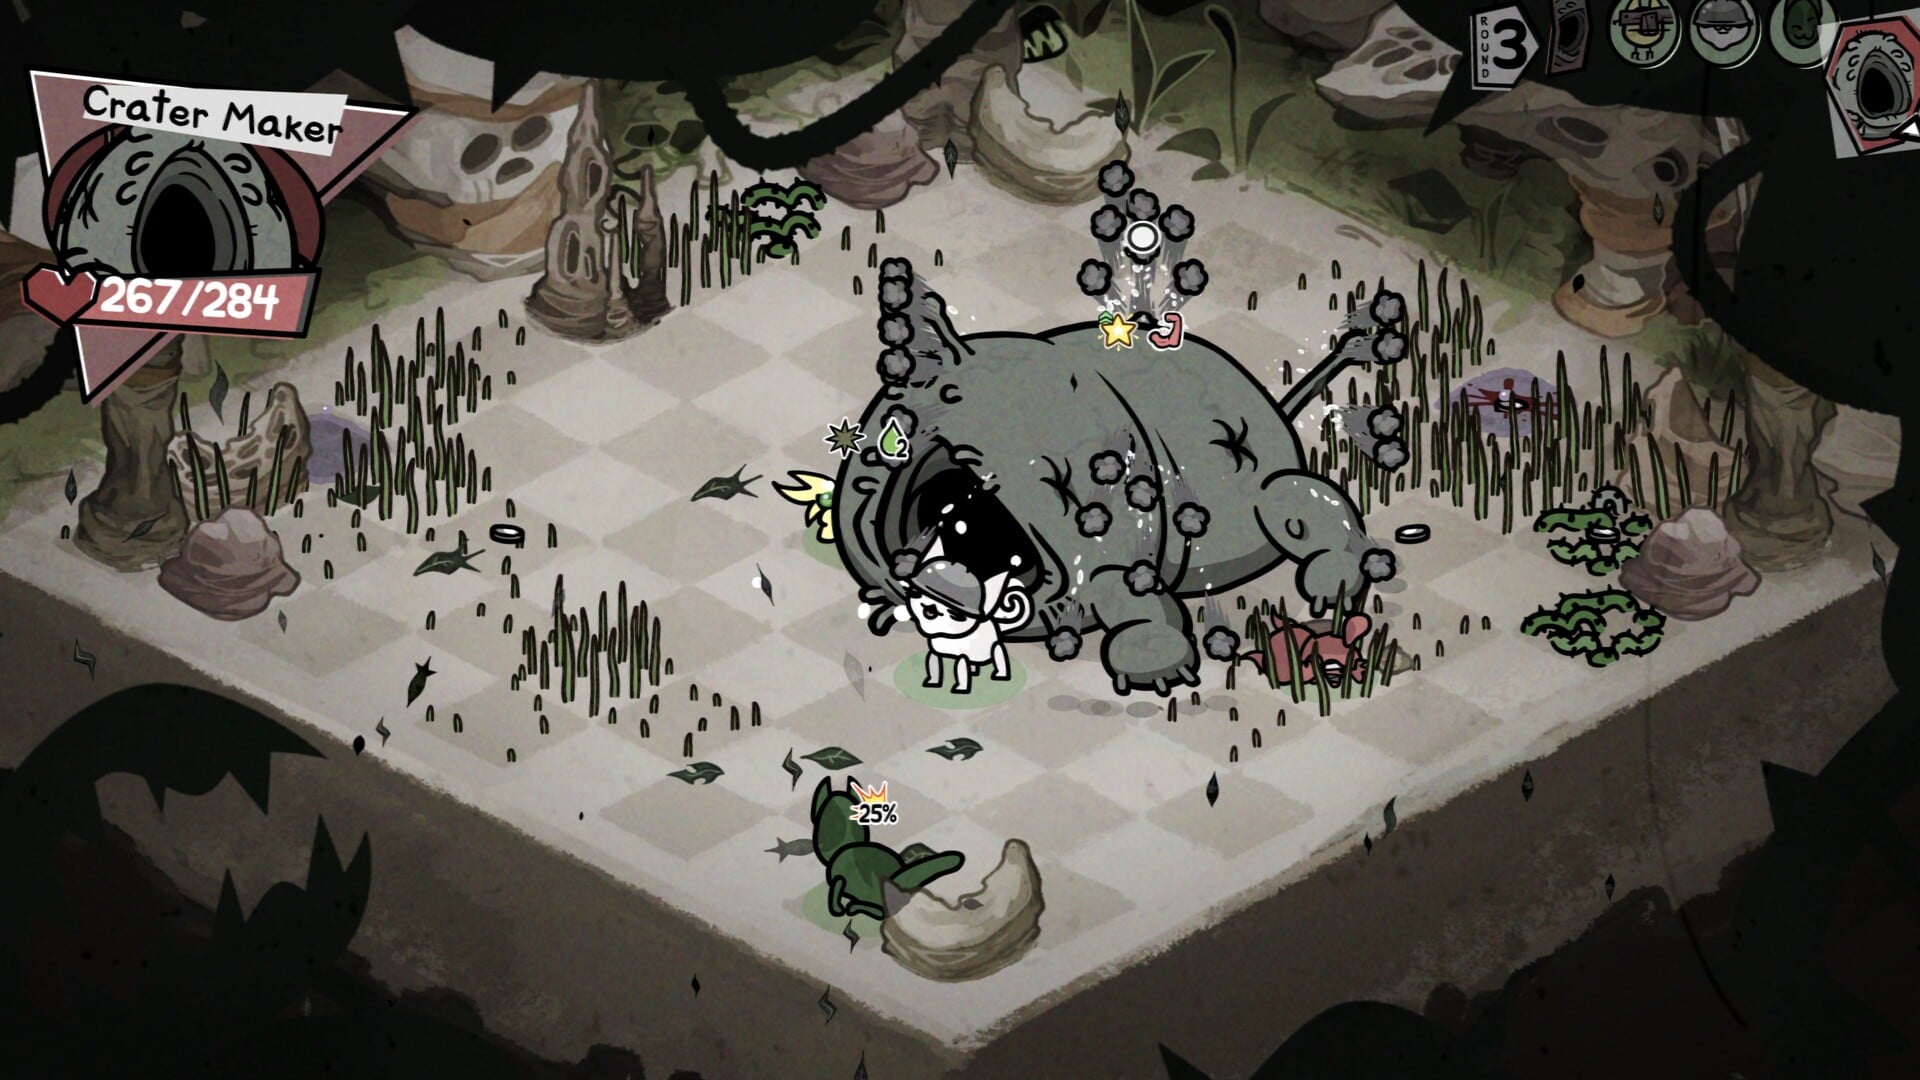
Queen Hippo – alternative Alley final boss
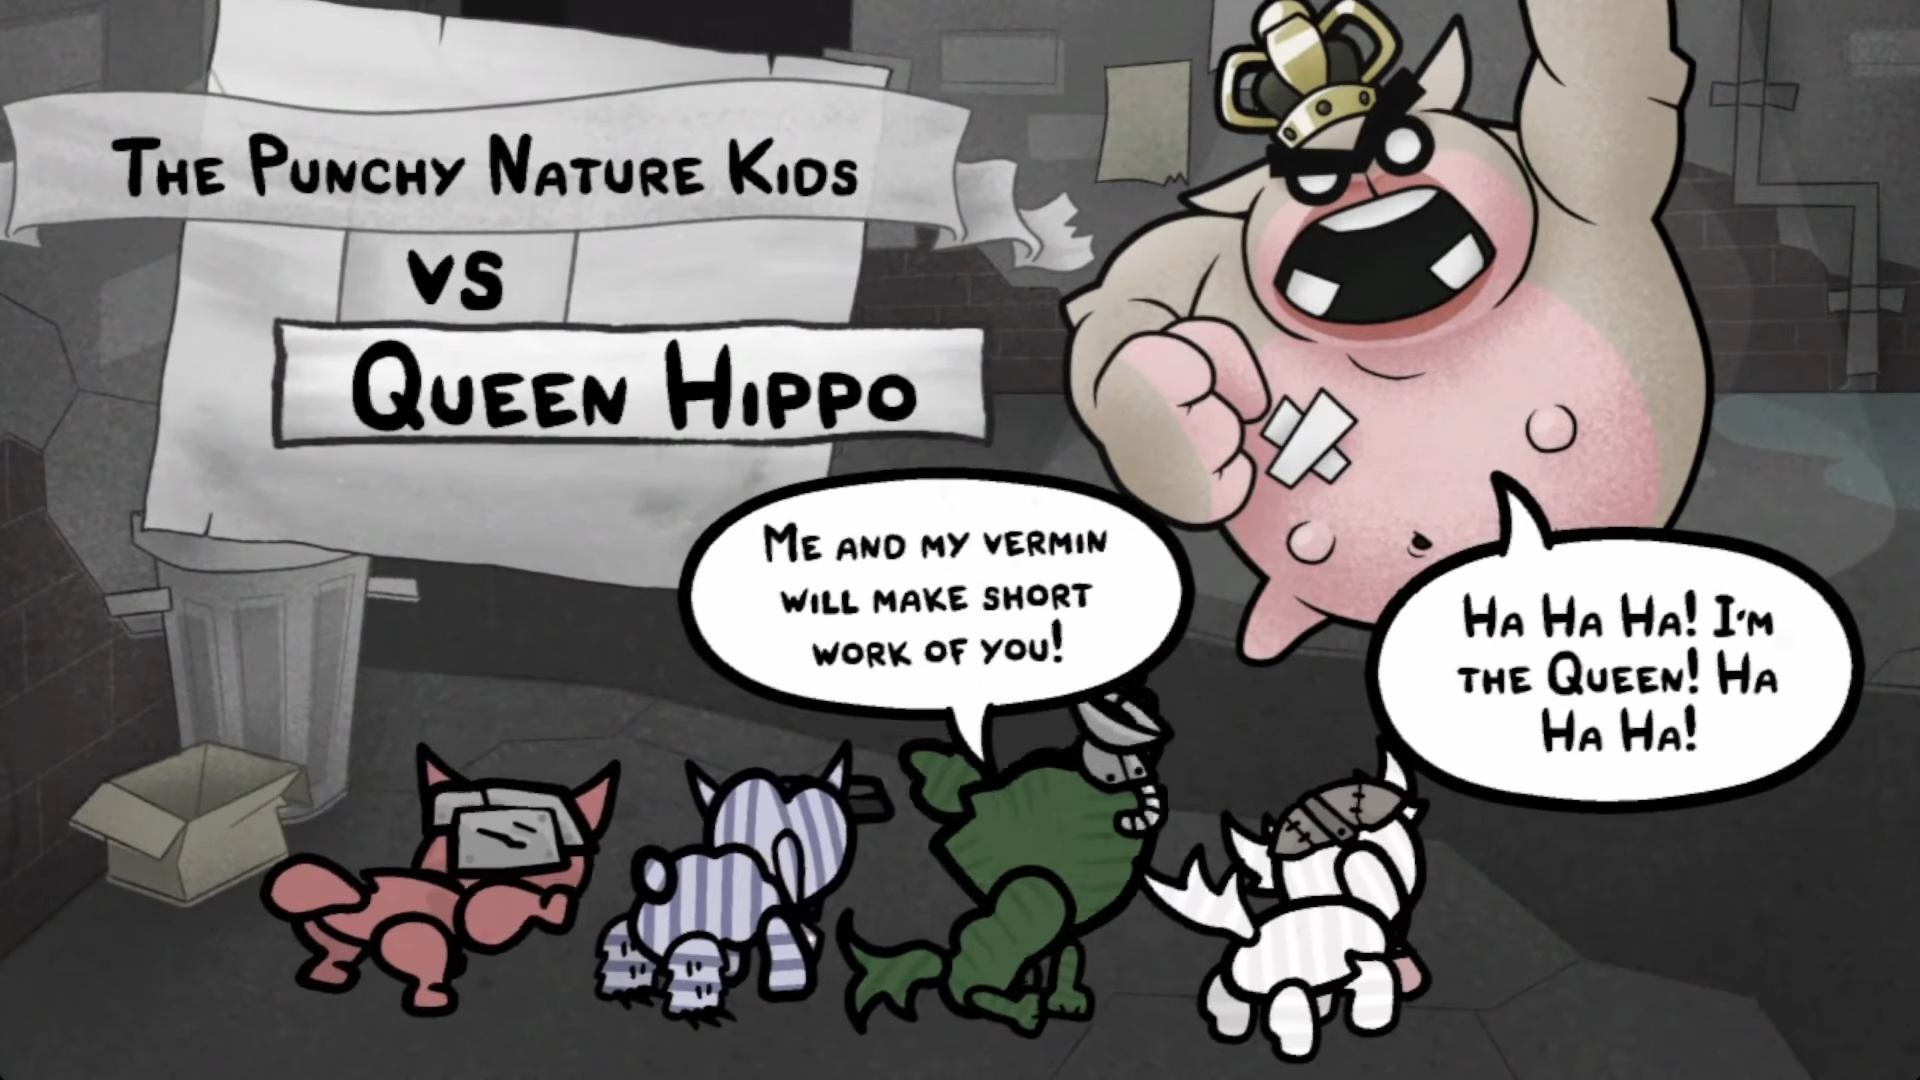
Queen Hippo is the other Alley final boss. She has a large health pool, ramps up her movement speed each round, and hits extremely hard in melee. Two quirks define the fight:
-
She has high Brace, so many attacks barely scratch her.
-
She dies automatically at the end of the fourth round, letting defensive play win the fight.
That means you can adopt either an aggressive or turtling strategy. Early on, most players do better simply surviving until her scripted failure rather than trying to burst her down.
Step 1: Avoid lining up cats, due to chain knockback attacks
Step 2: Use traps and stuns to limit her movement
Step 3: Focus on staying alive through turn four if damage is low
Step 4: If your build is strong, pin her with a tank and burn her health
Queen Hippo drops random loot as usual.
Sewers region bosses in Act 1
The Sewers are a noticeable difficulty spike from the Alley, with more environmental hazards and enemies that lean heavily on minion swarms and knockback.
Flushmaster – strange Sewers miniboss
Flushmaster is a mid‑chapter miniboss that mostly refuses to attack you directly. Instead, it pushes your units across the map toward hazardous tiles such as spiky rocks. Its stats are modest, but the environment does the real work.
Step 1: Identify all hazard tiles before committing moves
Step 2: Keep fragile units away from edges and spikes
Step 3: Use tanky cats to soak pushes into safer tiles
Step 4: Focus fire on Flushmaster once positions are stable
Its drops include a Snack trinket, but as usual, payout is random and sometimes nothing at all.
Rat King – mid‑way Sewers boss
Rat King is one of the bigger mid‑way bosses in the Sewers. He is tanky and relies on swarms of underlings rather than raw personal damage.
-
Very high health for this stage.
-
Delegates damage to rats that fill the arena.
-
Punishes you if you ignore adds and rush the boss.
The encounter tests whether you can balance board control and single‑target pressure.
Step 1: Bring area damage or bouncing projectiles for rats
Step 2: Avoid over‑extending into large clumps of minions
Step 3: Keep a tank on Rat King while others clear adds
Step 4: Only commit to full boss focus once the board is under control
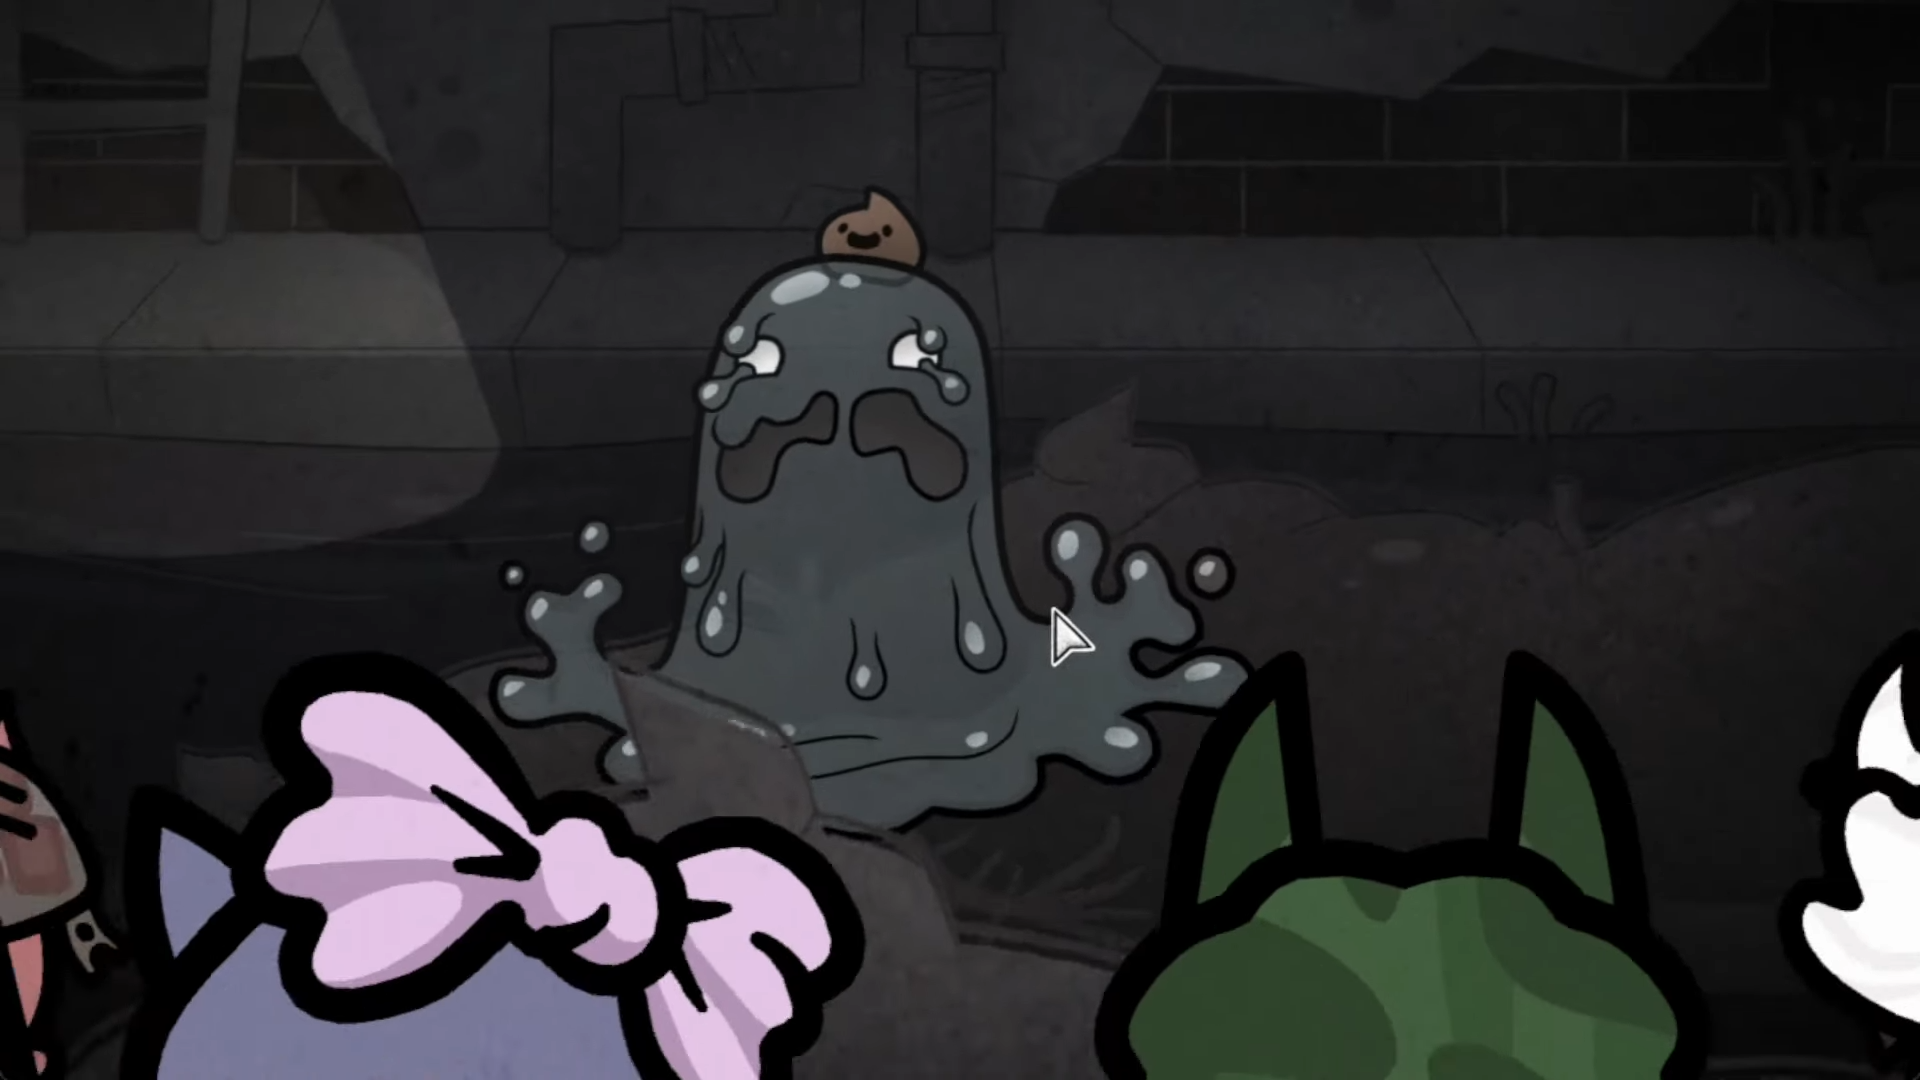
Boris – Sewers final boss option
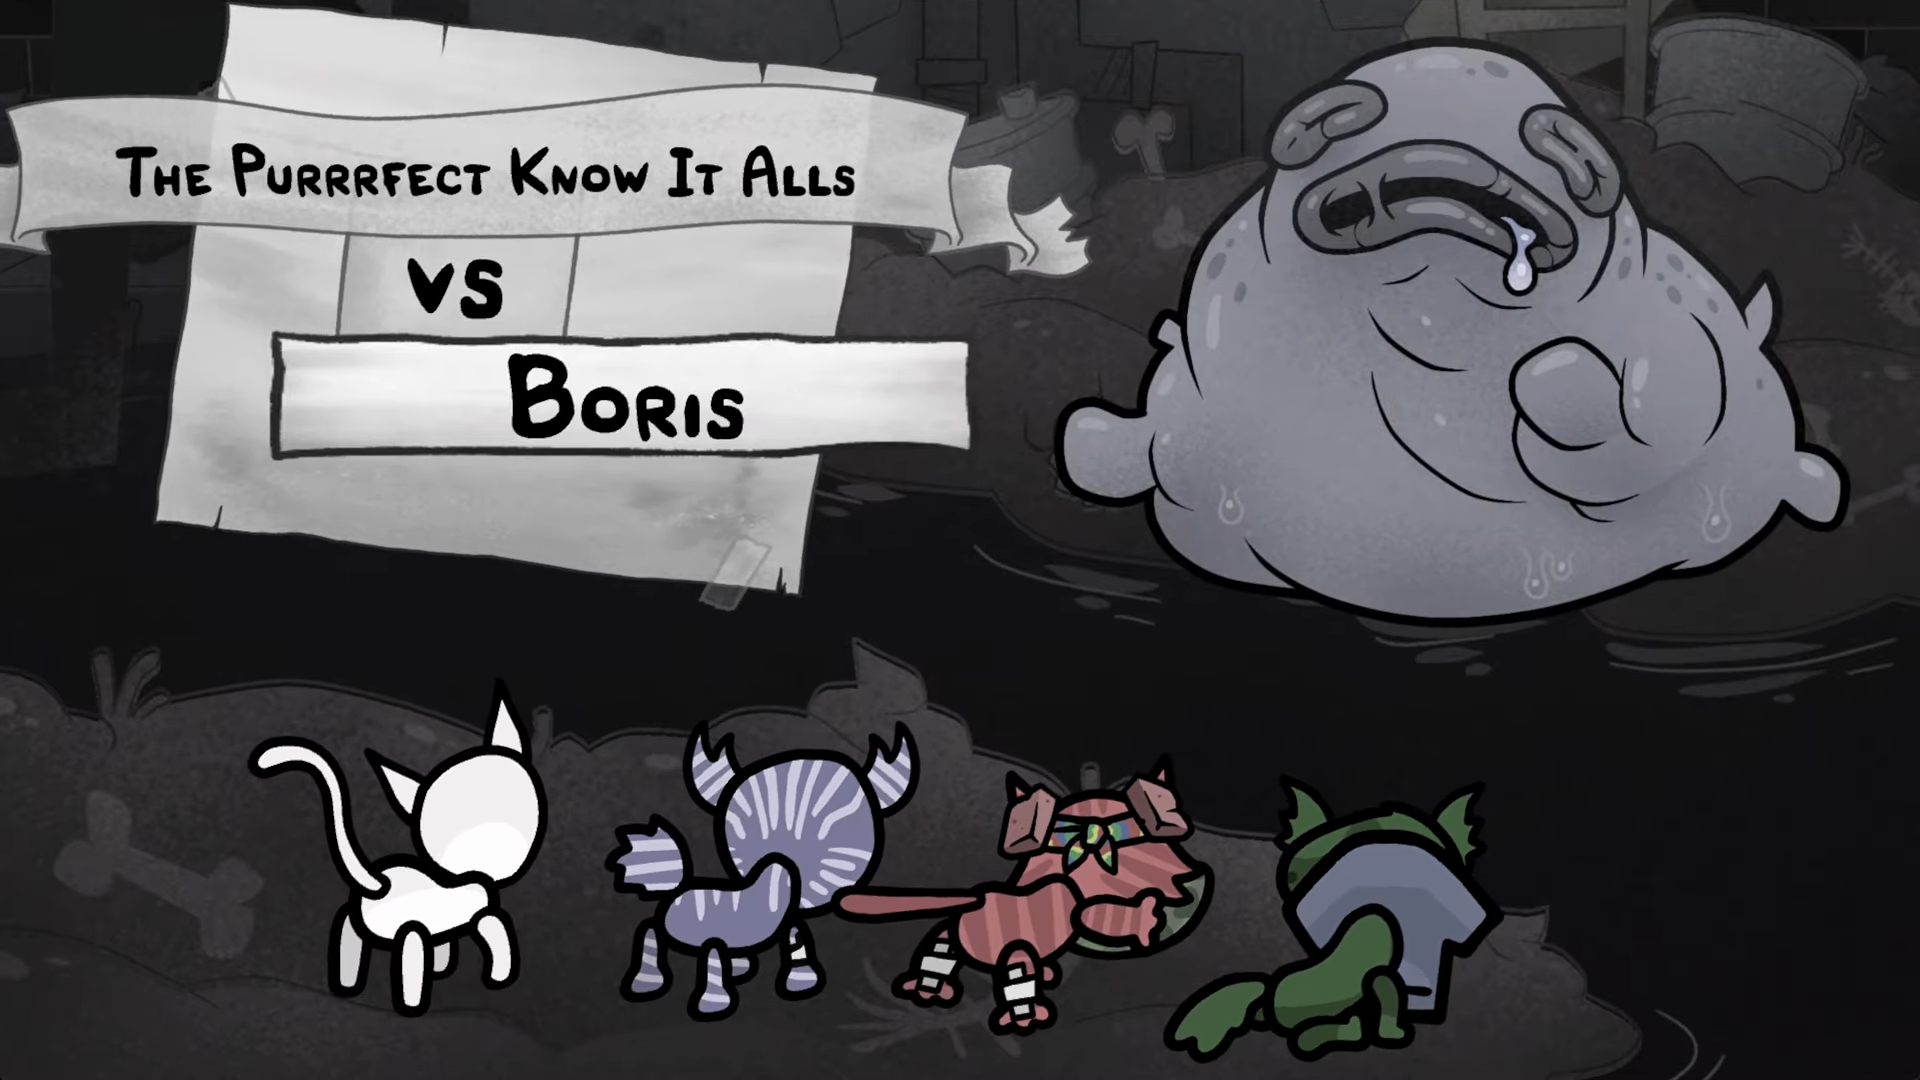
Boris is a possible final boss of the Sewers, a huge sludge creature with a large health pool and counter‑focused design. He is dangerous because:
-
He can hit back even when you are the one attacking.
-
His health and retaliation mechanics can quickly snowball against fragile teams.
Successful teams tend to lean on a solid healer such as Cleric, at least one strong ranged attacker, and careful pacing of basic attacks versus abilities.
Step 1: Bring a dedicated healer to stabilize attrition
Step 2: Respect his counters; avoid low‑value pokes
Step 3: Rotate front‑line cats to spread incoming damage
Step 4: Finish the fight decisively once his health drops below half
Caves bosses and the Spinnerette fight
The Caves are one of the two chapter‑three destinations in Act 1. They house several minibosses, but the standout encounters are Big Slime and the Spinnerette fight sequence.
Big Slime – Caves miniboss
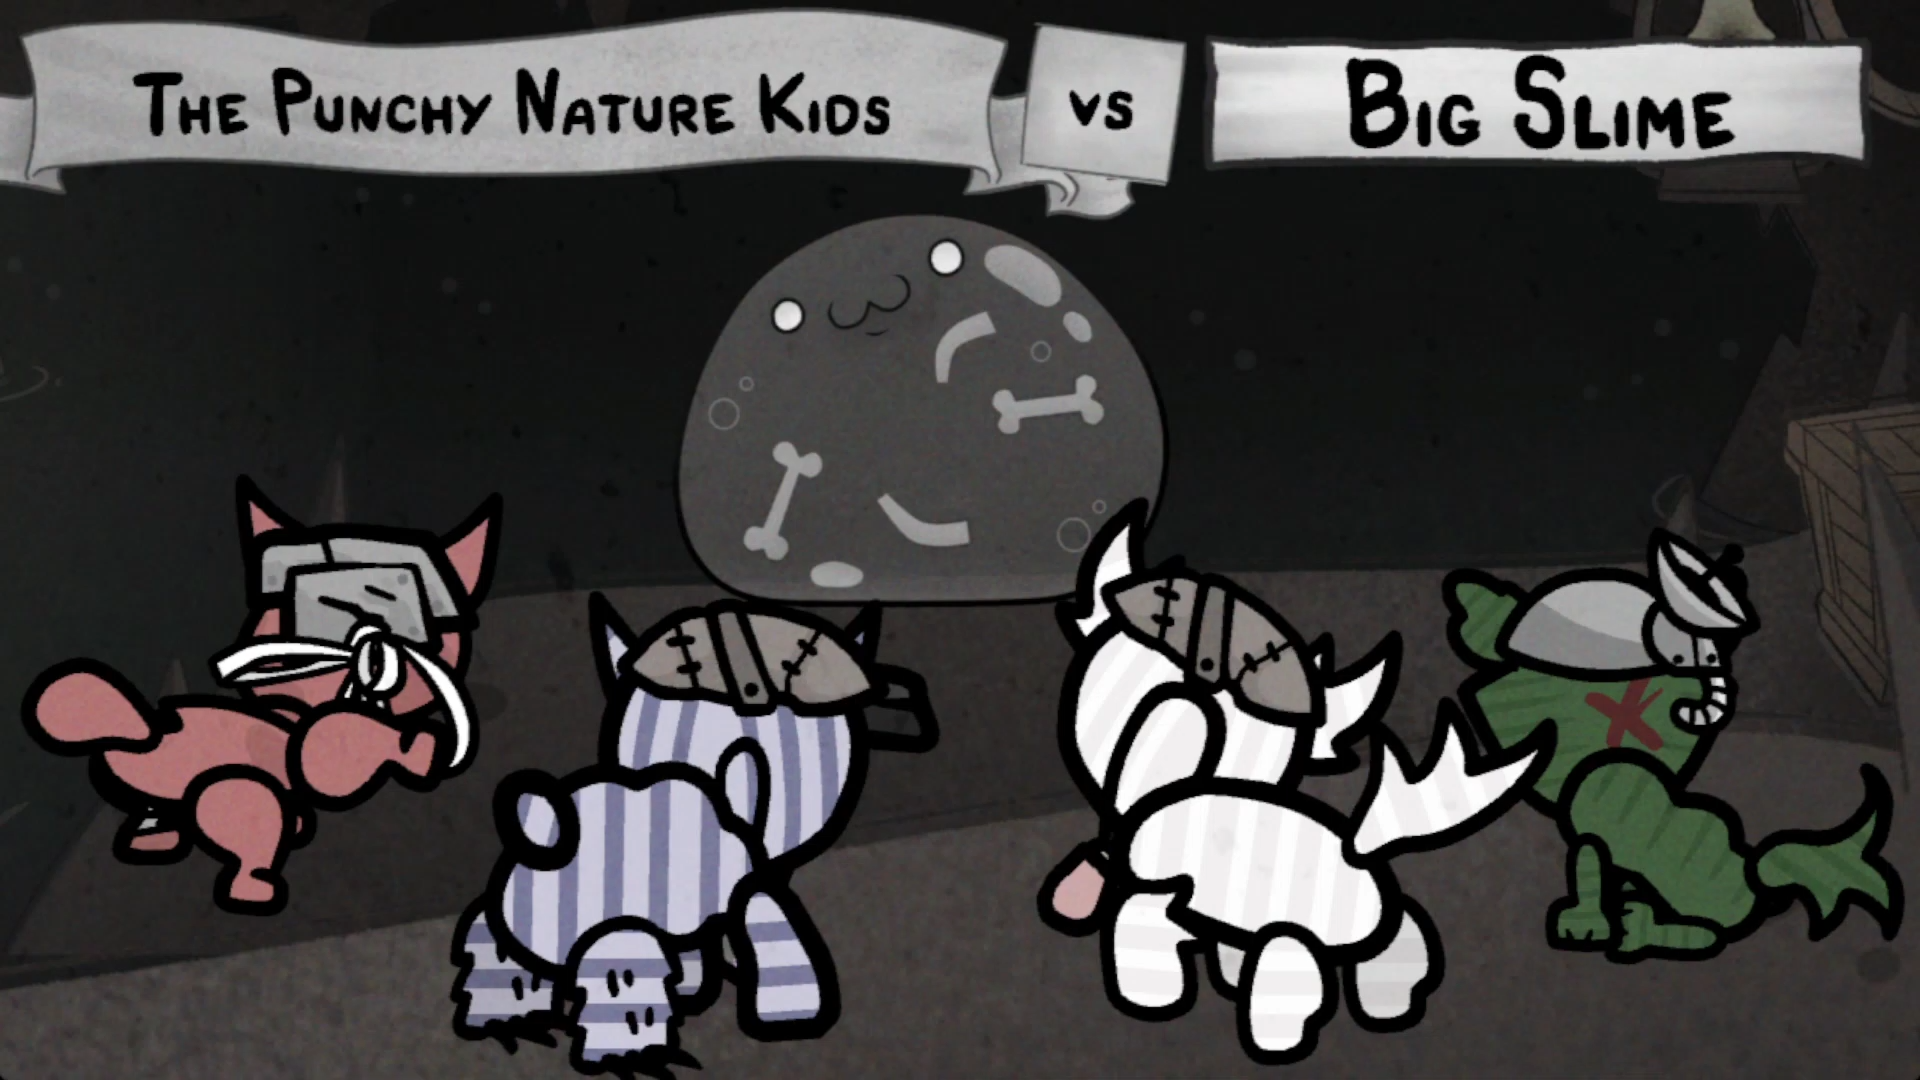
Big Slime is a classic splitting boss: a large slime that divides into medium and small slimes as you damage it. With enough damage or poor target priority, the board can flood with enemies.
Step 1: Avoid spreading damage across too many slime bodies
Step 2: Kill smaller slimes promptly to prevent being swarmed
Step 3: Use area damage that can hit clusters efficiently
Step 4: Protect support cats from sudden flanking slimes
Baby Spider and Spinnerette – Caves final boss
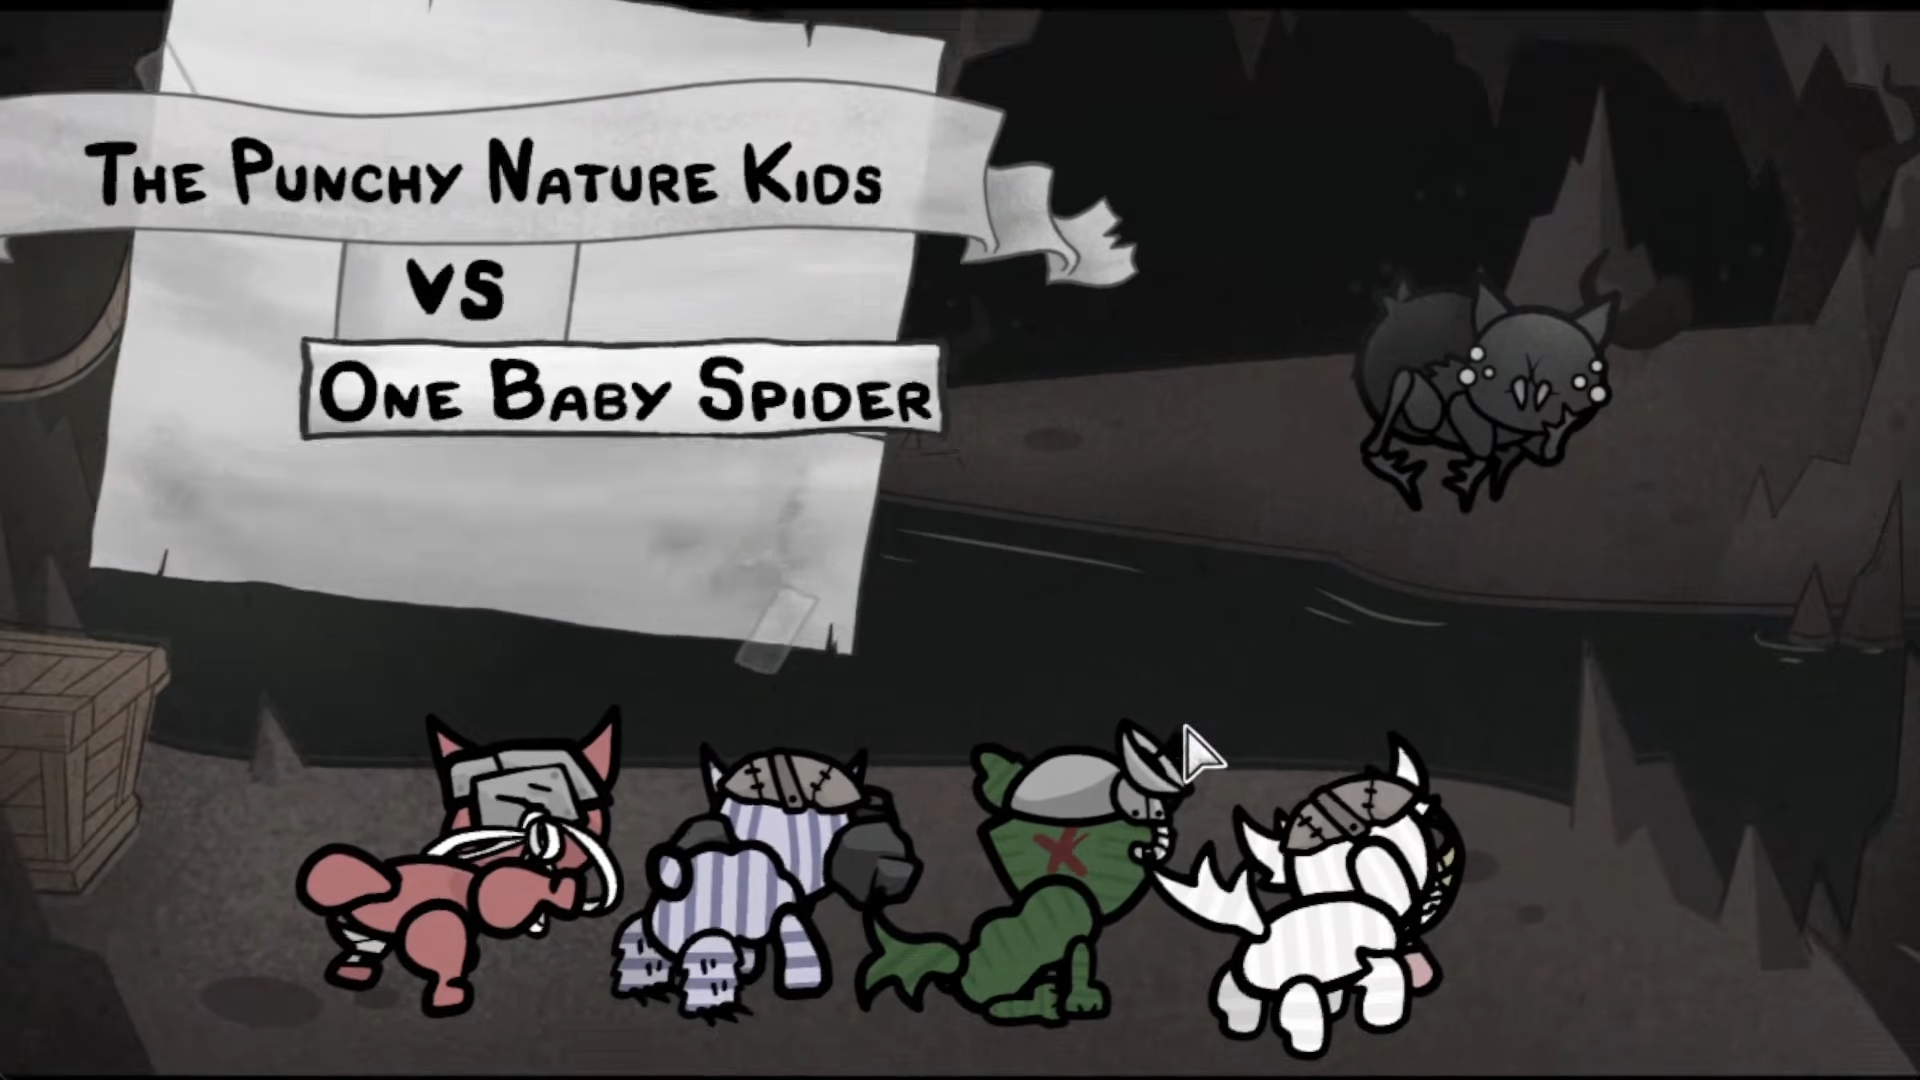
The Caves chapter three fight starts deceptively against a lone Baby Spider with minimal health. Killing it triggers the real boss, Spinnerette, a huge spider cat with a large health pool and multiple phases.
Spinnerette’s key gimmicks:
-
Webs that cocoon units and force them to waste basic attacks to break free.
-
Spiderlings that burrow into your cats and pop out if that cat dies, destroying the corpse.
-
A late‑fight ceiling phase where she retreats and spawns another spider kitten you must kill to bring her back down.
Step 1: Build a balanced team with both melee and ranged damage
Step 2: Keep your tank between Spinnerette and squishy units
Step 3: Prioritize killing Spiderlings and avoiding deaths on infested cats
Step 4: When she retreats, quickly kill the new spider kitten to resume damage
Step 5: Maintain focus on avoiding webs and controlling adds rather than pure burst
Spinnerette is one of the confirmed end‑of‑act bosses for Act 1, and clearing the Caves with a given class grants that class a completion mark and unlock reward.
Boneyard and Dybbuk – the dodging boss
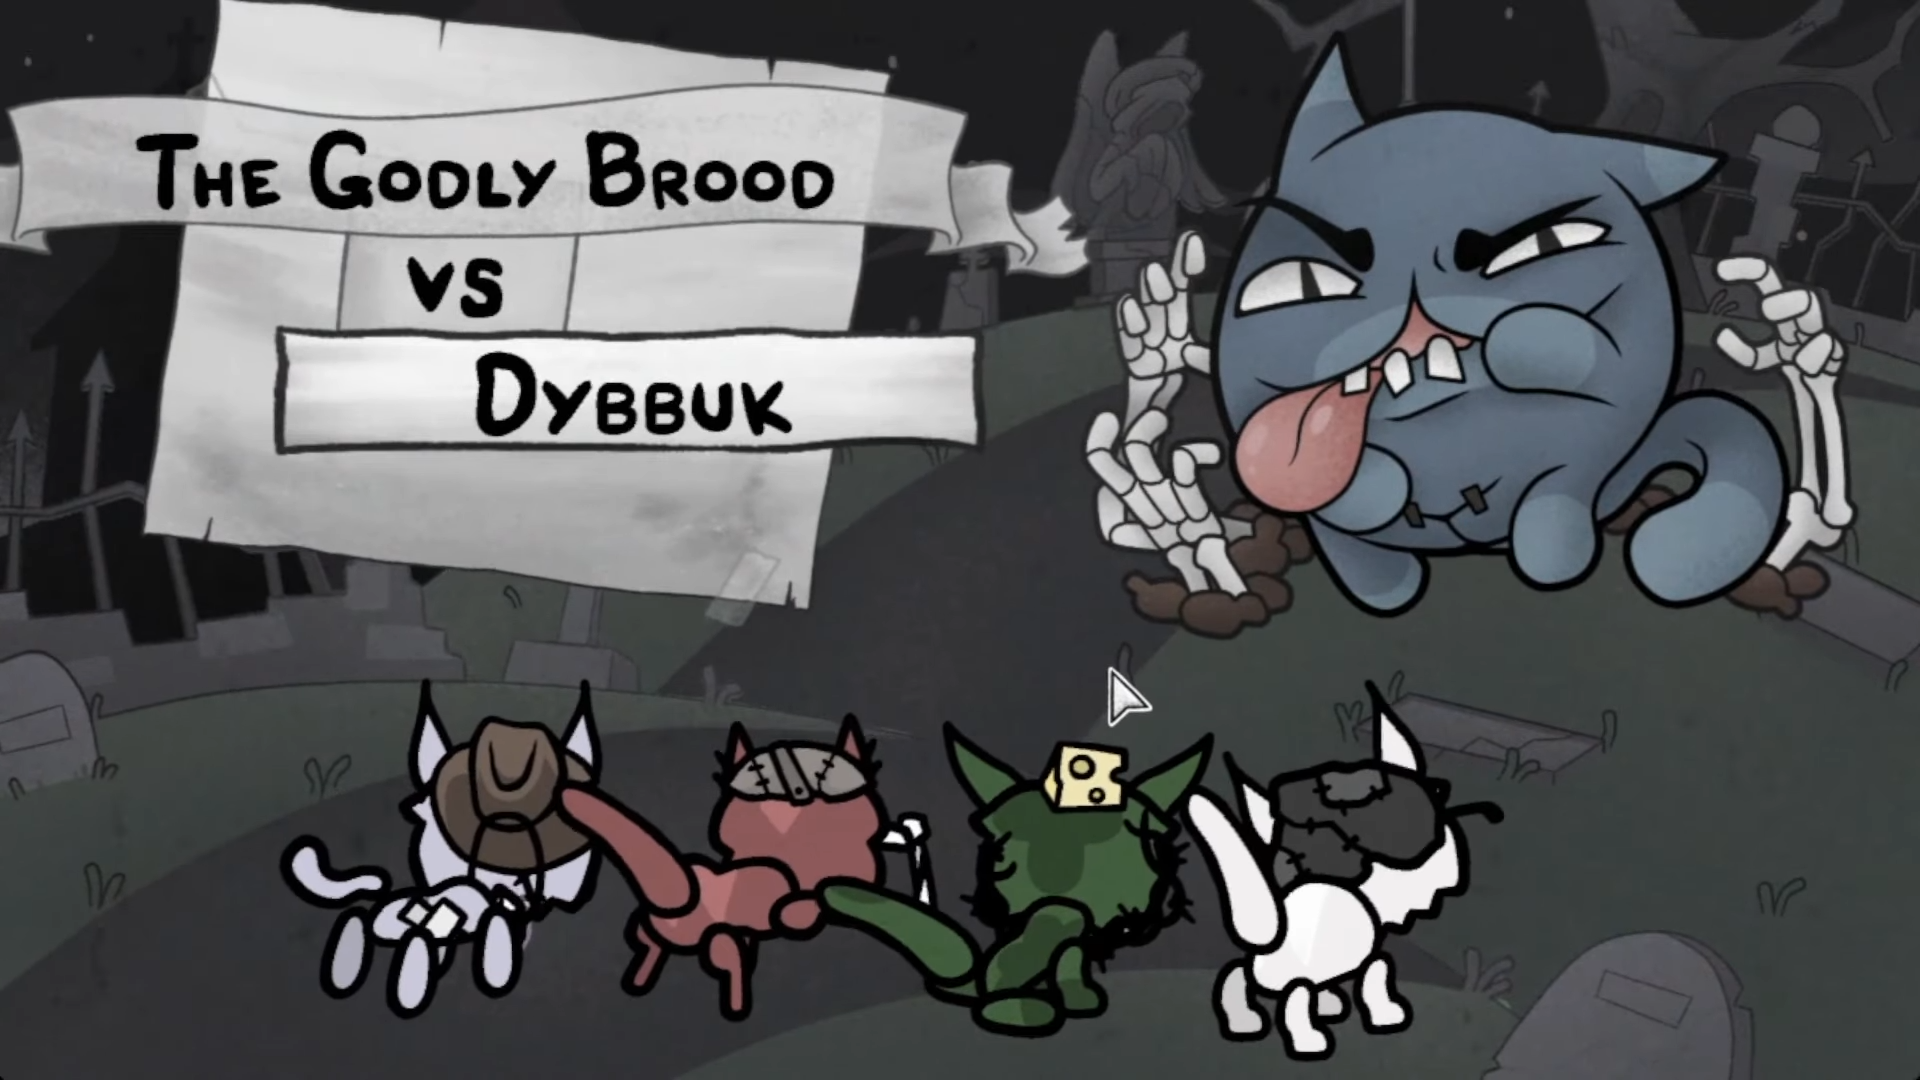
The Boneyard is the other Act 1 branch ending, capped by Dybbuk, a spectral cat that might be the first real wall for many players.
Dybbuk’s defining traits:
-
Automatically dodges single‑target attacks, including most weapon swings and abilities that hit only one tile.
-
Encourages area‑of‑effect attacks, line attacks, and reactive damage such as Thorns or counterattacks.
-
Periodically summons Wisps that always avoid the first damage instance and must be hit twice.
-
When finally defeated, immediately possesses the cat that landed the killing blow, forcing you to down your own ally in a second phase.
Step 1: Before reaching Boneyard, draft AoE, line, and reactive damage skills
Step 2: Trap or corner Dybbuk to restrict his dodge options
Step 3: Ignore pure single‑target skills unless they are attached to AoE or reactive triggers
Step 4: Plan which cat will land the final hit so the possession phase is manageable
Step 5: Down the possessed ally quickly, then finish Dybbuk’s remaining health
Clearing Dybbuk marks completion of that Act 1 branch and unlocks Act 2 content, while also enabling future house boss events.
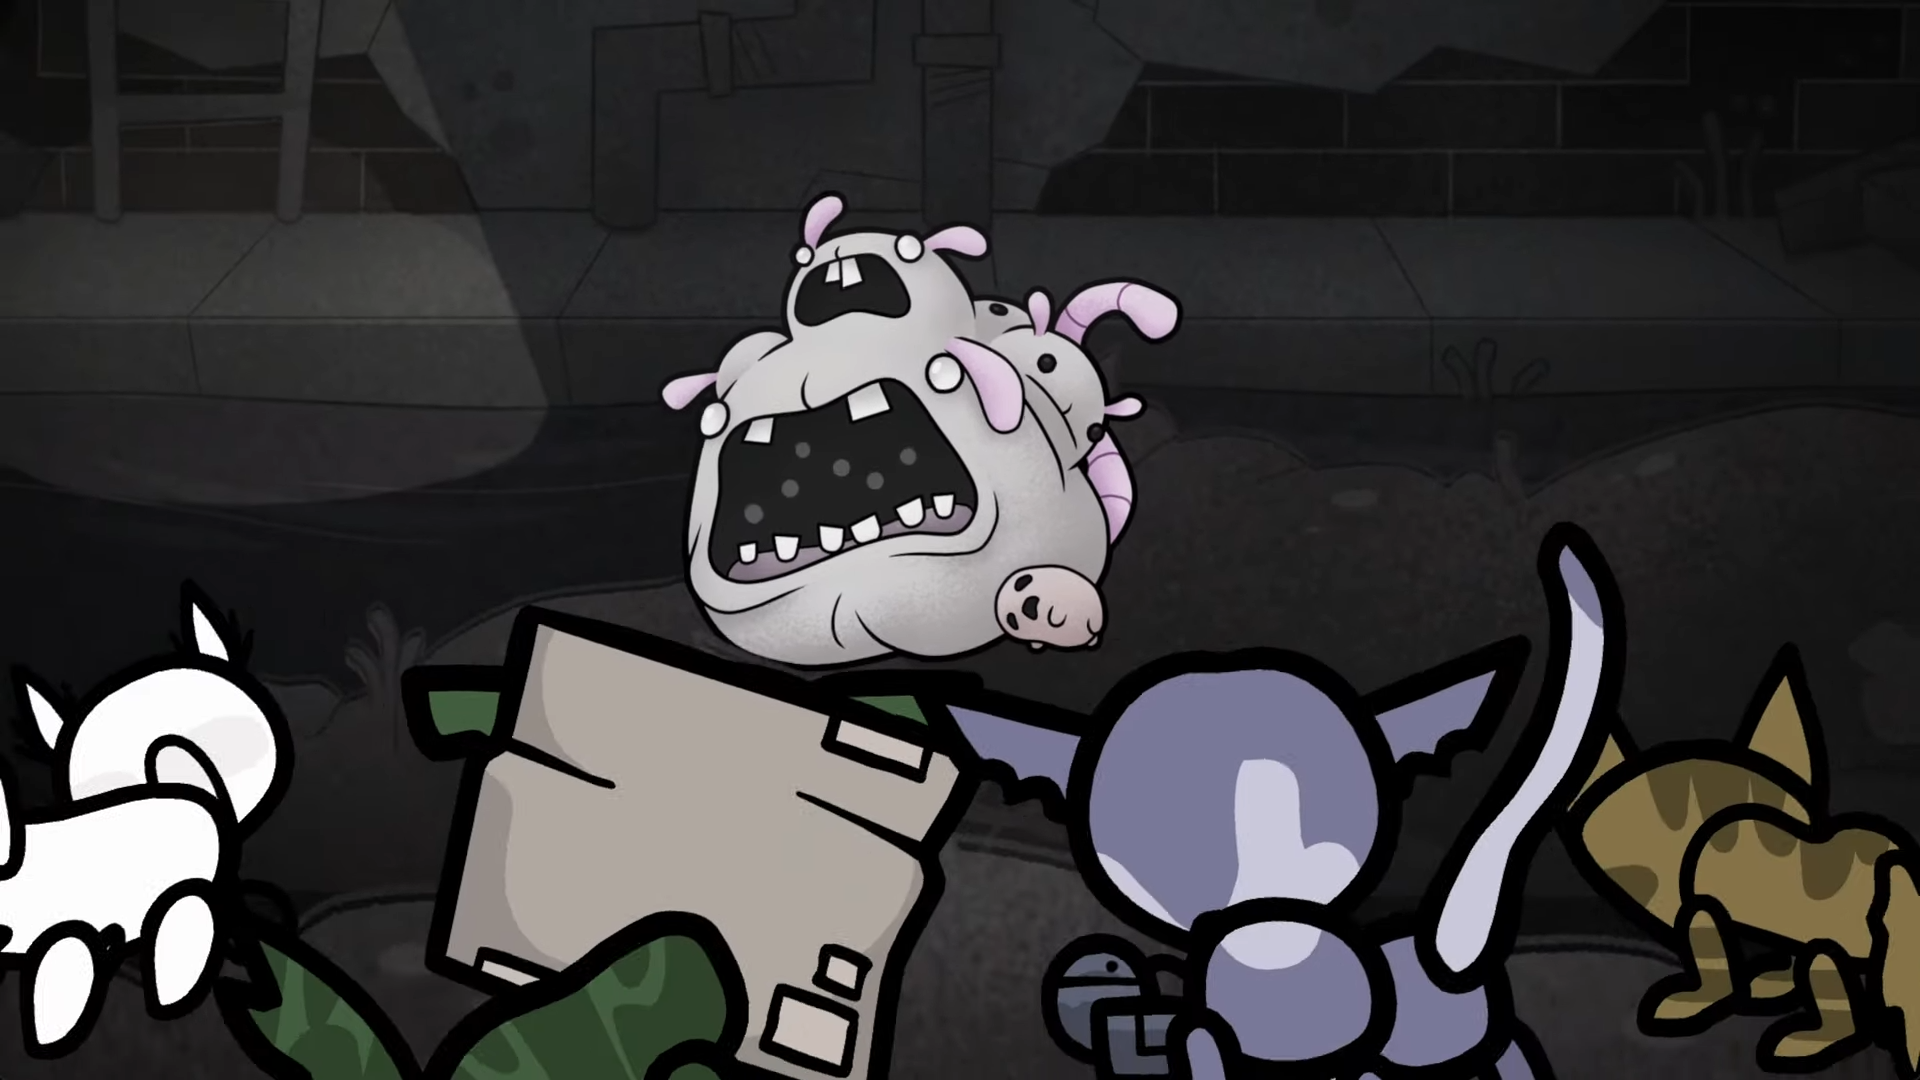
House bosses: Guillotina and beyond
House bosses are meta‑progression encounters that invade your home between runs. They can only be fought by retired cats that have already completed adventures.
Guillotina – first house boss, three escalating fights
After clearing the Boneyard and starting Act 2, you receive a warning that Guillotina is coming. You have a limited number of in‑game days to prepare a team of retired cats for the fight.
Across three encounters, Guillotina introduces:
-
Enormous health (around 500 HP) and frequent turns.
-
Heavy front‑loaded damage via butt slam and toss attacks that scatter your team.
-
A swallow move that removes a unit from the board temporarily and forces that cat to escape by flailing from inside.
-
An enraged state at roughly half health, where she heals a chunk of HP and becomes more aggressive.
From a meta perspective, each win also drops a unique quest item that unlocks new dangers and areas.
Step 1: Use days before the attack to run adventures and level multiple retired cats
Step 2: Assemble a balanced home defense team, commonly Thief, Hunter, Tank, and Cleric
Step 3: Keep the healer safe and out of direct melee range
Step 4: Use high mobility classes like Thief to backstab and then disengage
Step 5: In later fights, treat her quest items as worth the risk, but expect future runs to get harder
Pyrophina – later house kaiju boss
Pyrophina is another house boss : a giant kaiju cat that appears after further campaign progress, following the pattern set by Guillotina. You can expect:
-
Another multi‑phase home invasion tied to key quest items.
-
Even more extreme arena‑wide attacks, likely with heavy fire or burn pressure.
As with Guillotina, you will be given time to prepare and will need a deep bench of retired cats before you reliably win.
Secret‑zone boss: the Throbbing King
Clearing Guillotina’s quest line grants three key items. Delivering those to specific locations unlocks the Throbbing Domain, a secret zone housing the Throbbing King.
In phase one, the Throbbing King:
-
Uses a tethering projectile that ensnares a unit until they take damage or spend a basic attack.
-
Vomits out innards that form harmless poo or clots, which then grow into larger threats.
-
Uses a Follow Orders mechanic that marks tiles as safe or unsafe each round; tentacles erupt from unsafe tiles and deal heavy damage.
In phase two:
-
He leaves his throne, with lower health but higher mobility.
-
Fires vomit blasts in straight lines that pierce multiple units and inflict bleed.
Step 1: Bring high mobility and ranged options to chase him between jumps
Step 2: Obey the Follow Orders tile pattern; prioritize ending turns on safe spots
Step 3: Control clots before they mature into larger enemies
Step 4: Maintain bleed, poison, or similar damage over time once his health drops
The Throbbing King is one of the hardest bosses in Act 1 content and represents the culmination of Guillotina’s quest chain.
Early Act 2 bosses: Desert and Zodiac
After Act 1, later runs can start in other opening zones such as the Desert. The best Act 2 boss so far is Zodiac.
Zodiac – Desert region final boss
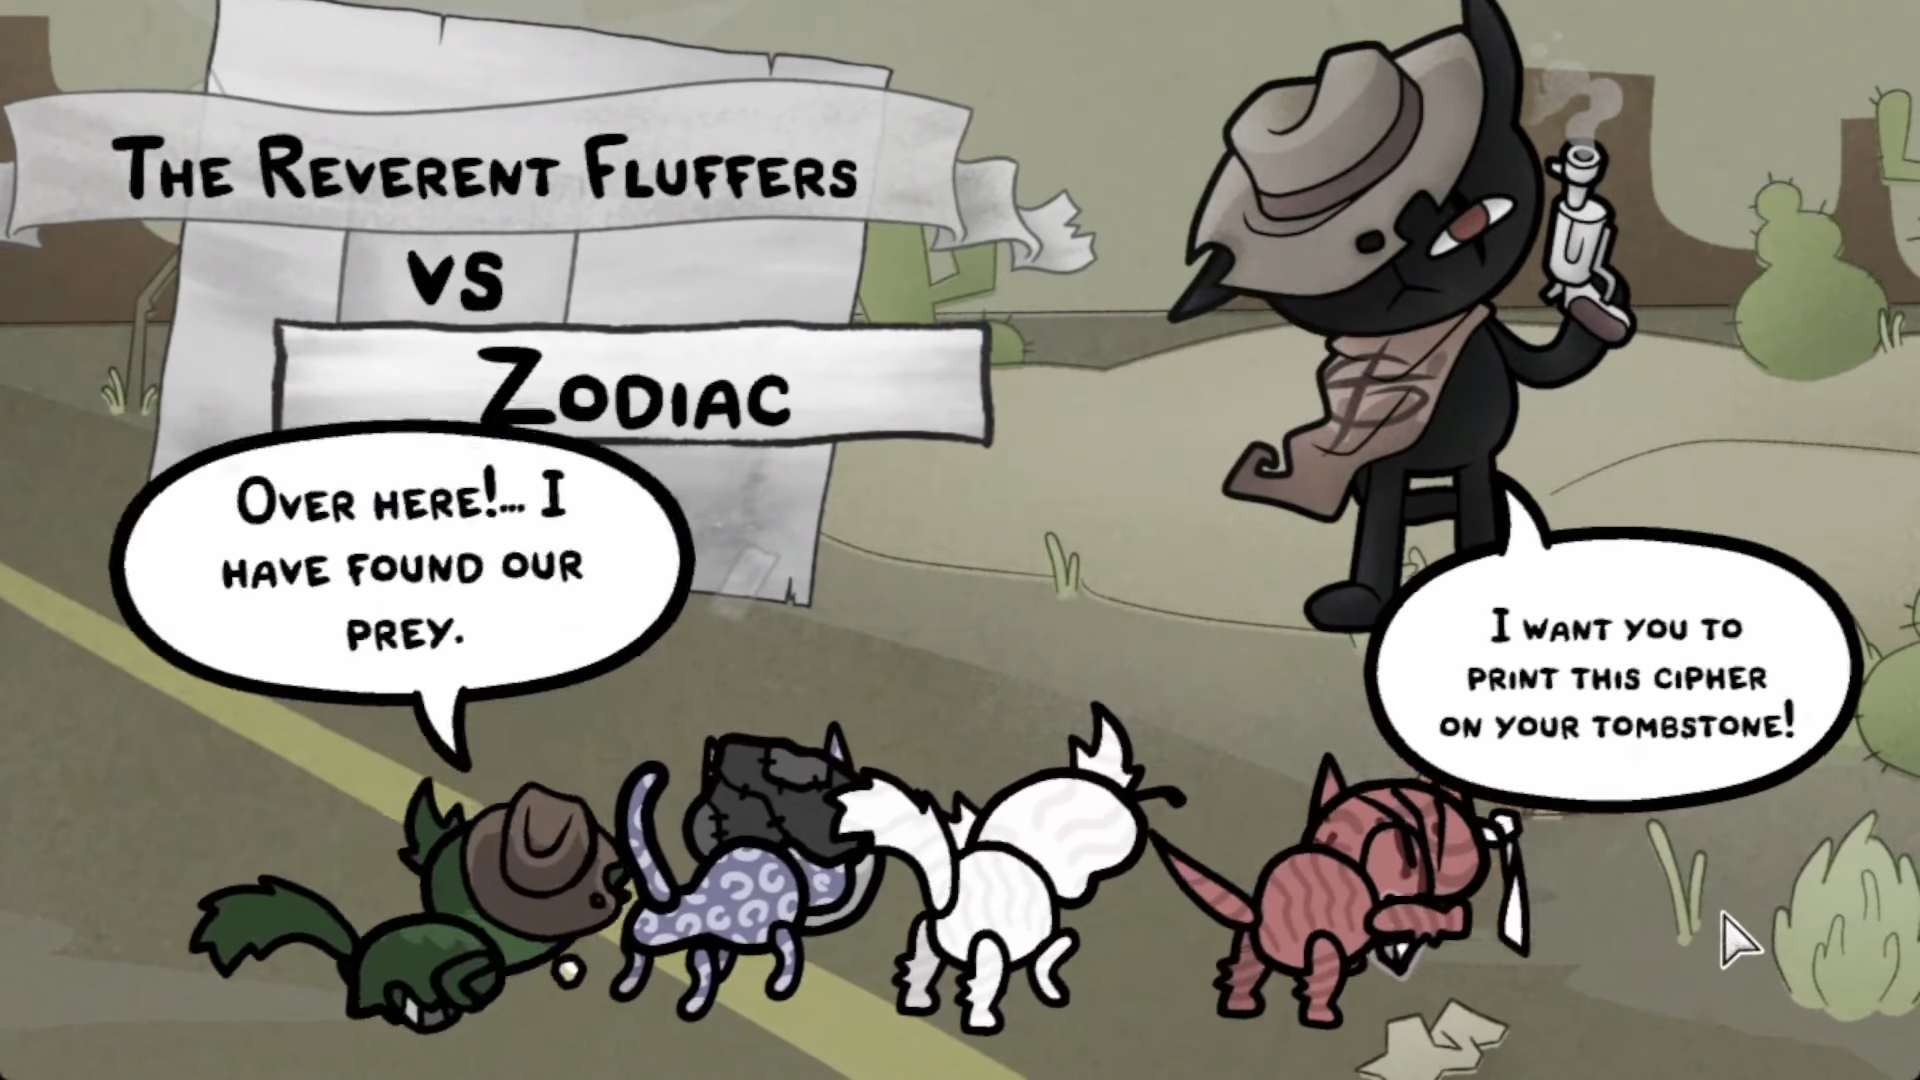
Zodiac is a gun‑toting cowboy cat that serves as a final boss in the Desert region. The fight is defined by:
-
Heavy ranged pressure, with frequent multi‑shot attacks across the map.
-
Reliance on cover and sacrificial familiars to soak bullets.
-
Punishing lines of fire if you stand in open tiles for too long.
Step 1: Enter the Desert with access to cover‑creating tools or teleportation
Step 2: Summon familiars or minions to absorb shots when possible
Step 3: Use debuffs like bleed, poison, or slow to stack damage while you stay in cover
Step 4: Close distance only when Zodiac’s firing patterns leave a temporary gap
Zodiac drops a random selection of weapons and items, with examples including explosives like small bombs or multi‑use tools such as Bag o Stuff.
Boss types in Mewgenics
Boss encounters are grouped more by role than by pure difficulty. Understanding these types helps you predict what a run is building toward.
| Boss type | When you meet them | locations | Examples | Main stakes |
|---|---|---|---|---|
| Miniboss | Mid‑chapter checkpoints | Alley, Sewers, Caves and beyond | Fenrir, Lucy, Rat King, Big Slime | Early filter on weak teams |
| End‑of‑zone boss | End of a region within an act | Alley, Sewers, Caves, Boneyard | Radical Rat, Queen Hippo, Boris, Spinnerette, Dybbuk | Branch completion, path choice |
| End‑of‑act boss | Same fights as end‑of‑zone, but first‑clear marks act progress | Act 1 branches | Spinnerette (Caves), Dybbuk (Boneyard) | Unlocks later acts and meta |
| House boss | Attacks your home between runs, in timed windows | House hub | Guillotina, Pyrophina | Permanent quests and cursed items |
| Secret‑zone boss | One‑off boss in hidden endgame areas | Throbbing Domain and beyond | Throbbing King | Huge rewards, hardest fights so far |
How boss locations and acts fit together
Each complete run currently corresponds to a single act built from three chapters. Chapter one starts in an opening zone, chapter two splits into two different regions, and each of those leads to its own chapter‑three boss fight. In Act 1 that structure looks roughly like this:
-
Chapter 1: Alley (fixed start)
-
Chapter 2: Either Sewers or Junkyard
-
Chapter 3: Either Caves (branch from Sewers) or Boneyard (branch from Junkyard)
Clearing a chapter‑three boss for the first time with a given class grants a completion mark and unlocks items or abilities for that class. After your first Boneyard clear, house bosses like Guillotina begin invading your home hub on a timer, and their quest items eventually unlock secret areas like the Throbbing Domain.
In practice, that means almost every serious run you do is pointing at one of the chapter‑three bosses, with a couple of minibosses and a house boss looming in the background.
At launch, Mewgenics already features dozens of bosses spread across acts, branches, and meta layers, with more variants likely to appear in patches. You face early tactical puzzles in the Alley, attrition checks in the Sewers and Caves, intricate dodge and possession mechanics in the Boneyard, and eventually cat kaiju knocking on your front door. Secret‑zone fights like the Throbbing King then tie those threads together with some of the highest risk‑reward decisions in the game.


