Follow this concise guide to complete the Manhunt quest in Where Winds Meet.
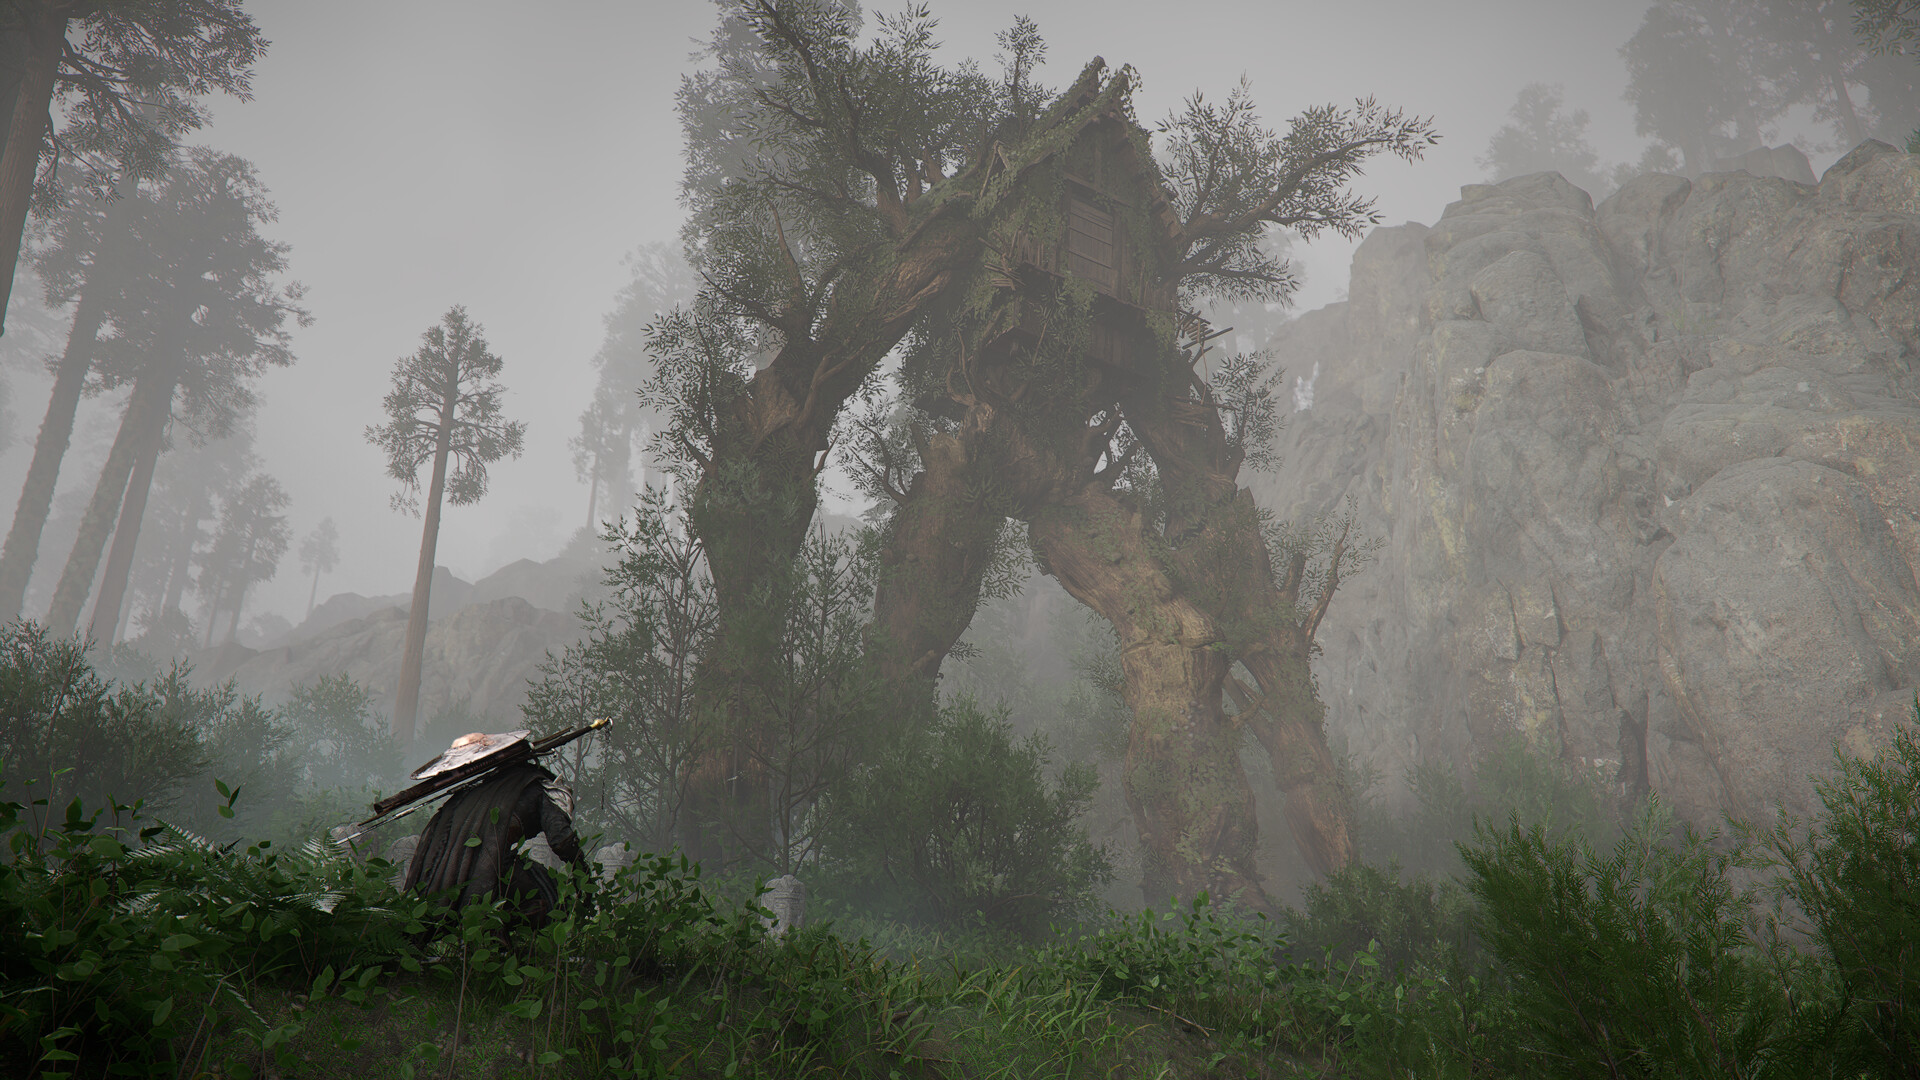
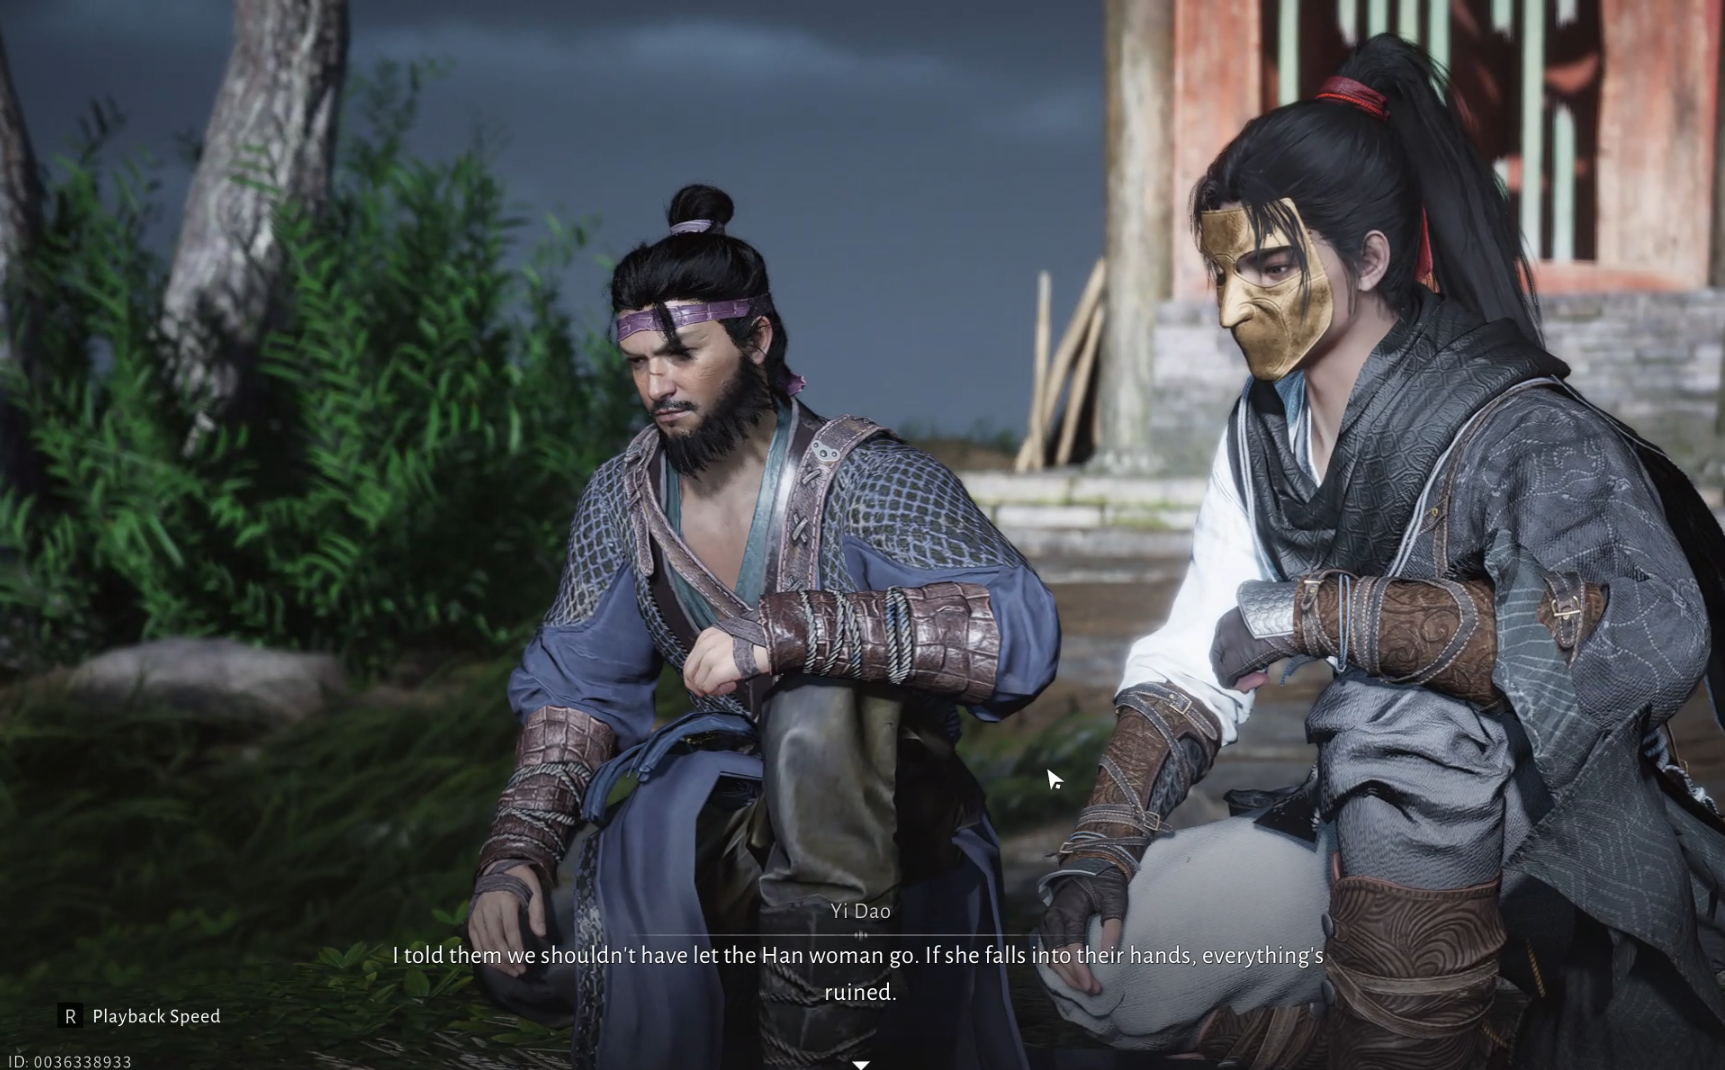
The Manhunt quest is a part of the A Horse Neighs in the Forest quest line in Where Winds Meet begins in Moonveil Mountain, Qinghe, sending you with Yi Dao to track a hidden enemy lair. Stealth past traps, solve environmental puzzles, and overcome ambushes to rescue captives and secure a key artifact. The quest culminates in a multi-phase Dalang boss fight, testing stagger management and counters. Combining stealth, exploration, and combat, it rewards an engraved key, exploration points, enlightenment points, and character experience.

Rewards
- Echo Jade: x20
- Qinghe Exploration Points: x10
- Hemostatic Powder: x2
- Engraved Key: x1
- Coins: x5000
- Stored EXP: x5000
Location
The Manhunt quest starts in Moonveil Mountain, Qinghe.


Screenshots by: NerdsChalk
Walkthrough
Follow these steps to complete the Manhunt quest:
Step 1
Follow the Swordsman closely without being detected, staying crouched to reduce visibility.
Screen recording by: NerdsChalk
Step 2
When given the two choices, you can pick either—they lead to the same outcome. Then chase the Swordsman down the stairs into the wine cellar.
Screen recording by: NerdsChalk
Step 3
At the end of the passage, use Wind Sense to find the heavy door on the left, then Push it open.
Screen recording by: NerdsChalk
Step 4
After parting ways with Yi Dao, head upstairs to the stuck door. Watch out for the fire traps—use Wind Sense to spot them and avoid the tiles that trigger them.


Screenshots by: NerdsChalk
Step 5
Return back to Yi Dao and ask him for the way out.
Screen recording by: NerdsChalk
Step 6
Go up to the second floor past the fire traps and pick up the Stone Statue. Don’t worry on the way back—the traps deactivate while you’re carrying it.
Screen recording by: NerdsChalk
Step 7
Place the Statue on one slab and stand on the other to open the gate for Yi Dao.
Screen recording by: NerdsChalk
Step 8
Follow Yi Dao upstairs to trigger a cutscene, during which you’ll both move through the door.
Screen recording by: NerdsChalk
Step 9
Defeat both Aureate Pavilion Guards to continue.

Step 10
Follow Yi Dao up the large staircase and defeat the three Aureate Pavilion Guards.
Screen recording by: NerdsChalk
Step 11
After defeating the three Aureate Pavilion Guards, push the gate next to Yi Dao open and proceed through it.

Step 12
Follow Yi Dao and open the gate on top of the stairs to reach the Cocoon Chamber.

Step 13
After reaching the Cocoon Chamber, follow Yi Dao through the hole in the wall and continue until you reach the exit guarded by two guards.
Screen recording by: NerdsChalk
Step 14
Shoot a fire arrow at the explosive barrels to take out the guards instantly, then climb the ladder to exit the hidden passage.
Screen recording by: NerdsChalk
Step 15
Once the guards chase after Yi Dao, enter the stable, defeat the remaining guard, and rescue Beard Guang and Ruby.
Screen recording by: NerdsChalk
Step 16
Enter the Main Hall by climbing onto the roof and dropping through the opening.
Screen recording by: NerdsChalk
Step 17
Defeat Dalang by gradually reducing its stagger bar and countering its attacks.
Screen recording by: NerdsChalk
Step 18
After defeating the Horse once, Phase 2 begins, where Dalang becomes faster, stronger, and uses new attack patterns.

Step 19
After defeating Dalang the second time, a cutscene will trigger, marking the end of the quest.
Screen recording by: NerdsChalk
Tips
- After defeating the Horse enemy Dalang, anticipate a more aggressive Phase 2 with new attack patterns and increased speed.
- When carrying the stone statue, you are immune to fire traps, so collect it to bypass dangerous sections safely.
- Use Wind Sense frequently to detect bloodstains that mark your path and reveal hidden traps like fire tiles.
Thanks for staying till the end! If this Manhunt Walkthrough guide made things easier or gave you useful insights, we’d love to hear your thoughts. Drop your feedback or questions in the comments—we’re always active and ready to assist with anything that still feels unclear.