Lucky Seventeen is a high-damage elite boss known for disruptive mobility and unpredictable strike chains. A full guide showing where to find and how to defeat Lucky Seventeen in Where Winds Meet.
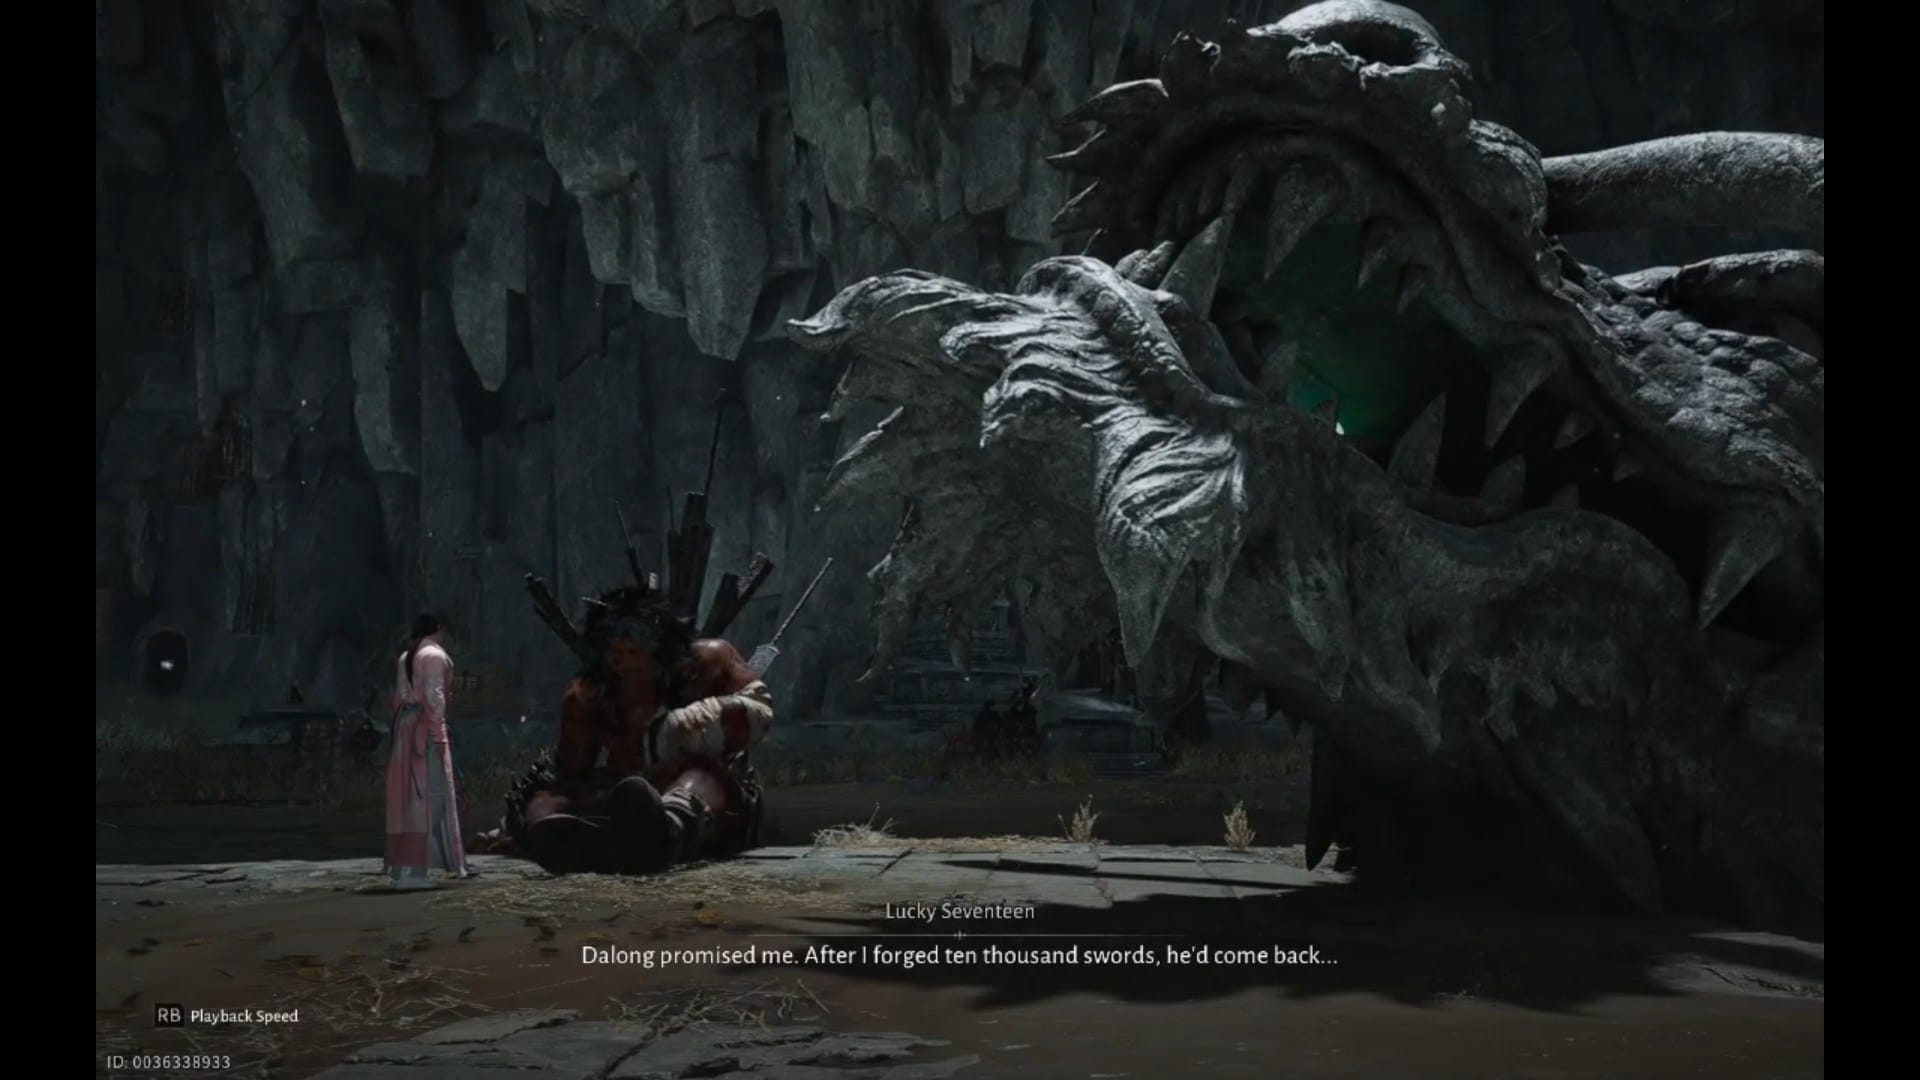
Lucky Seventeen typically appears in a contested settlement zone tied to mid-game combat challenges. You’ll encounter the boss in the Palace of Annals quest after interacting with a local conflict trigger, often involving bandits or an ambush.
The fight starts immediately once you enter the marked area, so ensure you’re healed and equipped before crossing the boundary.
Lucky Seventeen rewards
- Echo Jade ×50
- Character XP ×30,000
- Zhou Coin ×30,000
- Medicinal Tales ×1
- Vital Leech: Tome ×1
- Oscillating Jade ×5

Lucky Seventeen details
| Field | Details |
|---|---|
| Boss Name | Lucky Seventeen |
| Location | Palace of Annals → Moonveil Mountain (Qinghe region) |
| Phase 1 | Slower attacks, parry opportunities |
| Phase 2 | Weapon drawn, faster pace, more complex combos |
| Key Tactic | Parry where possible; dodge the gold-glow / red attacks |
| Notable Rewards | Echo Jade, Zhou Coin, XP, rare books/materials |
Lucky Seventeen location
Lucky Seventeen is encountered during the Palace of Annals storyline. After completing this segment, you’ll face him on Moonveil Mountain in the Qinghe region. The fight triggers as part of the main campaign progression, so you can’t miss it once you reach that chapter.

Lucky Seventeen mechanics
Phase 1
- Roar → leap → slam. Can be parried or dodged.
- Low sweep kick → two punches. Parry or dodge.
- Golden-glow charged fists that flip the ground. Cannot be parried; must dodge.
Screen recording by: NerdsChalk
Phase 2
- Throws his sword toward you before pulling out his weapon. Can be parried or dodged.
- Heavy red-glow swing; perfect parryable with strict timing.
- Wide sweep followed by a jump smash. Parry or dodge based on position.
- Spinning charge that empowers his weapon followed by rapid strikes.
Screen recording by: NerdsChalk
Lucky Seventeen boss fight tips
Strategic tips to defeat Lucky Seventeen on the first try:
Parry early, dodge late
Phase 1 invites parries; Phase 2 punishes them unless you read cues carefully.

Dodge every gold-glow attack
These attacks break through any attempt to block or parry.

Maintain spacing in Phase 2
Staying too close during his new weapon combos puts you in danger.

Punish only after clean parries
His recovery windows are short, especially later in the fight.

Don’t panic-roll
His chains track your movement—dodging too early gets you clipped.

Heal proactively
Phase 2 burst damage can finish you quickly if you wait too long.

Stay patient
The fight rewards rhythm, timing, and adapting to tempo rather than rushing in.

Thanks for reading the Lucky Seventeen Boss guide for Where Winds Meet all the way through. If it improved your understanding or helped you complete something, let us know below. You can also ask any follow-up questions—we enjoy interacting with readers and are always happy to provide further clarification.


