Follow this concise guide to complete the Lone Wanderer’s Wish Wandering Tale in Where Winds Meet with ease.
The “Lone Wanderer’s Wish” is a Wandering Tale in Where Winds Meet that begins near the Mercy Hall Boundary Stone. Assist Yue Baiwei by defeating the thugs troubling her, uncover clues by eavesdropping on Aureate Swordsmen and collecting keys, then explore an underground area while overcoming dangerous enemies.
This quest challenges your combat and exploration skills through a series of encounters and puzzles. Completing it rewards Echo Jade, Kaifeng Exploration points, Character EXP, and coins.

Location & how to start
To begin this Wandering Tale, head to the marked spot right next to the Mercy Hall Boundary Stone, defeat the thugs harassing Yue Baiwei, and then speak with her to start the tale.


Screenshots by: NerdsChalk
Walkthrough
Follow the steps below to complete this Wandering Tale in Where Winds Meet:
Step 1
After reaching the Mercy Hall Boundary Stone, defeat the thugs harassing Yue Baiwei.
Screen recording by: NerdsChalk
Step 2
Help untie Yue Baiwei, then talk to her to receive the first clue.


Screenshots by: NerdsChalk
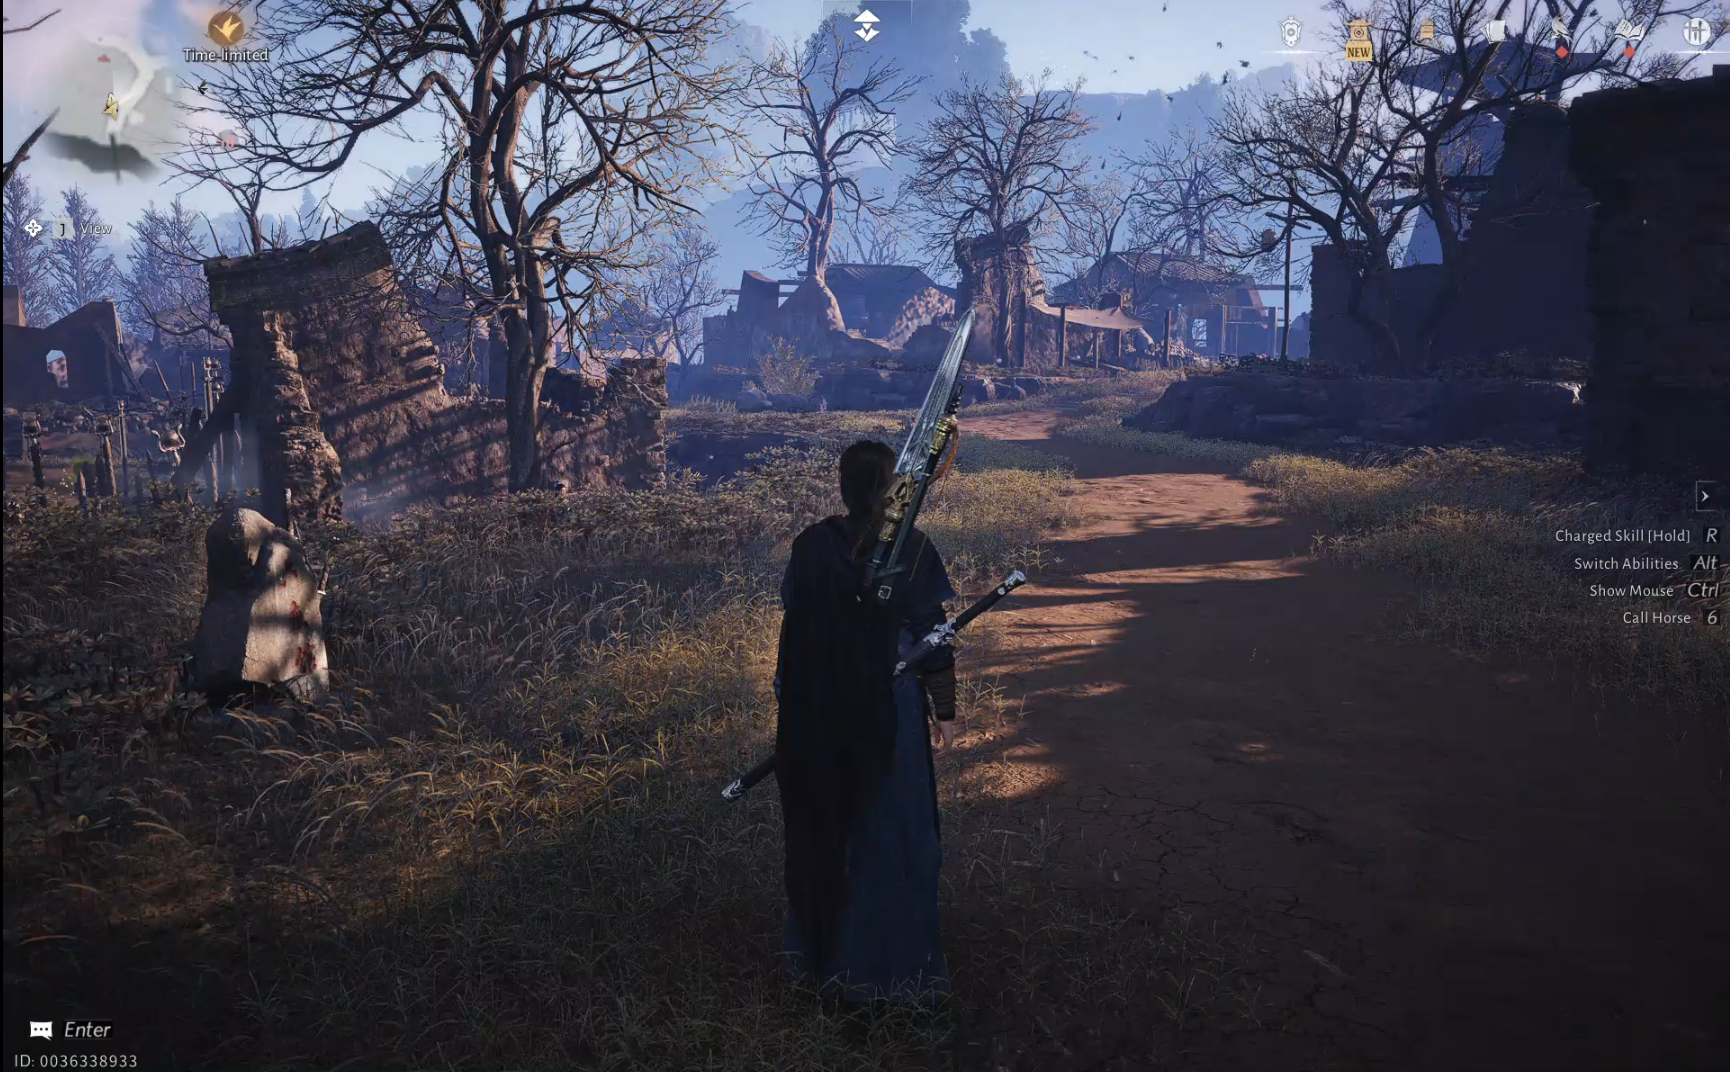
Step 3
Return to the Mercy Hall Boundary Stone, follow the path straight ahead to the group of Aureate Swordsmen in front of a big tree, eavesdrop on their conversation, and then defeat them all.
Screen recording by: NerdsChalk
Step 4
Climb the big tree nearby and grab the Key from the bird’s nest.
Screen recording by: NerdsChalk
Step 5
Head to the next marked spot—a tower located just behind the big tree where you found the first key.


Screenshots by: NerdsChalk
Step 6
Climb into the tower from the broken section on top, then pick up the second key placed beside the chest and the ladder.
Screen recording by: NerdsChalk
Step 7
Head inside the large house, stand on the green mat to trigger the Head Underground prompt, and then enter the underground area.
Screen recording by: NerdsChalk
Step 8
Defeat all the enemies inside, and be sure to shoot the Dawn to Dusk – Chill Miasma Flowers with fire arrows to avoid taking heavy damage.


Screenshots by: NerdsChalk
Step 9
Head into the room on the left with the locked gate, take the path to the locked gate’s left, and shoot the Dawn to Dusk – Chill Miasma Flower to clear the way.
Screen recording by: NerdsChalk
Step 10
Approach Sang Jisheng, listen to his conversations at all three spots, then examine the corpse to obtain the next clue and another key.
Screen recording by: NerdsChalk
Step 11
After examining the corpse, follow the path shown below and join Sang Jisheng and the others.
Screen recording by: NerdsChalk
Step 12
Open the gate on the left and defeat the enemy inside — p.s. he explodes upon death, so keep your distance.
Screen recording by: NerdsChalk
Step 13
Examine the table to pickup the Mercy Hall notes.
Screen recording by: NerdsChalk
Step 14
Head back to Yue Baiwei near the Mercy Hall Boundary Stone and tell her the truth to finish the Wandering Tale and claim your rewards.

Rewards
- Echo Jade: x40
- Kaifeng Exploration: x10
- Character EXP: x15,000
- Coins: x10,000
We hope this Lone Wanderer’s Wish walkthrough guide offered all the clarity you were looking for and made your experience smoother. If you have any feedback, suggestions, or questions, drop them in the comments below. We actively read and respond, so feel free to reach out whenever you need extra help or guidance.