Learn how to start and complete the sprawling epic Jinming Pool Campaign in Where Winds Meet, along with the rewards and tips to make it through in one go.
In Where Winds Meet, Jinming Pool is a long and sprawling quest with multiple cut scenes, several mini quests, puzzles, and boss fights. So without further ado, let’s get started.
Rewards
The cumulative rewards of the entire quest campaign are as follows:
- Vendetta: Tome – x1
- Eagle Ring – x1
- Medicinal Tales – x1
- Oscillating Jade – x5
- Echo Jade – x55
- Coin – 40000
- Enlightenment Point – x100
- Kaifeng Exploration – x100
- Stored EXP – x40000
Location
The Jinming Pool quest takes place in the Jinming Pool area, located to the west of Kaifeng City in Kaifeng. The exact location is marked as follows:

You can also track the quest and follow the marker to get to the location quickly.
Walkthrough
Step 1
Firstly, approach the Jinming Pool area. This will automatically update the quest tracker.

You need to get to the banquet hall on the 3rd floor of Baojin Tower. However, you will need to do so between Shen hour and You hour. If you’re not within that time frame, open up your clock and set it to Shen hour.

Step 2
Talk to the NPC – Murong Yuan – on the 3rd floor between the Shen hour and You hour.

Step 3
Next, you will have to invite three attendants to the banquet. Go to the locations marked and deliver the letters of invitation.
One is Meng Xuanzhe – the envoy from Shu.

The second is Gu Yi – the envoy from Tang.

Lastly, invite Shi Shouxin – the Black Armor General.

Once the third invitation is sent, you’ll get the option to start the banquet.

This will begin a long cut scene.
Step 4
Next, listen in to the conversations of the attendees. Then interact with with Murong Yuan and Lord Zhao.

After the meeting, you’ll be sent to Jinming Pool.
Step 5
Take your boat and venture deep into Jinming Pool.

Step 6
Dock the boat. Then go up to the stand and observe the movements of Envoy of Shu.

Step 7
After the cutscene, you’ll have to go to the waterway below the palace to eavesdrop on the envoy’s plans.
Take high altitude paths, and move over roofs to avoid detection.
Step 8
Drop into the water and make your way to the location where you can eavesdrop.
Step 9
After the cutscene, follow the envoy without being notice. Stick to the rooftops to avoid being detected.

Step 10
Continue following them for a chance to seize the Tiger Talisman. As before, stick to the rooftops.

Step 11
Next, you’ll have to Board the Ship within the time limit. This involves three straightforward sub quests.
First, knock out the envoy to obtain the boarding pass.

Second, defeat the guard captain – Commander Hao – to obtain the Commander’s token.

Finally, use the tally on the mechanism to call the elevator.

Hop on it, ascend, and board the ship.

Step 12
Enter the Quintaden warship and go deeper into the Living Cabin. Fight the enemies there.

Step 13
Use the lever to go to upstairs and to the Command Room.

Step 14
Once you get to the Command Room, investigate it and touch the wine cup on the table. This will trigger a cutscene.

Step 15
After the cutscene, you’ll be facing four paintings. This is a small puzzle that requires you to place four small statues in front of the paintings.

- Statue 1 is found in front of the third painting – place it before the painting on the extreme left.

- Statue 2 is found behind the weapons – place it before the second painting from the left.

- Statue 3 is found to the right of the puzzle – place it before the third painting from the left.

- Statue 4 is found to the right of the hallway from where you came. Strike the Golden Zheng using your bow and then use Meridian Touch to unlock the door next to it. You’ll find the statue inside on the right – place it before the fourth painting.

Once the puzzle is solved, two doors will open. The right door leads to a chest. The left door leads to the stairs that advance you to the next stage of the quest.
Step 16
Go up the stairs to reach the secret chamber.

Interact with all the glowing spots –
- Investigate the books – For the Wooden Eagle Diagram
- Investigate the bookshelf – For the Oil Tank Key
- Investigate the desk – For Quintadent Warship Diagram
- Investigate the floor – Open it and reach the bottom level

Step 17
Take the stairs and go to the bottom of the warship. Look for panels that lead further down. Defeat all enemies that you encounter.

Step 18
At the bottom, remove the bolt to open the door.

As you walk through it, the trapdoors will open and you’ll fall into a water-filled cabin.
Step 19
Here, you’ll need to investigate three areas to leave the cabin –
- The Central Cabin – Pull the lever in the middle of the cabin.

- The Eastern Cabin – Climb up to the easter cabin to a small room. Use your bow to strike the bell and use Meridian Touch to open the gate, and pull the lever there.

- The Western Cabin – Go to the western cabin, climb the stairs. From a small opening, you’ll be able to see both the bell and the locked gate. Strike the bell, unlock the gate, and pull the lever there.

Step 20
In the new cabin, walk along the side of the chains to move up.

Step 21
Climb on the moving platform to get to the other side.

Step 22
Here, you’ll have to again strike the bell and use Meridian Touch to unlock the gate.

Step 23
Pull the lever on the right.

This will raise the water high enough for you to swim and climb on the platform that leads you out.

Step 24
Continue your way forward and defeat the guards. Then climb the stairs and unbolt the door.

Step 25
Fight the guards there. Then from the room with the fire in the middle, go to one of the exits and drop down.

Step 26
Here, fight more enemies and then make your way to the heavy door. Push it open to enter the Oil Tank.

Step 27
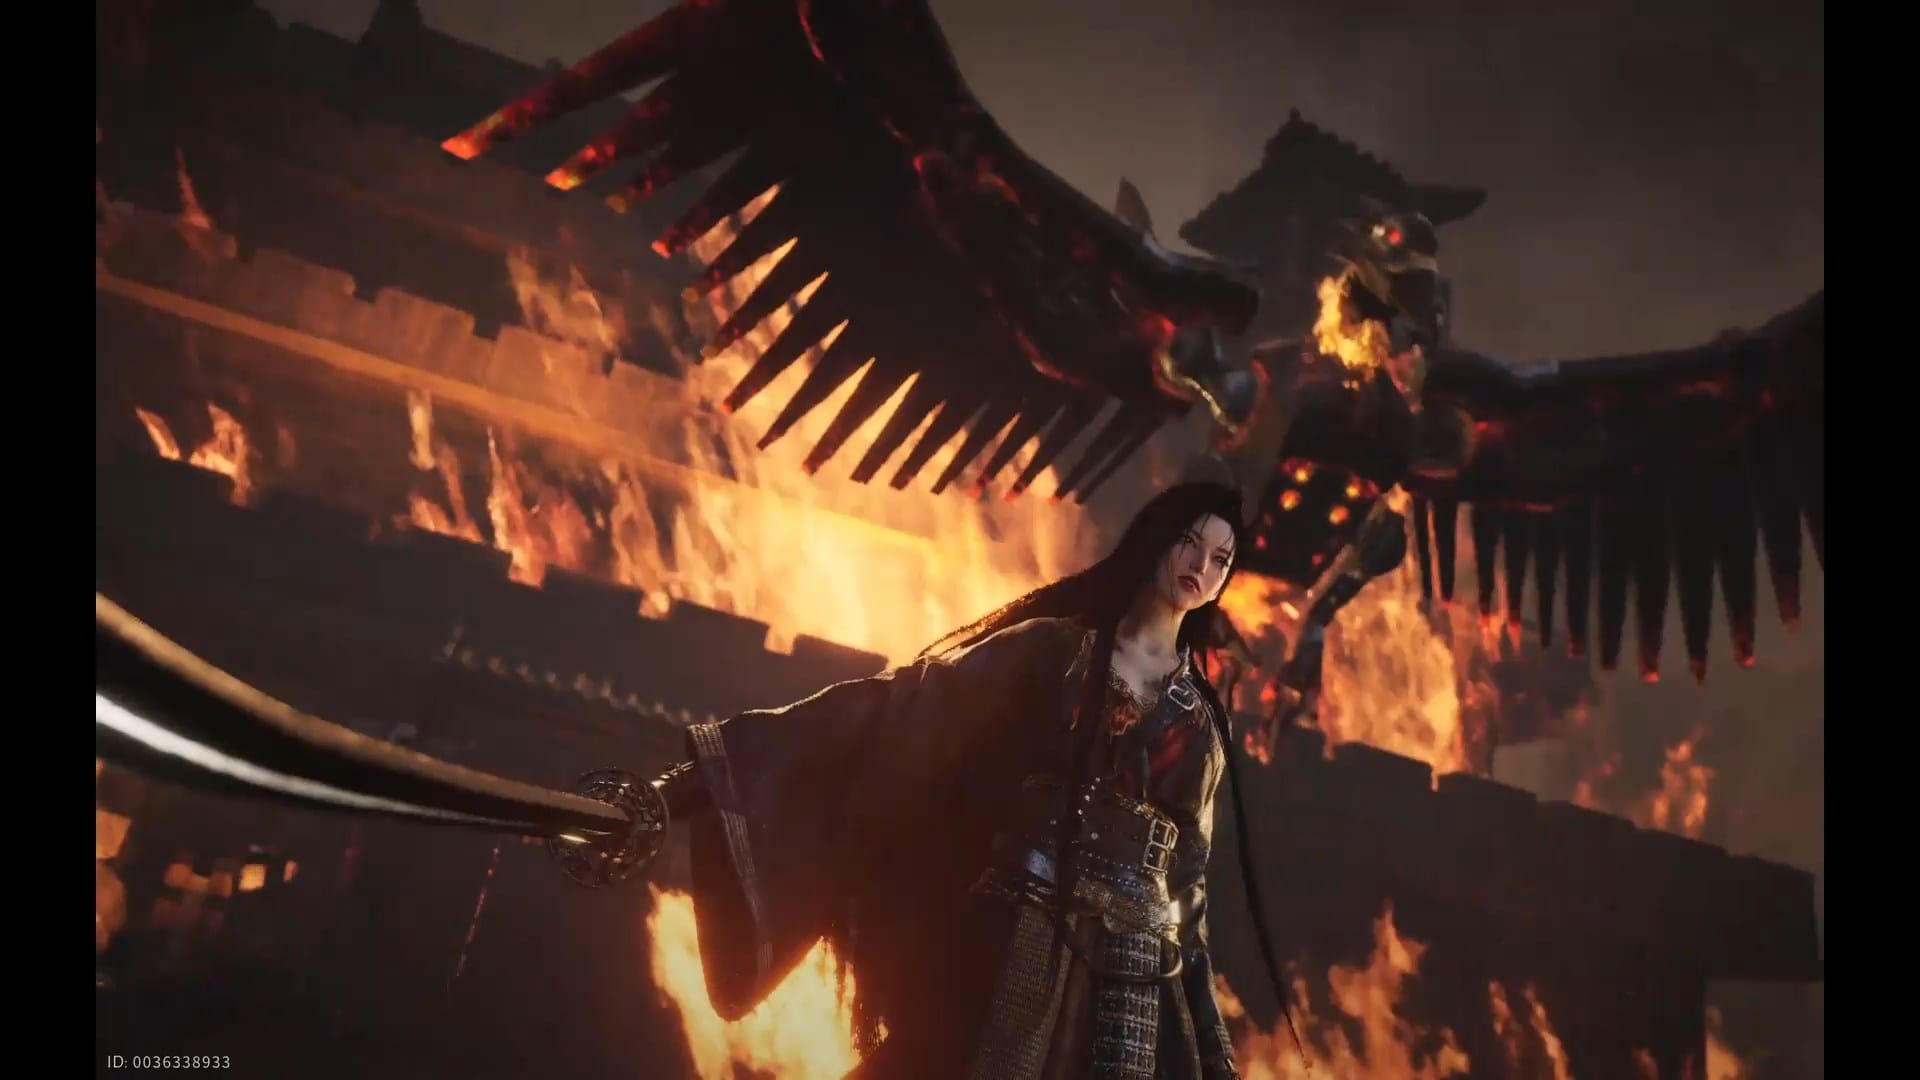
After a long cutscene, you’ll encounter the final boss – Murong Yuan.

The fight unfolds in two stages. In the first phase, she is alone. But after you defeat her once, her eagle will join the fight and you’ll have to defeat both of them simultaneously.

Focus on Murong Yuan first. Then take on the eagle.
Step 28
After the fight, dive into the waters to find Yuan and pick up the fragments.

Finally, and at long last, you would have completed the mission.

The Jinming Pool is perhaps the longest mission in the game thus far, and also the toughest. But if you manage your resources and follow the guide above, you should be able to get through it relatively quickly.