Mastering SLAMs in Battlefield 6 gives you a powerful anti-vehicle tool — here’s how to deploy, detonate, and counter them like a pro.
What to know
- SLAMs are an Engineer class gadget unlocked at Rank 37 used to damage vehicles via proximity sensors.
- You can place them on walls, ceilings, floors, or even vehicles to ambush enemy armor.
- Proper use depends on placement, timing, and understanding how their trigger zone works.
- Enemies can counter SLAMs — learn to hide them well and anticipate disarm attempts.
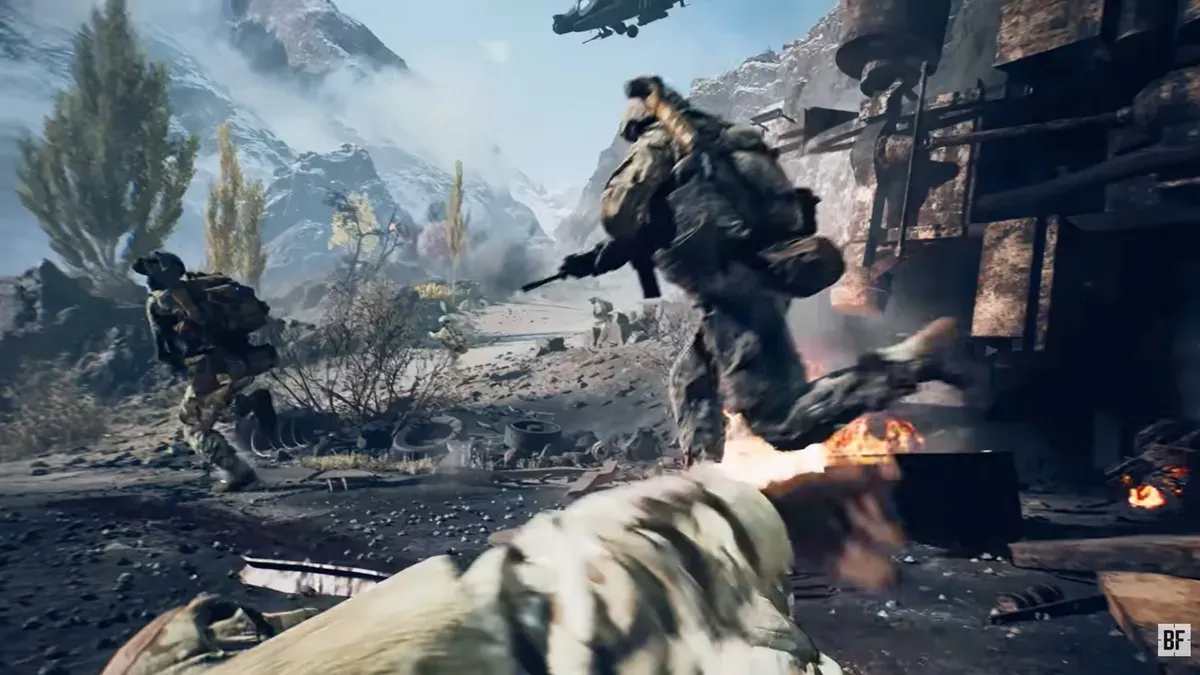
If you’re running the Engineer class in Battlefield 6, the SLAM (Selectable Lightweight Attack Munition) is one of your most versatile anti-vehicle gadgets. It’s more than just a mine — it’s a directional explosive that detects vehicles using a proximity sensor and launches a high-velocity penetrator to damage or destroy them.
Using SLAMs effectively means knowing where and how to place them, understanding their trigger range, and planning your traps around enemy movement patterns.
How to use SLAMs in Battlefield 6
After choosing the surface and the area, follow these steps to properly use SLAMs in Battlefield 6:
Step 1 – Equip the SLAM
Select the SLAM gadget from your Engineer loadout before entering a match.
Step 2 – Reach the right location
Head to a high-traffic vehicle route or choke point where vehicles are most likely to pass.

Step 3 – Pick your surface
Aim at a flat surface (wall, ground, or ceiling) or directly at a vehicle hull. Ensure the sensor faces the expected direction of approach.

Step 4 – Deploy carefully
Place the SLAM so it blends with the environment — grass, rubble, or shadows help hide it.

Step 5 – Create distance
Move away once deployed. Staying nearby can reveal your trap to alert players or put you at risk when it triggers.

Step 6 – Wait for contact
When an enemy vehicle enters the SLAM’s proximity radius, it automatically fires a projectile to damage or destroy it. After detonation, find new strategic spots to place more SLAMs and maintain your area control.

How to equip the SLAM gadget
Selecting and unlocking the SLAM
The SLAM is available exclusively to the Engineer class and unlocks at Rank 37. If you haven’t unlocked it yet, continue earning XP by repairing vehicles, assisting allies, and damaging or destroying enemy armor. Once unlocked, equip it in your gadget slot before starting a match.
Ammo and limits
You can only deploy a limited number of SLAMs at once. Once that limit is reached, placing a new one will remove the oldest deployed SLAM. This makes thoughtful placement crucial — don’t waste them in low-traffic areas.
| Role Element | SLAM Application Example |
|---|---|
| Anti-vehicle | Ambush tanks or IFVs by trapping their routes |
| Objective defense | Secure capture points with hidden SLAMs |
| Team protection | Shield friendly armor by placing SLAMs near entry paths |
| Area denial | Block off routes or narrow chokepoints effectively |
SLAMs work best when you coordinate with teammates — especially Recons and Support players who can spot, resupply, and guide you toward high-value targets. Combining your SLAM traps with rocket fire or C5 charges can wipe out entire armored pushes.
Where to place SLAMs in Battlefield 6
Roads and choke points
Focus on areas where vehicles frequently pass — bridges, ramps, narrow alleys, or open roads leading to objectives.
Walls and ceilings
SLAMs can attach to almost any surface, including walls and ceilings. Place them where drivers least expect.
Under bridges and ramps
Perfect for catching fast-moving vehicles that pass underneath.
Direct vehicle placement
Stick a SLAM directly onto enemy or friendly vehicles (if safe) to create mobile traps or ambushes.
How to counter enemy SLAMs
Spotting and avoiding traps
Pay attention to likely SLAM zones: under bridges, near objectives, or in narrow lanes. Use third-person camera views or drones (if available) to scan ahead for small, dark-gray devices on surfaces.
Disarming or neutralizing
You can either:
- Shoot from a distance to safely detonate SLAMs before they harm your vehicle.
- Avoid the zone entirely if you suspect traps nearby.
- Use teammates on foot to clear paths before moving vehicles forward.
If your vehicle gets hit but not destroyed, repair immediately and change routes to avoid secondary traps.
Understanding detonation mechanics
The SLAM isn’t a traditional pressure mine — it detects vehicle proximity, not direct contact. When triggered, it launches an armor-piercing projectile, meaning the angle and placement direction are critical. For example, attaching it to the side of a tank is more lethal than simply laying it flat on the road. Always think about approach angles and vehicle height when placing one.