- What to know
- Cascading Water Ruins quick overview
- How to enter the Cascading Water Ruins
- How to clear phase one of the ruins and defeat the boss
- How to progress through phase two of the ruins
- How to get the Grass Knot pendant
- How to survive the water section and follow the correct path
- How to reach the hidden cave and final treasure
- Hidden Face Mask rewards overview
- Cascading Water Ruins mask hunt
What to know
- The Hidden Face Mask is locked behind the full Cascading Water Ruins sequence
- You must obtain the Grass Knot pendant to survive the water section
- The final path is underground and easy to miss without landmarks
- No alternate shortcut exists; all phases must be completed
In Where Winds Meet, the Hidden Face Mask is one of the more deliberately concealed cosmetic rewards. It sits at the very end of the Cascading Water Ruins dungeon chain and requires careful navigation through multiple phases, including a mandatory water-survival section. If you miss even one key item, the final treasure is unreachable.
Below is the full path, broken down cleanly so you can follow it without backtracking.
Cascading Water Ruins quick overview
| Aspect | Details |
|---|---|
| Location | Cascading Water Ruins |
| Required item | Grass Knot pendant |
| Combat | Multiple enemy groups + 1 boss |
| Environmental hazard | Lethal water without Grass Knot |
| Final reward | Hidden Face Mask |
| Missable | Yes, if Grass Knot is skipped |
How to enter the Cascading Water Ruins
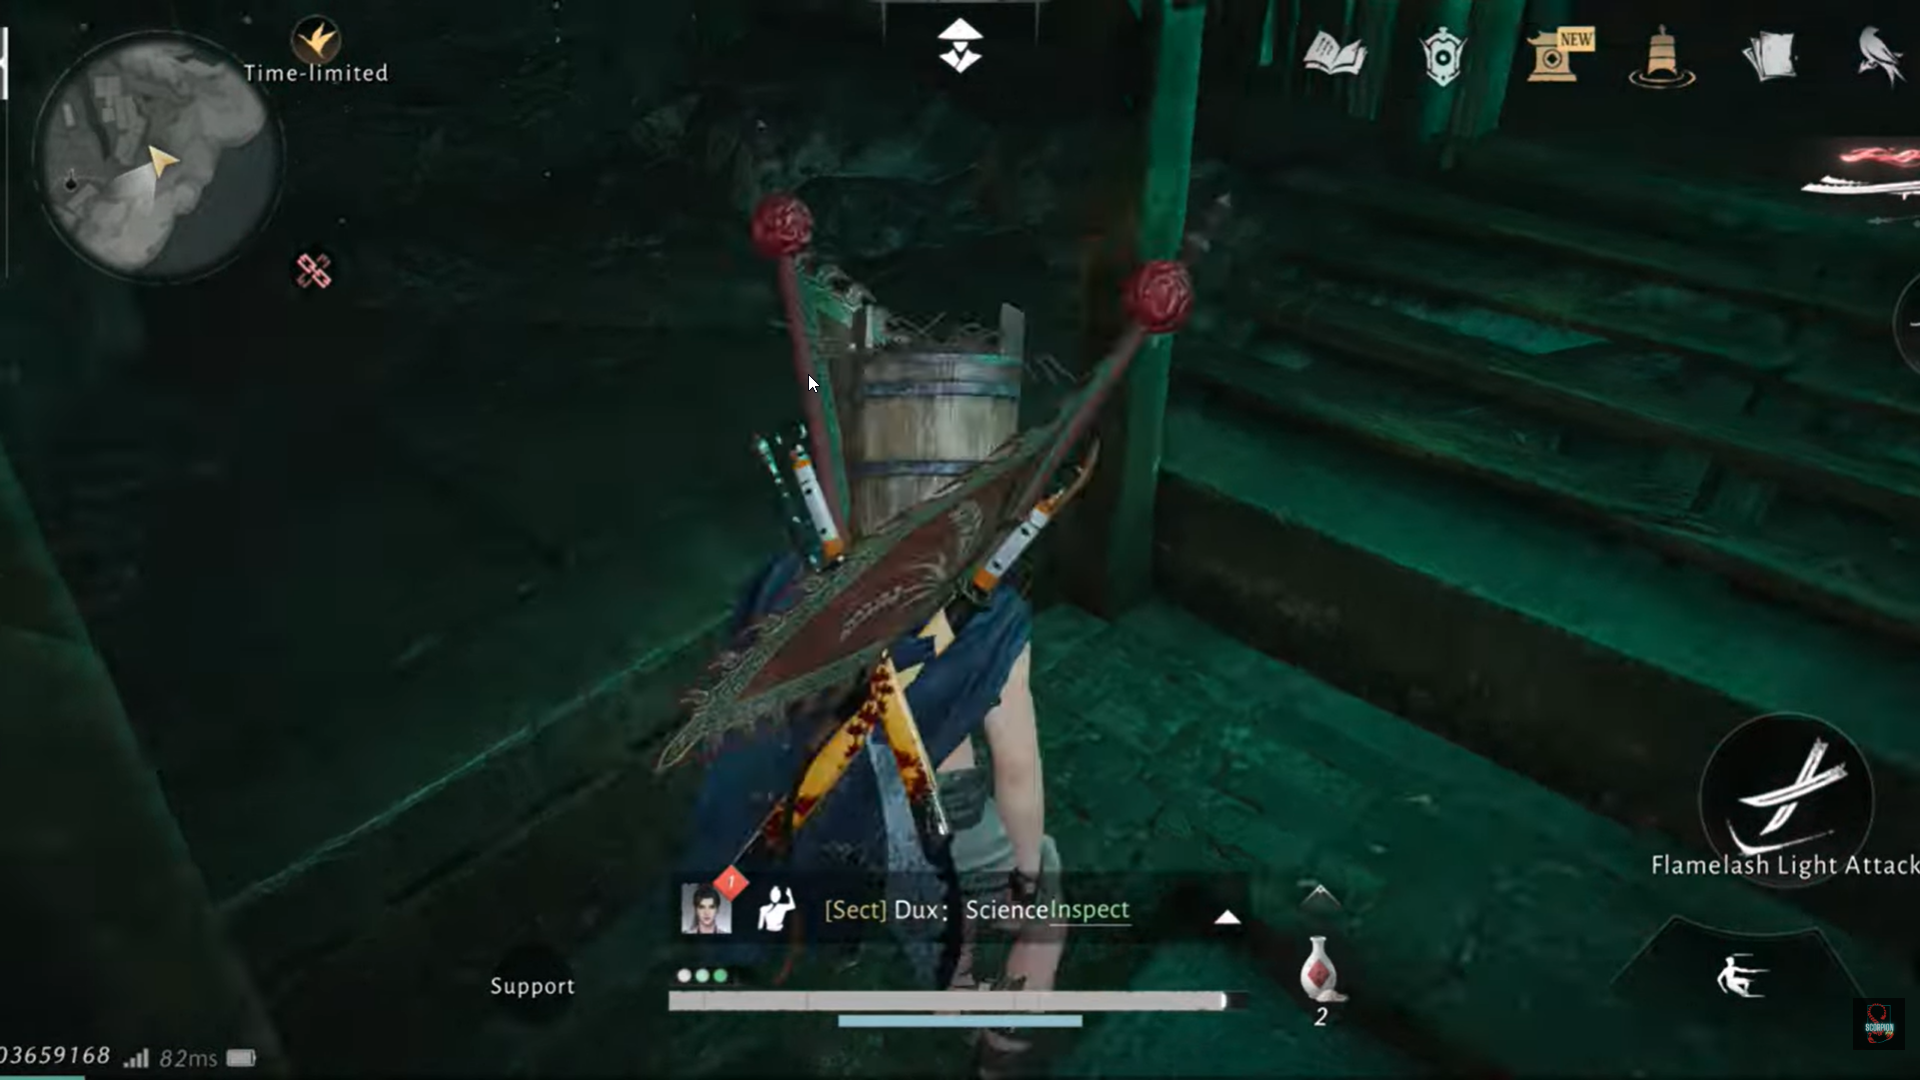
You’ll find the Cascading Water Ruins by approaching the partially collapsed stone structure near the waterfall zone. Enter through the main ruined building rather than the broken lower paths—only the main entrance leads to the correct dungeon progression.

Once inside, follow the clearly defined interior corridors. Avoid jumping down early gaps, as they lead to dead ends or incomplete loot routes.
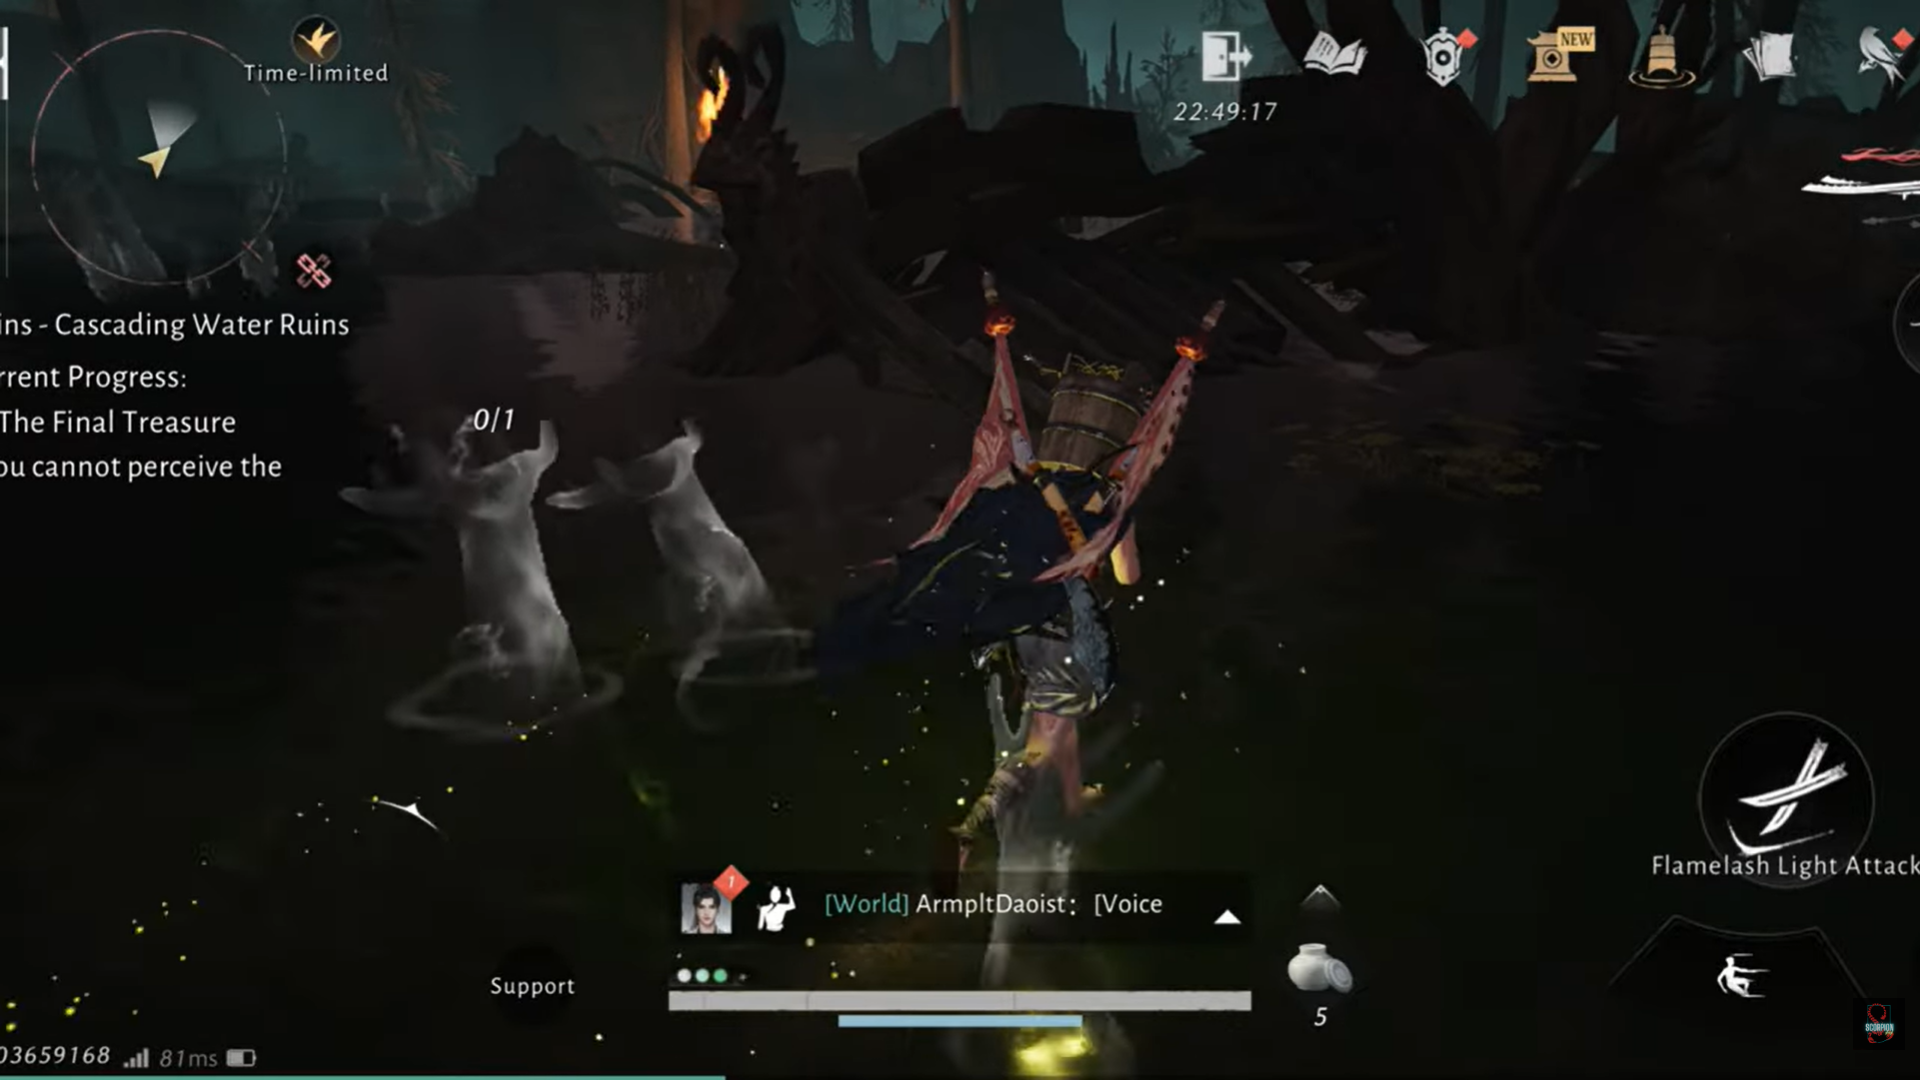
How to clear phase one of the ruins and defeat the boss
Step 1: Move through the upper ruins
Stick to the elevated walkways and stone corridors. Along this route, you’ll encounter basic enemies guarding small chests. Clear them methodically to avoid ambushes from behind.
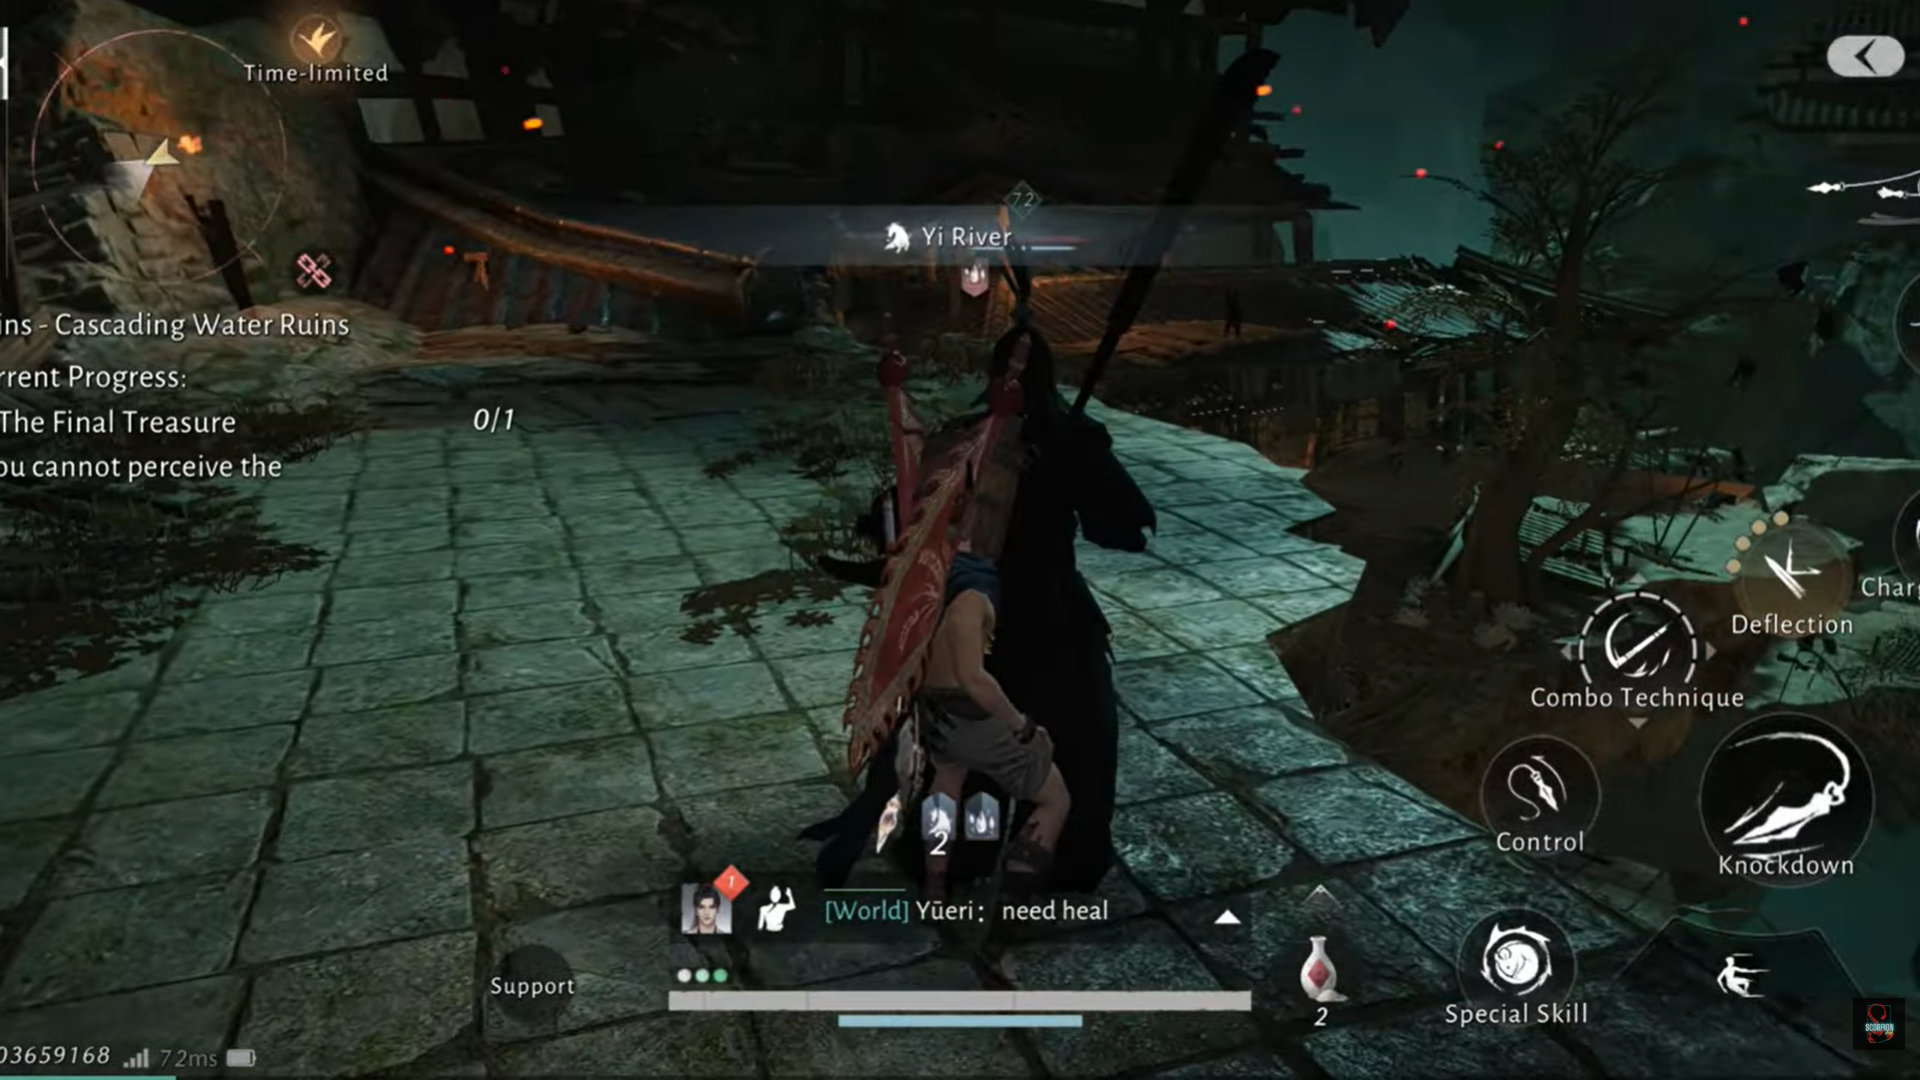
Step 2: Reach the first arena
The path funnels you into a wider combat space where a boss encounter triggers. This fight is unavoidable and must be completed to unlock the next section of the ruins.

Step 3: Defeat the boss and unlock the passage
Once the boss is defeated, a sealed route opens deeper into the ruins. Make sure to loot the boss-area chest before moving on.

How to progress through phase two of the ruins
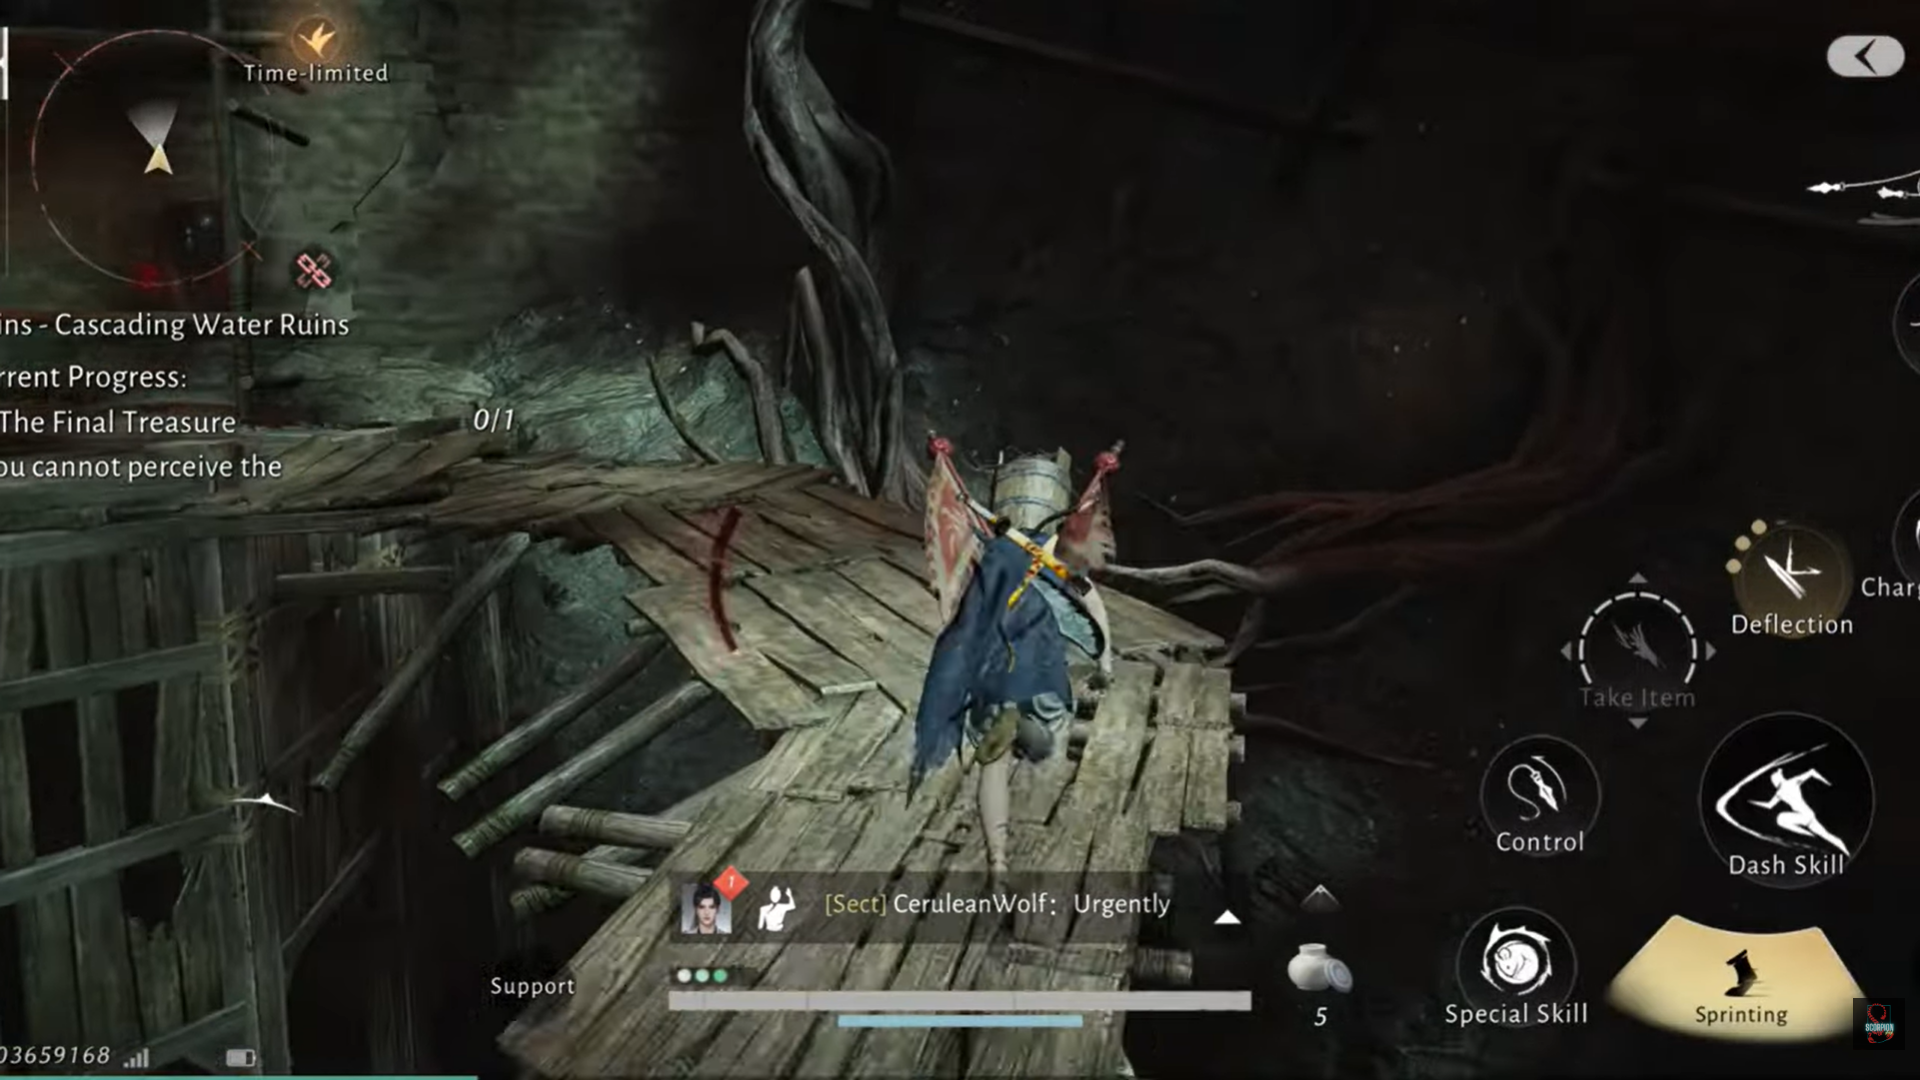
Step 4: Navigate narrow stone corridors
This phase focuses more on exploration than combat. Several side paths contain hidden chests, often tucked behind broken pillars or half-submerged ledges.
Step 5: Eliminate roaming enemies
Enemies here tend to ambush from corners. Clear them before exploring side paths so you’re not interrupted while looting.
Continue forward until you reach a transition area leading deeper underground.
How to get the Grass Knot pendant
Step 6: Reach the inner ruin chamber
The Grass Knot is located during phase three, inside a guarded inner section of the ruins. You’ll need to defeat a small enemy group before accessing the chest.
Step 7: Loot the Grass Knot pendant
Open the chest to obtain the Grass Knot. This item is mandatory—it allows you to enter the submerged water area without taking fatal damage.
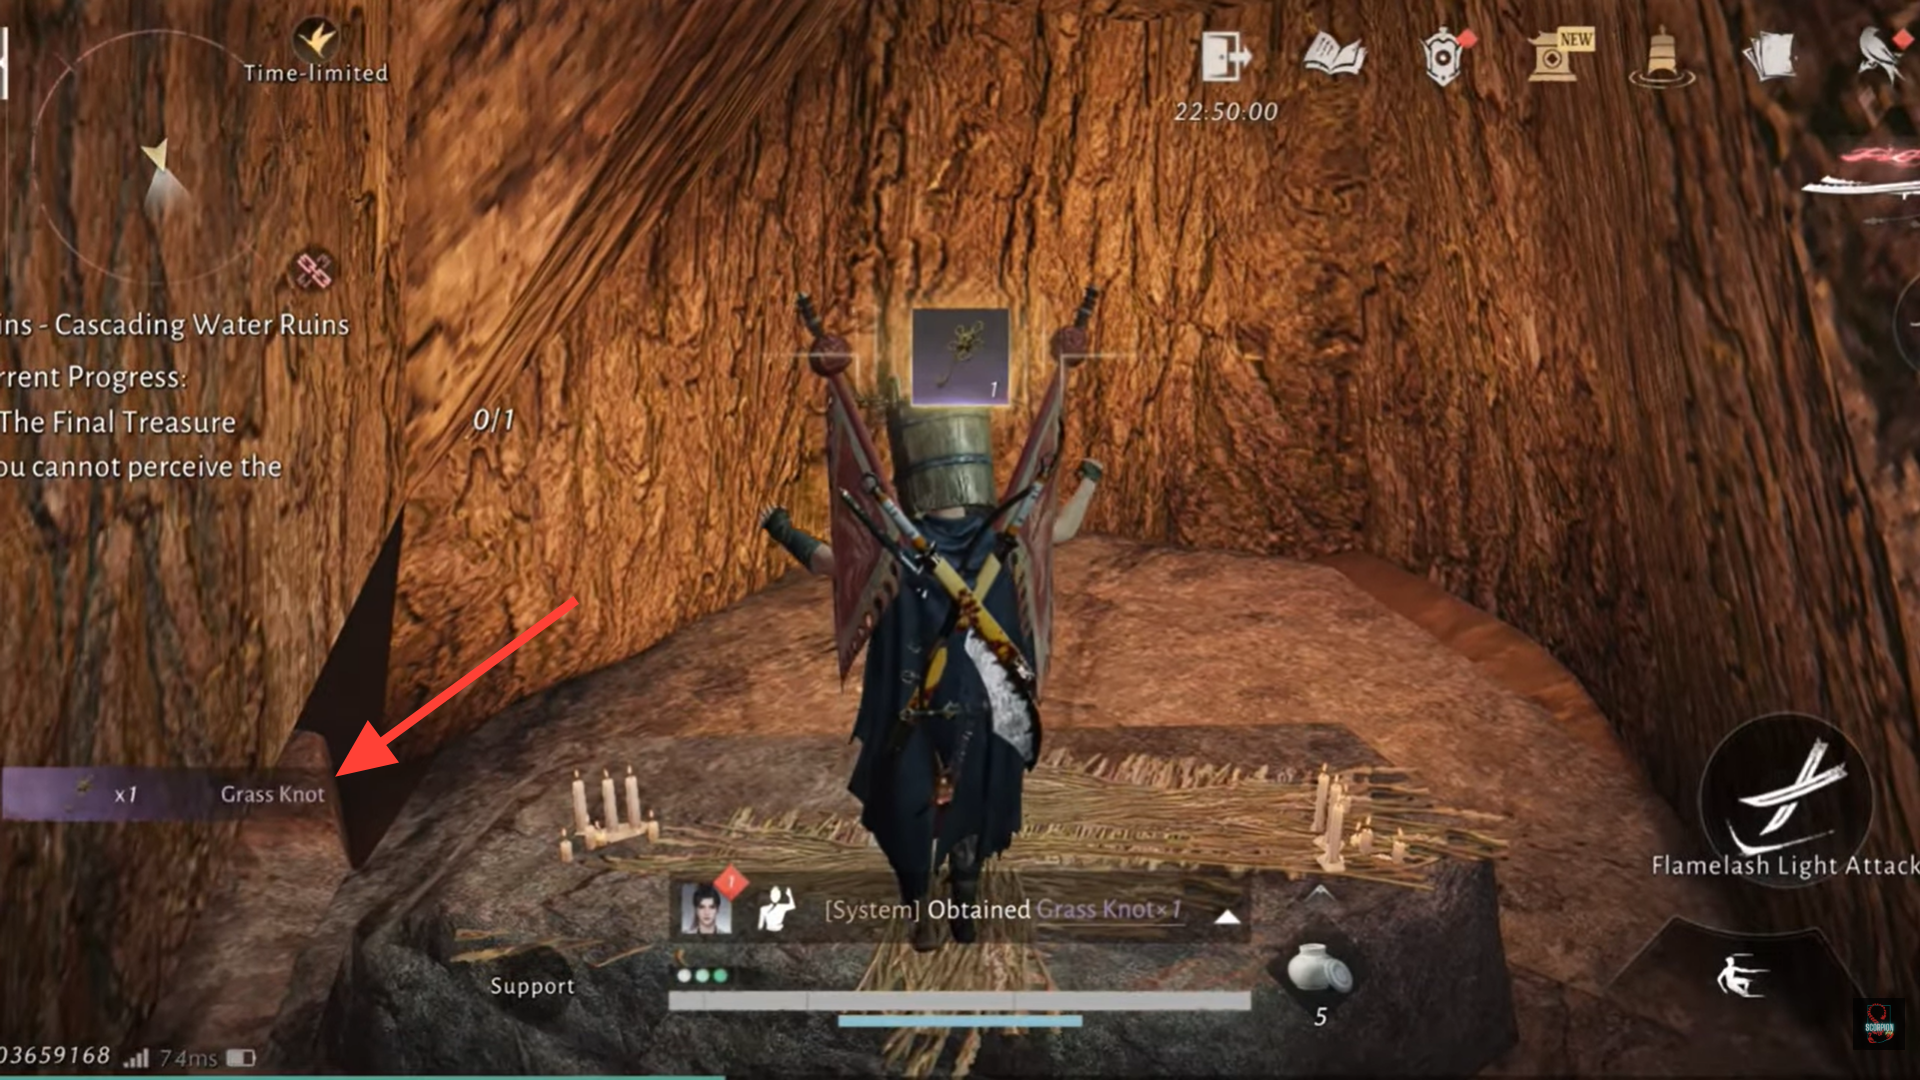
Do not proceed if you missed this step. Without the Grass Knot, the next phase is impossible.
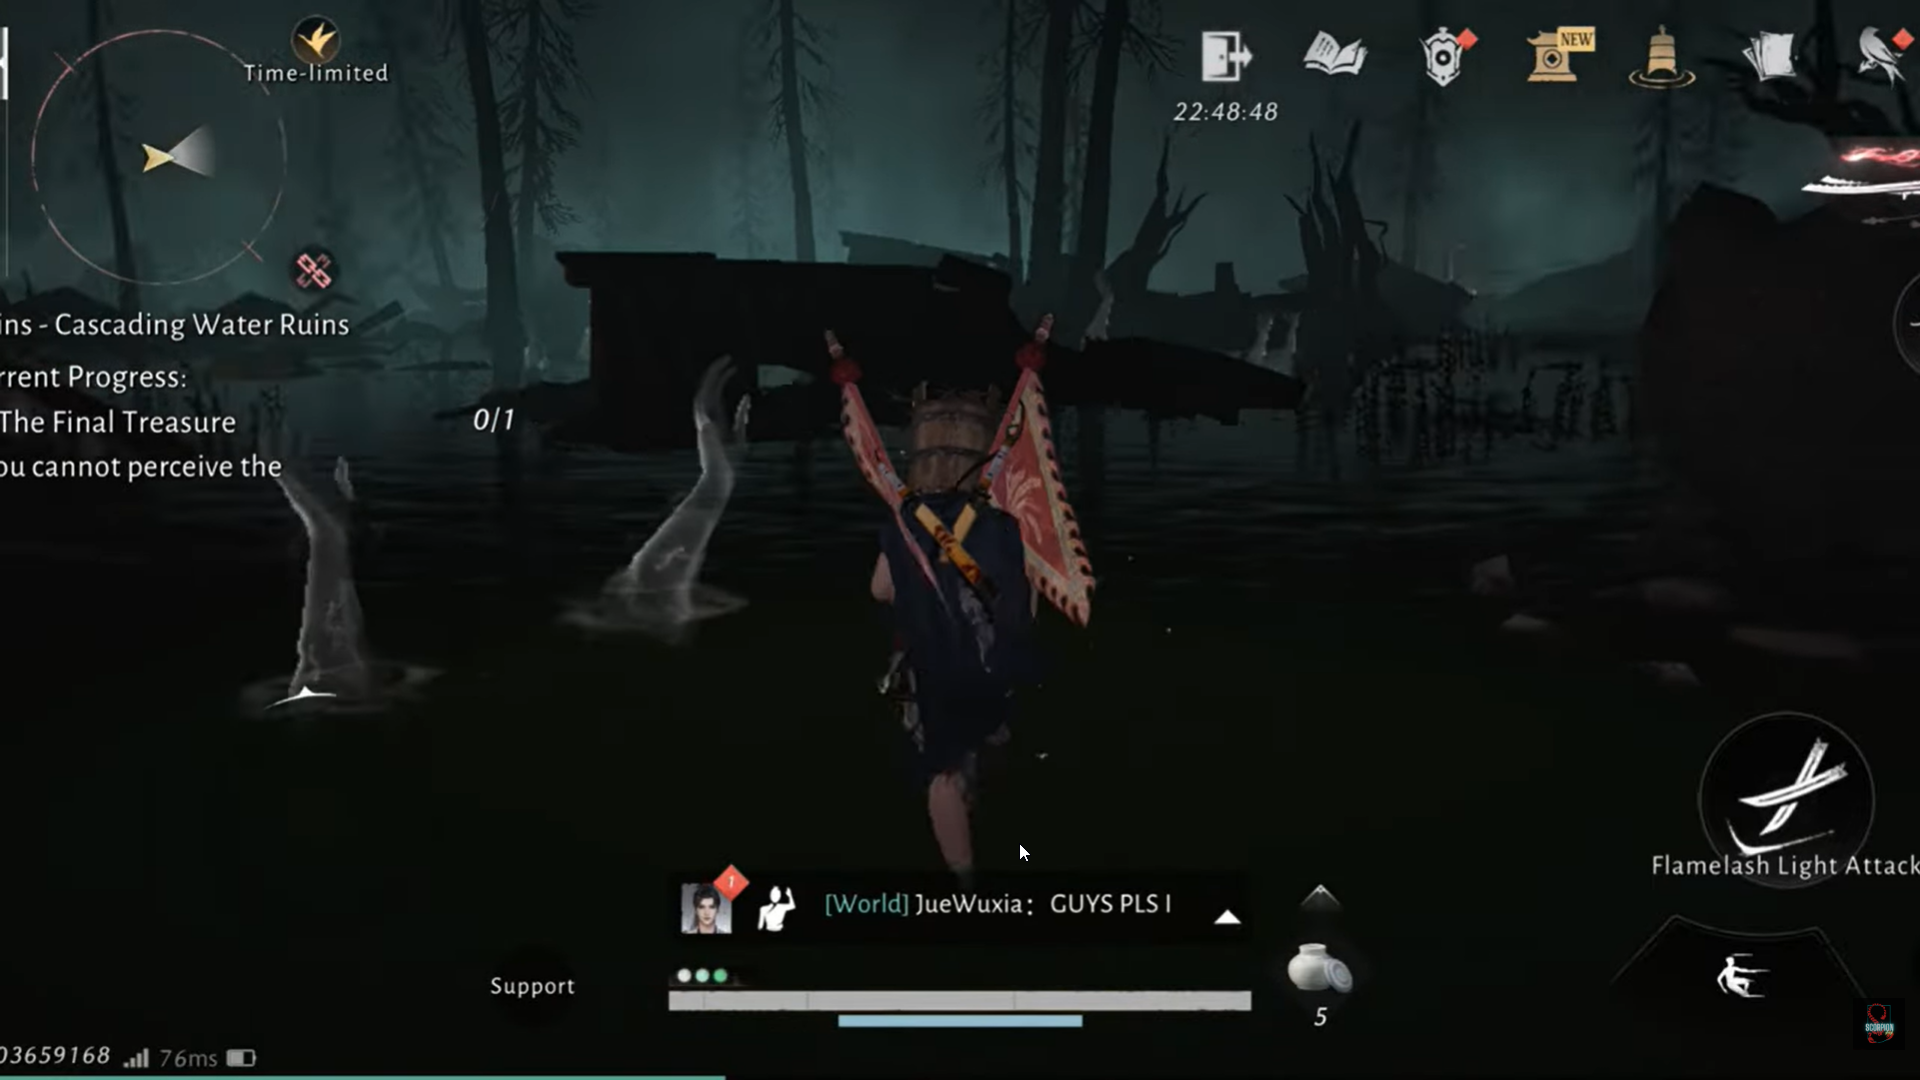
How to survive the water section and follow the correct path
Step 8: Enter the water area
With the Grass Knot equipped, drop into the submerged zone. You’ll notice stone hand-like markers along the path—these are your primary navigation cues.
Step 9: Follow the “hands”
Move from marker to marker. Along the way, defeat small enemies and collect chests hidden along the water route. Staying near the hands prevents you from drifting into dead ends.
This section ends at a dry land exit leading back into solid ruins.
Step 10: Identify the mountain landmarks
After exiting the water area, look upward. Two distinct mountain peaks are visible in the distance. Align yourself in their direction.
Step 11: Find the underground entrance
Move toward the base aligned with those peaks. You’ll discover a concealed underground path leading into a cave—this is easy to miss if you don’t use the landmarks.

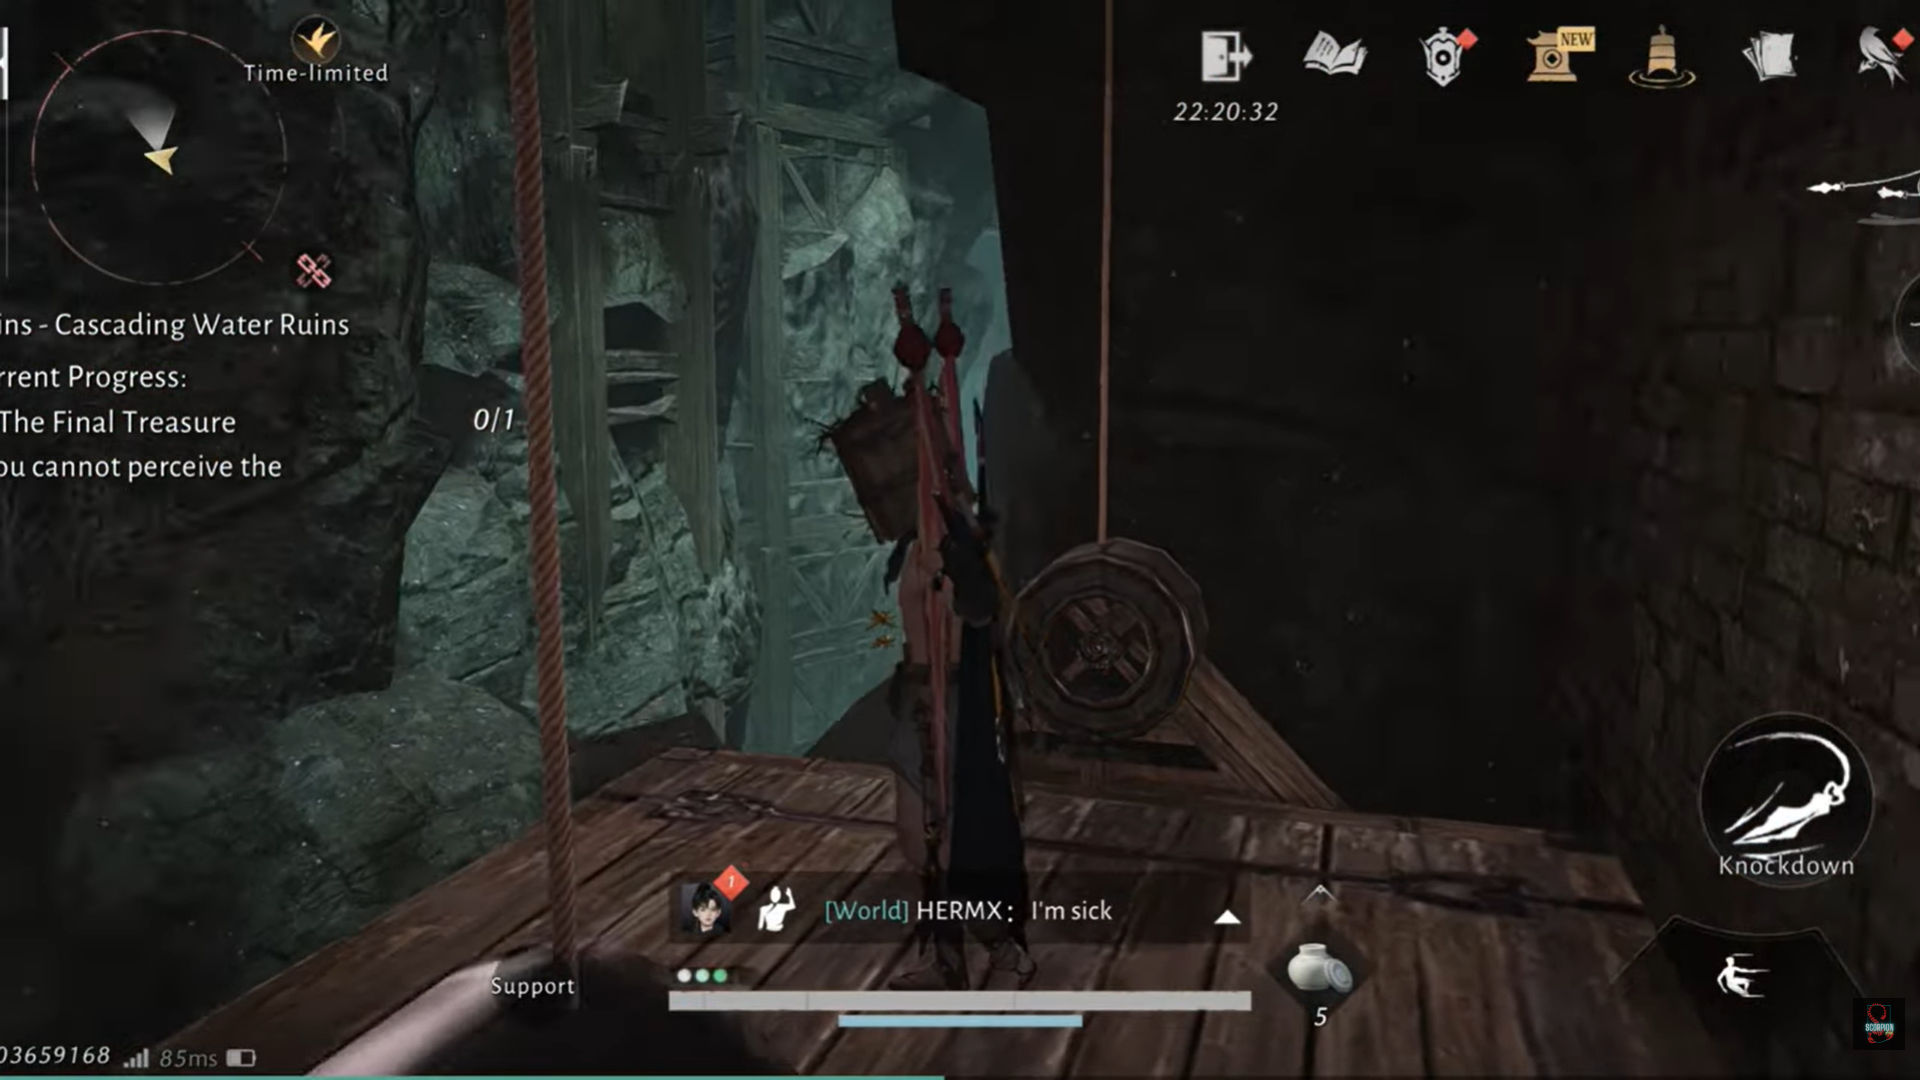
Step 12: Take the elevator upward
Inside the cave, interact with the elevator mechanism. Ride it all the way to the top level of the chamber.
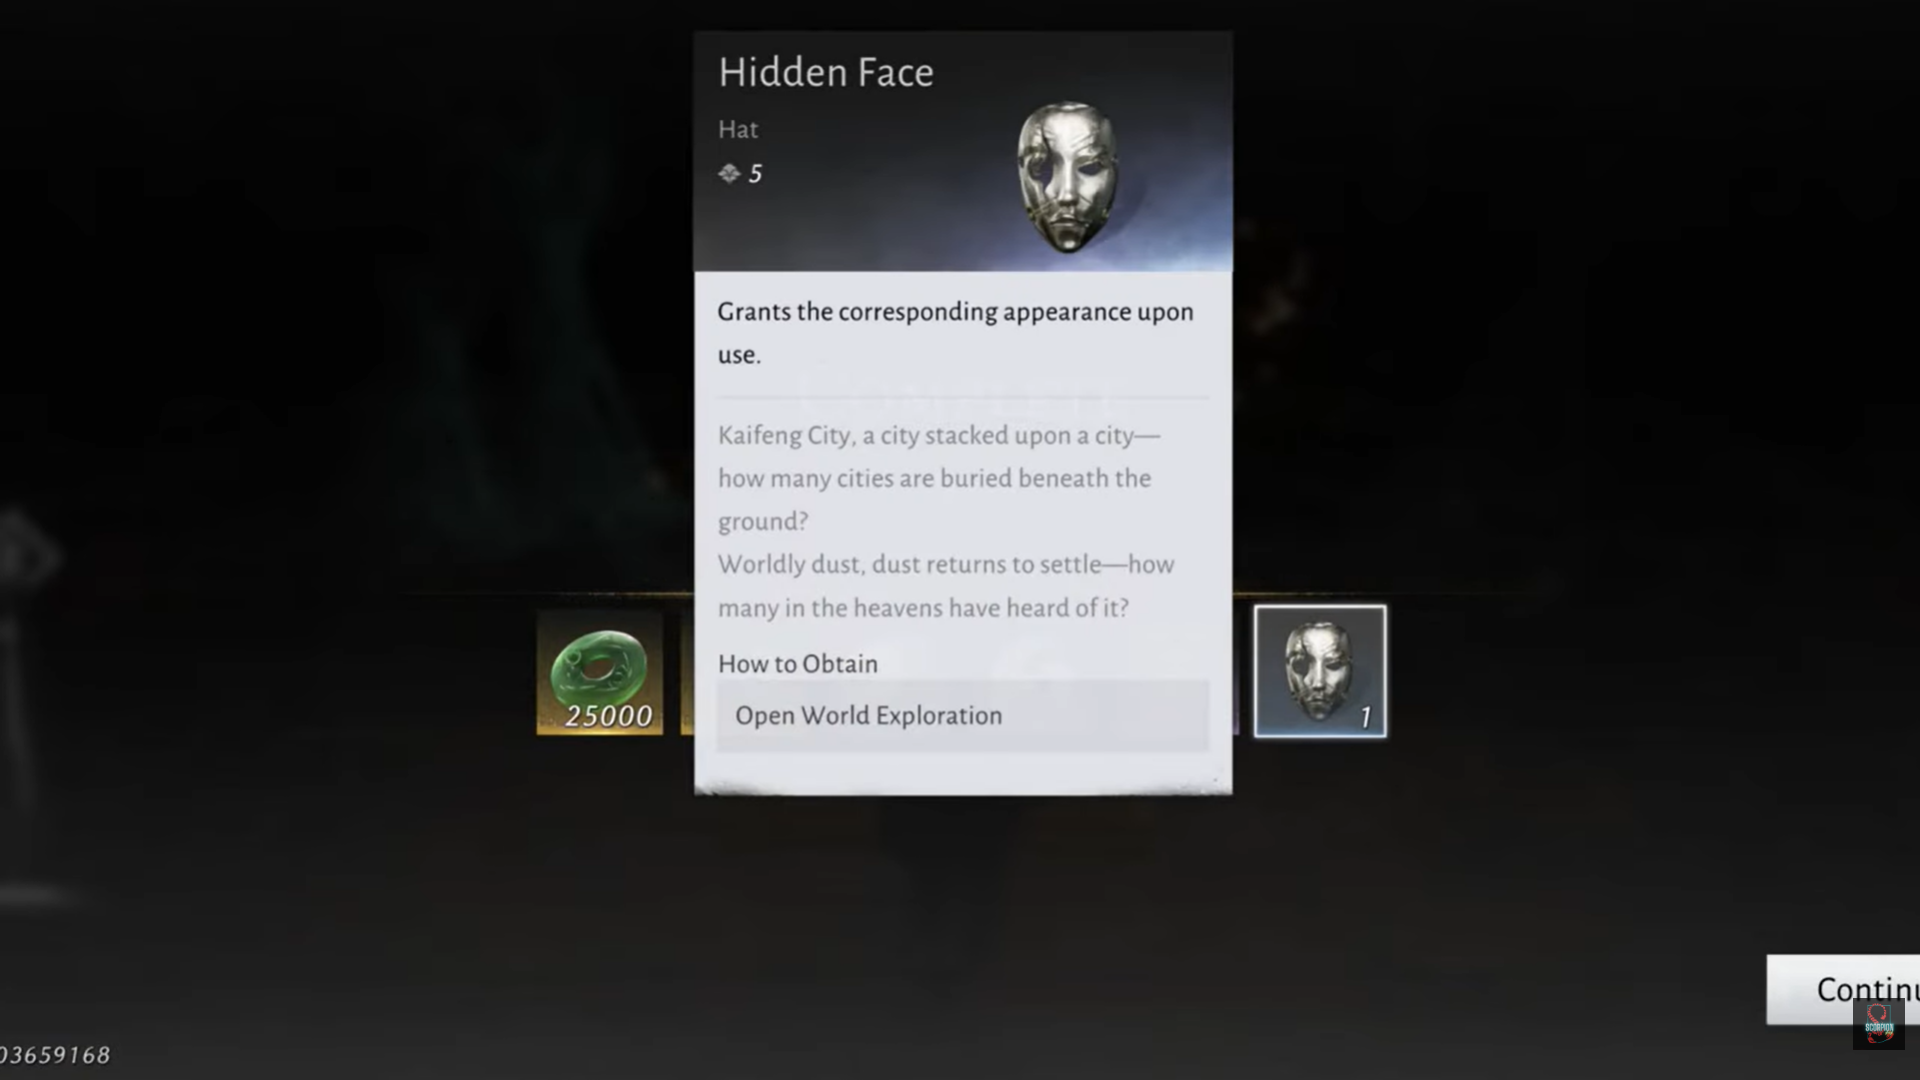
Step 13: Collect the Hidden Face Mask
At the highest point, open the final treasure chest to obtain the Hidden Face Mask. This concludes the Cascading Water Ruins sequence.
| Reward | Type | Notes |
|---|---|---|
| Hidden Face Mask | Cosmetic (Face) | Exclusive to Cascading Water Ruins |
| Bonus loot | Chests | Collected throughout dungeon phases |
Cascading Water Ruins mask hunt
The Hidden Face Mask is designed to reward players who fully engage with the Cascading Water Ruins rather than rushing through. As long as you secure the Grass Knot, follow the water markers, and use the mountain peaks to locate the final cave, the reward is guaranteed. Take your time, loot thoroughly, and you won’t need to repeat the dungeon.