As Twitter undergoes recent changes, many users have been looking for alternatives. And Mastodon has been at the top of the list for many users. This open-source, decentralized microblogging platform introduces a new way to interact with your followers and a new way for people to find communities and servers that best fit their needs. These individual servers can have their own moderation, content, and privacy policies, allowing a broad range of users to create individual spaces based on interests and preferences.
So, if you’re new to Mastodon and want to change servers (instances), here’s how you can do that.
How to change servers on Mastodon: Step-by-step guide
Before you switch servers (instances), we recommend you back up your data so that you can recover your posts and more in case something goes wrong. To switch instances, you need to first sign up to your newly chosen instance, then notify both instances and verify your identity. You will then be switched to the new instance, where you can also add redirects for your old instance. Here’s a detailed guide to help you along with the process.
Step 1: Backup your data (Download archive)
We first recommend you back up your profile data. You can do this on Mastodon by downloading your archive, which will contain all your posts as well as other data stored on your chosen server. This will help us keep a copy of your data in case something goes wrong during the switching process. Use these steps to help backup your data and download an archive to your PC.
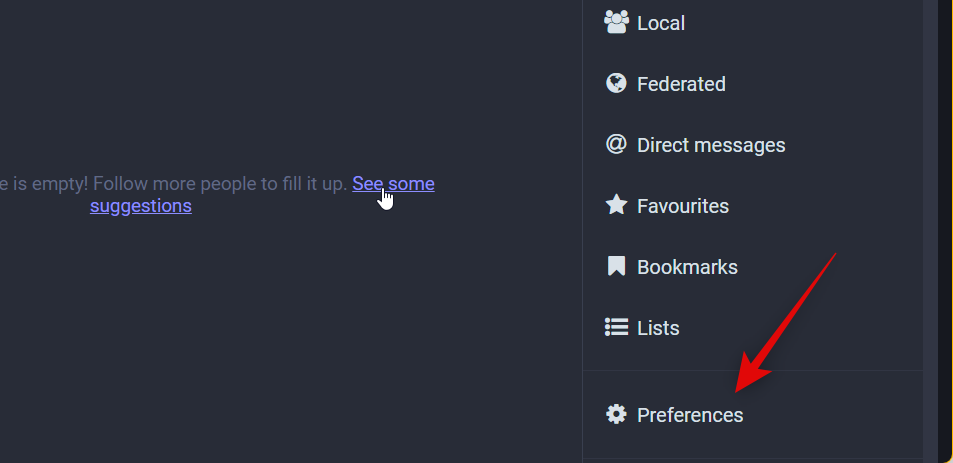
Open Mastodon and log in to your account. Once logged in, click Preferences on your right.
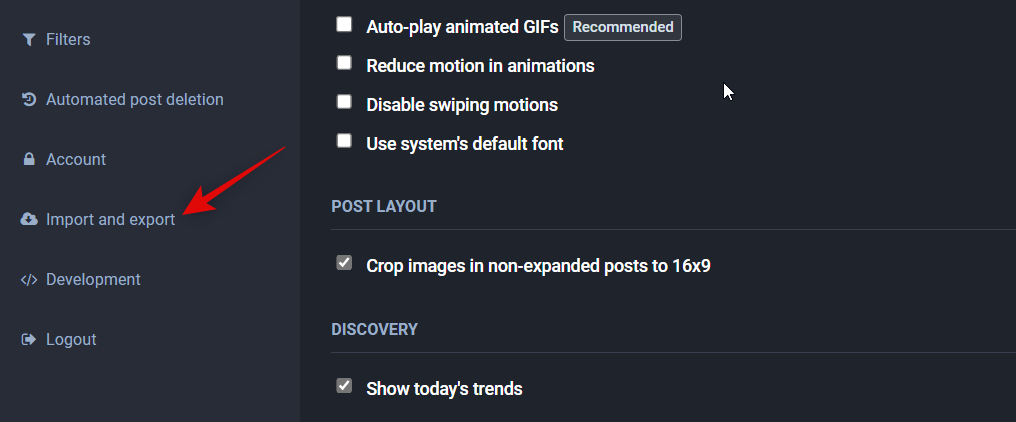
Now click and switch to the Import and export tab on your left.
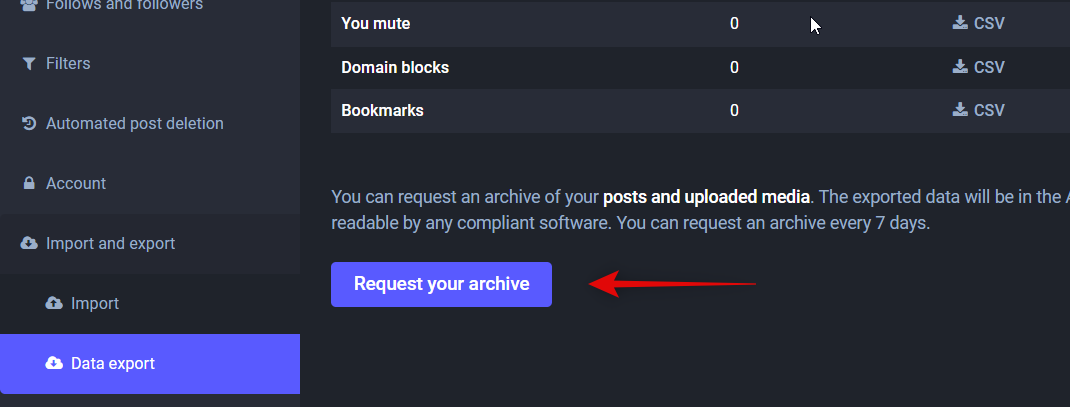
Click Request your archive. This will download a tar.gz file to your PC containing all your profile data.
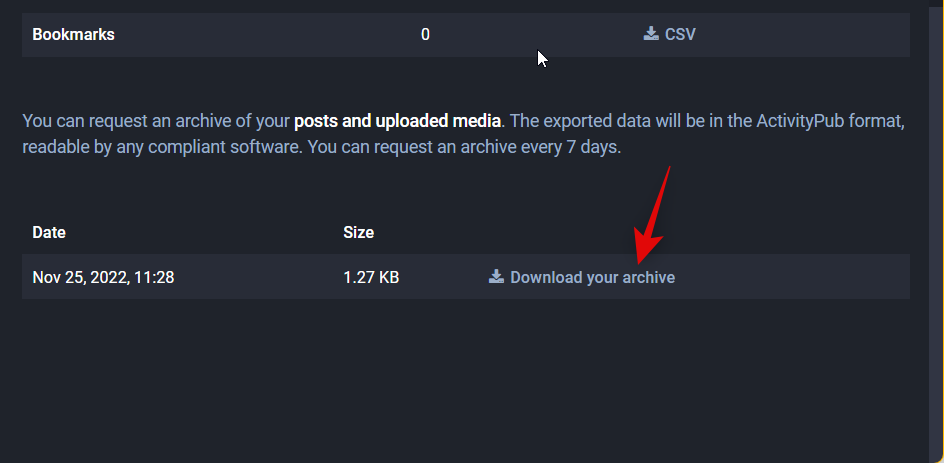
Once your archive has been created, click Download your archive to trigger your download.
And that’s it! You will now have backed up all your profile data to your PC. In case you need to access this archive, you can use a third-party tool like WinRar or 7Zip.
Related: 12 Best Mastodon servers and 5 Tips
Step 2: Switch Mastodon servers
We can now switch Mastodon servers for your account. The switching process requires you to first sign up to the new server and then notify both servers accordingly. Here’s how you can do that for your Mastodon profile.
Sign up to new server
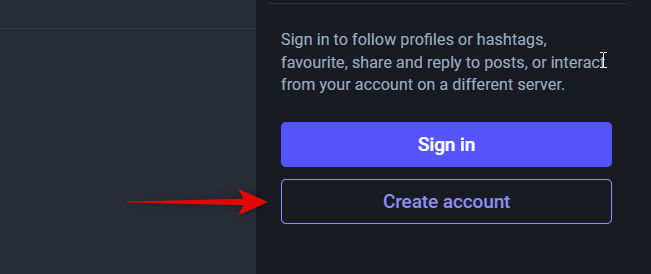
Let’s start by first signing up for your newly chosen server. If you’re unsure, you can check out our top picks for Mastodon servers (instances) and find the one that best fits your requirements. Click Create account on your right.
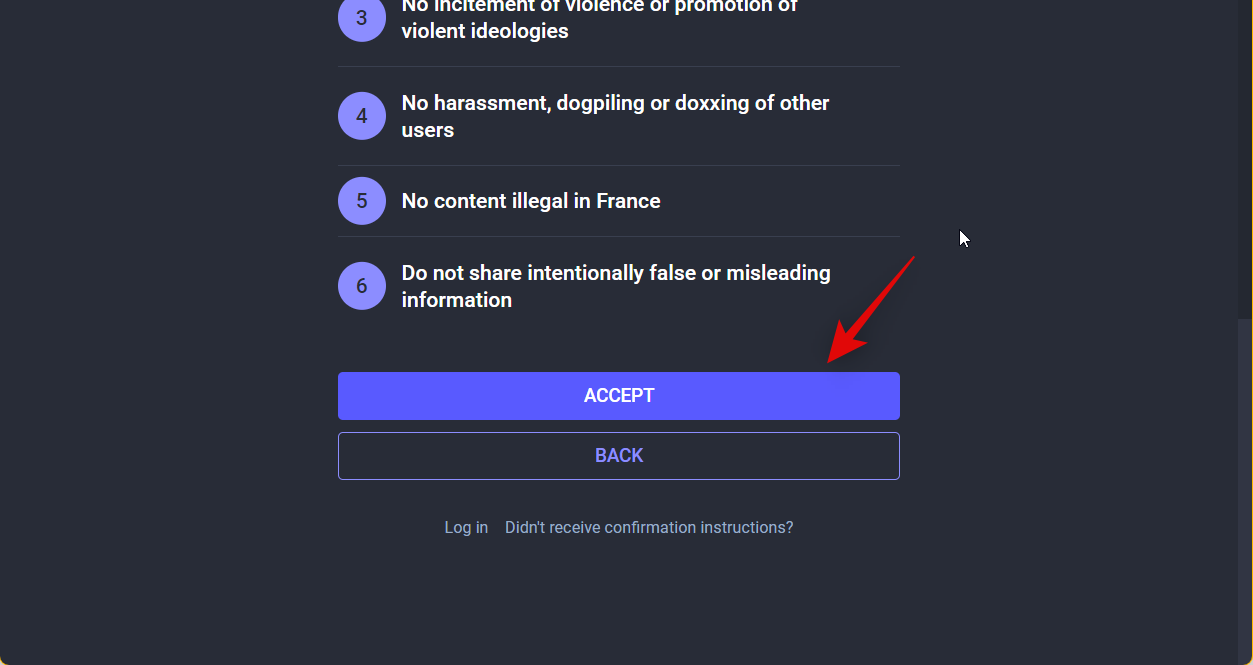
Review the community guidelines, scroll down and click Accept.
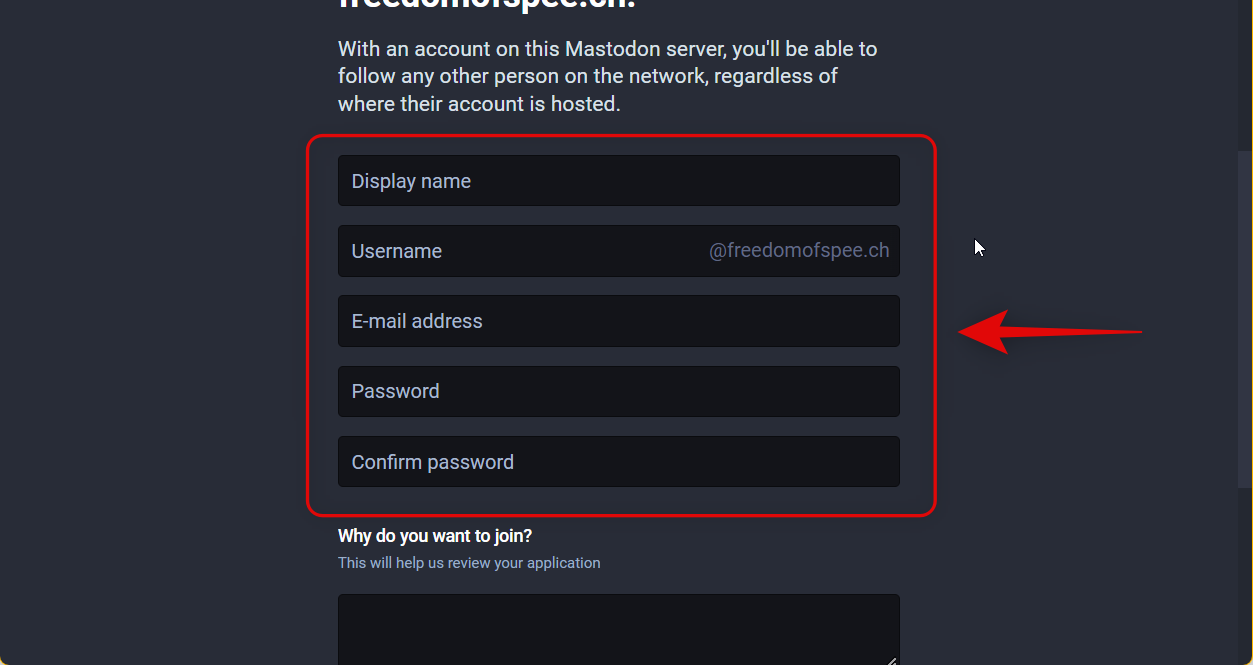
Type in your personal details as needed. You can choose to have the same username as your previous server, but it isn’t necessary to switch accounts.
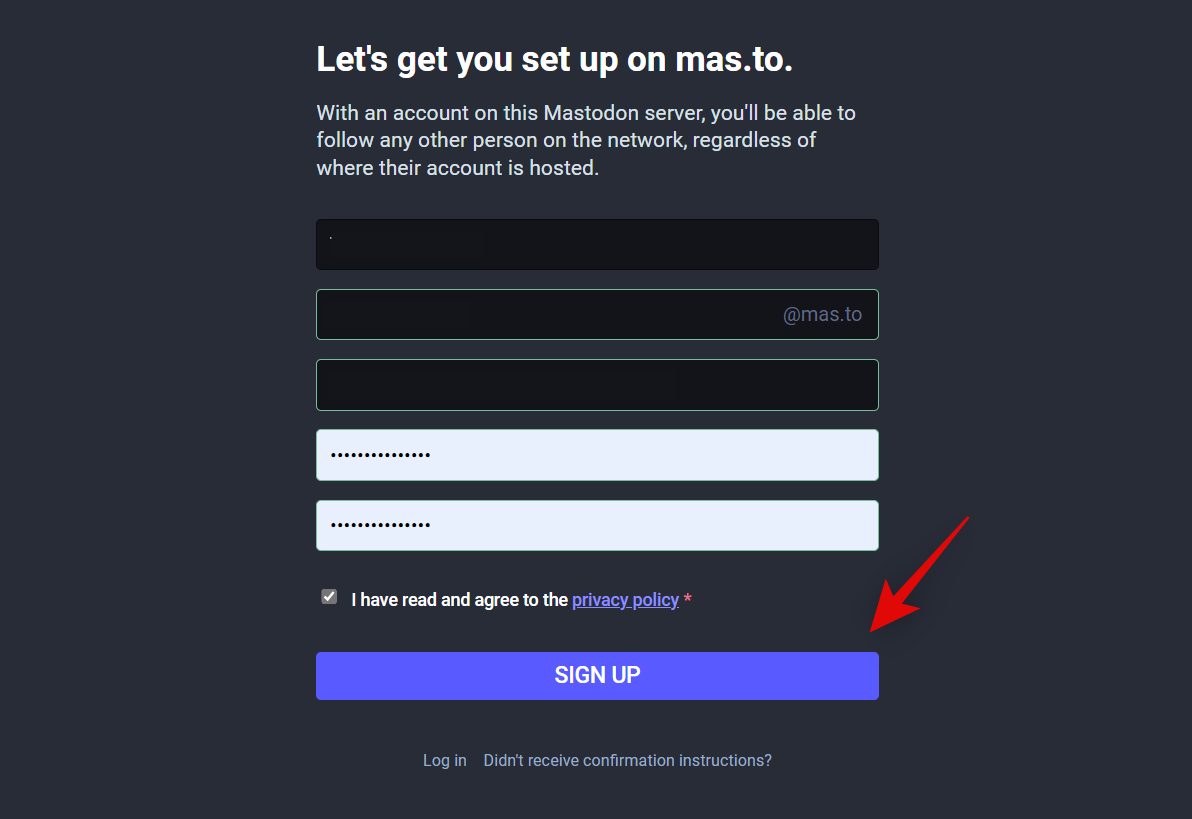
Click Sign up once you’re done.
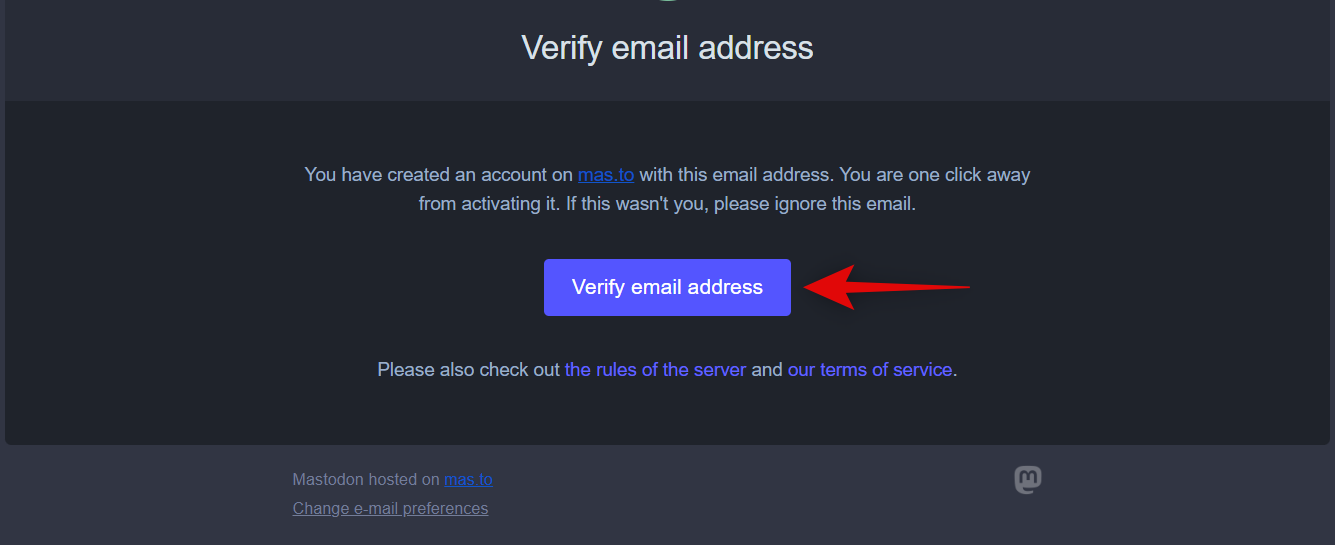
You will now be sent a confirmation link to the registered email address. Open the concerned email and click Verify email address.
You will now be redirected to your chosen server, where you will be logged into your new account. You can now use the next section to notify both servers and change them for your account as needed.
Notify both severs
We now need to notify both servers so that your profile can be switched to your new account on the new server. Use the steps below to help you along with the process.
Open your new Mastodon profile in your preferred browser and click Preferences on your right. Ensure you’re logged in and using your new profile on the new server where you wish to migrate.

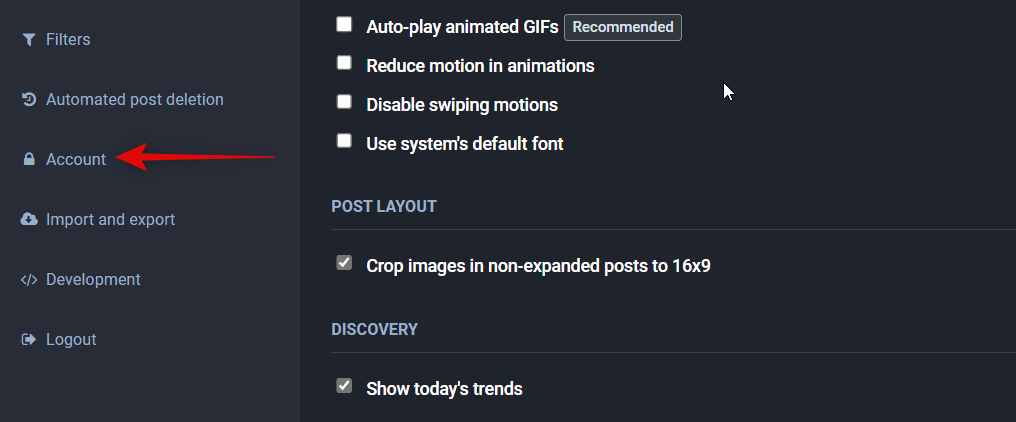
Now click and select Account on your left.
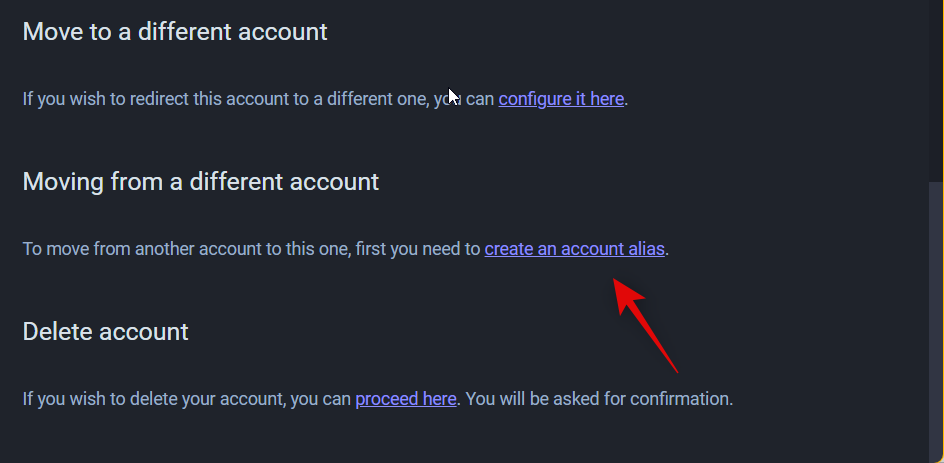
Scroll down on your right to the Moving from a different account section and click create an account alias.
Now type in your old username on the old server in the dedicated text box on your screen under Handle of the old account.
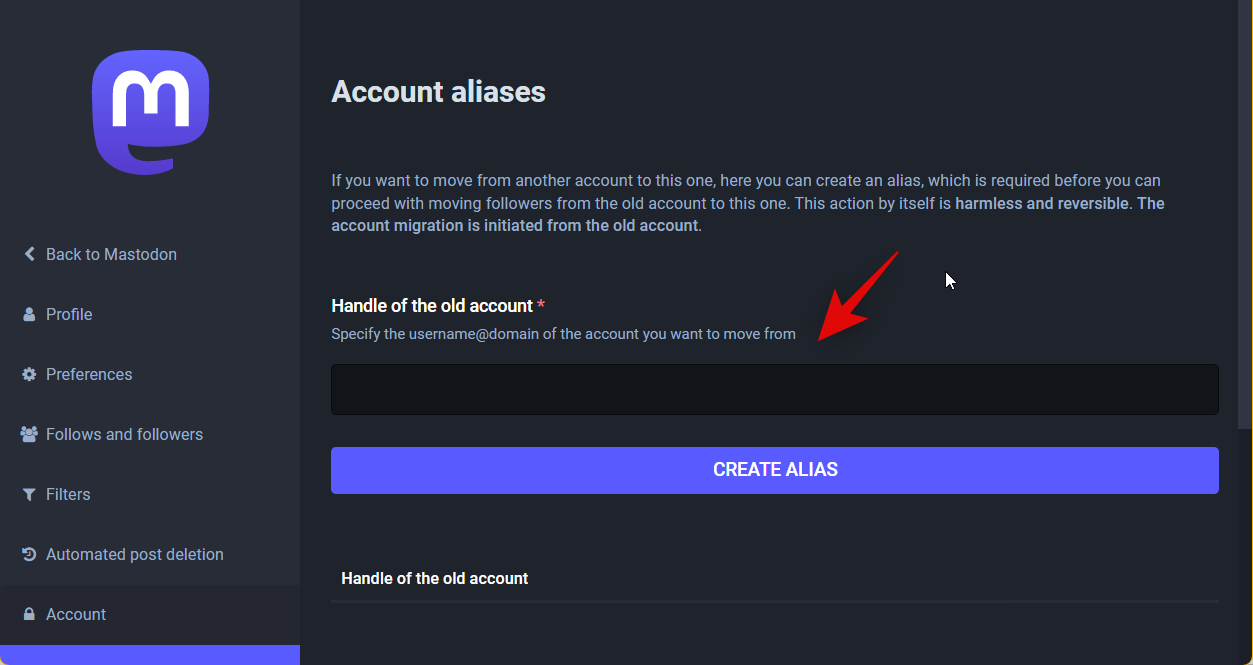
Once done, click CREATE ALIAS.
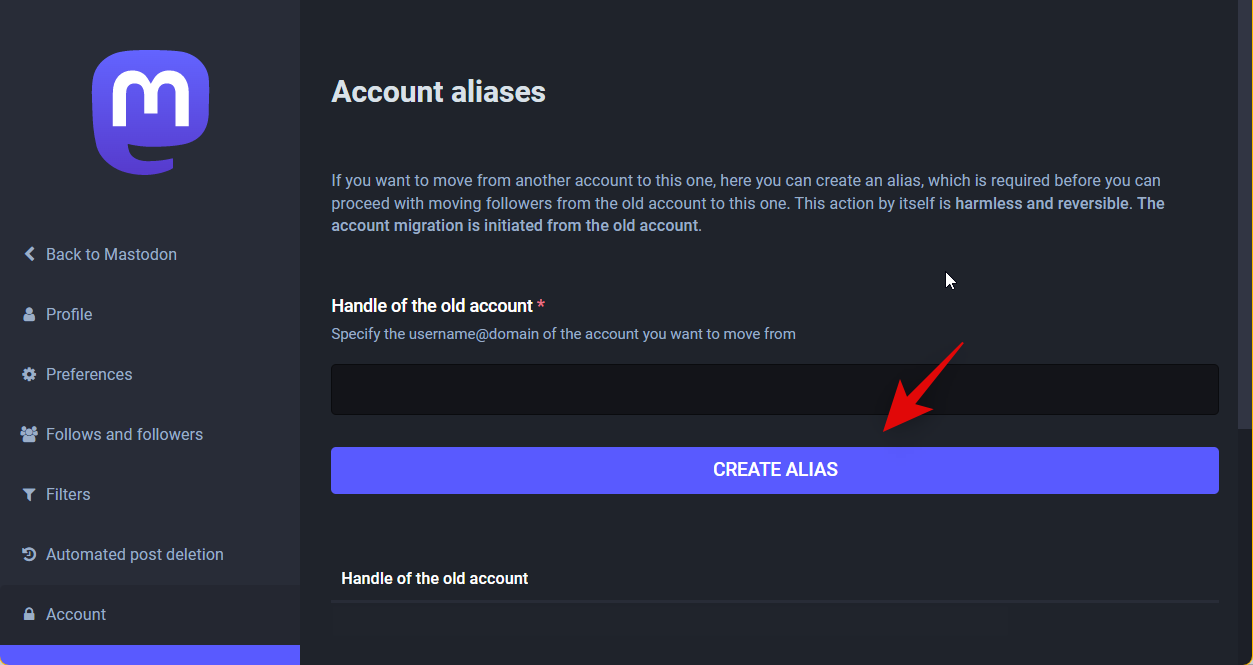
Note: If you get an error, ensure that you include the entire username, including your old server address.
Your previous username will now be linked to your new account. We can now go back and initiate the move from your old account. Start by clicking Logout on your left.
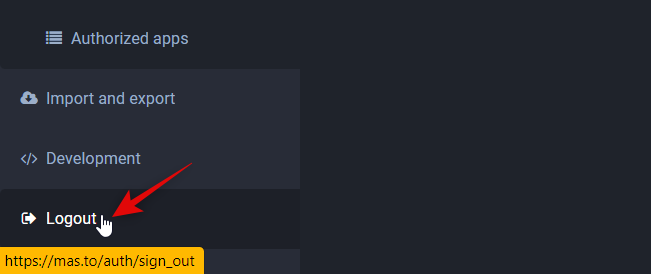
Once you’re logged out, visit your old server and log in to your old profile. Click Preferences once you’re logged in.

Click and select Account on your left.

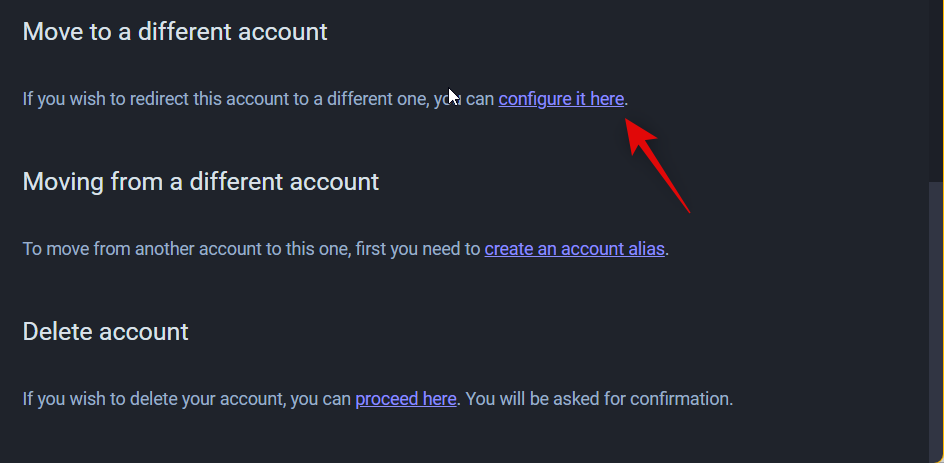
Now scroll down to the Move to a different account section and click configure it here.
Now type in the username chosen for your new account under Handle of the new account.
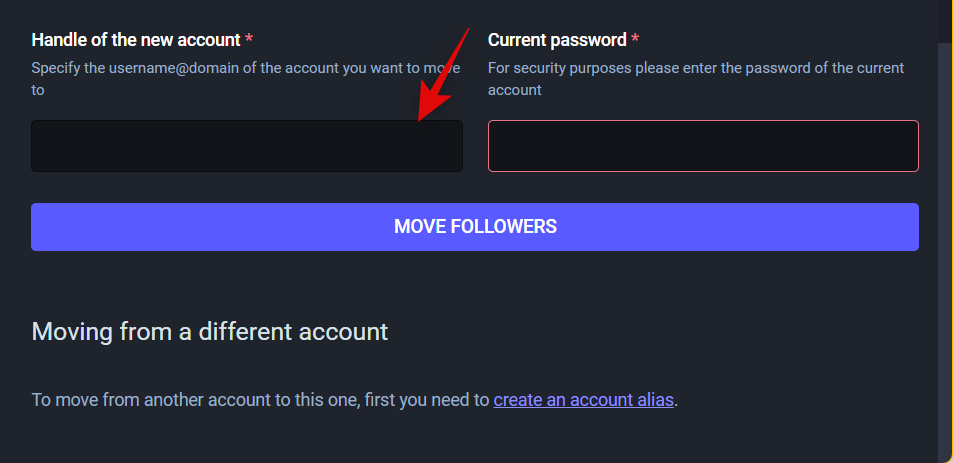
Once done, type in the password for your old account under Current password.
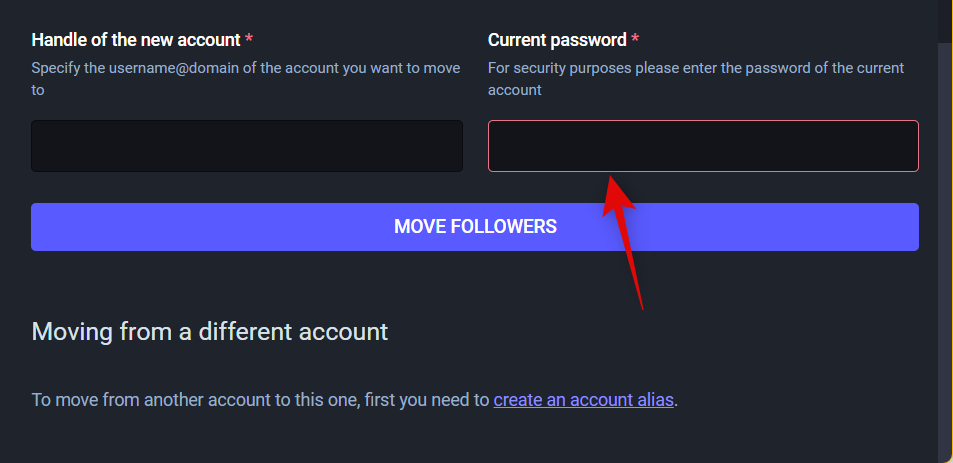
Click Move Followers once you’re done.
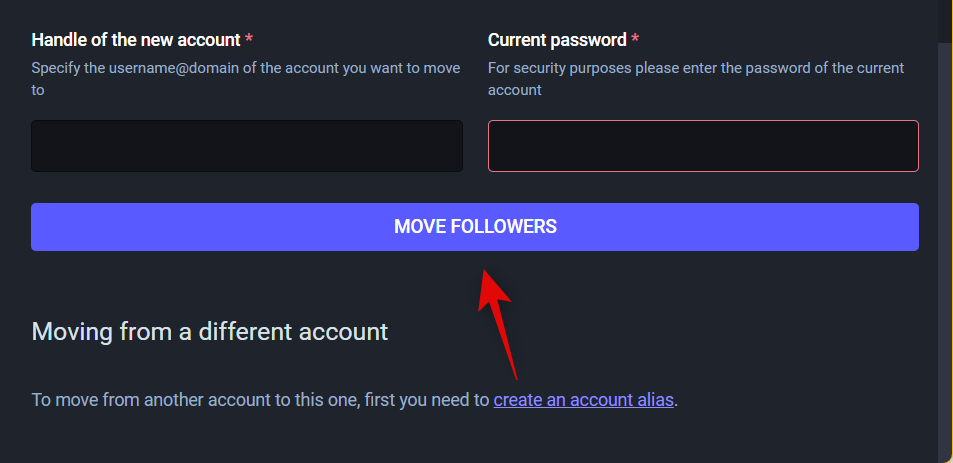
And that’s it! Your old account will now switch to your new account, and all followers will now be moved to your new account.
Step 3: Restore your backup if you lose data
You can restore the following items on your new account using .CSV files. These files can be downloaded from the same location we downloaded your backup above.
- Follows
- Lists
- Blocked users list
- Muted users list
- Domain block list
- Bookmarks
Your followers are moved automatically to your new server when you notify and freeze your old account. The only data you can’t move to your new server are your posts on the old server. This is due to the current technical limitations of Mastodon, but you can easily always find your old posts on the old server. Additionally, you can also find them in the archive we downloaded above. This is why your old profile redirects to your new profile in case someone discovers you using your old posts.
Now that you’re familiar with the items you can transfer, use the steps below to restore compatible items to your new account.
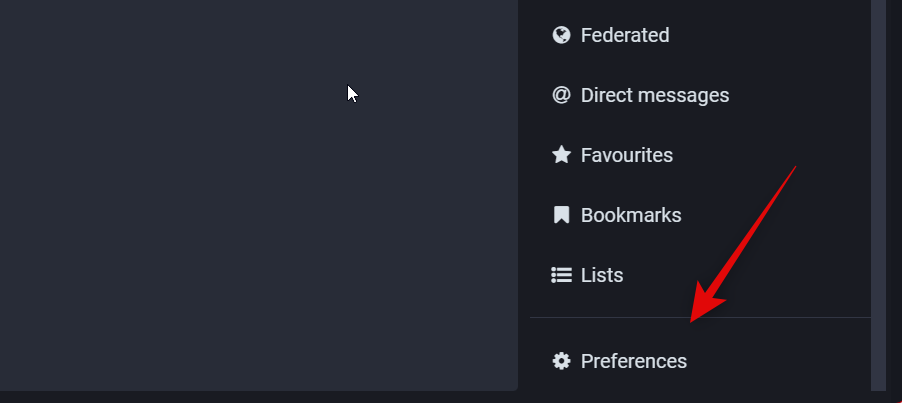
Open your old profile and click Preferences.
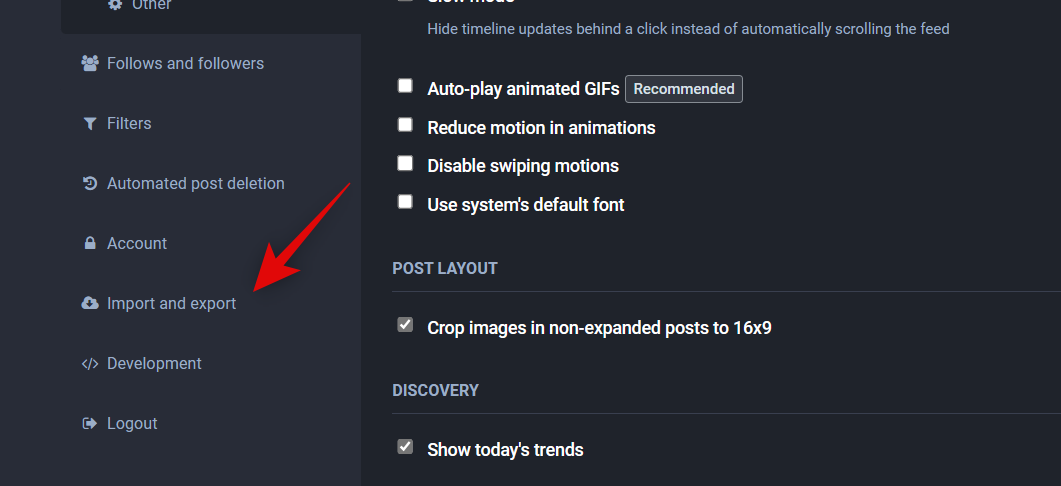
Click Import and export on your left.
Click and select Data export.

Now click the Download CSV icon beside the items you wish to restore to your new account. Let’s transfer the Follows list for this example.
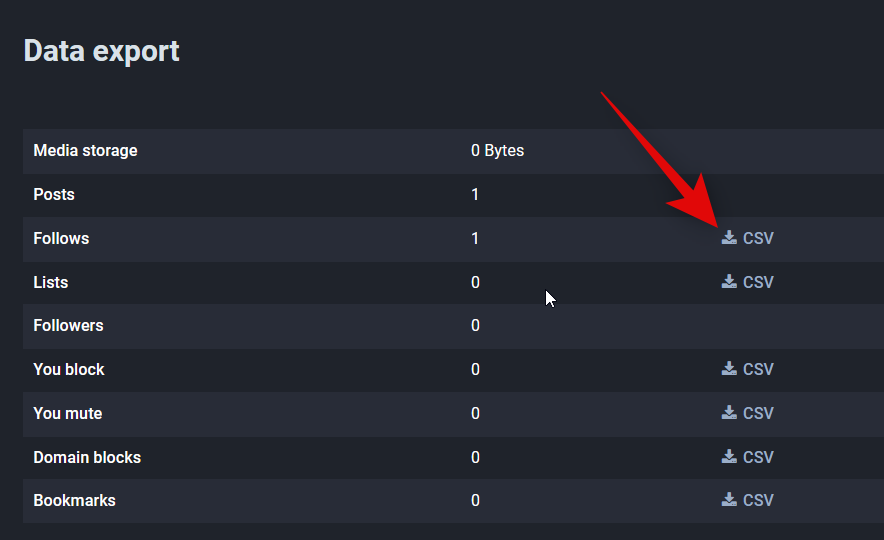
Download and save the file to a convenient location on your PC. Now open your new profile and click Preferences again.

Click Import and export.

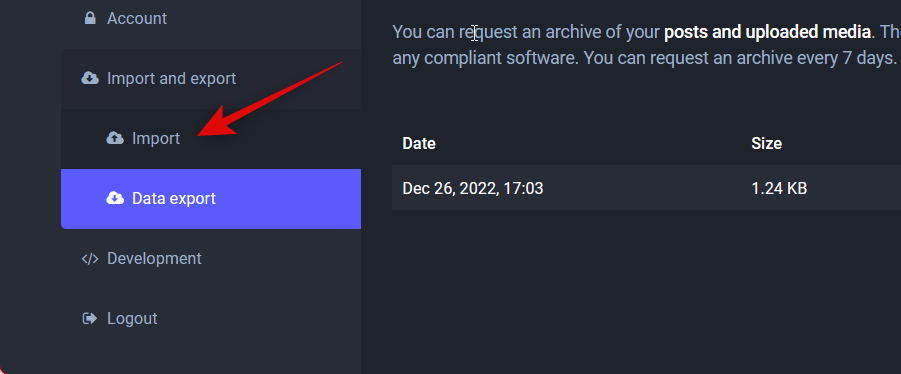
Click import.
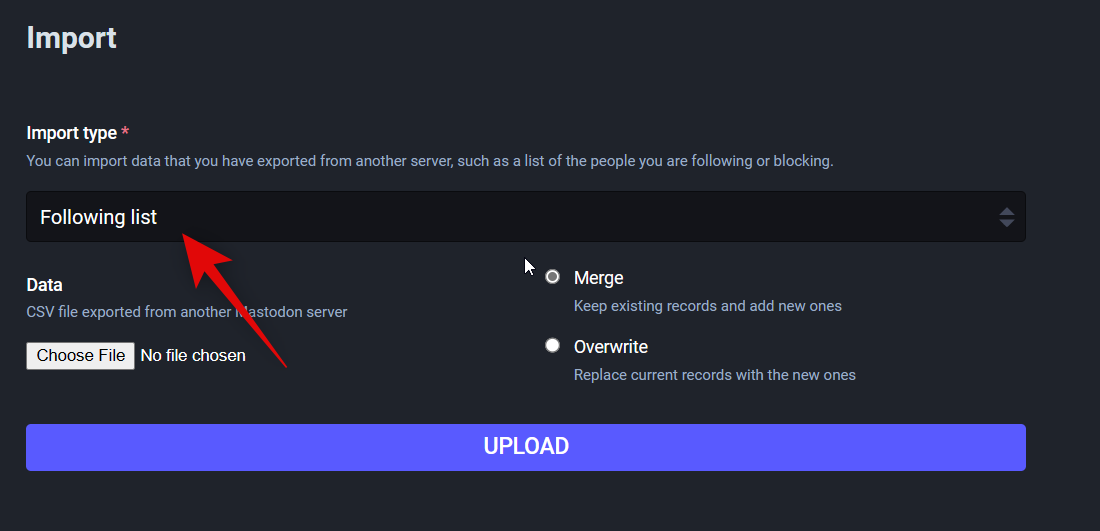
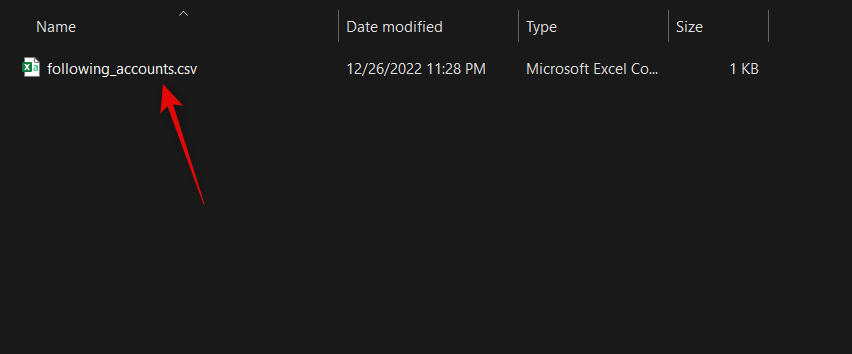
Click and select the type of item you’re restoring using the drop-down menu at the top. We will select Following list as we downloaded our Follows earlier.
Click Choose File.
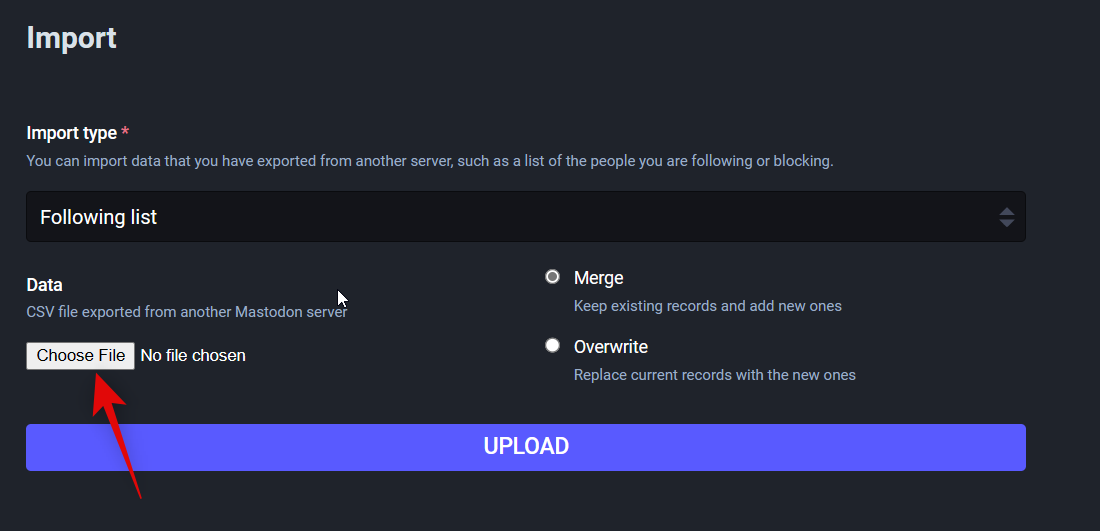
Now select the .CSV file you downloaded earlier.
Select Merge. This will merge your old follows with the new follows you have on your server. You can also choose Overwrite if you wish to replace follows on your new account with your old follows.
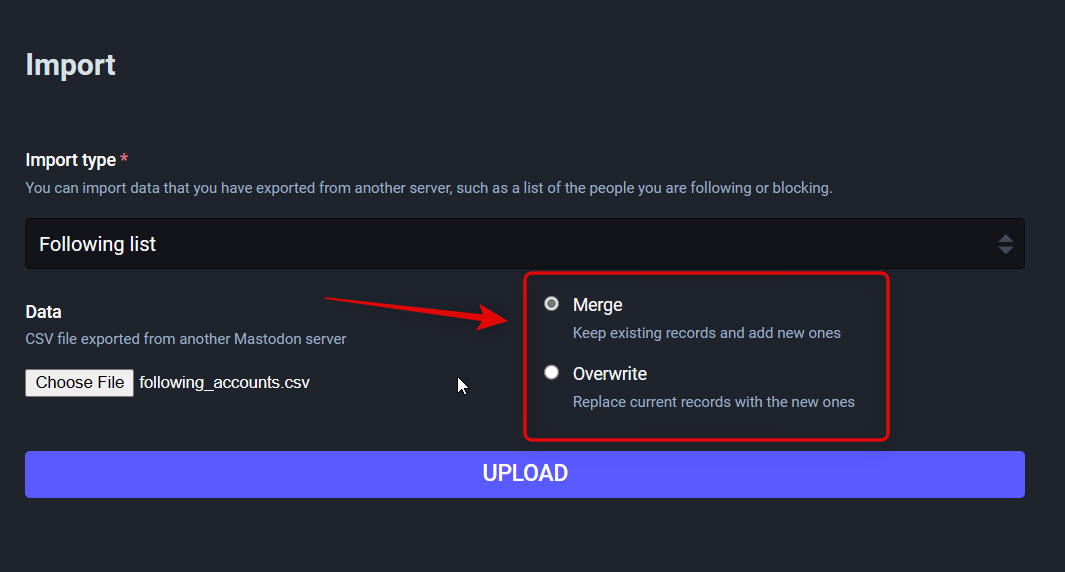
Click Upload.

Once the data is successfully imported, you will be shown a confirmation for the same at the top of the same screen.
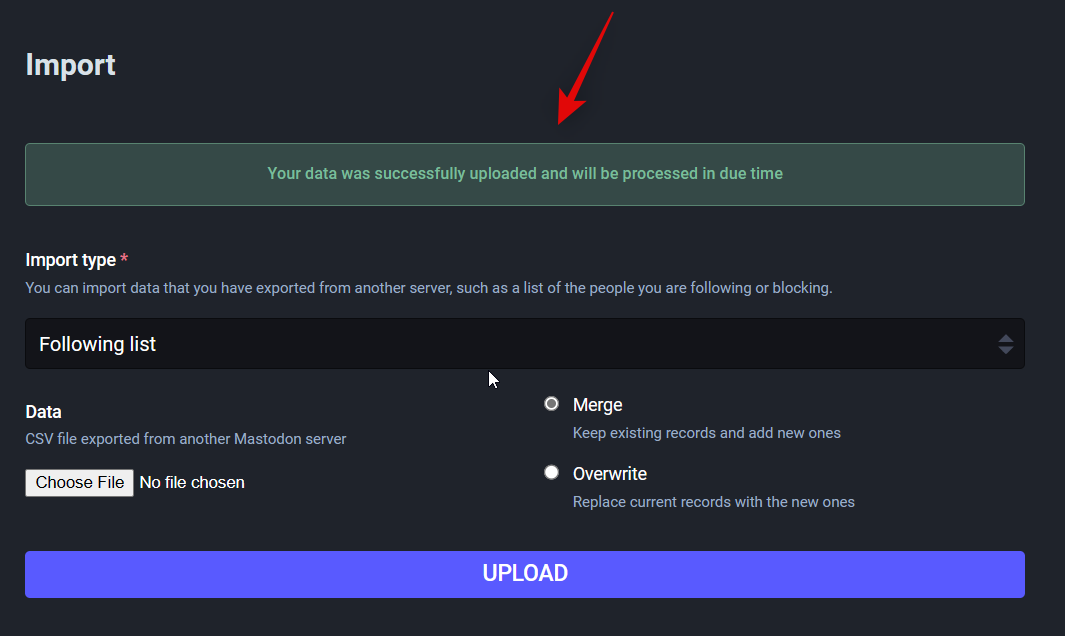
And that’s how you can restore your data when moving to a new server. You can repeat the steps above to restore additional data that you might wish to move to your new account.
What happens when you switch servers on Mastodon?
There are a few changes that take place for your old account when switching servers on Mastodon. Getting familiar with these changes will help you better migrate to the new account and notify your followers accordingly. Here’s a brief list of major changes that take place when you switch servers on Mastodon.
- Your old followers will be automatically moved to your new account on the new server.
- Your old account will no longer show up in search results on Mastodon.
- Your old account’s profile will be updated to redirect to your new account in case somebody visits your old account on the old server.
- A waiting period will be applied before you will be allowed to switch servers and accounts again.
- Your old account will be inactive once you migrate. You will, however, still have the option to re-activate your old account and download your data.
These changes help ensure that your followers and people that discover you can easily follow and find you on your new account.
We hope this post helped you easily switch Mastodon servers. If you face any issues or have any more questions, feel free to reach out using the comments below.




Strongly suggest you add info to this post about downloading the list of accounts you follow from the old account BEFORE you switch. Maybe it’s possible to get that out of the backup I downloaded as you suggest, but — if I knew how to use mastodon that well, I wouldn’t have been reading your how-to 🙂
100% agree. The writer clearly din’t go through the process themselves. All this does is freeze your old account with a button that says “This User Is Now This User”. It only moves your followers, nothing else. I repeat, NOTHING ELSE. Your posts do not move, the people you follow does not carry over, nothing else. So, maybe you can back some of it up? Well, when you get the part of this article where you import your data, you will notice it requires a .CSV file, but the exported backup files are all .JSON. So, how do you get your account back? This article will not tell you.
Hi there,
Well, .CSV files can be downloaded individually from the same page where you download your entire backup. Additionally, both files are supported for upload, and you can unfreeze your previous account easily as well as download another backup without unfreezing. Downloading your posts is possible when you download your backup, unfortunately, you can’t move your old posts to the new server. This is why a redirect exists on the old account so people that find your old posts can be redirected to your new account. However, people you follow can be transferred after you’ve switched to your new account. The post above has been updated to reflect the same. We hope this helps you easily get the list of people you follow on the new server.