Progress through zones, bosses, and abilities to start Act 2 in Hollow Knight: Silksong.
What to know
- Act II begins once Hornet enters the Citadel of Song, progressing past Act I’s final major challenge.
- You’ll go through several zones in Act II: Underworks, Choral Chambers, High Halls, Cogwork Core, Whispering Vaults.
- You’ll need certain upgrades/tools from Act I to access and survive the early parts of Act II.
- Act II opens up new quests, stronger enemies, and requires exploring various zones in a more complex, branching way.
Key requirements to reach Act 2
To enter Act 2, you need to fulfill several prerequisites from Act 1, focusing on exploration, boss defeats, and ability acquisition. These ensure you’re equipped for the Citadel’s demands. Below is a table outlining the essential steps and items.
| Requirement | Description | Location/How to Obtain | Why It’s Needed |
|---|---|---|---|
| Complete Act 1 Zones | Traverse the main path through early areas to build experience and access further regions. | Progress sequentially: Start in Moss Grotto, then Bone Bottom, The Marrow (west and east), Mosshome, Deep Docks, and Far Fields. | Unlocks the route to Blasted Steps; familiarizes you with Hornet’s basic mechanics. |
| Defeat Bell Beast | Overcome this mandatory boss to gain key traversal upgrades. | Encountered in The Marrow during the main questline. | Provides essential movement tools like improved gliding, crucial for navigating to the Citadel. |
| Acquire Double Jump | A core mobility ability for crossing gaps and reaching higher platforms. | Obtained as part of the story progression in Mosshome or Deep Docks after specific platforming challenges. | Allows access to elevated paths in later Act 1 areas and the Blasted Steps ascent. |
| Acquire Silkspear | Unlocks ranged silk-based attacks for safer combat. | Gained in Mosshome after completing a silk-weaving puzzle or boss encounter. | Essential for dealing with distant enemies and bosses like The Last Judge without excessive risk. |
| Reach Blasted Steps | Arrive at the scorched, wind-swept gateway area leading to the Citadel. | Accessed at the end of Far Fields, following the main path eastward. | Serves as the final checkpoint before the Act 2 transition boss. |
| Defeat The Last Judge | Battle and defeat this fiery guardian boss with flame sweeps and charges. | Fought at the Blasted Steps entrance; use dodges for tremors and dives, then counter with needle strikes. | Directly triggers the cutscene entry into the Citadel, officially starting Act 2. |
How to trigger Act II
For Act II, make sure you have all the requirements that we discussed above. Here is the step-by-step guide with map progression to reach Silksong Act II:
1. Finish the Act I trials and unlock the Citadel gate
- During Act I, your map fills in as you ring five scattered bells across Pharloom. Each bell lights up on your parchment once found.
- When all five are active, a marker for the Citadel Gate appears on your map in the far-north center region.
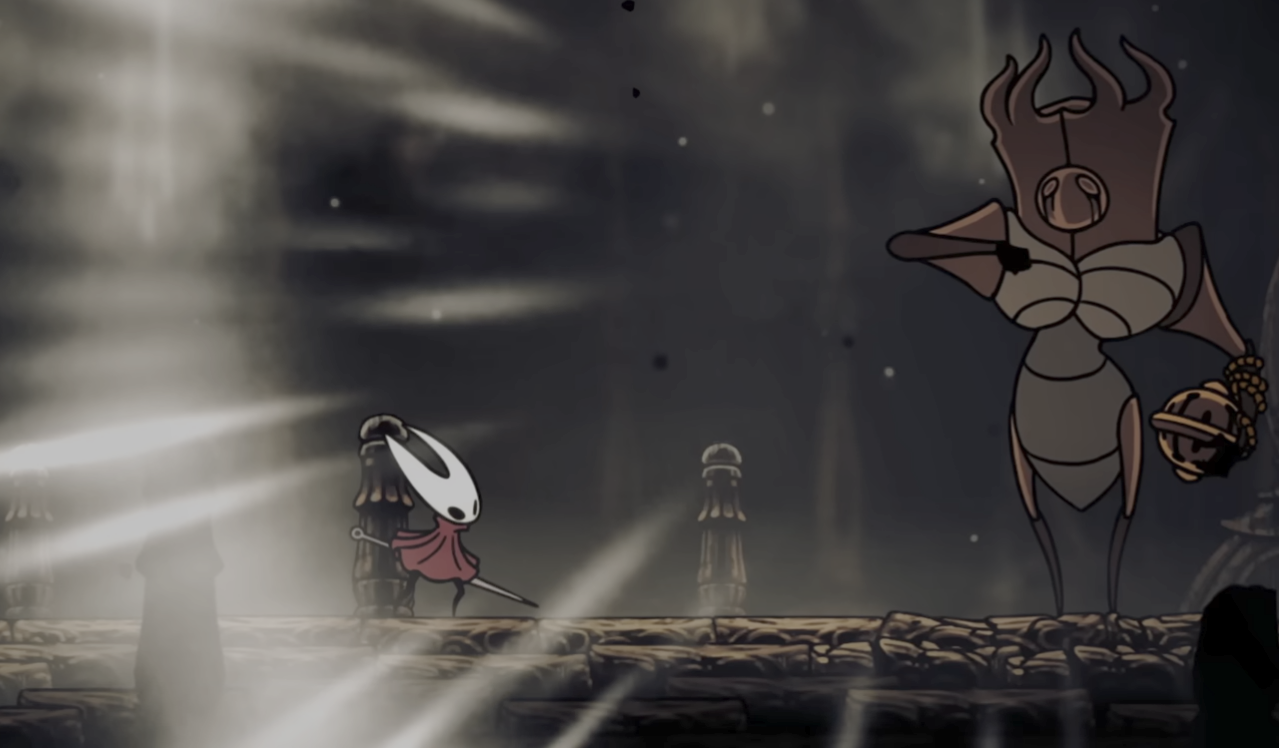
- Travel there and confront The Last Judge (or take the Phantom path, if you followed that alternate questline).
- After defeating the Judge, the massive doors of the Citadel swing open. Your map will now show the Citadel interior as a blank area, ready to be charted.
2. Step inside the Citadel and descend into the Underworks
- The entrance immediately funnels you downward into the Underworks, an industrial-feeling sub-zone beneath the Citadel.
- On your map, it will register as a dark, branching section just under the Citadel marker.
- Benches in this area add checkpoints and begin sketching the Underworks outline.
- Enemies here are stronger than in Act I, so be ready with upgrades.

- The Underworks is dense and layered, with multiple dead ends and shortcuts. Keep checking your parchment map — newly discovered corridors slowly mark themselves as faint lines.
- Look for upward passages near the central Underworks shaft. These routes climb toward the Choral Chambers.
- Along the way, you’ll pass the first Citadel-specific tram point, which also appears on your map.
4. Arrive in the Choral Chambers
- Exiting upward drops you into the Choral Chambers, a grand vertical hub filled with organ pipes and bell shrines.
- This zone marks the first true Act II hub — benches, merchants, and a clear bell shrine all sit here.
- On your map, the Choral Chambers fill in as a large central room with many branching corridors leading deeper into the Citadel.
- The area feels more open than the Underworks, making navigation easier once you’ve mapped the initial corridors.
5. Ring the First Shrine bell
- In the Choral Chambers, seek out the shrine platform — it will be marked as a bell icon once discovered.
- Ringing it updates your progress on the map and triggers dialogue hinting at the “threefold melody” you’ll need later.
- This bell also acts as a progression key, officially anchoring you in Act II and opening paths to three major branches.
6. Choose your first deeper path
- After the bell, three new areas unlock: High Halls (east), Cogwork Core (south), Whispering Vaults (west).
- Your map will show faint outlines or “gates” leading toward each of these.
- From here, Act II becomes nonlinear — you decide which branch to tackle first, with each contributing to the melody required to advance the story.
Alternative path via Sinner’s Road and The Mist
If you want to skip fighting the last judge, follow this alternative path:
Prepare for the path:
- Start: Greymoor, post-Far Fields
- Requirements: Drifter’s Cloak (gliding), Needolin (Shellwood, post-Weaver)
- Optional: 500 Rosaries, mask shard (Far Fields alcoves)
Enter Sinner’s Road:
- Access: From Greymoor’s Halfway Home, take the right path
- Navigate: Dodge chain-wielders, use silk shots, and find the breakable wall (upper left) for a shortcut
- Tip: Wall cling helps access the shortcut to The Mist
Traverse Bilewater:
- Access: From Sinner’s Road, drop west
- Navigate: Stick to left paths, avoid bile pools, use double jump/glide
- Combat: Parry bile insects for silk
- Unlock: Bell Beast station for fast travel

Solve The Mist puzzles:
- Access: From Bilewater, head west to Foggy Woods
- Mechanic: Use Needolin to follow butterfly melodies in six rooms
- Rooms:
- Room 1: Play ascending scale to part vines
- Room 2: Mirror fluttering melody with silk bursts
- Room 3: Hold long notes to clear fog
- Room 4: Combine jumps, mid-air tunes
- Room 5: Dodge specters, sync Needolin
- Room 6: Harmonious crescendo for boss arena
Defeat the Phantom boss:
- Location: The Mist’s End
- Strategy: Air dash to dodge screams, parry dives, track glow in phase two
- Reward: Parry ability for deflections

Enter Citadel:
- Access: Post-Phantom, climb to Grand Bellway’s rear
- Action: Activate station, enter lower halls
- Trigger: Cutscene starts Act 2

| Key Items/Upgrades | Location | Effect | Implications |
|---|---|---|---|
| Needolin | Shellwood | Musical puzzles, attacks | Enables Mist navigation, combat versatility |
| Parry Ability | Post-Phantom | Deflects attacks | Boosts Act 2 defense |
| Mask Shard | Bilewater alcove | +1 health | Eases hazard survival |
| Rosary Sack | Sinner’s Road wall | Currency boost | Funds upgrades, merchant use |
Deciding if you’re ready for Act II
Starting Act II means committing to tougher zones where map progress is harder to fill without exploration tools. Make sure you’re comfortable with your Act I upgrades, since every new area in the Citadel is built to test them. Think of the Underworks as your warm-up, and the Choral Chambers as your base of operations — once you ring that first bell, the full weight of Act II truly begins.


