Learn how to complete the titanium auto-mining objective in StarRupture using Ore Excavators, Drone Rails, and OCL commissions. Titanium auto-mining in StarRupture requires precise placement, power, and corporate authorization to start production.
What to know
- Auto mining relies on mining drills, stable power, and storage logistics
- Resource nodes are finite and must be chosen carefully
- Power interruptions will halt mining entirely
- Proper conveyor routing prevents item loss and backups
Auto mining becomes essential once manual extraction can’t keep up with your construction and tech demands. While the setup looks complex at first, the system is reliable once configured correctly.

Key Auto-mining objectives
- Build an Ore Excavator on Titanium Ore deposit
- Connect the Excavator with OCL using Drone Rails
- Provide enough power for your building to Operate
- Select a Commission in OCL
- Reach corporation level 3
How to set-up titanium auto-mining in StarRupture
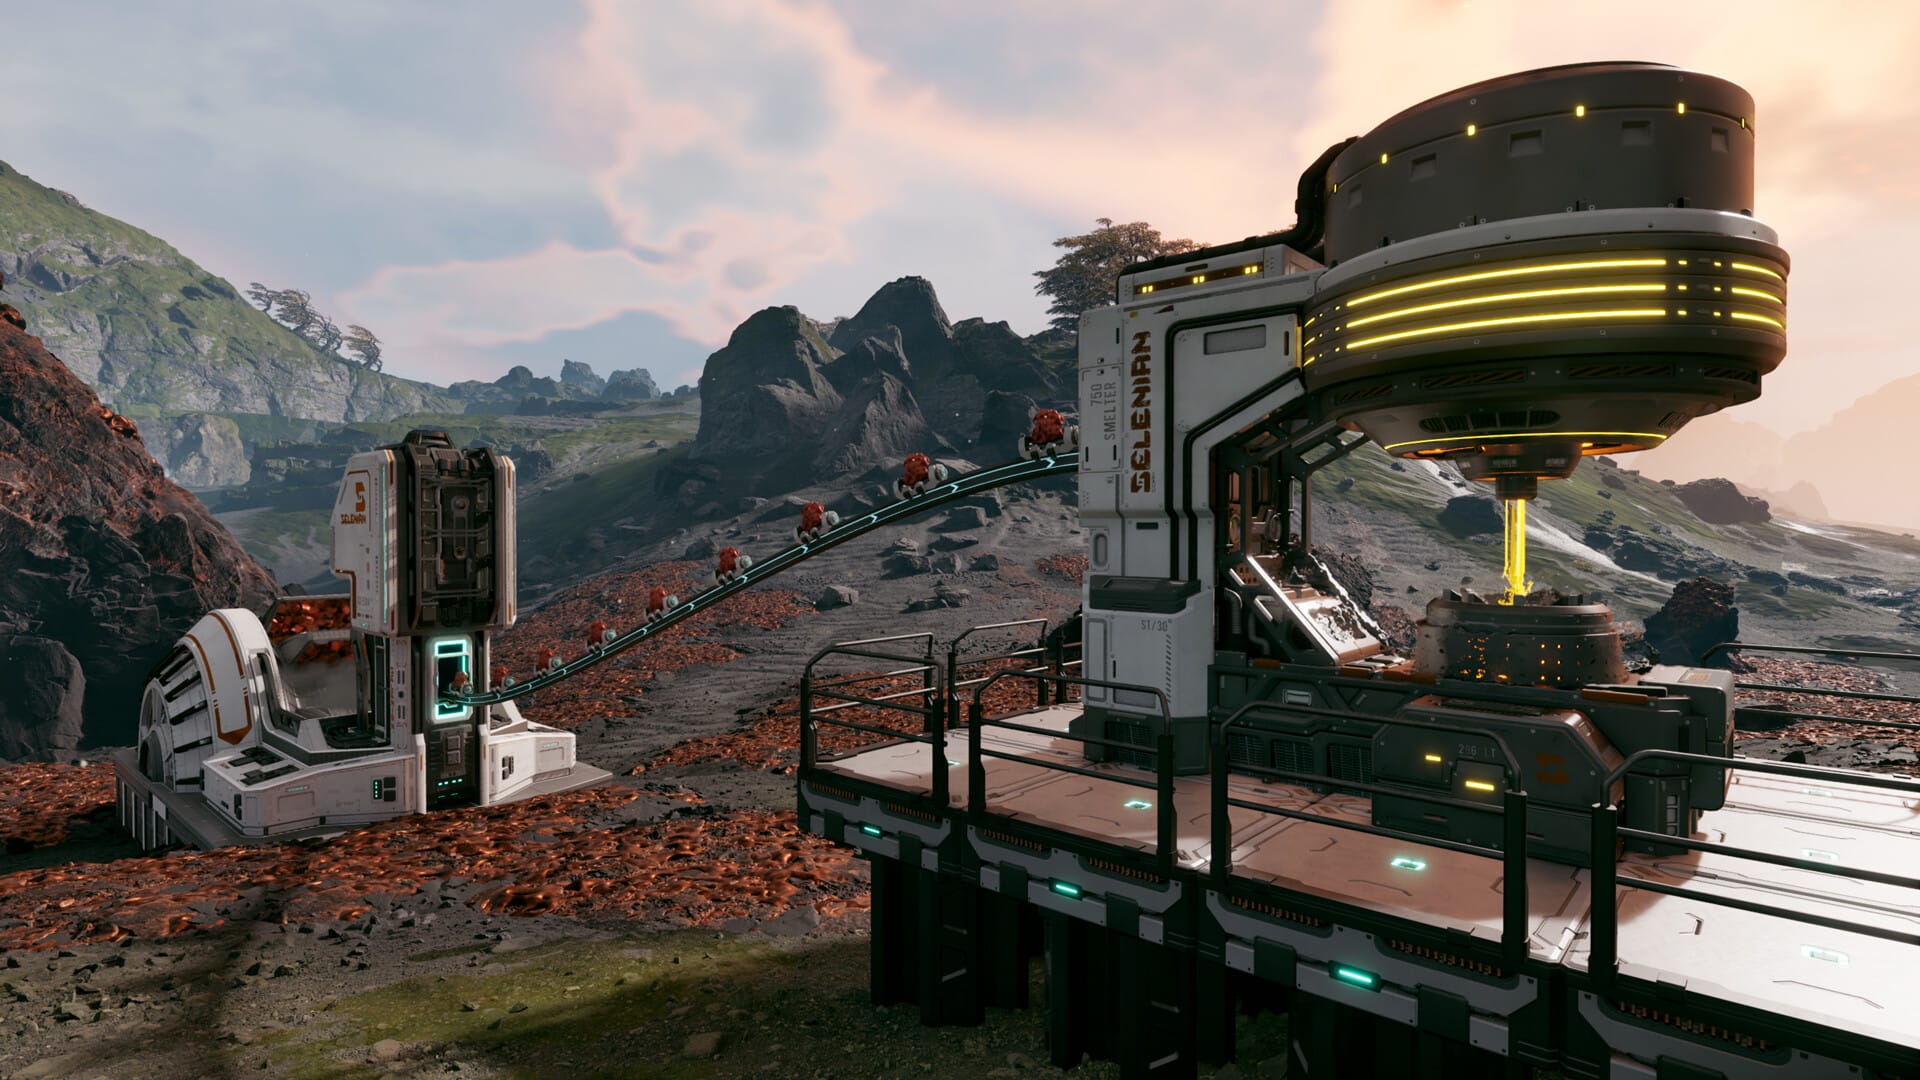
Titanium auto-mining uses an Ore Excavator to extract raw titanium from a fixed deposit. The excavated ore is transported through Drone Rails to a connected OCL structure, which acts as the receiving and authorization point. Power flows through connected structures, so a single generator can support the chain if set up correctly.
Objective 1- Locate a titanium deposit
Titanium deposits are visually distinct and easy to miss if you don’t know what to look for.

Open your map and scan for a large purple-colored formation. This is the titanium deposit. You must place the extractor directly on this mass—nearby placement will not work.
Objective 2 – Build the Ore Excavator correctly
Build the Ore Excavator so its base snaps directly onto the titanium deposit. If placement is even slightly off, the extractor will remain idle.

Wait for the wireframe of the extractor to turn green to catch the correct location for extractor.

Objective 3 – Connect the excavator using Drone Rails
Lay Drone Rails from the Ore Excavator to your main base or directly to an OCL-connected receiving structure.

Rail direction may appear “backwards,” but connection still works. As long as the rail visually links both structures, items and power will transfer.

Objective 4 – Power the titanium extractor
Build a Solar power generator and connect it to your structure network. Power automatically transfers through connected Drone Rails, so the generator does not need to be placed next to the extractor.

If power is insufficient, the Ore Excavator will remain inactive even if everything else is correct.

Objective 5 – Activate auto-mining via OCL
Interact with the connected structure—usually the OCL receiving end—and select Corporate Training Level Two. This step authorizes automated extraction.

Once selected, the Ore Excavator will begin sending titanium through the Drone Rails.

Objective 6 – Corporation requirements for titanium auto-mining
Titanium auto-mining is locked behind corporation progression.

You must reach Corporation Level 3 before the commission becomes available. If you don’t see the option, your corporation level is the likely blocker. Get 20 titanium ores to complete the objective of Corporation Level 2 and unlock Level 3. This is how auto-mining starts for you.
Titanium auto-mining rewards and benefits
| Reward | Description |
|---|---|
| Passive titanium income | Continuous ore delivery |
| Faster tech progression | Titanium is used in advanced builds |
| Reduced manual mining | Less exposure to hazards |
| Scalable automation | Add more extractors later |
Tips to set-up Auto Mining quickly
- Place the Ore Excavator perfectly on the purple titanium deposit—partial or nearby placement won’t work.
- Use Drone Rails to create an unbroken connection between the Excavator and an OCL-linked structure.
- Don’t worry about rail direction; if the rails snap and connect, they will transfer items and power.
- Make sure your power generator output meets the Excavator’s requirement and is connected to the same network.
- Open the OCL menu from the connected receiving structure, not from the Excavator itself.
- Select the correct OCL commission (Corporate Training Level Two) to authorize auto-mining.
- Confirm your corporation has reached Level 3, or the commission will not appear.
We hope the Auto-mining Set up guide for StarRupture was informative and helped you progress without confusion. If you’d like to share ideas, experiences, or any doubts, the comments section is open. We review comments regularly and respond to ensure you receive timely support whenever required.