What to know
- You must collect two key components: the Pillar head and the Reactor Core.
- Both pieces are hidden within the Sanctum and require puzzle interaction to retrieve.
- Axiom Force and light reflection mechanics are essential for progression.
- Restoring power unlocks the Hexe Sanctuary knowledge reward.
Right after entering the Sanctum of Mortification near the Crimson Wall, you’ll notice that the structure is dormant and lifeless. Your goal is to reactivate it by restoring its core power system, which is split into two separate components hidden within the ruins. The process blends exploration with environmental puzzle-solving, requiring you to carefully observe your surroundings and use abilities like Axiom Force and Focus in Crimson Desert.
| Objective | Details |
|---|---|
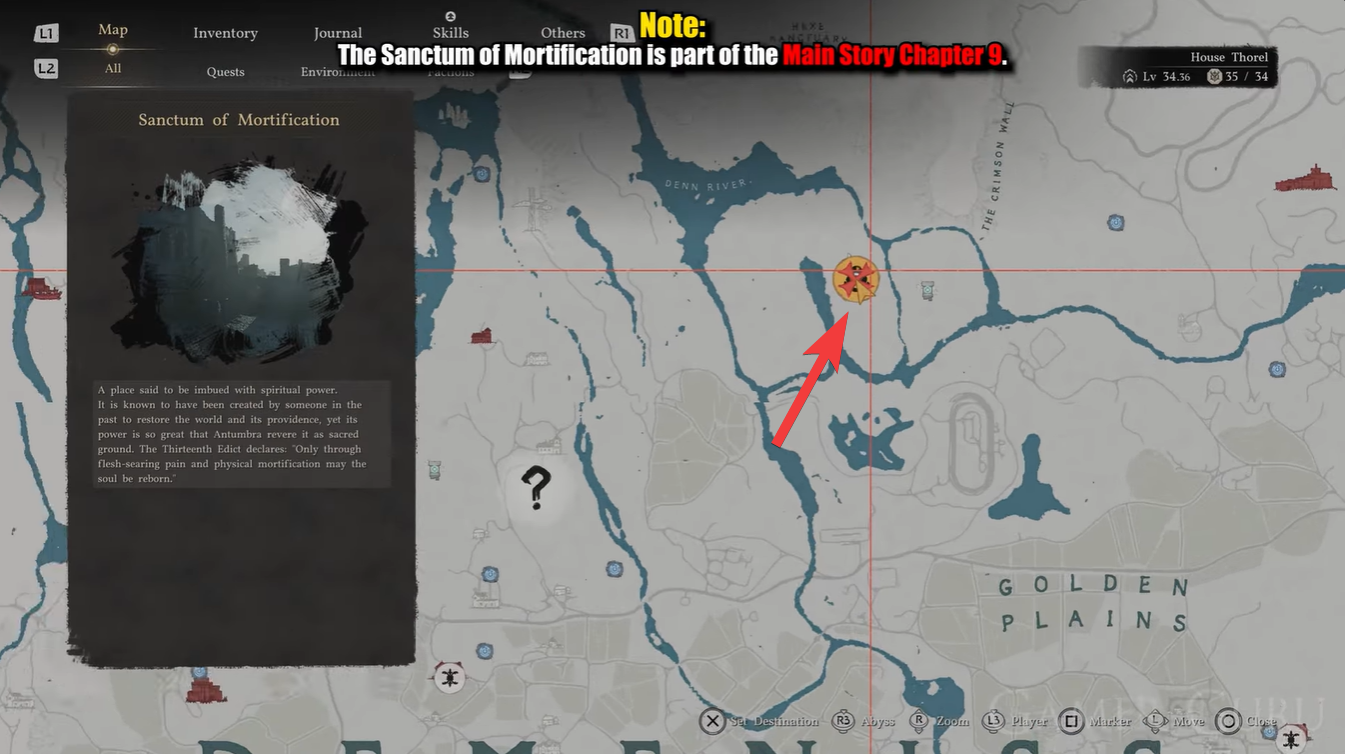
| Location | Sanctum of Mortification (North of Demeniss, near Crimson Wall) |
| Required Items | Pillarhead Piece, Reactor Core Piece |
| Key Mechanics | Axiom Force, Focus Light Reflection |
| Storage Tool | Kuku Pot |
| Final Reward | Hexe Sanctuary Knowledge |
| Difficulty | Moderate (Puzzle + Exploration) |
Sanctum of Mortification location in Fragments of Darkness quest
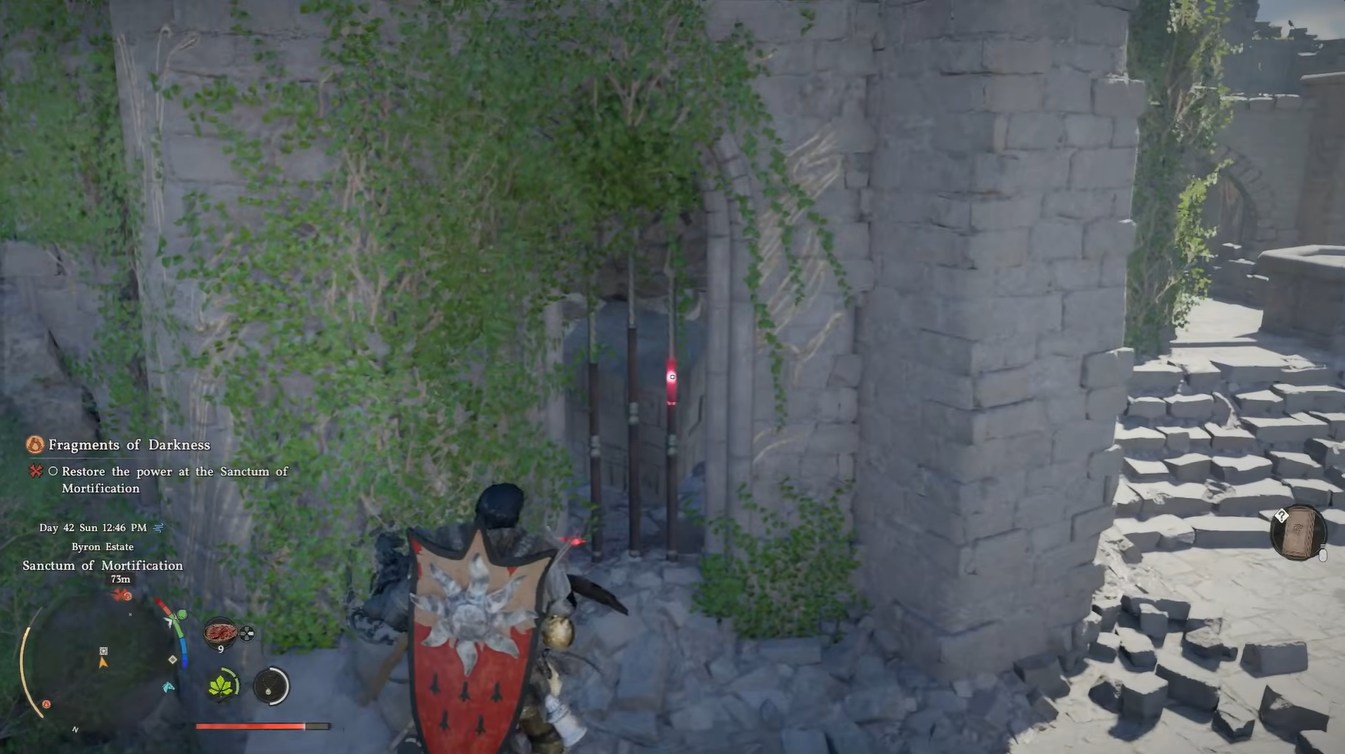
Sanctum of Mortification is near the Crimson Wall, north of Demeniss. As you begin inside the sanctum, you are essentially standing at the heart of a broken power system. The architecture around you may seem symmetrical, but subtle elevation changes and hidden openings guide your path.
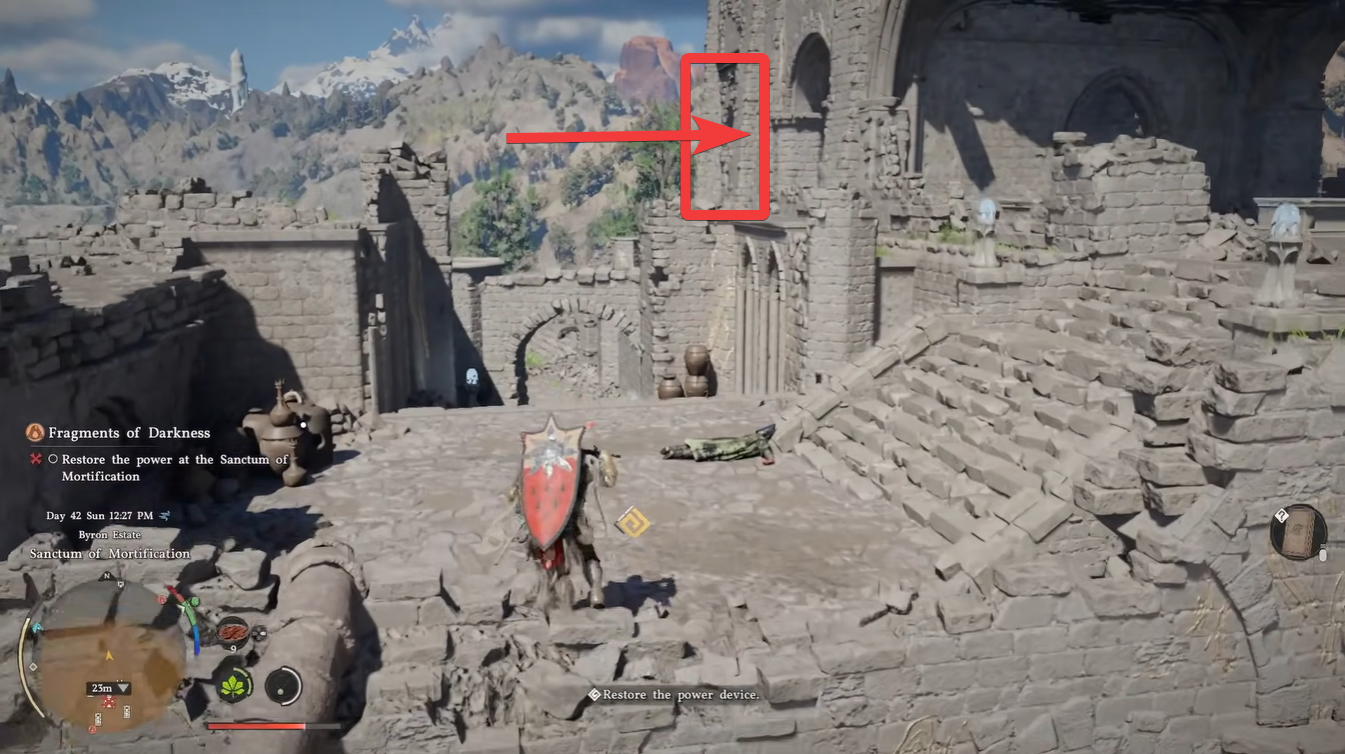
The first area of interest lies slightly ahead and to your right. An arched opening on an elevated section serves as your entry point to the first core component, while another hidden section is cleverly masked behind environmental elements like vines.
How to restore the Sanctum of Mortification in Crimson Desert
1 – Finding the pillar piece
Step 1
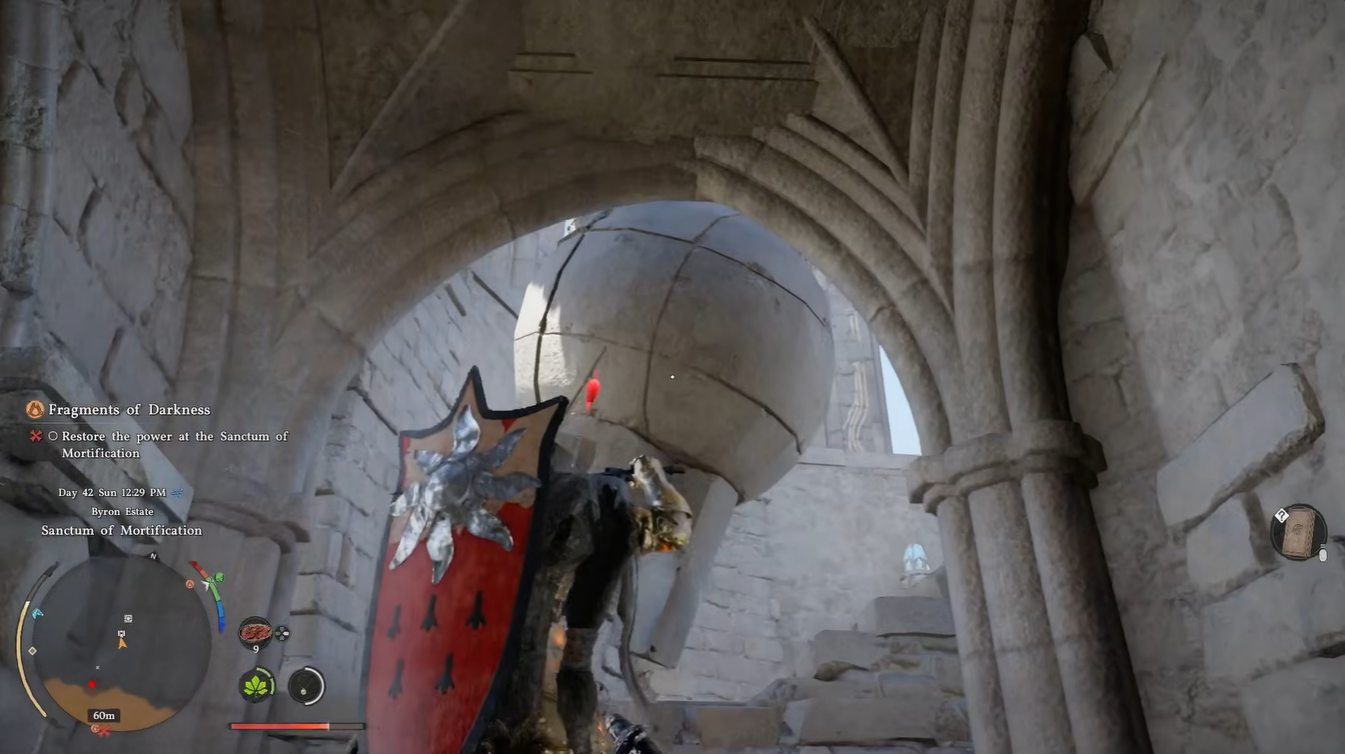
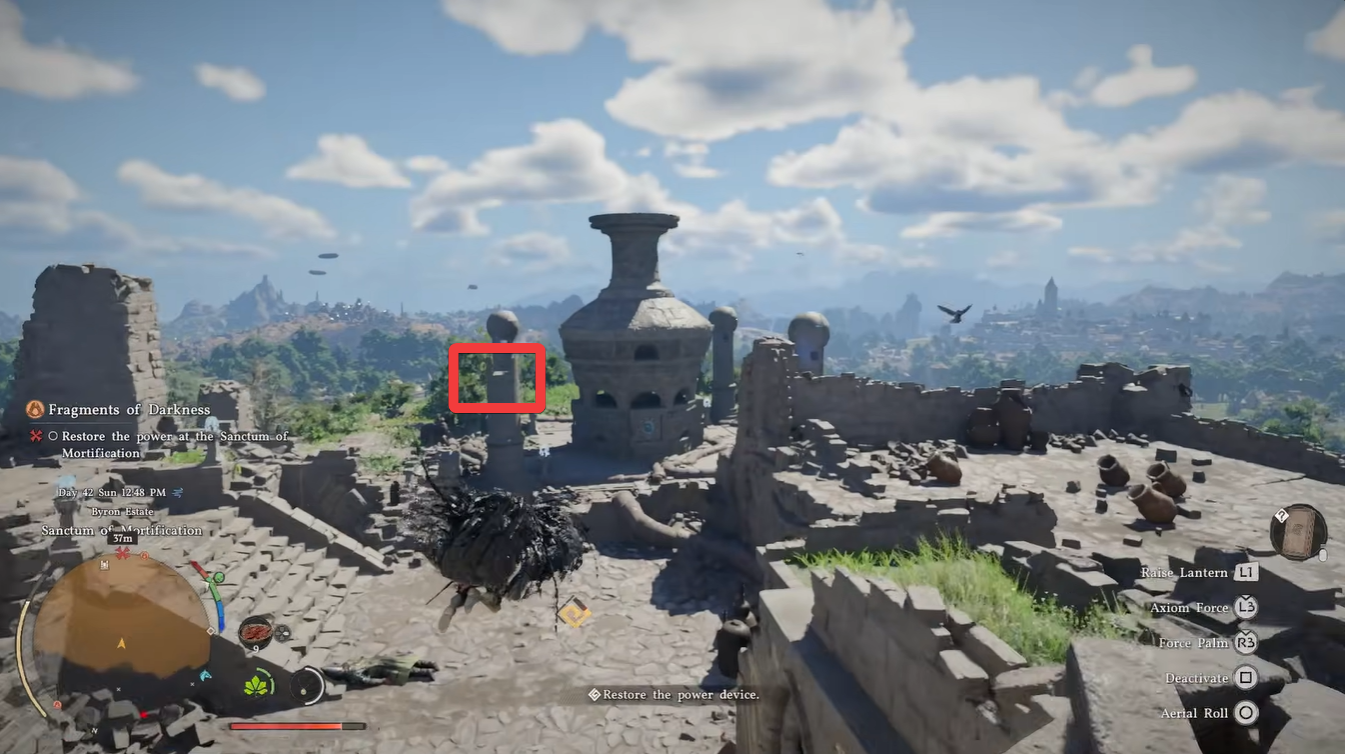
Move forward from the sanctum’s central core area and look toward the right side. You’ll spot an arched opening positioned on a raised platform.
Step 2
Climb up into this opening carefully, ensuring you align your jump or climb path correctly to avoid falling back down.
Step 3
Once inside, turn to the left side of the room, where the Pillarhead piece is resting.
Step 4
Activate your Axiom Force ability, then press the required input (Triangle) to store the Pillarhead securely inside your Kuku Pot. This ensures you can transport it safely back to the core.
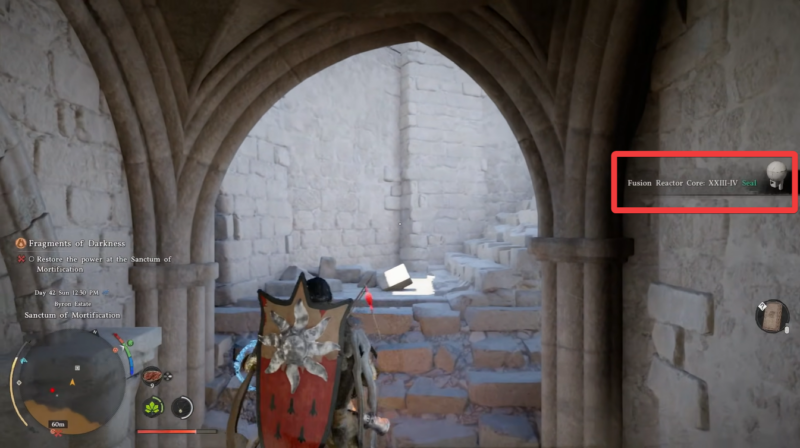
2 – Finding the cube reactor core piece
Step 1
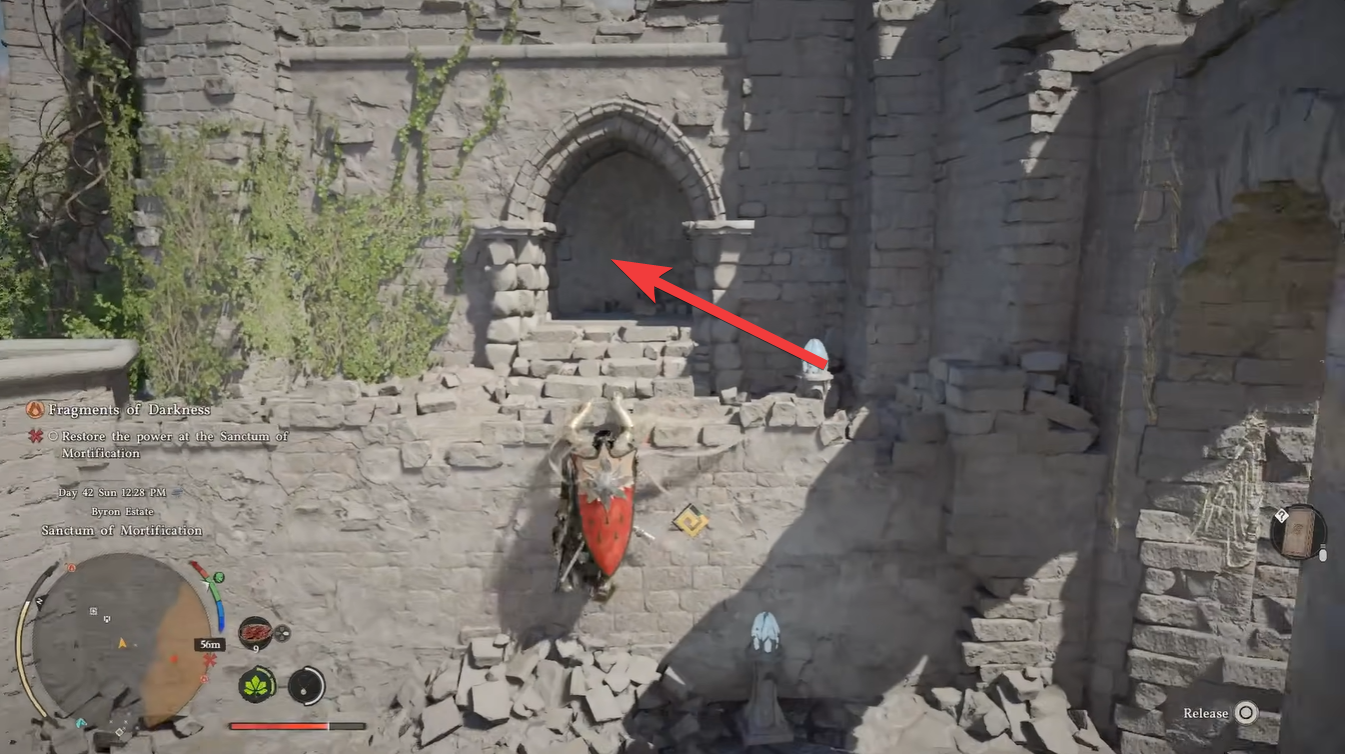
Exit the arched room and scan the nearby walls for anything unusual, specifically sections covered in thick vines.
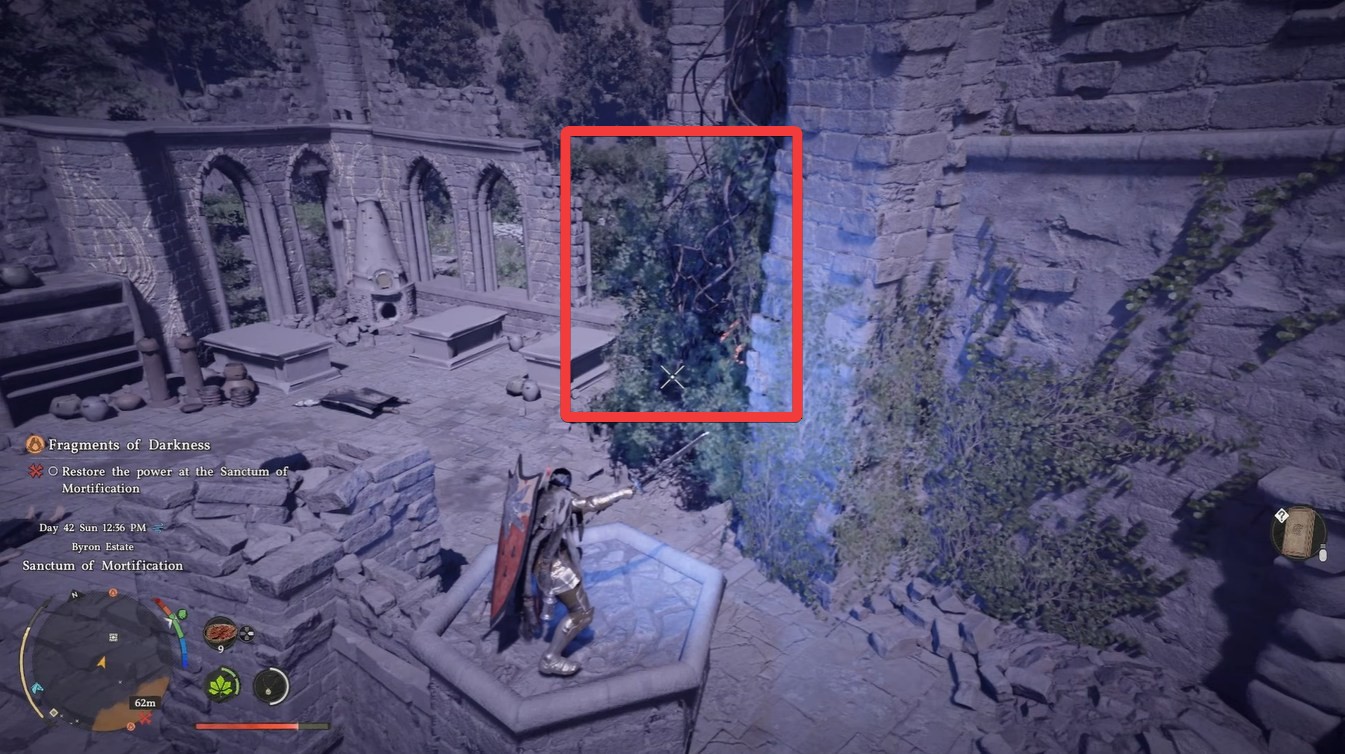
Step 2
Stand in front of the vine-covered wall and activate Focus mode. This allows you to manipulate light using your sword.
Tilt your sword carefully to reflect light directly onto the vines. The angle matters here, so adjust slowly until the reflection hits correctly.
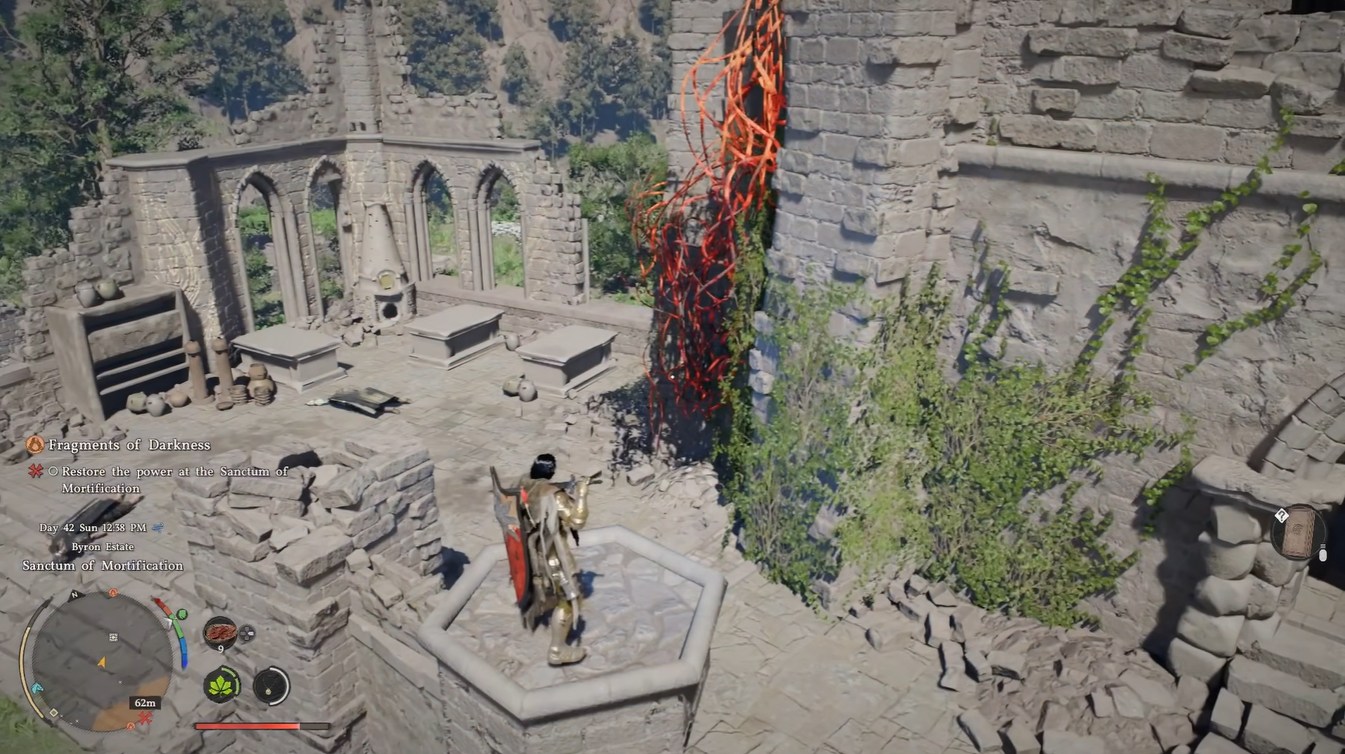
Step 3
Once aligned, the vines will ignite and burn away, revealing a hidden compartment behind them.
Step 4
Inside this newly exposed section, locate the Reactor Core cube. Use Axiom Force again and press Triangle to store the Reactor Core inside your Kuku Pot.

3 – Restore the sanctum’s power system
Step 1
Return to the main sanctum core area, where the inactive mechanisms are located.
Step 2
Approach the pillar structure first and interact with it to place the Pillarhead piece back into position.

Step 3
Next, move to the cube-shaped reactor slot and insert the Reactor Core piece.
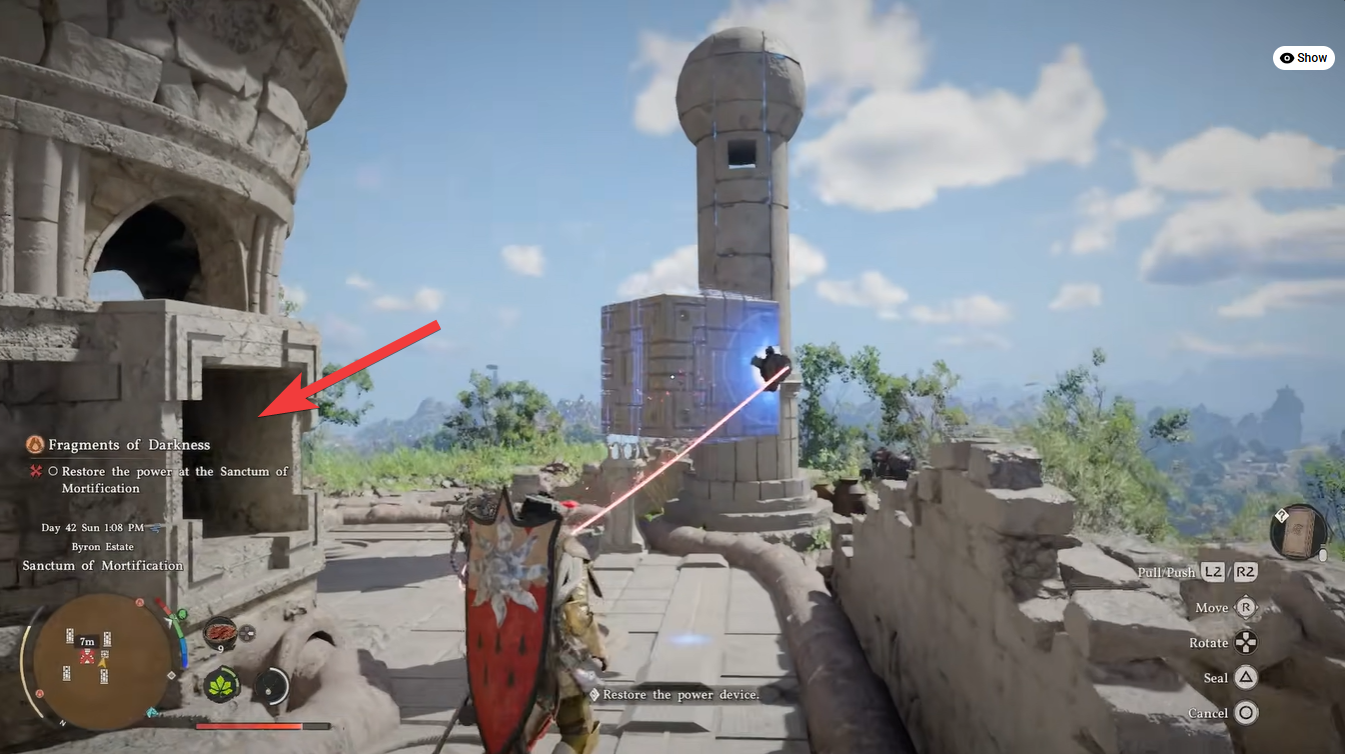
Step 4
Once both components are installed, the sanctum will reactivate automatically, triggering a visual and environmental change that confirms success.

What happens after restoring the Sanctum of Mortification
| Reward Type | Details |
|---|---|
| Knowledge Unlock | Hexe Sanctuary Knowledge |
| Progression | Unlocks deeper lore and exploration potential |
| Environmental Change | Sanctum becomes active and accessible |
Restoring power in the Sanctum of Mortification is more than just a puzzle completion—it directly ties into world-building and progression. Once activated, the sanctum transitions from a dormant ruin into a functional ancient structure, often revealing deeper connections to the game’s lore.
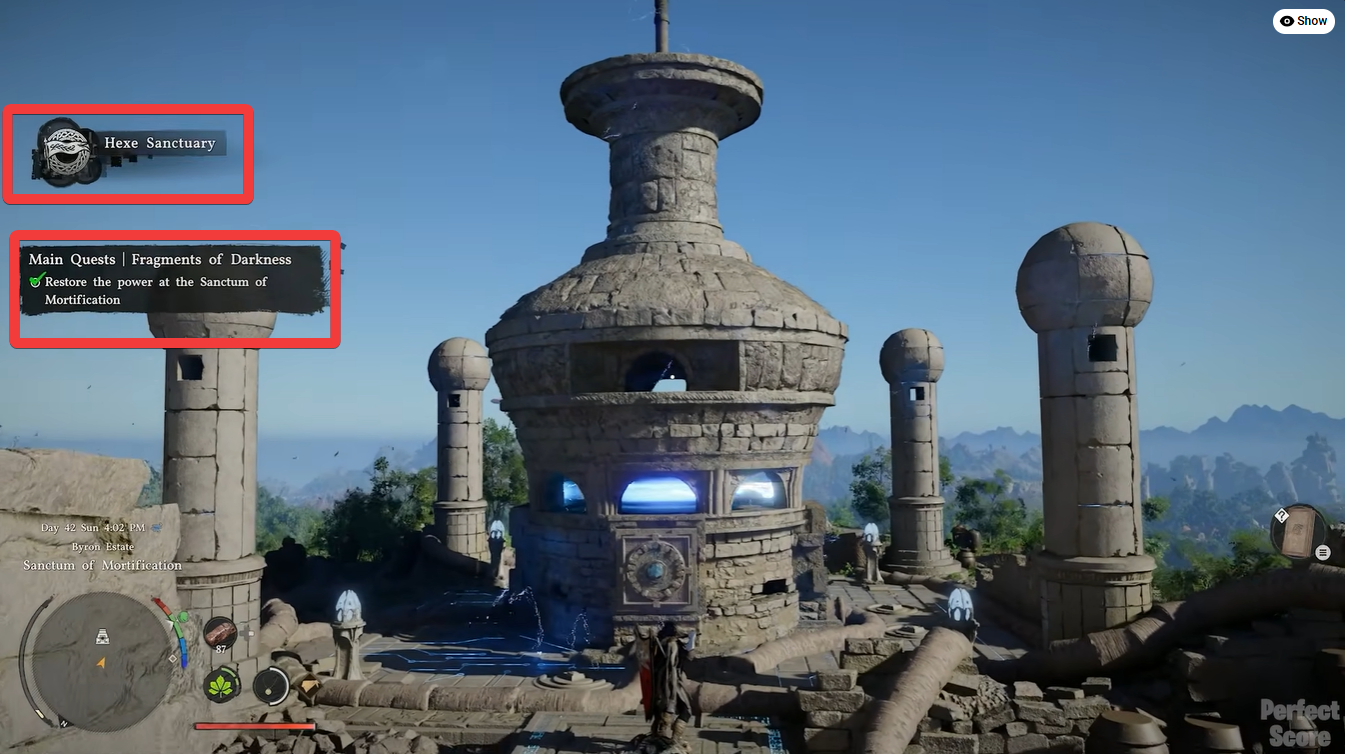
You’ll also gain Hexe Sanctuary knowledge, which can influence your understanding of nearby regions and may contribute to exploration completion metrics. This step is especially important if you’re aiming for full world discovery or lore completion.


