
Reactivating the waterwheels during the Destination: Wuling quest is a core environmental puzzle that gates progression through bridges and a hidden tunnel in Arknights: Endfield.
- What to know
- How waterwheels function in Destination Wuling quest
- How to reactivate the first waterwheel
- How to reactivate the second waterwheel
- How to reactivate the third waterwheel
- What changes after each waterwheel
- Common mistakes to avoid
- What to do after Waterwheel puzzle in Destination Wuling
What to know
- All three waterwheels use the same activation logic
- Each wheel requires precise alignment of two turning mechanisms
- Water flow, not brute force, is what ultimately activates the wheel
- The first two waterwheels unlock bridges, while the third opens a secret tunnel door
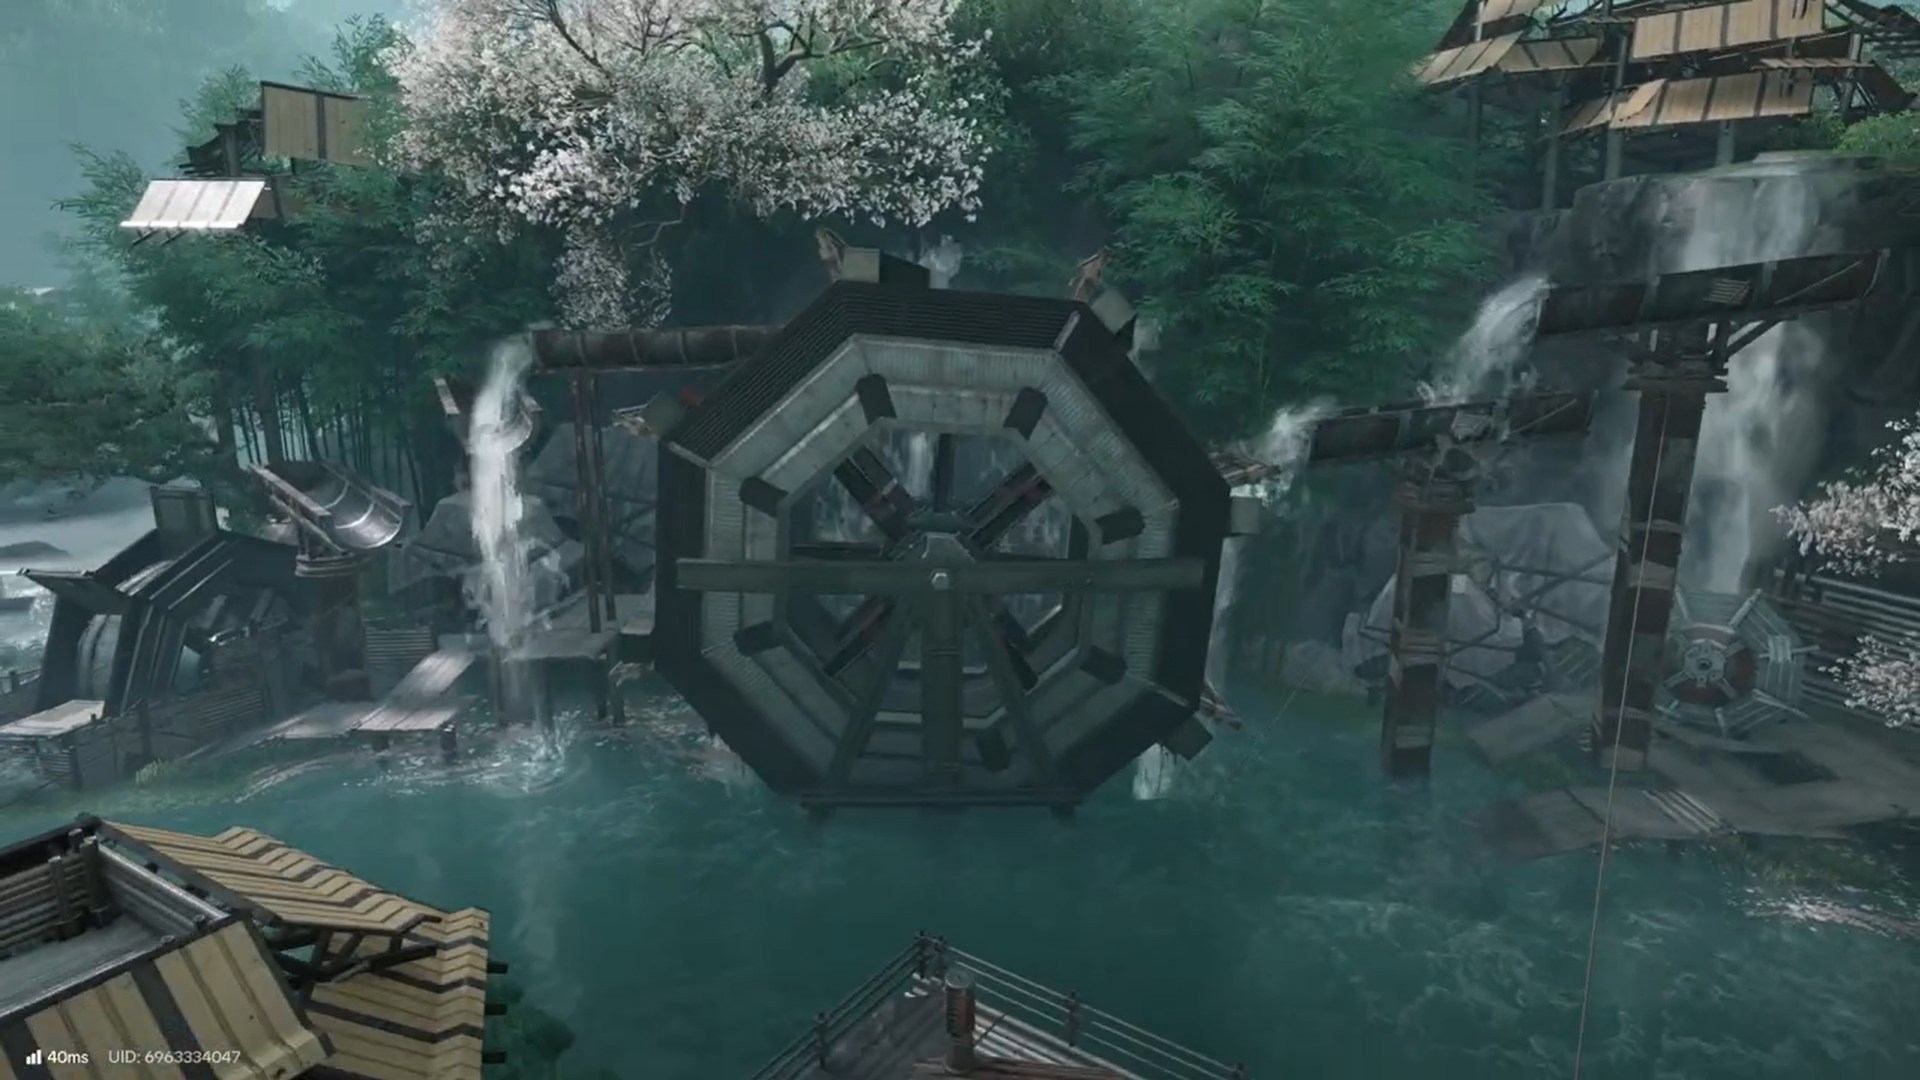
In Arknights Endfield, environmental machinery often replaces traditional keys or switches. The Destination Wuling quest leans heavily into this design with its three sequential waterwheel reactivation puzzles. At first glance, the wheels look like simple interactive objects, but they are actually dependent on water flow, mechanical alignment, and timing.
Many players struggle here because striking the mechanisms alone is not enough. The game requires you to understand why the wheel isn’t moving and how water must be redirected correctly. This guide breaks down how all three waterwheels work, why the process is identical each time, and what changes as you progress deeper into the quest.
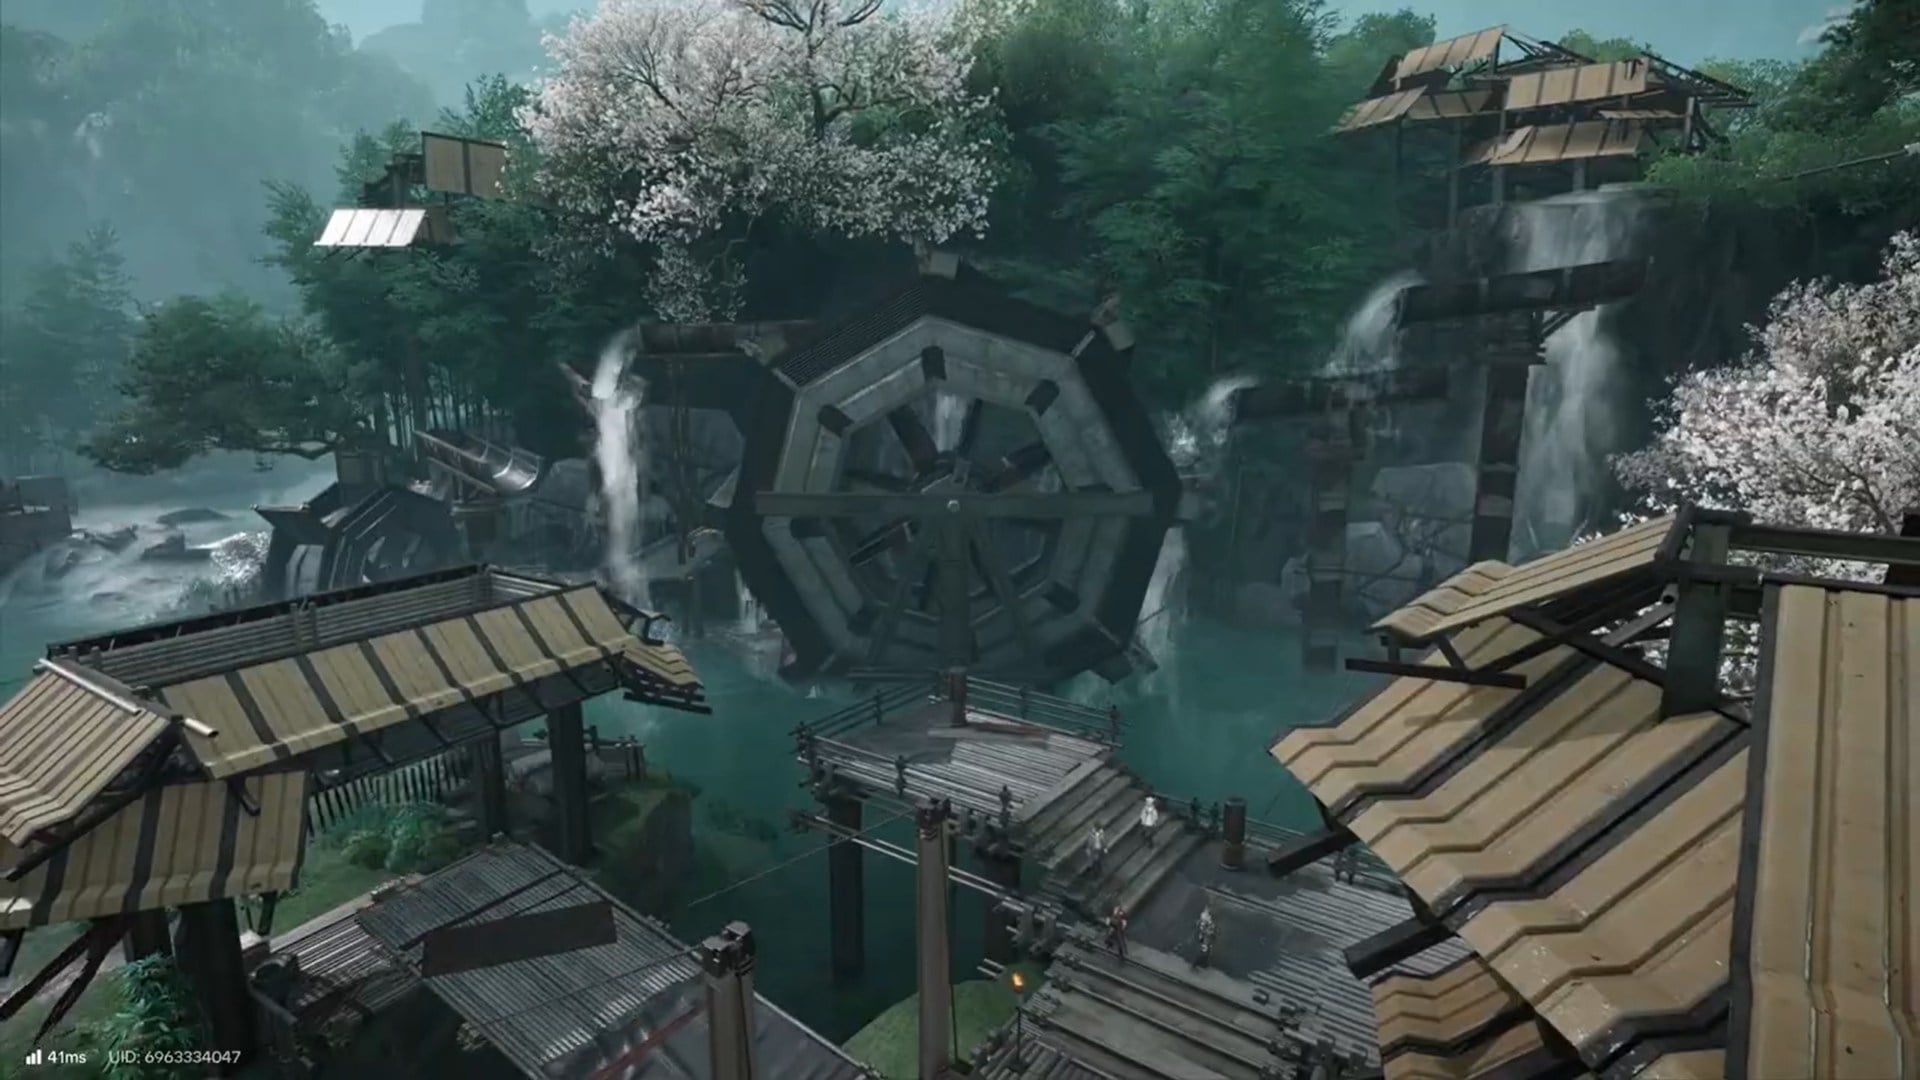
How waterwheels function in Destination Wuling quest
Each waterwheel is part of a closed water-routing system. The wheel itself will never respond directly to player interaction. Instead, it reacts only when water reaches it at the correct angle and pressure. The two turning mechanism posts near every wheel control this flow.
Striking these posts rotates internal valves that redirect water channels. If the channels are misaligned, water either fails to reach the wheel or flows past it ineffectively. When aligned correctly, water visibly pours onto the paddles, causing the wheel to rotate and trigger nearby environmental changes.
This logic applies identically to the first, second, and third waterwheels.
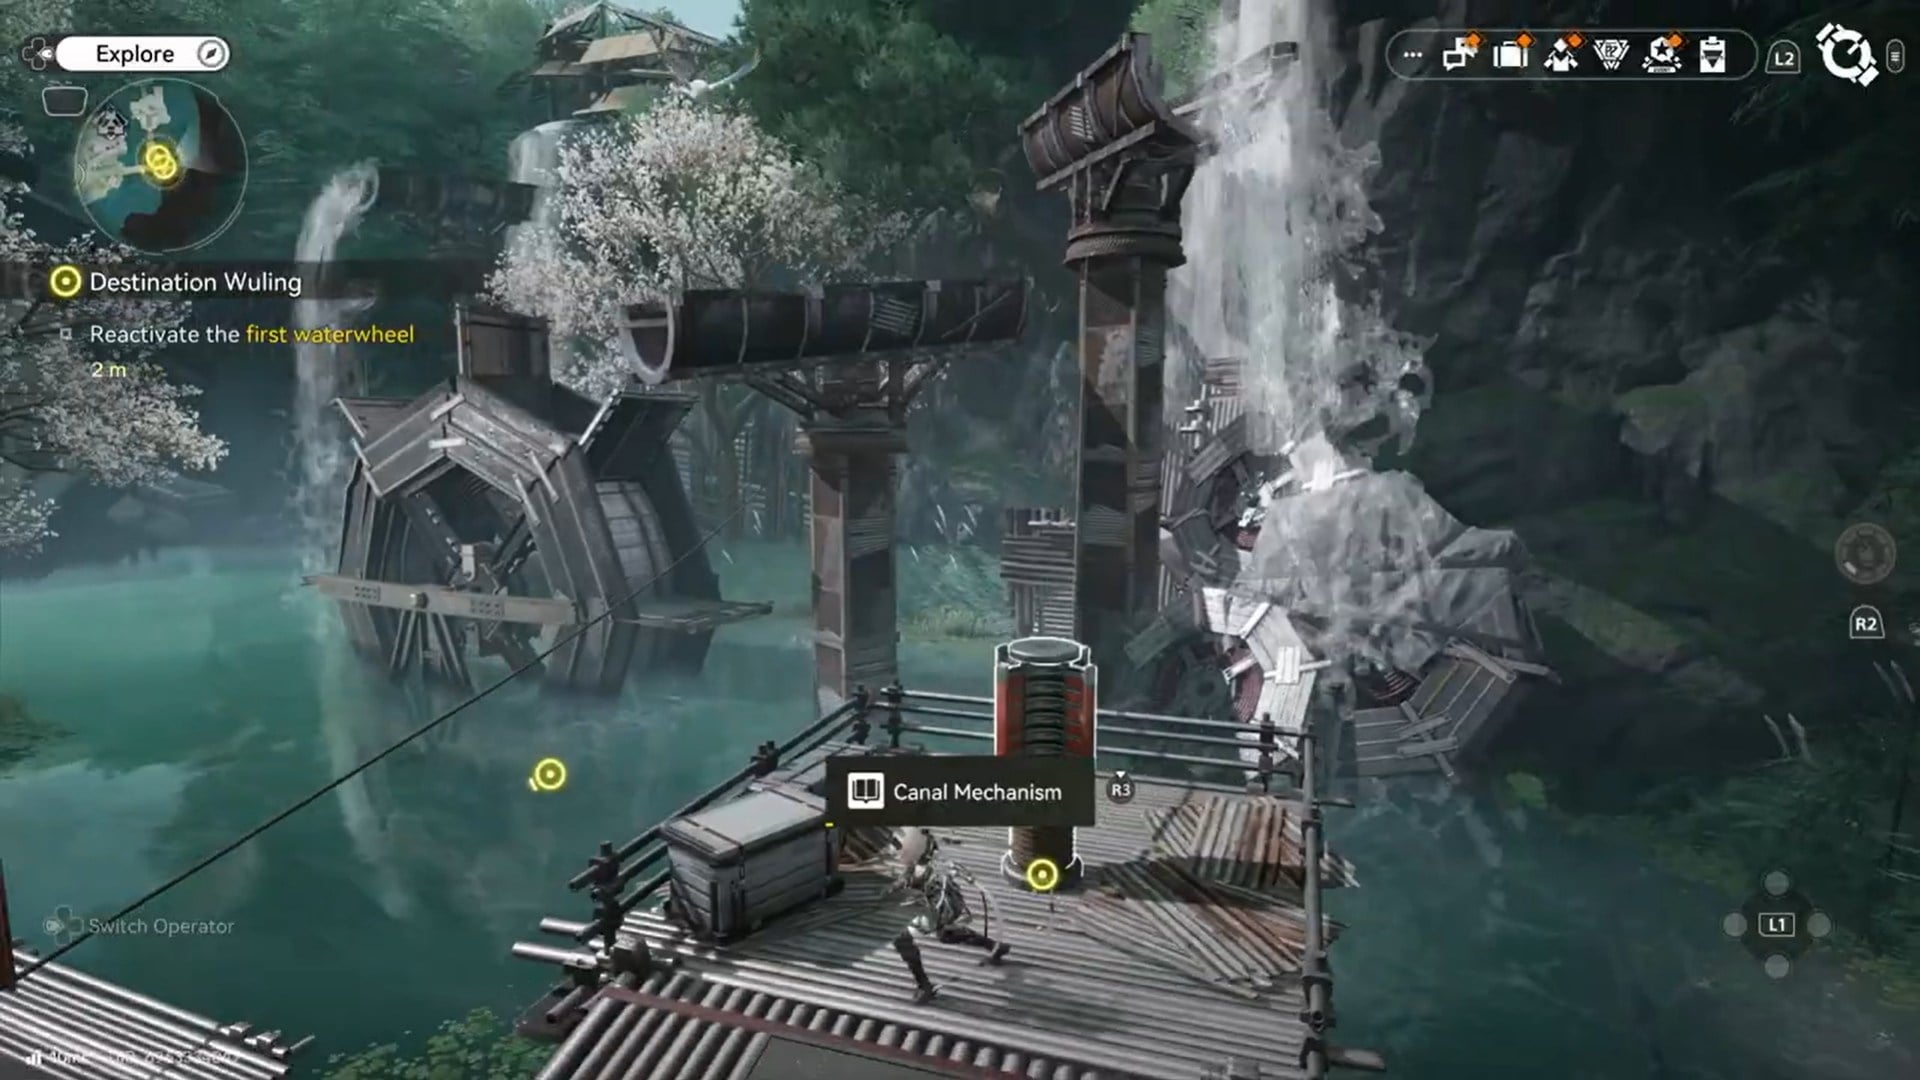
How to reactivate the first waterwheel
The first waterwheel introduces the mechanic in a low-pressure environment, allowing you to observe cause and effect clearly.
Step 1: Locate the first turning mechanism post and strike it
Near the base of the waterwheel, you’ll find the first vertical mechanism post. Strike it to rotate the internal valve. You’ll usually hear a metallic rotation sound confirming the change.
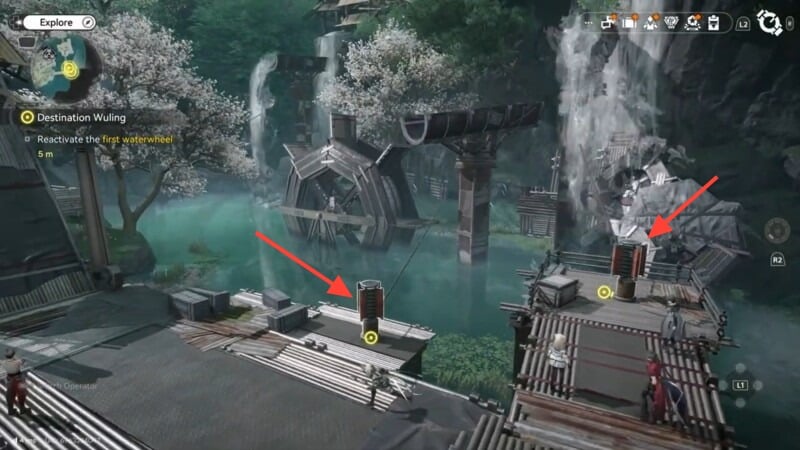
Step 2: Find the second turning mechanism post and strike it
A short distance away is the second post. Strike this one as well. At this point, water may begin flowing—but not necessarily in the correct direction.
Step 3: Adjust both posts until their alignment matches
Strike each post again as needed until the internal channels align. The goal is to synchronize both mechanisms so they point water toward the wheel intake rather than diverting it away.
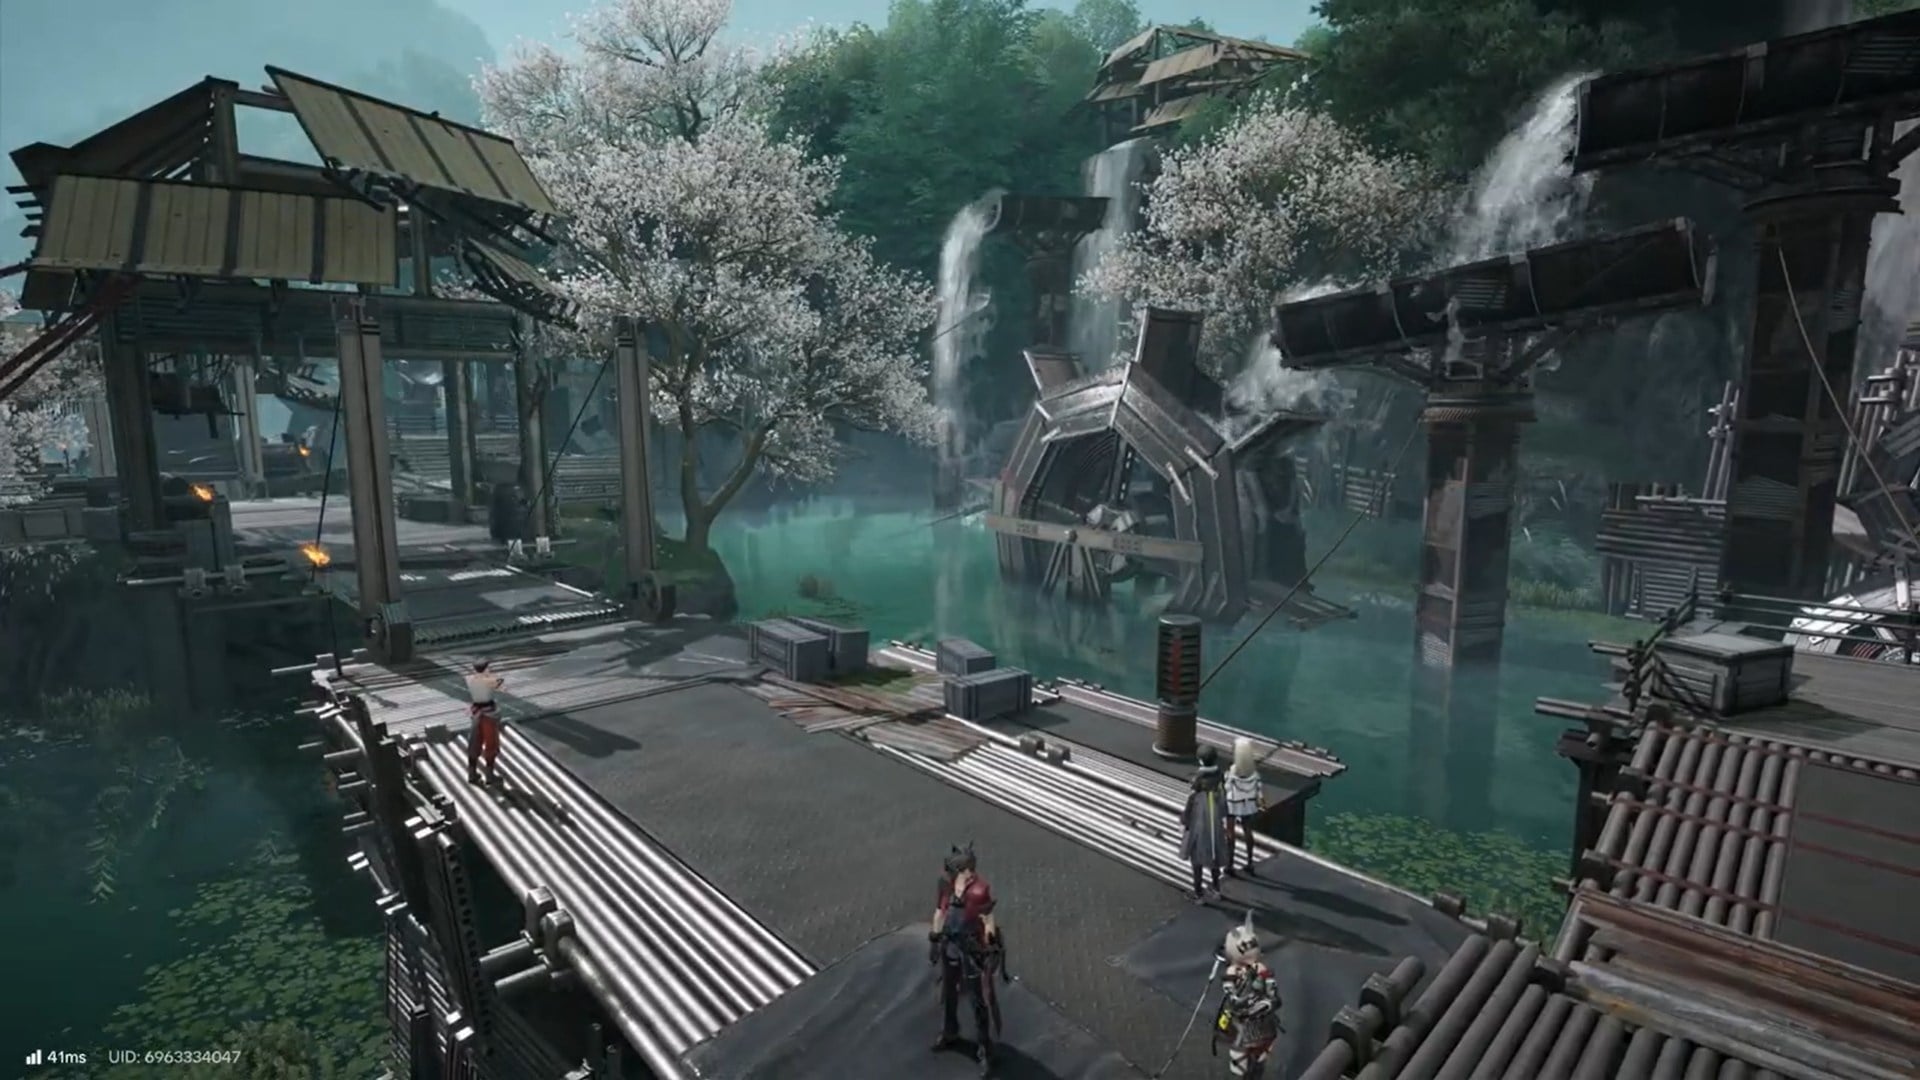
Step 4: Watch for water to reach the wheel
When aligned correctly, water visibly travels along the channel and spills onto the wheel’s paddles.
Step 5: Wait for the wheel to start turning
The wheel does not activate instantly. Give it a moment. Once it starts rotating, the puzzle is complete.
Step 6: Enter the newly unlocked area
The activated wheel unlocks a bridge, granting access to the next section of the route.
How to reactivate the second waterwheel
The second waterwheel works exactly the same, but the surrounding terrain is more complex, making alignment slightly harder to read. Repeat the same process: strike the first post, then the second, adjusting until water flow is properly directed.
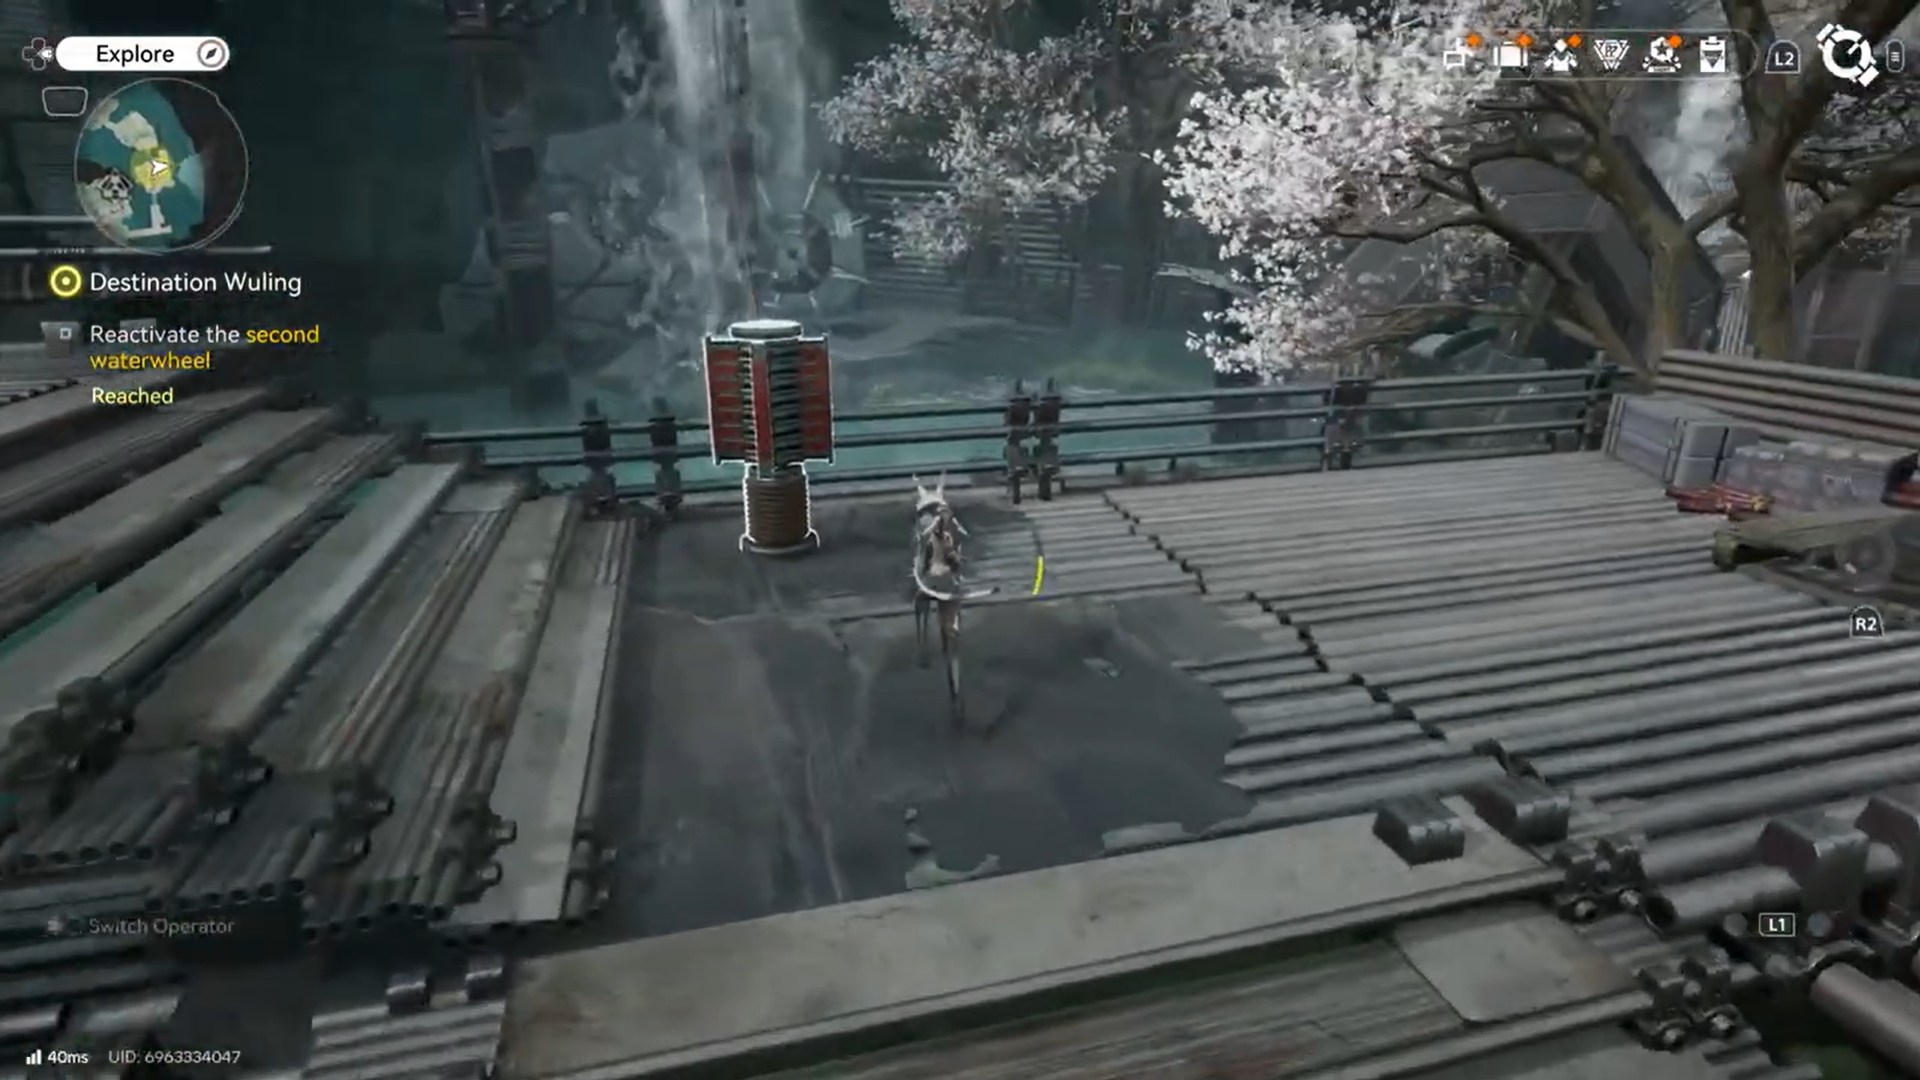
Look for a steady, uninterrupted stream hitting the wheel. Once the wheel begins turning, the system is active.
Just like the first, the second waterwheel unlocks another bridge, allowing forward progression.
The key difference here is visibility. Environmental clutter can obscure water channels, so use sound cues and subtle visual movement to confirm correct alignment.
How to reactivate the third waterwheel
The third waterwheel adds light combat pressure and narrative importance, but mechanically it follows the same rules. Before adjusting the mechanisms, deal with any Aggelos enemies in the area. They can interrupt the process if ignored.
As before, strike each post and fine-tune their orientation until both are aligned. This step is critical. If water reaches the wheel at an odd angle or in short bursts, re-adjust the posts.
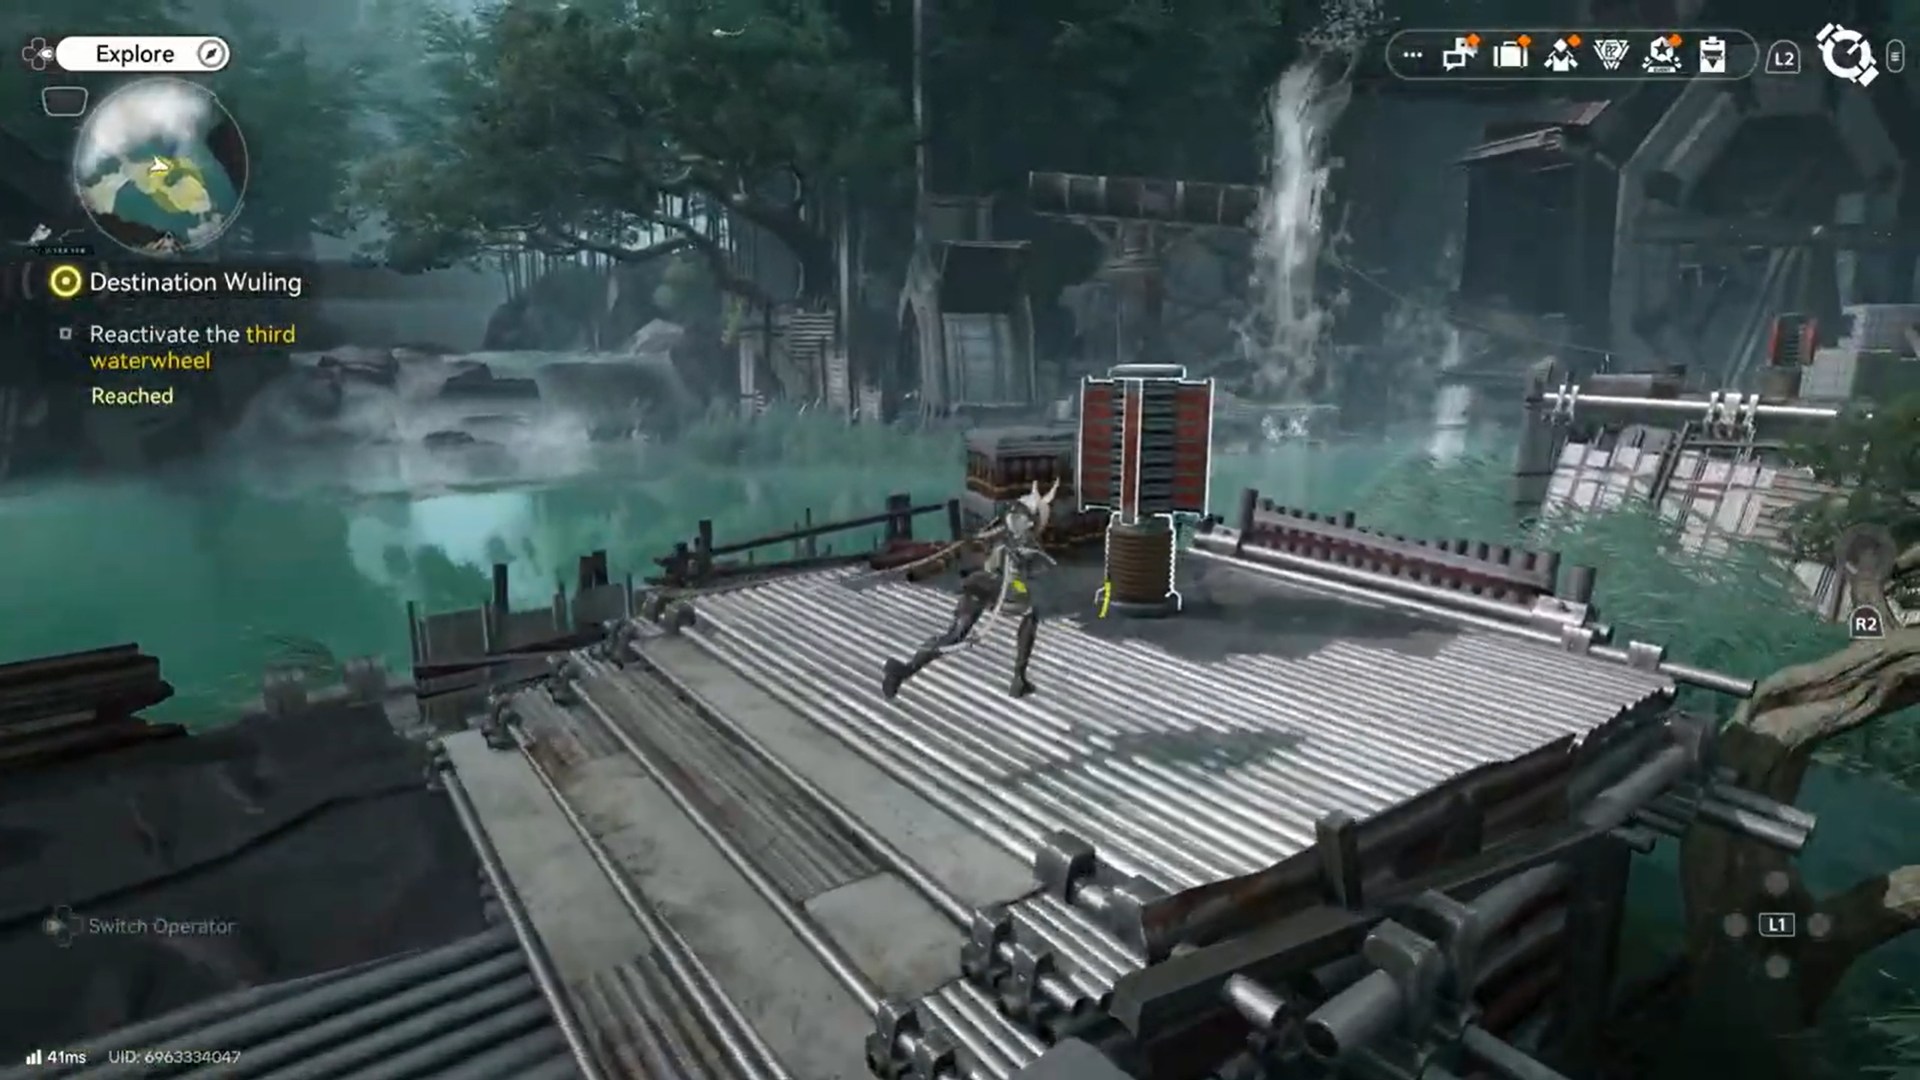
Once water pressure stabilizes, the wheel begins rotating. Unlike the first two wheels, the third waterwheel unlocks a door instead of a bridge. This door leads directly into a secret tunnel, advancing the quest toward Wuling City.

What changes after each waterwheel
| Waterwheel | Unlock result | Progress impact |
|---|---|---|
| First | Bridge unlocked | Access to second area |
| Second | Bridge unlocked | Access to third area |
| Third | Door unlocked | Entry to secret tunnel |
Common mistakes to avoid
One of the most frequent errors is striking both mechanisms once and assuming the puzzle is broken when nothing happens. Each strike rotates the valve incrementally, not fully. Fine adjustment is required.
Another mistake is leaving the area too early. Even when water reaches the wheel, it takes a few seconds for rotation to begin. Patience is part of the puzzle.
Finally, ignoring enemies near the third wheel can reset your focus mid-alignment, leading to incorrect positioning.
What to do after Waterwheel puzzle in Destination Wuling
These waterwheels are more than simple obstacles. They teach you how Endfield communicates mechanical logic visually rather than through explicit UI prompts. Once you understand this system, later environmental puzzles—especially those involving power, water, and machinery—become far easier to read.
Reactivating the first, second, and third waterwheels during the Destination: Wuling quest is all about observation and alignment. Strike both mechanisms, watch the water, wait for motion, and let the environment respond. When done correctly, each wheel smoothly unlocks the path forward—bridges for the first two and a hidden tunnel for the third—guiding you naturally toward Wuling City and the next chapter of Arknights: Endfield.


