What to know
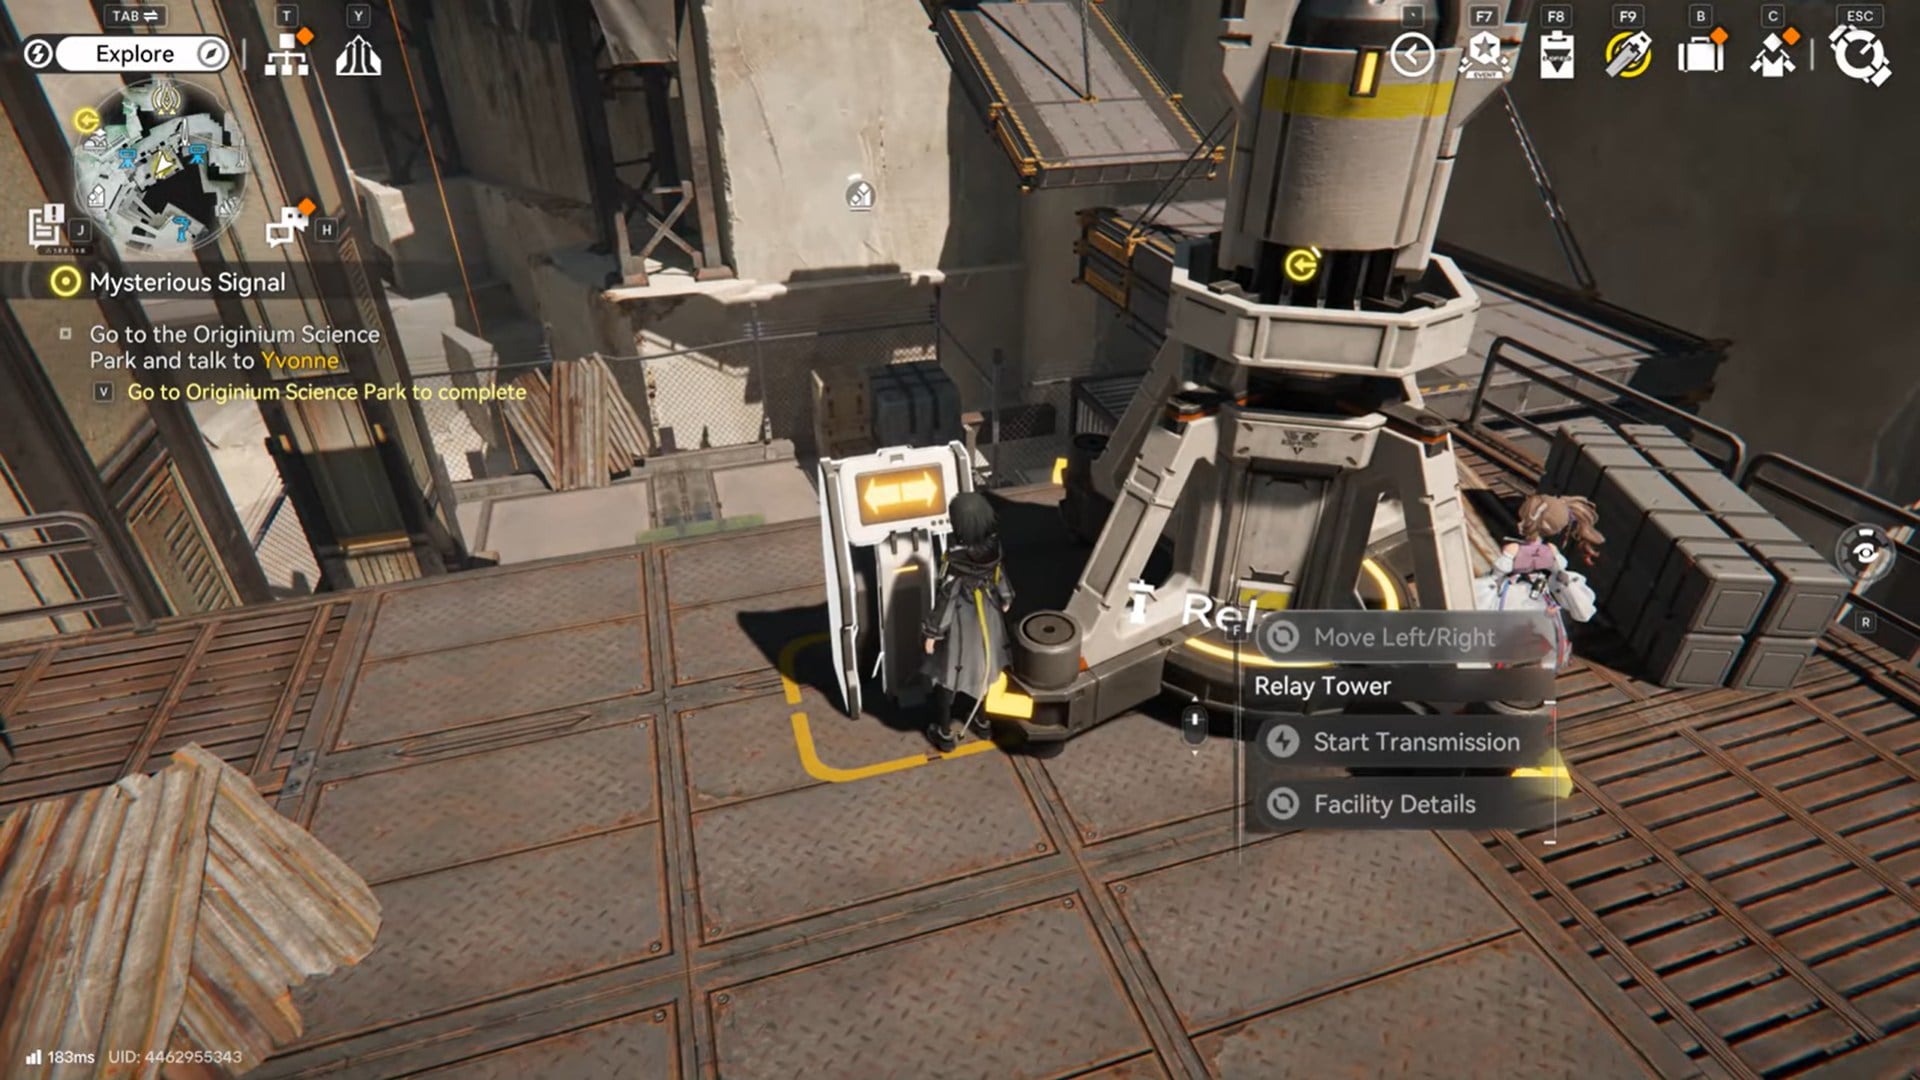
- Power must be routed manually from the Refuse Stockpile using relay towers
- Suspended platform rotation and module puzzles block direct access
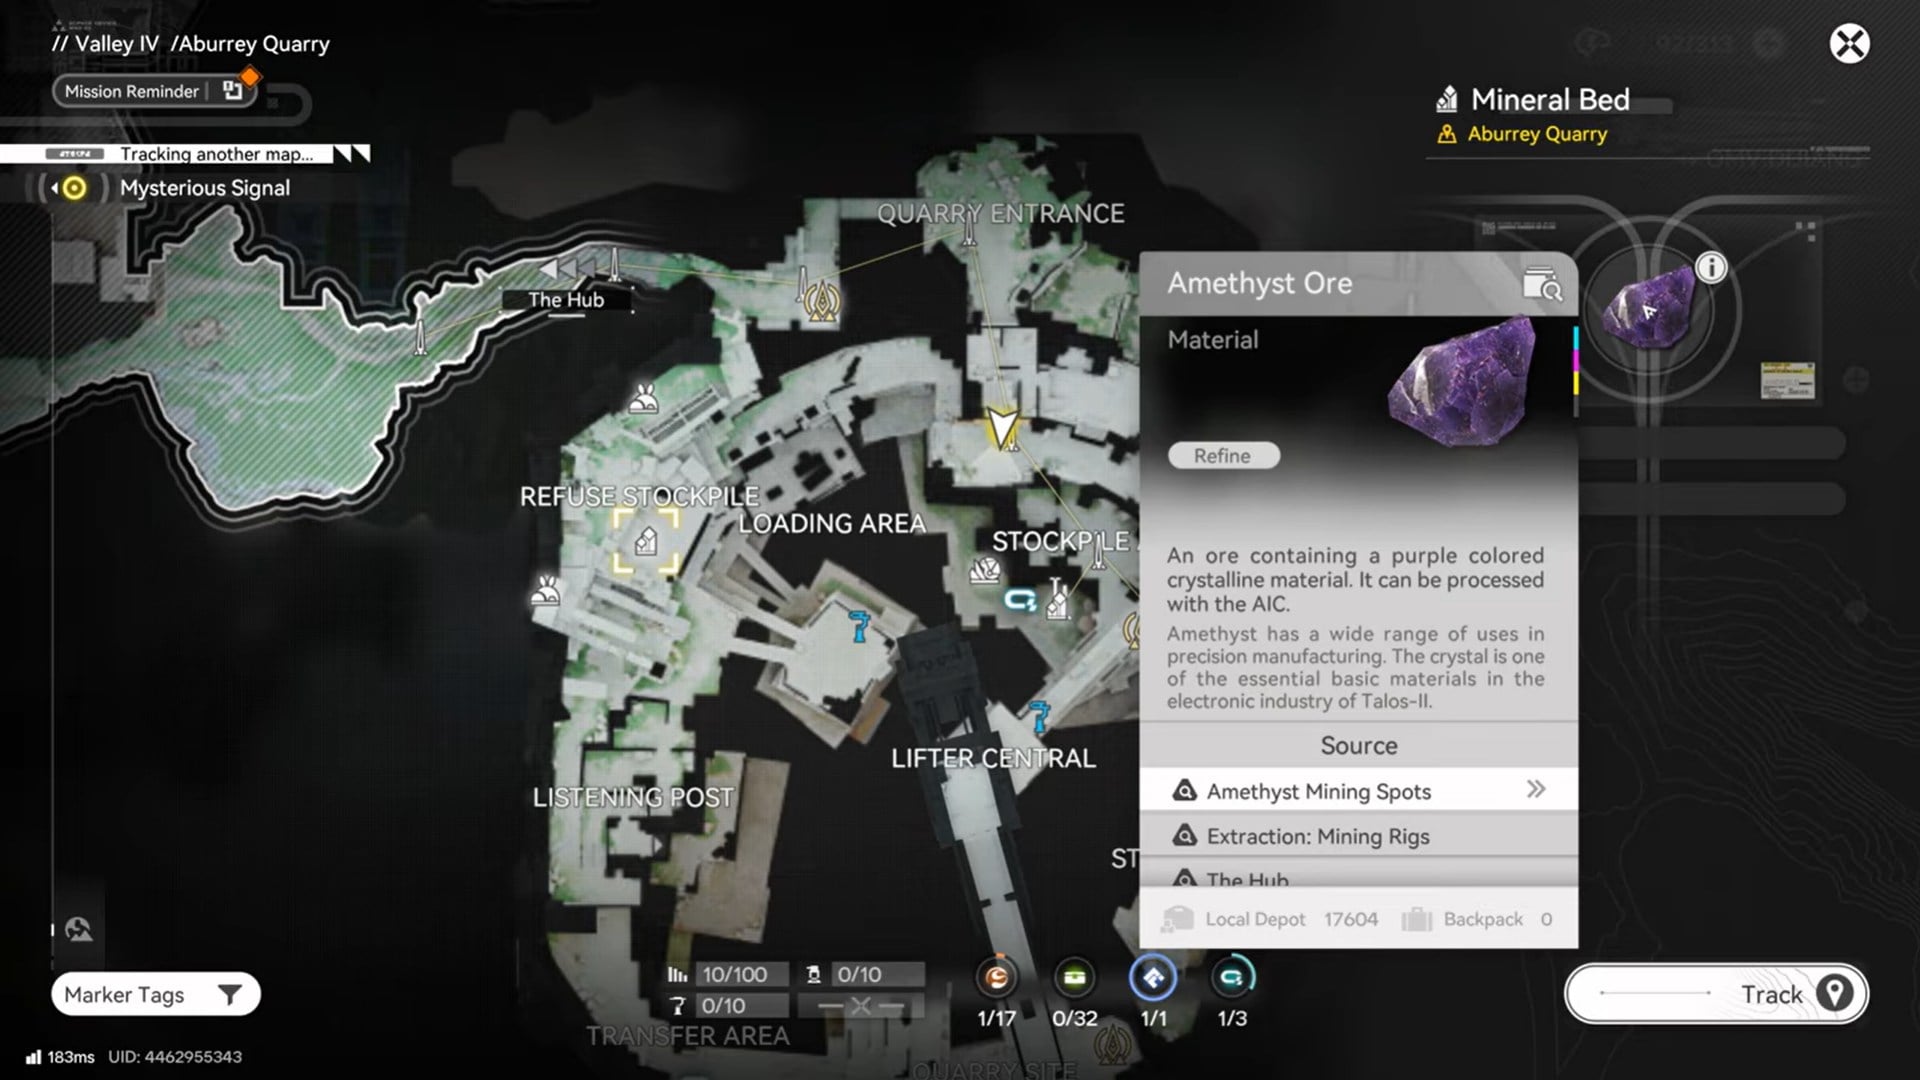
- The Amethyst Mining Spot requires a dense relay network to activate
- Electric Pylon and Electric Mining Rig Mk II are mandatory to finish
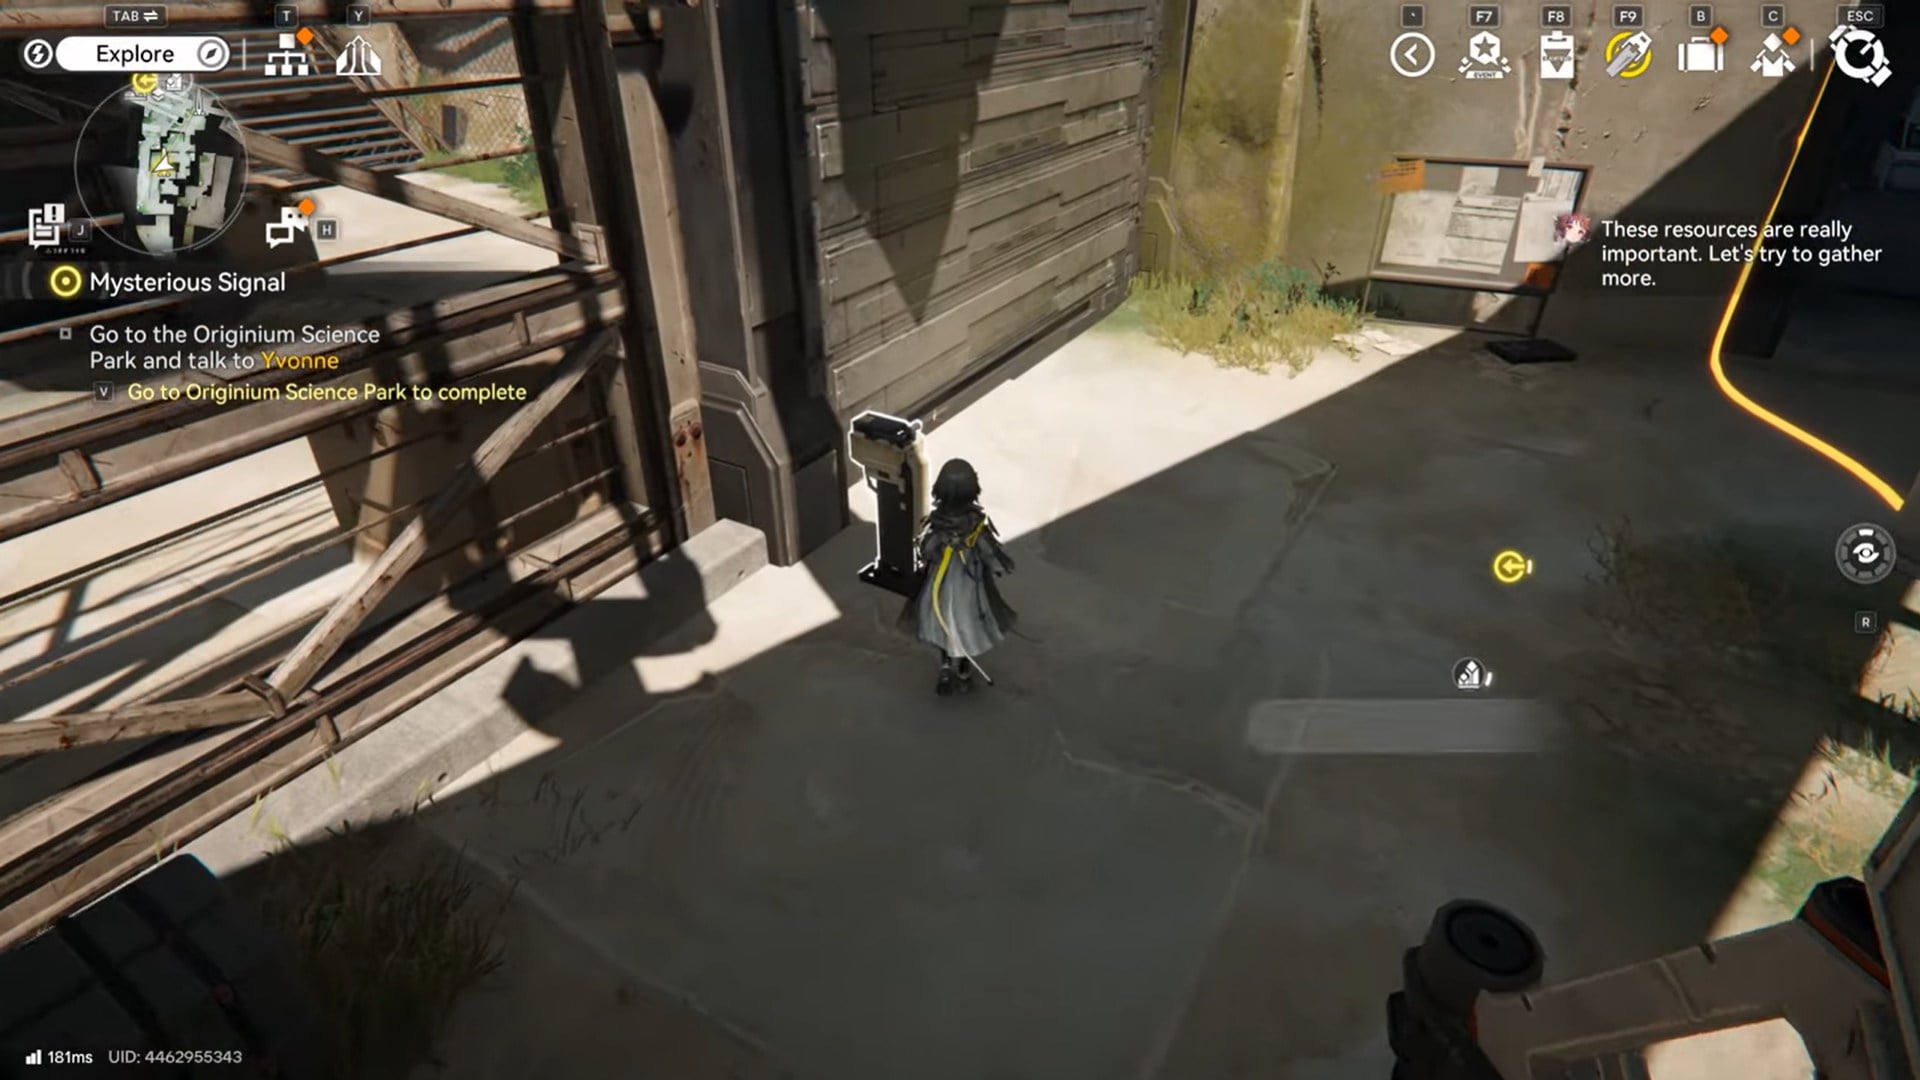
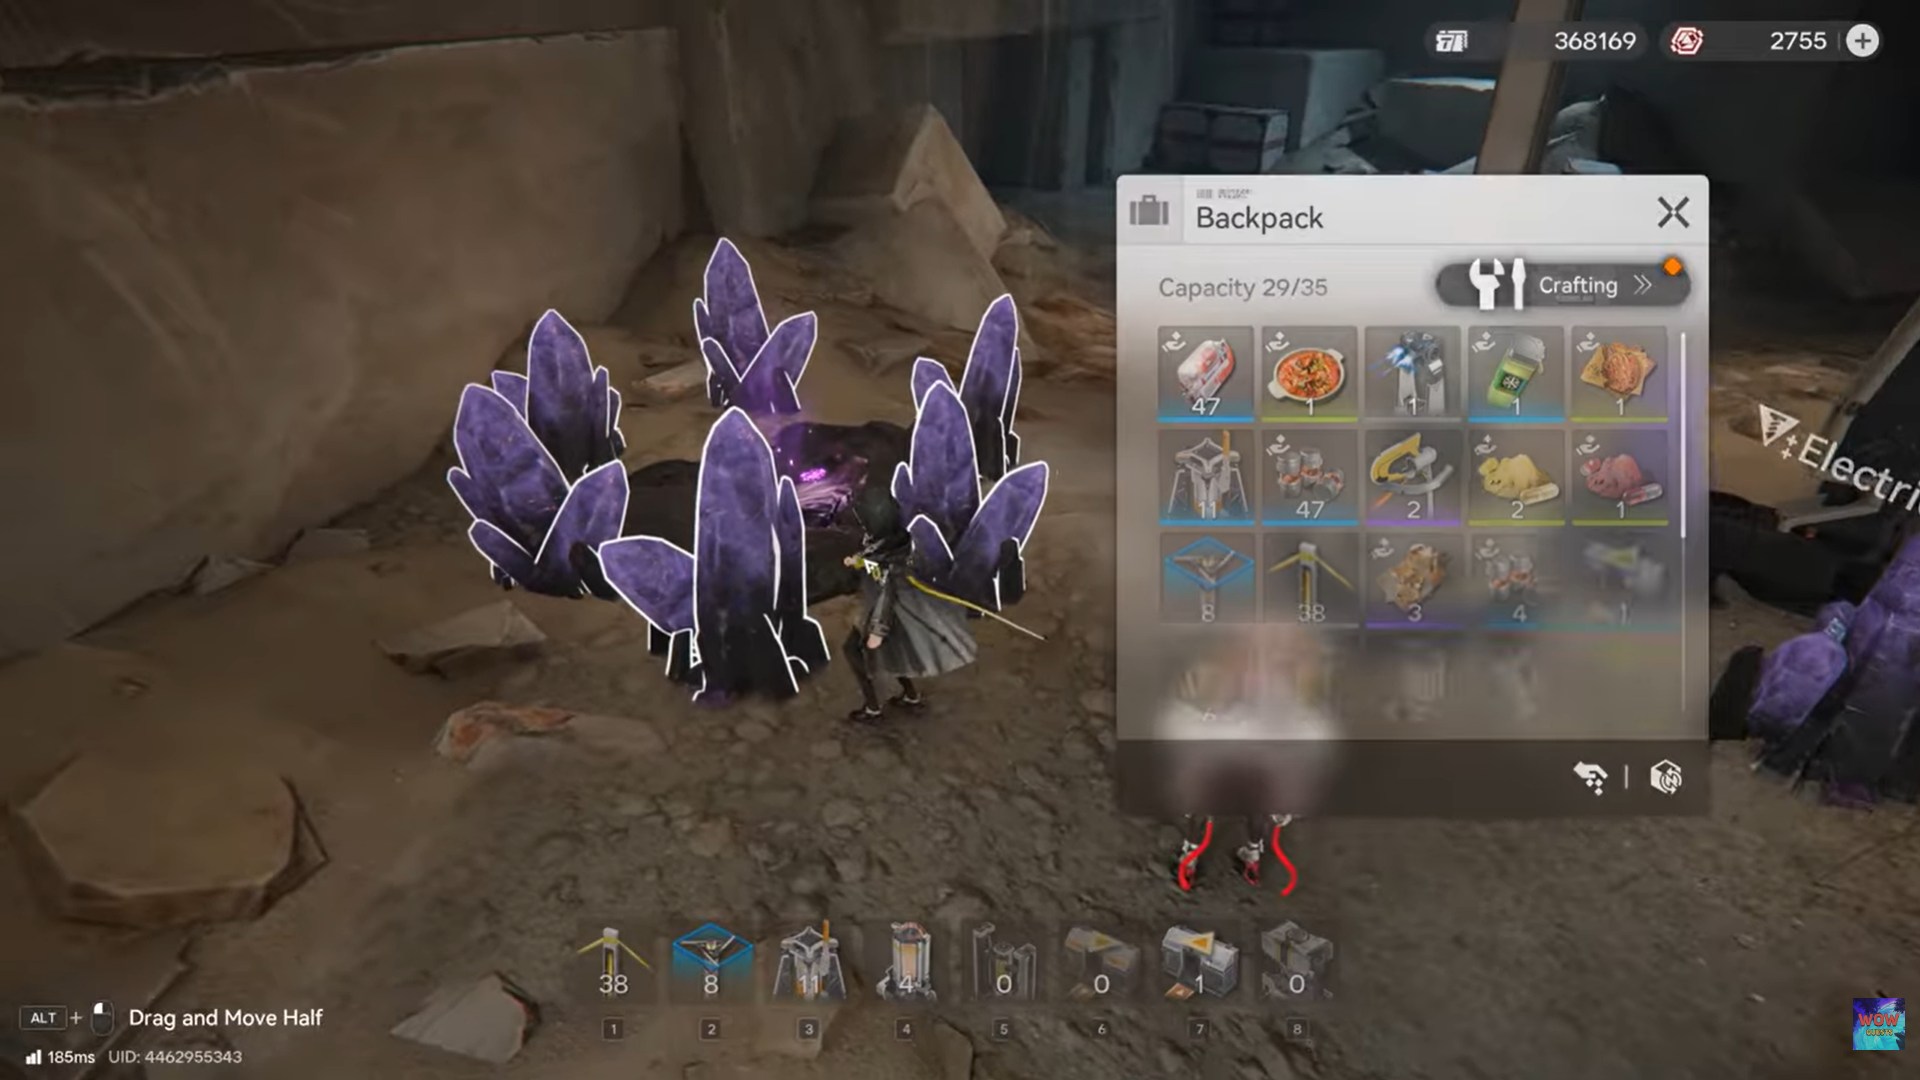
In Arknights Endfield, powering industrial sites is never as simple as dropping a generator and walking away. The Refuse Stockpile Amethyst Mining Spot is one of the clearest examples of how the game blends infrastructure planning with environmental traversal and logic puzzles. This location is not optional filler content either—Amethyst is a valuable mid-to-late progression resource, and unlocking a stable mining operation here significantly improves your crafting and construction options.
What makes this route challenging is that there is no shortcut. You cannot loop power from another mining zone or bypass the terrain. The game deliberately funnels you through suspended platforms, locked doors, and module puzzles to ensure you understand how Endfield’s power grid logic works under pressure. If you are missing even one relay tower connection, the entire chain collapses.
This guide walks you through the full process in a practical, narrative way, explaining not just what to do, but why the game asks you to do it.
Refuse Stockpile Amethyst Mining Spot details
| Element | Details |
|---|---|
| Starting point | Refuse Stockpile power nexus |
| Primary objective | Deliver continuous power to Amethyst Mining Spot |
| Key mechanics | Relay towers, rotating platforms, module puzzles |
| Required structures | Electric Pylon, Electric Mining Rig Mk II |
| Approximate relay towers | 12–14 depending on placement |
| Main reward | Functional Amethyst mining operation |
How to Power Refuse Stockpile Amethyst Mining Spot
Before placing anything, it helps to understand how Endfield treats power flow in large outdoor areas. Power does not “jump” across gaps, elevation changes, or moving platforms unless a relay is actively connected. Suspended platforms only carry power when a relay tower is physically placed on top and aligned correctly. Doors tied to module puzzles are hard stops; power routing cannot continue until the logic condition is satisfied.
This means the Refuse Stockpile route is essentially a linear gauntlet. You build forward, solve, build again, and repeat. If you try to rush or skip ahead, the system simply refuses to propagate electricity.
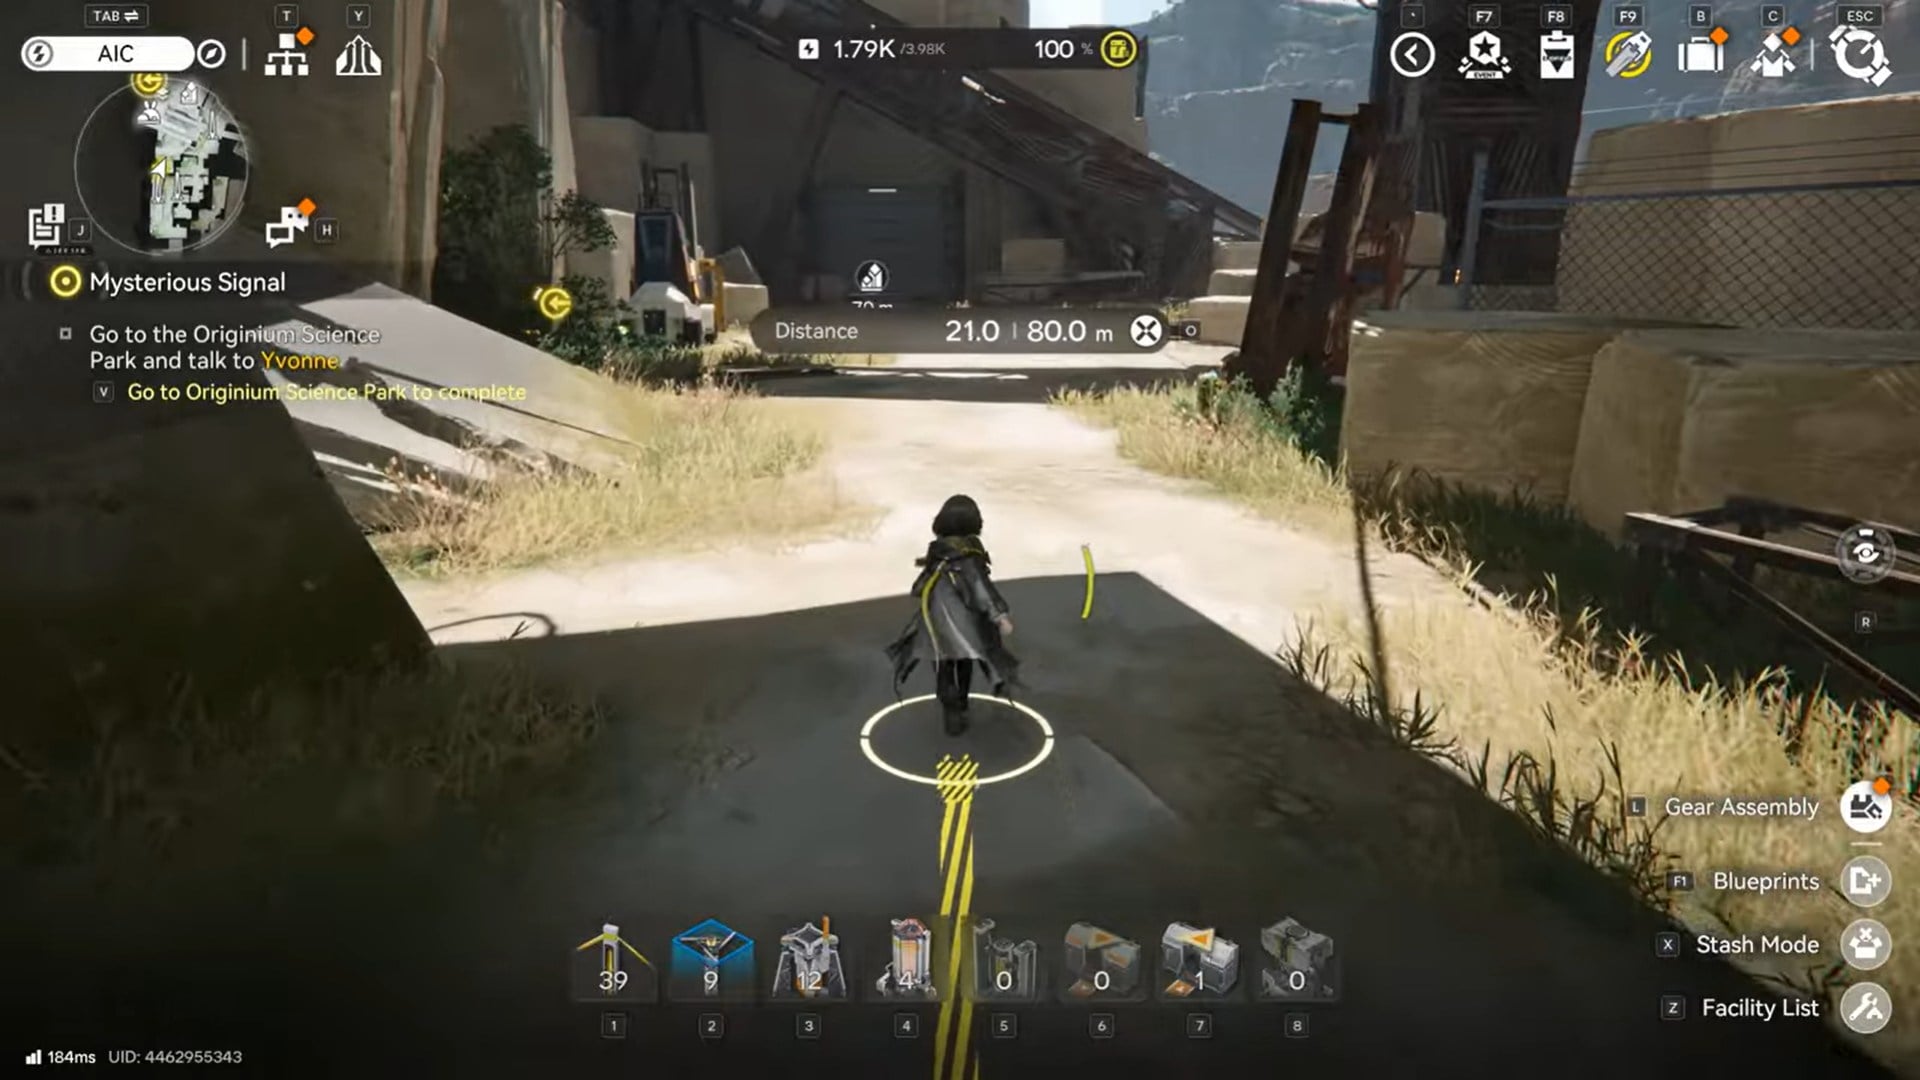
Step 1: Establish the first relay chain from the stockpile
Begin directly at the Refuse Stockpile area, standing near its existing power infrastructure. Place your first relay tower within range of the stockpile’s power output. This initial placement determines how clean the rest of the route will be, so avoid awkward angles or unnecessary elevation changes.

Once the first relay is active, extend the chain outward toward the marked path leading away from the stockpile. At this early stage, the terrain is forgiving, and you can usually maintain a straight line of sight. Make sure each relay lights up before placing the next—this confirms the power flow is intact.
Step 2: Reach the rotating platform zone with three relay towers
After several clean placements, you will reach a gap where the terrain drops away and suspended platforms come into view. This is your first real obstacle. You will need at least three relay towers to reach the control area that governs the platforms.
The platforms are not static. They must be rotated into position before they can be crossed or used for power routing. Activate the platform controls and rotate them so that two platforms align end-to-end. Once aligned, carefully move across and place relay towers on top of each platform.
The key detail here is timing and alignment. If a platform rotates after you place a relay, the connection can break. Always rotate first, confirm the final orientation, and only then place the relay.
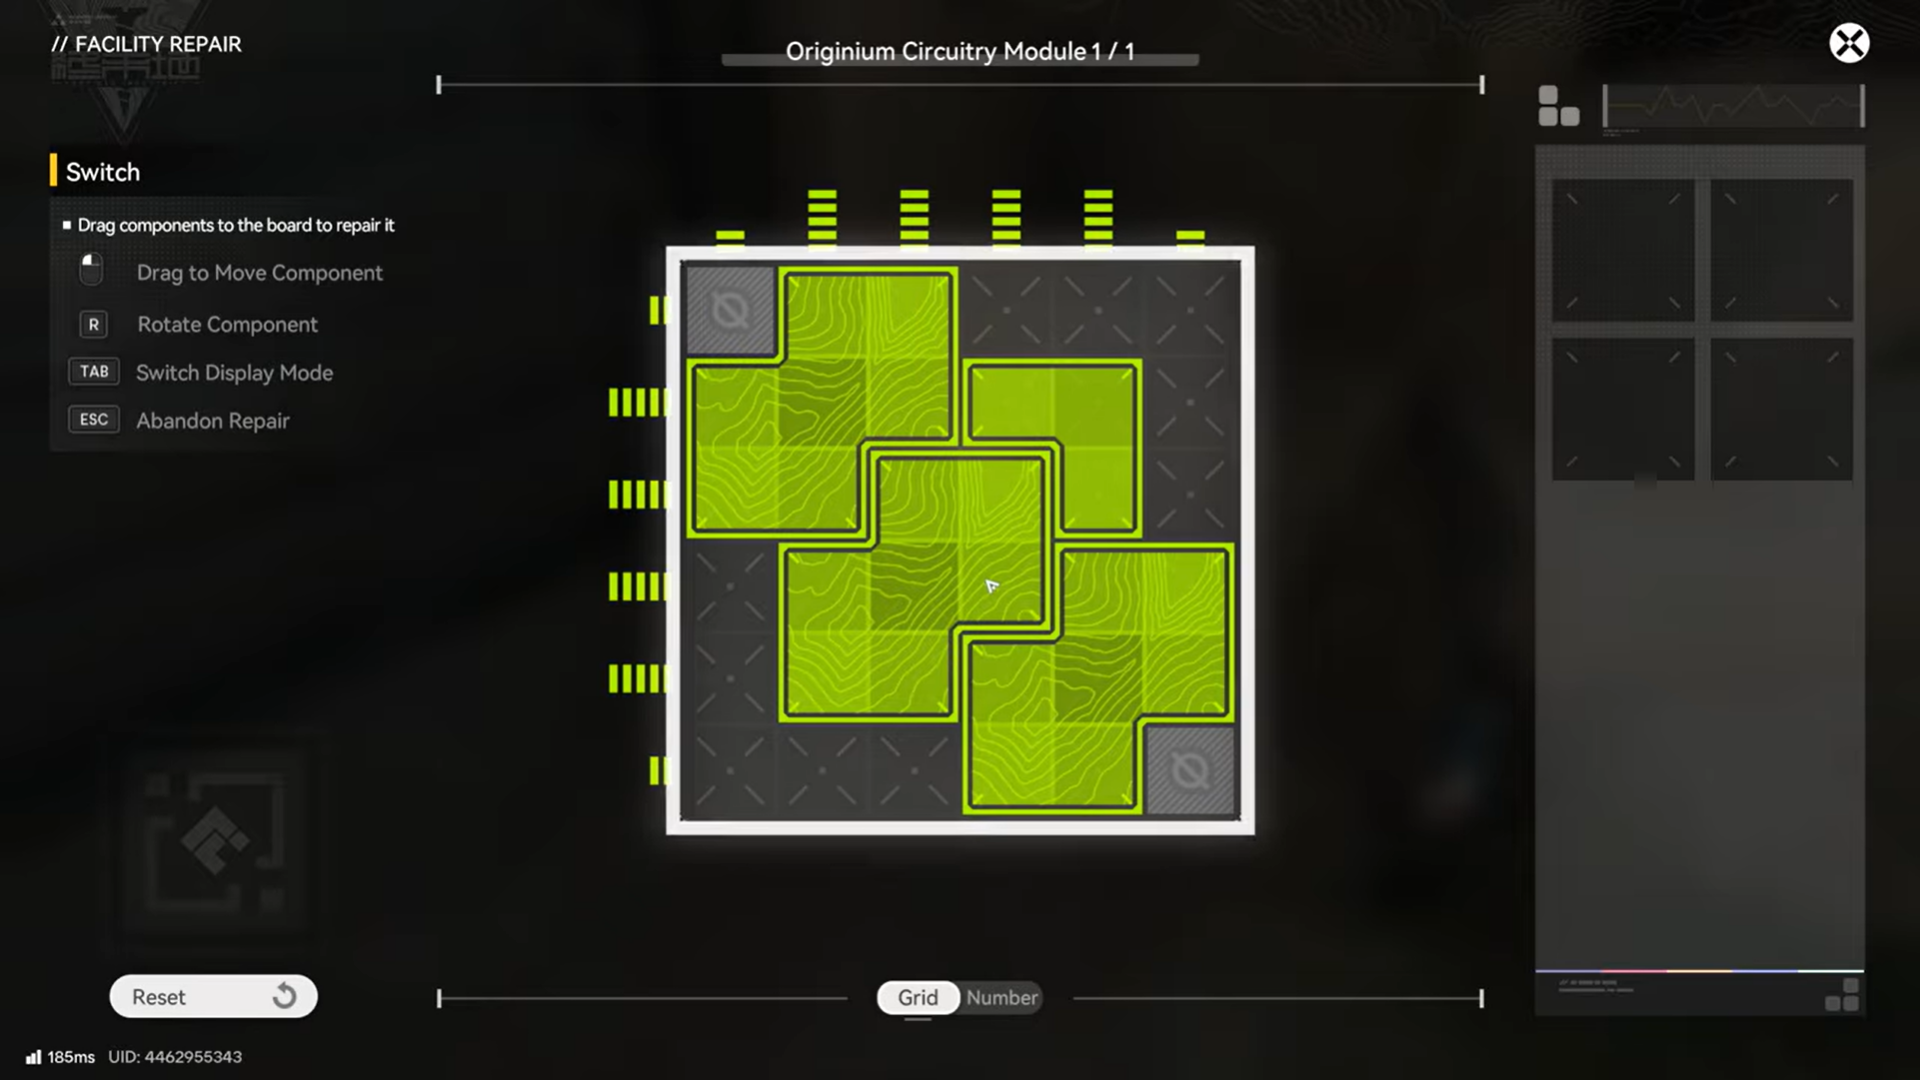
Step 3: Solve the first module puzzle to unlock the door
Beyond the suspended platforms, the route narrows and leads to a locked door. This door is tied to a module puzzle, and no amount of relay placement will bypass it.
Interact with the module interface nearby. These puzzles typically require you to route signals or align modules so that power can pass through. While layouts vary slightly depending on progression state, the core idea remains consistent: create a continuous, valid path between input and output nodes.
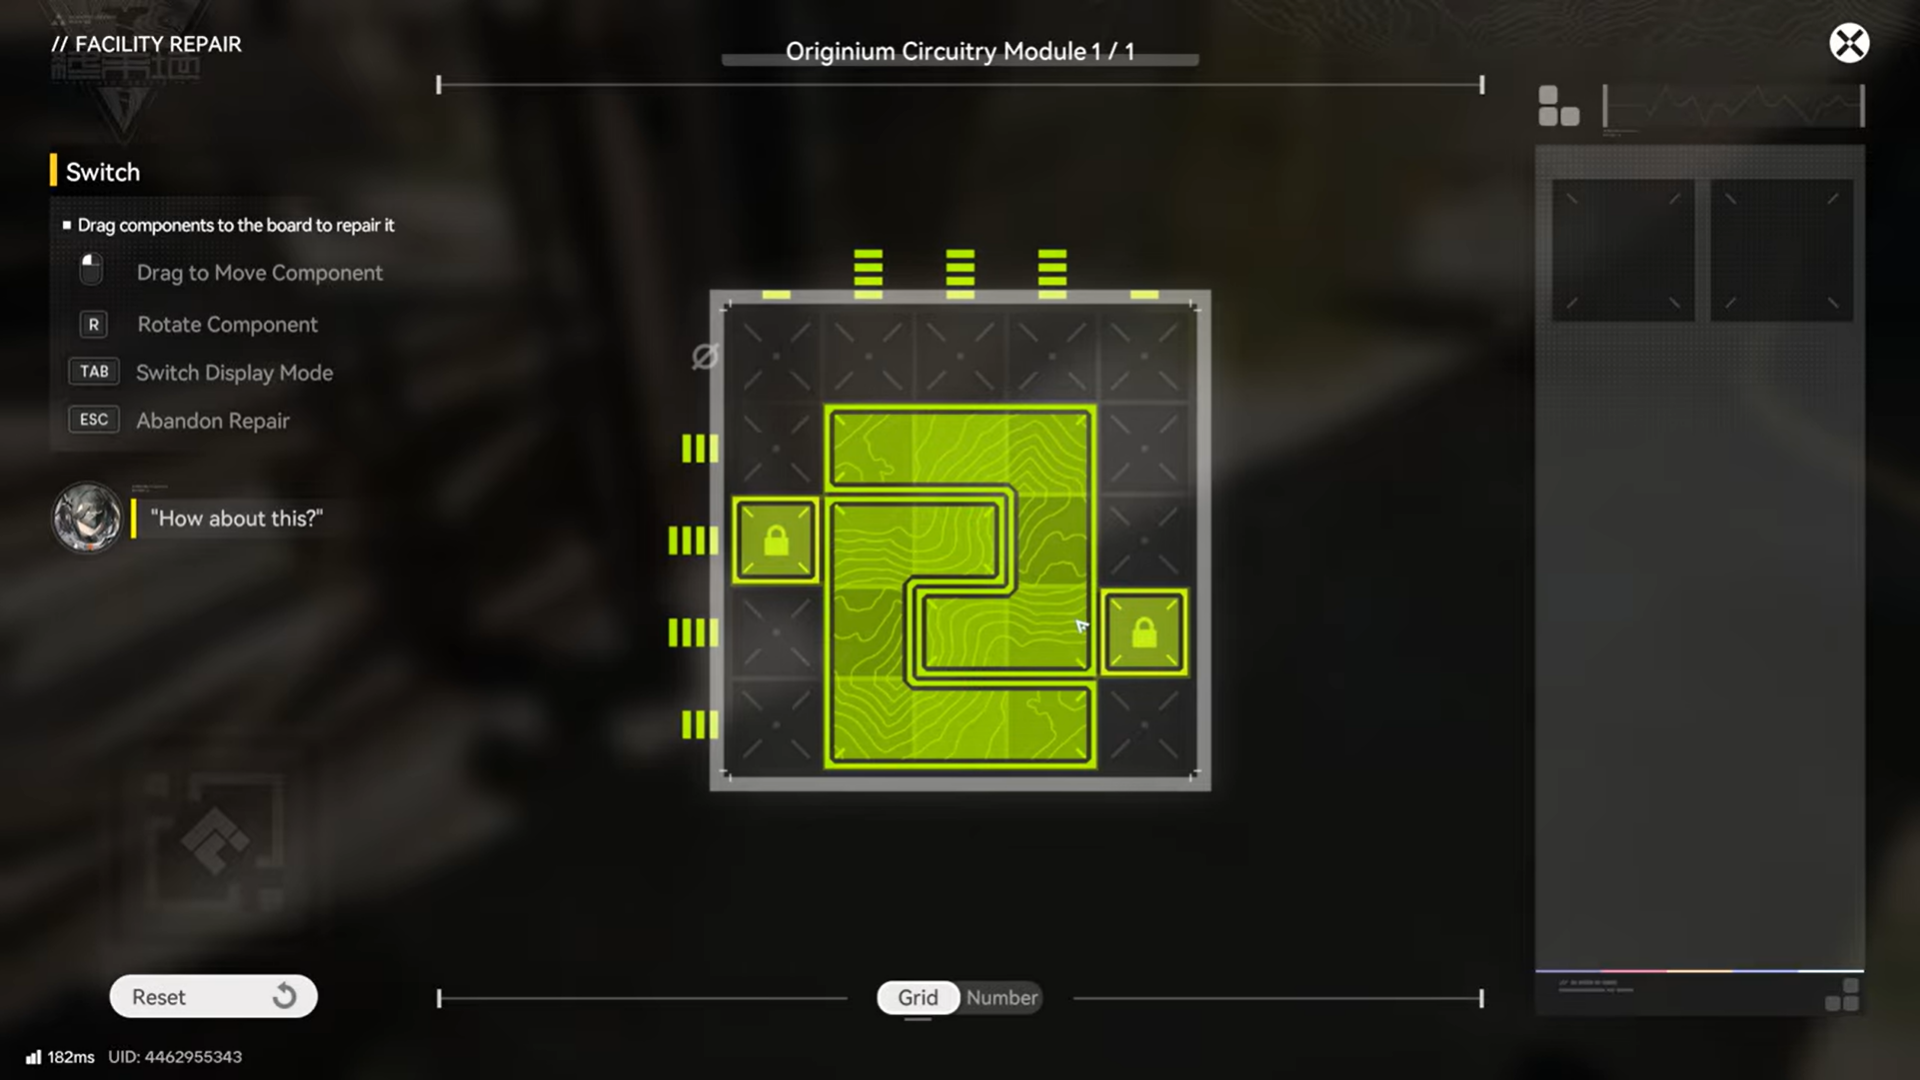
Once solved, the door opens immediately. Only then can you continue placing relay towers beyond this point. Treat this as a checkpoint—if you lose power earlier in the chain, this door will not reopen automatically.
Step 4: Build out the relay grid near the Amethyst Mining Spot
Past the door, the environment opens up again, but the difficulty spikes. The Amethyst Mining area sits in a wide zone that demands a dense relay layout. Expect to place around twelve relay towers to reach here, sometimes more depending on spacing and terrain elevation.
Step 5: Solve another Module Puzzle
As you advance, you will encounter another module puzzle guarding the final approach. Solve it the same way as before, ensuring the logic path is complete before moving forward. Once cleared, you can finally step into the Amethyst Mining Spot itself.
This area is designed to test whether you understand relay spacing. Towers placed too far apart will appear connected visually but fail to transmit power. Watch the power indicators carefully.
Step 6: Finalize with Electric Pylon and Mining Rig Mk II
With power successfully routed into the mining zone, place an Electric Pylon to stabilize distribution. This acts as the anchor point for the mining setup. From there, deploy the Electric Mining Rig Mk II directly on the Amethyst node.
Once powered, the rig will activate immediately, confirming that the entire chain—from the Refuse Stockpile to the mining spot—is functioning correctly. If the rig does not activate, trace backward relay by relay until you find the break.
Rewards and benefits
| Outcome | Benefit |
|---|---|
| Amethyst mining unlocked | Steady supply of advanced crafting material |
| Power network mastery | Easier setup in future complex zones |
| Area completion | Progress toward regional infrastructure goals |
Common mistakes to avoid
Many players attempt to conserve relay towers by stretching placements too far apart. While this sometimes works in flat areas, it almost always fails near suspended platforms or elevation changes. Another frequent issue is placing relays before rotating platforms, which silently breaks connections later.
Finally, skipping module puzzles or assuming they are optional will halt progress entirely. Every locked door on this route is mandatory.
Mining at the Refuse Stockpile
Powering the Refuse Stockpile Amethyst Mining Spot is one of the most satisfying infrastructure challenges in Arknights: Endfield. It forces you to think like an engineer rather than a wanderer, rewarding patience, planning, and attention to detail. Once complete, you gain not just Amethyst, but a much deeper understanding of how Endfield’s power systems truly work—knowledge that pays off again and again as the map opens up.