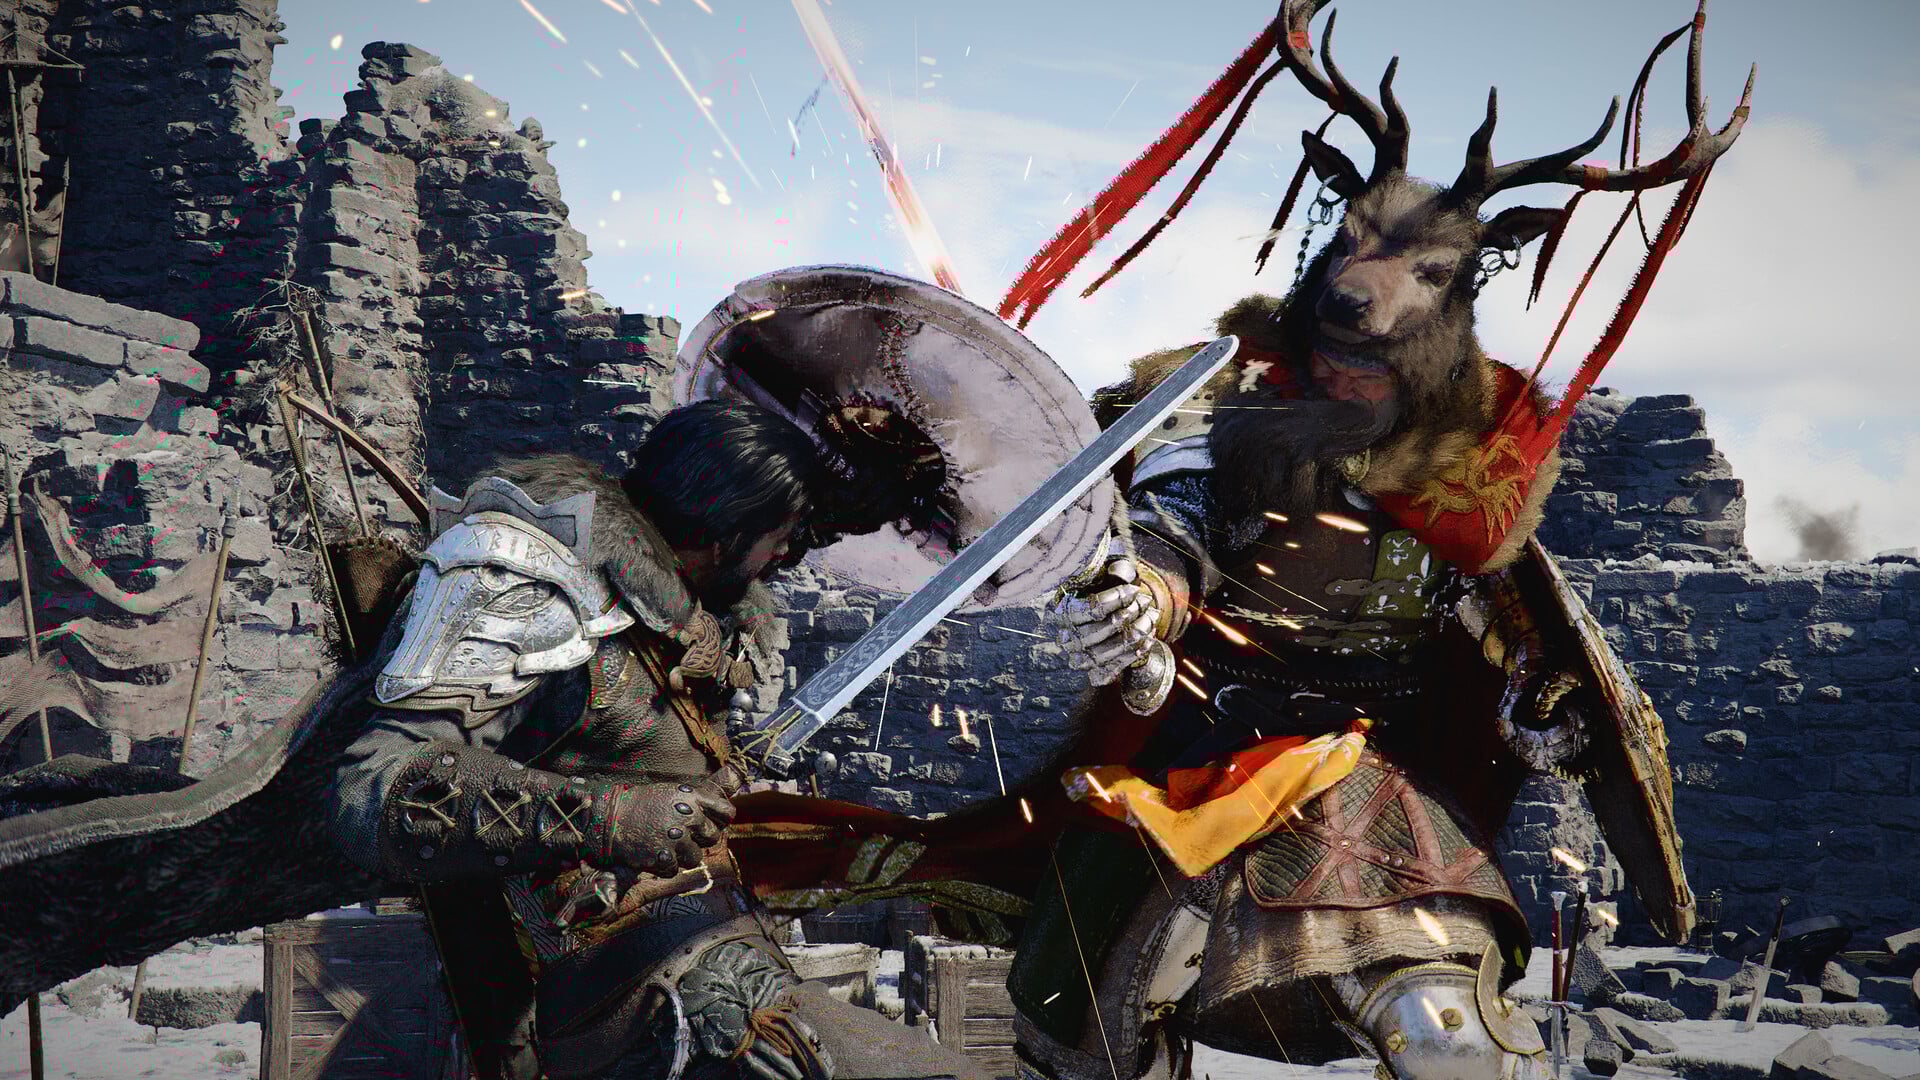
Hollow Knight: Silksong brings back the thrill of precise combat, where mastering parries can turn tough fights into elegant dances of deflection.
What to know
- Parrying in Silksong lets Hornet nullify enemy attacks by timing her Needle strike perfectly, avoiding damage and creating counter opportunities.
- Basic parries are available from the start using standard attacks, but a more reliable Silk skill called Cross Stitch unlocks later for enhanced counters.
- Not all attacks can be parried—focus on weapon strikes and projectiles, while dodging body slams or charges.
- Practice against basic enemies first to learn timings, as parrying shines in boss battles but carries risks if mistimed.
Parrying in Hollow Knight: Silksong is more than mere blocking; it’s about turning defense into offense. With the Cross Stitch ability, Hornet gains a high-risk, high-reward way to negate enemy attacks while striking back. Whether facing smaller foes or larger bosses, learning the timing and directional cues of parry can shift the entire pace of combat.
This guide covers how to unlock the parry mechanic, perform it effectively, and know when it’s worth the risk.
How parry works in Silksong
Parrying in Silksong isn’t exactly the same as in the original Hollow Knight, though many core ideas have been preserved and refined.

- The mechanic is tied to the Cross Stitch Silk Skill. Hornet can enter a parry stance by using Cross Stitch.
- In this stance, if an enemy attack is timed — and aligned directionally — with Hornet’s counterattack, Hornet negates the incoming damage and strikes back. Turns out there’s a visible and audible cue as well (a clink, clash) when the parry suceeds.
- The attack from Hornet must intercept the enemy’s attack hitbox. For example: if the enemy swings horizontally, Hornet should strike with a horizontal slash at the correct timing. If the enemy’s attack is downward, Hornet may need to use an upward strike, etc.
How to unlock Cross Stitch and start parrying (step-by-step guide)
Before using the parry, it must be unlocked. Here’s how:
Step 1
Reach Sinner’s Road and locate a secret wall on the eastern side of a vertical shaft outside the NPC Styx’s chamber. Use double-jump or wall-jump to access this wall.

Step 2
Break through that secret wall to enter the Bilewater area. There are two directions inside: one leads upward (to Putrefied Ducts), the other downward (toward the Mist).
Step 3
Make your way through the Mist, a secret subarea in Bilewater. In the Mist, you’ll need to follow tips (white butterflies, etc.) to navigate — since falling or wandering off may reset your position.

Step 4
Reach the Exhaust Organ structure in the Mist and face the Phantom, the optional boss.

Step 5
Defeat Phantom. Once Phantom is defeated, Hornet learns the Cross Stitch parry ability (Cross Stitch) and gains the ability to use parry in combat. The Mist area is then fully opened up.

How to perform a parry effectively in combat
Once you have Cross Stitch, mastering parries involves learning timing, enemy behavior, and risk management.

Step-by-step to parry during fights
Step 1
Observe enemies or bosses — watch their attack animations carefully. Look for telltales like weapon wind-ups, body positioning, or sound cues. These clues will help you time your counterattack.
Step 2
When you see the incoming attack animation start, prepare Hornet’s needle swing so that it intercepts the enemy’s weapon hitbox. That means your attack should land just before or exactly when the enemy’s attack would hit Hornet. Timing is tight.
Step 3
Match the direction. If the attack comes horizontally, use a horizontal strike; if upward or downward, adjust accordingly. Using the wrong direction may cause your counter to miss or not register as a parry.
Step 4
After a successful parry, Hornet performs a counterattack — often with invincibility frames during that moment. Use that opportunity to reposition, follow up with damage, or avoid retaliation.
Step 5
Practice on “readable” enemies first — ones with slower, simpler attacks. Avoid trying to parry multi-hit combos or erratic fast attacks until you’re comfortable with the timing.
Parry effectiveness across enemy types
Different encounters highlight parrying’s strengths and pitfalls. Here’s a quick comparison:
| Enemy/Boss Type | Parry Viability | Key Tips | Example |
|---|---|---|---|
| Basic Sword Foes | High | Time for horizontal clashes; chain into counters. | Greymoor guards—parry slams for easy stuns. |
| Projectile Throwers | Medium-High | Deflect back for bonus damage; aerial parries work well. | Exploding fireballs from ranged bugs. |
| Charging/Body Slam Bosses | Low-None | Dodge instead; parry follow-ups if they have weapon combos. | Bell Beast—evade the crush, parry any trailing strikes. |
| Multi-Hit Bosses | High (with Cross Stitch) | Parry flurries for openings; use mobility to reset. | Lace or Moorwing—stay close to bait attacks. |
When parrying is worth it (and when not)
| Best situations for parry | Situations to avoid parrying |
|---|---|
| Enemies with clear, single-hit melee attacks | Fast multi-hit combos or unclear attack telegraphs |
| Boss fights where perfect timing gives openings | When overwhelmed or in tight space where dodge or other evasions are safer |
| When Hornet has good stamina/silk (or resources) to risk entering stance | When risk of getting punished after a failed parry is too high |
| To gain invincibility frames or counter windows | Against projectiles or ranged attacks where timing is trickier |
Crests like Wanderer and Reaper adjust your timing and range, while tools such as Longclaw extend Needle length for safer parry attempts. Rely on practice—Hunter’s March is a great place to test timing against swarms of ant soldiers.


