- What to know
- Lever order reference
- Why the cave entrance feels “locked” even when standing in front of it
- Where this objective typically appears in the Investigation mission
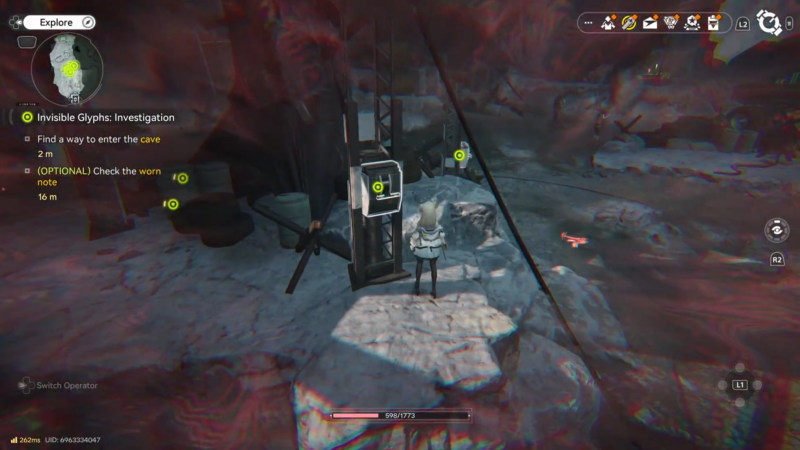
- How to reach the cave entrance area when a breakable wall blocks access
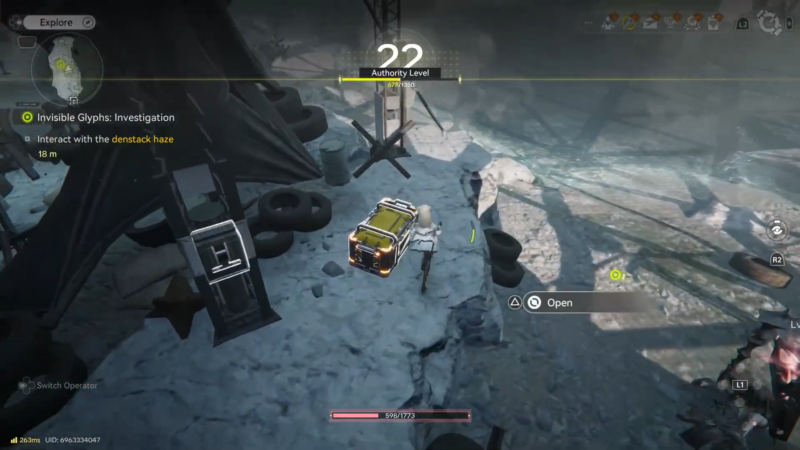
- How to find a way to enter the cave using Denstack Haze and the lever sequence
- How to complete Denstack Haze objective
- Troubleshooting: what to do when the cave does not open
- What to expect after entering the cave
- Tips for making the objective feel straightforward (instead of frustrating)
- Entering the cave with the intended solution
What to know
- Invisible Glyphs: Investigation is part of the Invisible Glyphs side-quest chain and is designed around hidden environmental clues rather than a simple “use key” gate.
- Denstack Haze is the required reveal mechanic for the lever puzzle, because it makes Bonekrusher glyph symbols visible near the levers.
- The correct lever order is Human Face first, then Treasure, then Shovel, which opens the cave entrance.
- After entering the cave, the mission continues with locating Jouster, freeing him from a cage, and finishing the cave investigation to move the chain forward.
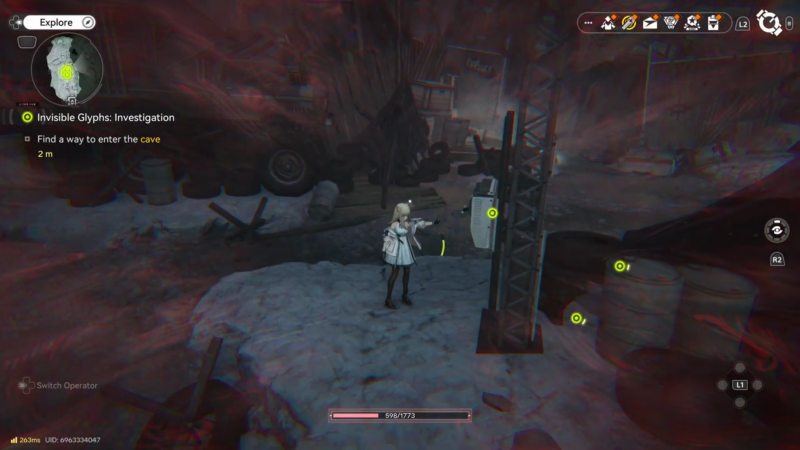
This objective often feels confusing because the game asks to “find a way” without immediately presenting a conventional door prompt, key slot, or obvious interactable. The intended solution is to treat the cave entrance like a small investigation scene: first enable the visibility state that reveals the clue layer, then translate that clue into an interaction sequence.
Lever order reference
| Lever position | Symbol revealed after Denstack Haze | Pull order |
|---|---|---|
| Left | Human Face | 1 |
| Middle | Treasure | 2 |
| Right | Shovel | 3 |
Why the cave entrance feels “locked” even when standing in front of it

In many action RPGs or open-world games, a blocked entrance usually implies one of three things: an item key is needed, a boss must be defeated, or a switch is hidden somewhere nearby. This cave objective breaks that expectation slightly because the “switch” is visible (the levers), but the information needed to use it correctly is not visible until a separate interaction occurs.
That separation—mechanism present, instructions hidden—is the entire point of the Invisible Glyphs quest line. The quest trains attention toward the idea that there are two layers of reality in the environment:
- The normal exploration layer, where objects look ordinary.
- The Denstack Haze layer, where additional markings and guidance appear.
So if the cave seems impossible to open, that is not because something is missing in the inventory; it’s typically because the clue layer hasn’t been activated at the entrance puzzle.
Where this objective typically appears in the Investigation mission
Invisible Glyphs: Investigation is structured like a scavenger trail with interruptions. Instead of moving in a straight line, it pushes toward a location, then introduces new information (messages, distress signals, graffiti, encampments), and finally culminates in a hidden area that contains the cave entrance.
If the cave objective is active, the route usually has already passed through these kinds of beats:
- A message that kicks off the task and provides narrative framing.
- A hostile camp encounter that reinforces the Landbreaker presence.
- A “follow the marks” section, where the mission marker matters more than trying to 100% every graffiti stop.
- A transition into a cliffside/hidden encampment zone, which is where the cave puzzle sits as a gate into the final interior segment.
This matters because players often try to brute force the cave as soon as they see it. But the game expects a short sequence of steps in the zone (clear threats, use haze, read symbols, then input lever order). Treating it as a mini-dungeon entry ritual makes it far easier.
How to reach the cave entrance area when a breakable wall blocks access
A common point of confusion happens before the lever puzzle even becomes relevant: a breakable wall blocks entry into the hidden camp area that leads to the cave. If the objective marker seems to pull toward an area that cannot be entered, the hidden camp likely hasn’t been opened yet.
The intended way through is not to search for a tiny crack in the wall or spam attacks; the route relies on obtaining an explosive (a bomb) from a specific interactive object (a Barrel of Originium) inside a shelter, typically described as being located in an abandoned factory across from the cliffside encampment.
The practical takeaway is simple: if there’s a “hard stop” at a wall, the fix is usually nearby and is an interactable “tool pickup,” not a combat requirement. Once the wall is destroyed, the hidden camp becomes accessible, and the cave entrance puzzle becomes the next clear blocker.
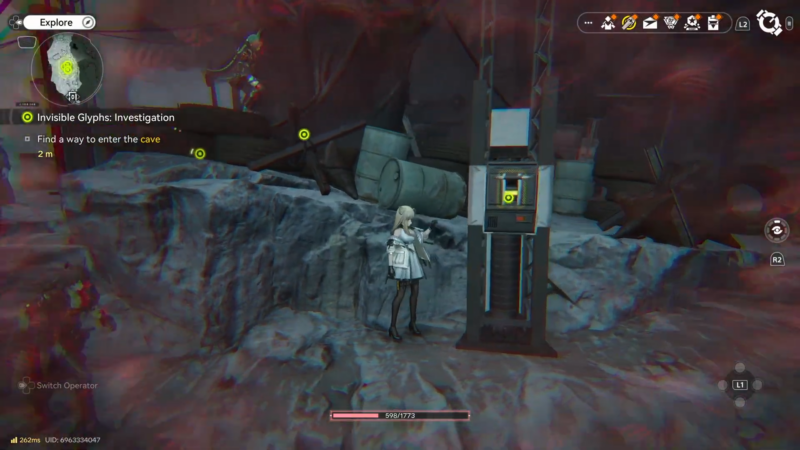
How to find a way to enter the cave using Denstack Haze and the lever sequence
The cave entrance is controlled by three levers. The levers are not the puzzle by themselves; they are the input device. The actual puzzle is discovering the correct sequence to pull them, and that sequence is presented as hidden Bonekrusher glyphs that only appear after Denstack Haze is used.
Under haze, glyphs appear in front of the levers. Each lever corresponds to a symbol, and the symbols dictate the order. The correct order is:
- Human Face
- Treasure
- Shovel
Once pulled in that order, the cave entrance opens and the objective advances.
How to complete Denstack Haze objective
The most reliable approach is to think in two phases: reveal, then execute.
- Reveal phase: interact with Denstack Haze and visually confirm the symbols.
- Execute phase: pull the levers in the correct sequence, then enter.
If the levers were pulled previously in random order, don’t assume the puzzle is “broken.” Many games accept the right sequence regardless of previous attempts, as long as it is input cleanly while the clue layer is correctly visible. If the game behaves like it needs a “fresh state,” simply re-check the symbols and repeat the proper order again.
Step 1
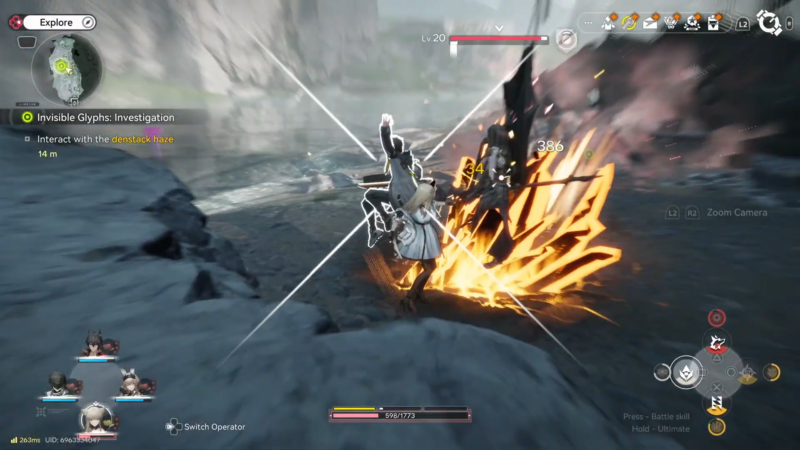
Stabilize the immediate area around the cave entrance. If hostile units are nearby, clear them first so lever interaction isn’t interrupted and the camera can be positioned calmly for reading the glyphs.
Step 2
Locate the Denstack Haze interaction point near the cave entrance. This is the key to the entire objective; without using it, the glyph clue layer won’t present itself.
Step 3
Activate Denstack Haze and return attention to the lever cluster. Look directly in front of each lever for the symbol that appears under haze.
Step 4
Confirm the left-to-right mapping of what is being shown. The three symbols that appear correspond to Human Face (left lever), Treasure (middle lever), and Shovel (right lever).
Step 5
Pull the levers in the symbol order indicated by the glyph clue: Human Face first, then Treasure, then Shovel. Avoid “testing” other sequences in between; do one clean attempt.
Step 6
Move to the cave entrance and enter once the doorway opens and the objective updates. If the opening animation is subtle, the objective marker and collision change are the easiest confirmation.
Troubleshooting: what to do when the cave does not open
When the cave doesn’t open, the reason is usually not “wrong location” but one of a few repeatable issues. The checklist below helps isolate the failure quickly.
Denstack Haze wasn’t active (or wasn’t applied in the right spot)
If the haze state wasn’t activated, the glyphs may not display. The puzzle then becomes pure guessing, and it’s easy to conclude the entrance is bugged. Re-activate haze and re-check the symbols before pulling any levers.
The levers were pulled in an intuitive order rather than the glyph order
A very normal instinct is to pull left-to-right, or to pull the “closest” lever first. The game’s intended answer is not “spatial order,” but “symbol order.” Confirm the sequence is Human Face → Treasure → Shovel, then execute it.
The glyphs were seen, but the symbols were misidentified
Some iconography can look similar at a glance, especially under environmental lighting. If the pull order fails repeatedly, slow down and visually compare the three symbols again—face, treasure, shovel—and make sure the mapping to each lever is correct.
The attempt wasn’t a clean sequence
If combat, movement, or interacting with the wrong object interrupts the attempt, the input can become inconsistent. Clear the area, stand at the lever cluster, and do the three pulls back-to-back.
Progress was actually blocked earlier by the breakable wall step
In rare cases, a player thinks they are at the right “cave,” but they are at a visually similar cliffside feature before the hidden camp is opened. If the lever puzzle seems absent or doesn’t behave as described, backtrack and confirm the hidden camp route (including the bomb-from-barrel step) is complete.
What to expect after entering the cave
Opening the cave is a transition into the mission’s interior payoff. Inside, the quest continues with locating Jouster, who is typically found locked in a cage, then freeing him and completing additional investigation actions deeper within the cave.
This is also the point where the Investigation chapter of the Invisible Glyphs chain is effectively resolved. After the interior steps are completed, the quest line proceeds to its next segment (commonly referred to as the Revelation step in the chain). In practical terms, that means the cave is not a “bonus room”; it’s the final corridor that contains the mission completion triggers.
Tips for making the objective feel straightforward (instead of frustrating)
This kind of puzzle can feel “unfair” if approached like a normal locked door. A few mindset adjustments make it much smoother:
- Treat Denstack Haze as required equipment, not an optional hint. If haze exists nearby, it is usually the intended key.
- Treat the levers as a keypad. The glyphs are the code; the levers are the buttons.
- Don’t over-collect graffiti steps if the mission marker is advancing. The objective is progress, not completeness.
- If stuck, reset the scene mentally: clear enemies, re-activate haze, re-read the three symbols, then do one clean lever attempt.
Entering the cave with the intended solution
The cave entrance in Invisible Glyphs: Investigation is opened by activating Denstack Haze to reveal hidden Bonekrusher glyph symbols and then pulling the three levers in the correct order: Human Face, Treasure, Shovel. After entry, the mission continues inside with Jouster’s rescue and the final investigation steps that move the quest chain forward.