
- What to know
- Crimson Desert Torn Encirclement quest
- Vilkom Outpost location and how to reach it
- How to complete the Torn Encirclement quest for Vilkom Outpost
- Combat strategy and efficiency tips for smoother completion
- Rewards for completing Torn Encirclement
- Vilkom Outpost and chapter 3 of Crimson Desert
What to know
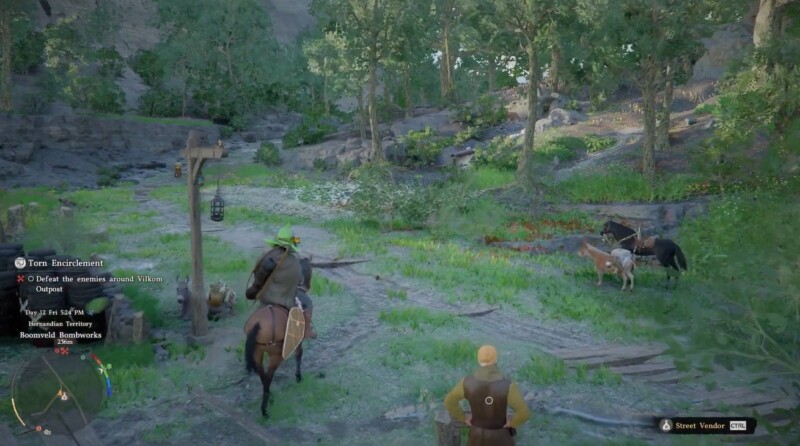
- The quest takes place north of Piwell through Hook Rapids at a hostile Vilkom Outpost.
- Destroying key structures is essential to weakening enemy control quickly.
- Combat becomes easier after collapsing buildings and thinning enemy numbers.
- Proper healing and positioning ensure survival during the encounter.
The Torn Encirclement quest in Crimson Desert is a compact but action-heavy mission that blends exploration, destruction mechanics, and tactical combat. As you progress through the early-to-mid game, you’ll encounter this objective as part of liberating occupied zones. The quest is straightforward on paper, but success depends on how efficiently you approach the outpost and manage enemies.
Crimson Desert Torn Encirclement quest
| Aspect | Details |
|---|---|
| Quest Name | Torn Encirclement |
| Region | North of Piwell (via Hook Rapids) |
| Objective | Liberate Vilkom Outpost |
| Core Mechanics | Building destruction + combat |
| Difficulty | Moderate |
| Completion Trigger | Eliminate enemies & trigger cutscene |
Vilkom Outpost location and how to reach it
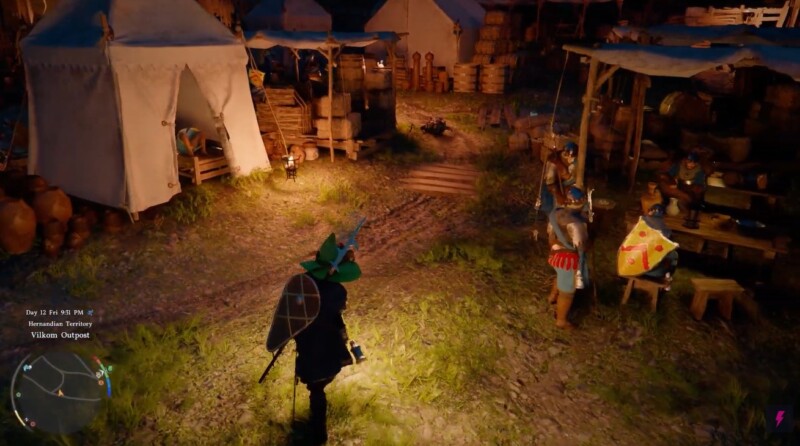
You will begin by traveling north of Piwell, following the main road through Hook Rapids. This route naturally leads you toward the occupied Vilkom Outpost, making navigation fairly simple even without markers. As you approach, you’ll notice enemy presence increasing along the الطريق, signaling that you are close to the objective area.
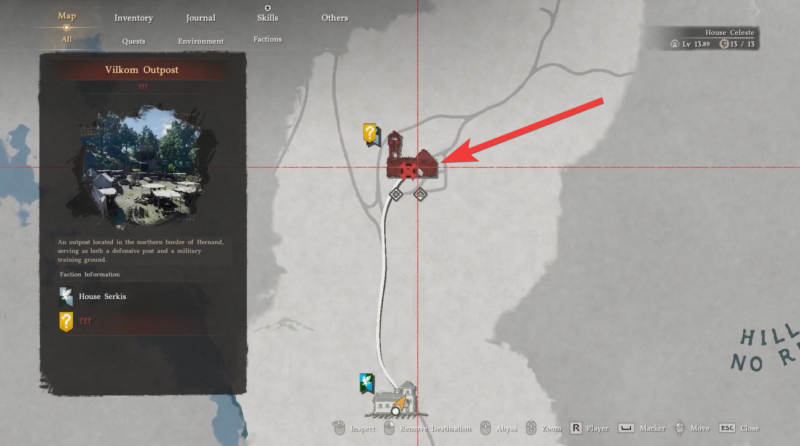
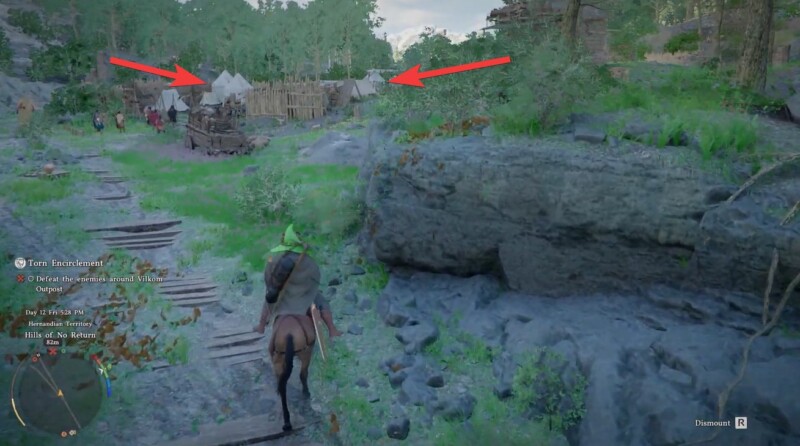
The outpost itself is heavily guarded and structured around two key buildings, which are central to the quest mechanics. Instead of rushing in blindly, it helps to slow down and observe enemy patrol patterns. You can use terrain elevation and nearby cover to plan your entry point more effectively.
How to complete the Torn Encirclement quest for Vilkom Outpost
Step 1
Head north from Piwell and follow the road through Hook Rapids until you reach the occupied outpost. Stay alert, as enemies may patrol the surrounding area before you even enter the main zone.
Step 2
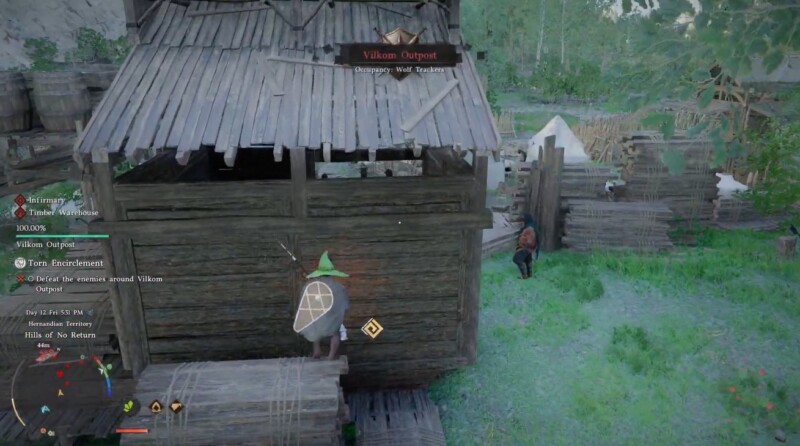
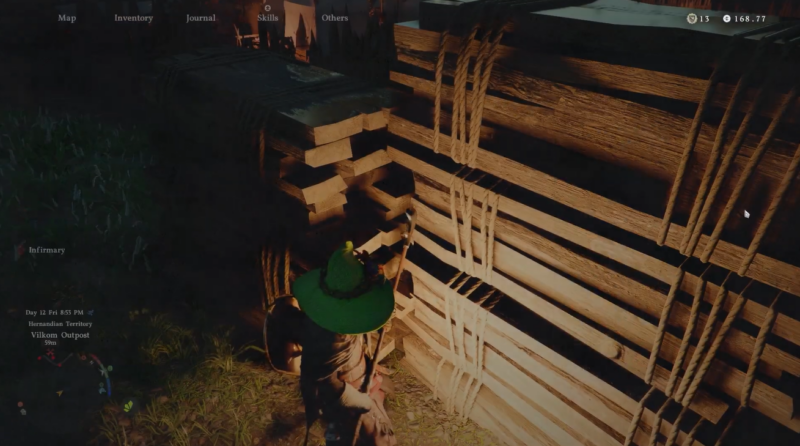
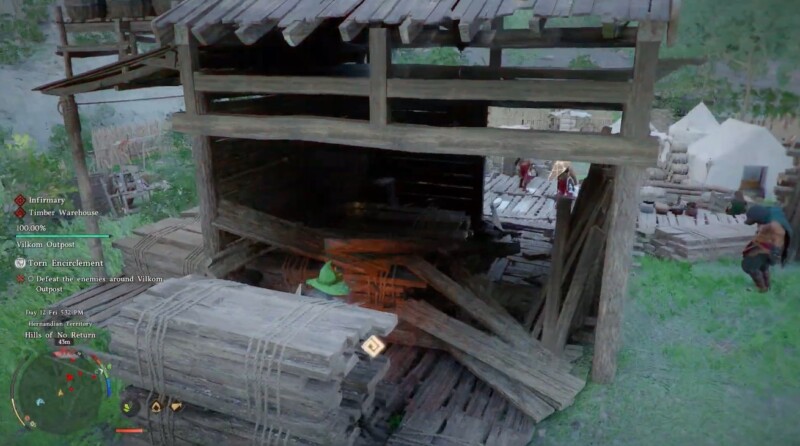
Identify the two main structures inside the outpost, as these are your primary targets. The first building is located on the right side shortly after entering, while the second structure, often referred to as the infirmary, is positioned toward the back.
Step 3
Use a charged attack to destroy the first building. This mechanic is crucial, as regular attacks won’t collapse structures efficiently. Position yourself near the wall, charge your attack fully, and release it to bring the building down.
Step 4
Move deeper into the outpost and repeat the same process for the second building. Destroying both structures significantly disrupts the enemy’s control and weakens their defensive advantage.
Step 5
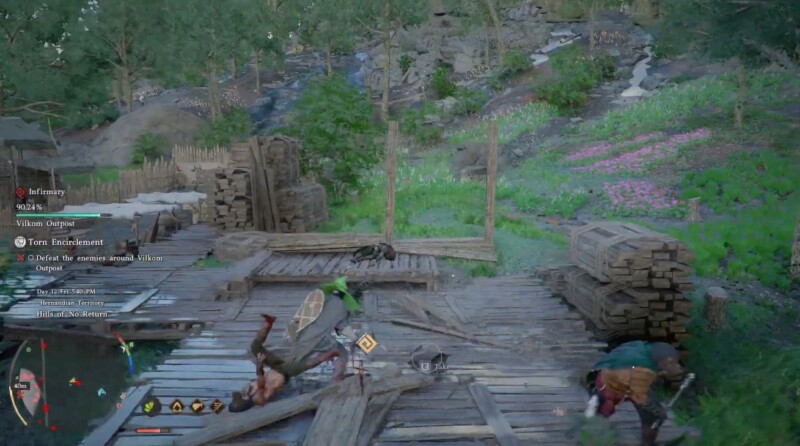
After the buildings are destroyed, shift your focus to eliminating the remaining guards. At this stage, it’s safer to pick them off from a distance if possible. Using ranged attacks or isolating enemies one by one will reduce the risk of being overwhelmed.
Step 6
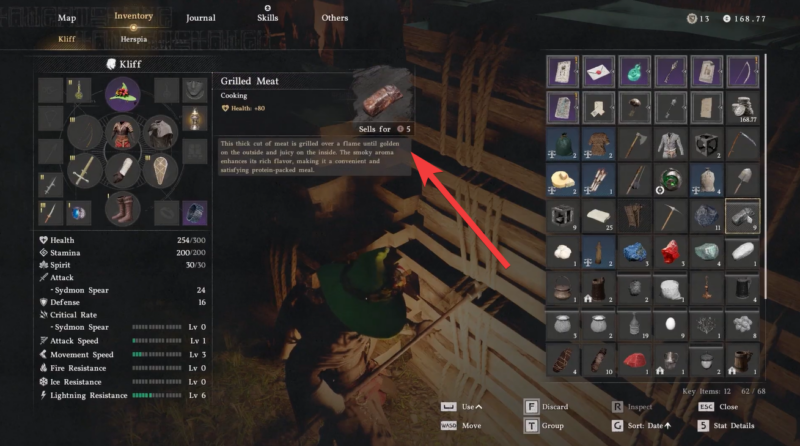
Keep your health sustained by consuming food during combat. This small but critical step can make the difference between success and failure, especially if multiple enemies engage you at once.
Step 7
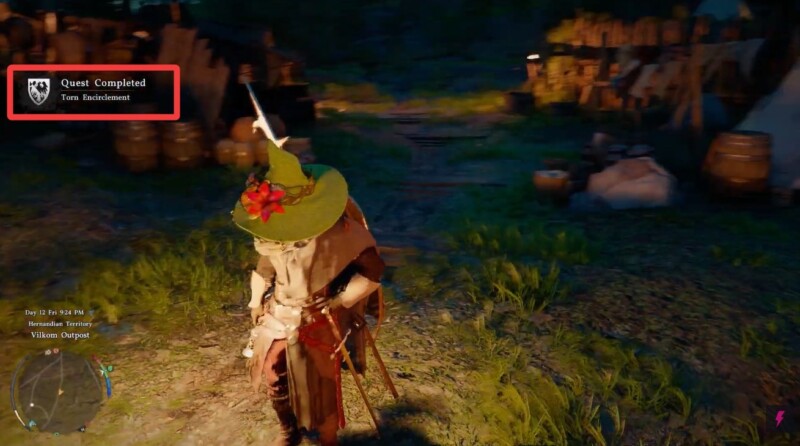
Continue clearing enemies until the liberation condition is met. Once enough guards are defeated, a cutscene will automatically trigger, confirming that the outpost has been successfully liberated.
Combat strategy and efficiency tips for smoother completion
The defining mechanic of this quest is structural destruction, not just combat. If you ignore the buildings and focus only on enemies, the fight becomes unnecessarily difficult. Collapsing the buildings early reduces pressure and creates chaos among enemy ranks.
Positioning plays a major role in survival. Instead of staying in the center of the outpost, try to fight from the edges. This allows you to control how many enemies engage you at once, making the encounter far more manageable.
Timing your charged attacks is equally important. Since you are vulnerable while charging, make sure the immediate area is clear before attempting to destroy structures. Rushing this step can lead to taking heavy damage.
Rewards for completing Torn Encirclement
| Reward Type | Details |
|---|---|
| Quest Progression | Advances regional liberation storyline |
| Experience | Moderate XP gain |
| Reputation | Increased standing in the region |
| Loot | Enemy drops from guards |
The rewards may not seem massive at first glance, but completing this quest contributes significantly to regional control and overall progression in Crimson Desert.
Vilkom Outpost and chapter 3 of Crimson Desert
Torn Encirclement is more than just a combat encounter—it introduces you to the liberation system that appears repeatedly throughout Crimson Desert. Learning how to efficiently dismantle enemy-controlled areas will save you time and resources in later quests.
It also reinforces the importance of combining mechanics like destruction, positioning, and resource management. If you approach every encounter with the same strategy used here, you’ll find future outposts much easier to handle.
Completing the Torn Encirclement quest comes down to prioritizing structure destruction, managing enemy encounters wisely, and maintaining your health throughout the fight. Once you understand the flow—destroy, isolate, eliminate—you can clear the outpost quickly and efficiently without unnecessary risk.


