The Witch Crest in Hollow Knight: Silksong awaits via the Rite of Rebirth, offering life-draining attacks after a tough quest through Bilewater and Greymoor.
What to know
- The Witch Crest is a powerful late-game item in Hollow Knight: Silksong, offering whip-like attacks and life-draining effects.
- You must unlock the Bilewater area, southeast of Whispering Vaults, using the Clawline Ancestral Art.
- Completing the Twisted Bud and Infestation Operation quests is essential to obtain the crest.
- You’ll need at least 350 Rosaries and the Rite of the Pollip quest completed to progress.
To secure the Witch Crest, you’ll embark on a challenging journey through Pharloom’s dangerous regions. This guide walks you through each step, from accessing Bilewater to completing the necessary quests, ensuring you can claim this valuable crest to boost Hornet’s offensive capabilities.
Preparing for the journey
Before setting out, ensure you’re ready to avoid unnecessary backtracking. You’ll need:
- 90 Rosaries to purchase the Bilewater map from Shakra, the map merchant.
- Clawline Ancestral Art to break a key wall en route to Bilewater.
- Access to the Whispering Vaults, Shellwood, and Greymoor regions, requires significant game progression.
- Completion of the Rite of the Pollip quest (destroy six Pollip flowers to obtain the Pollip Fruit) is a prerequisite for handing over the Twisted Bud.
- At least 260 Rosaries to buy Steel Spines during the Greymoor stage.
Having these ready streamlines your path to the Witch Crest.
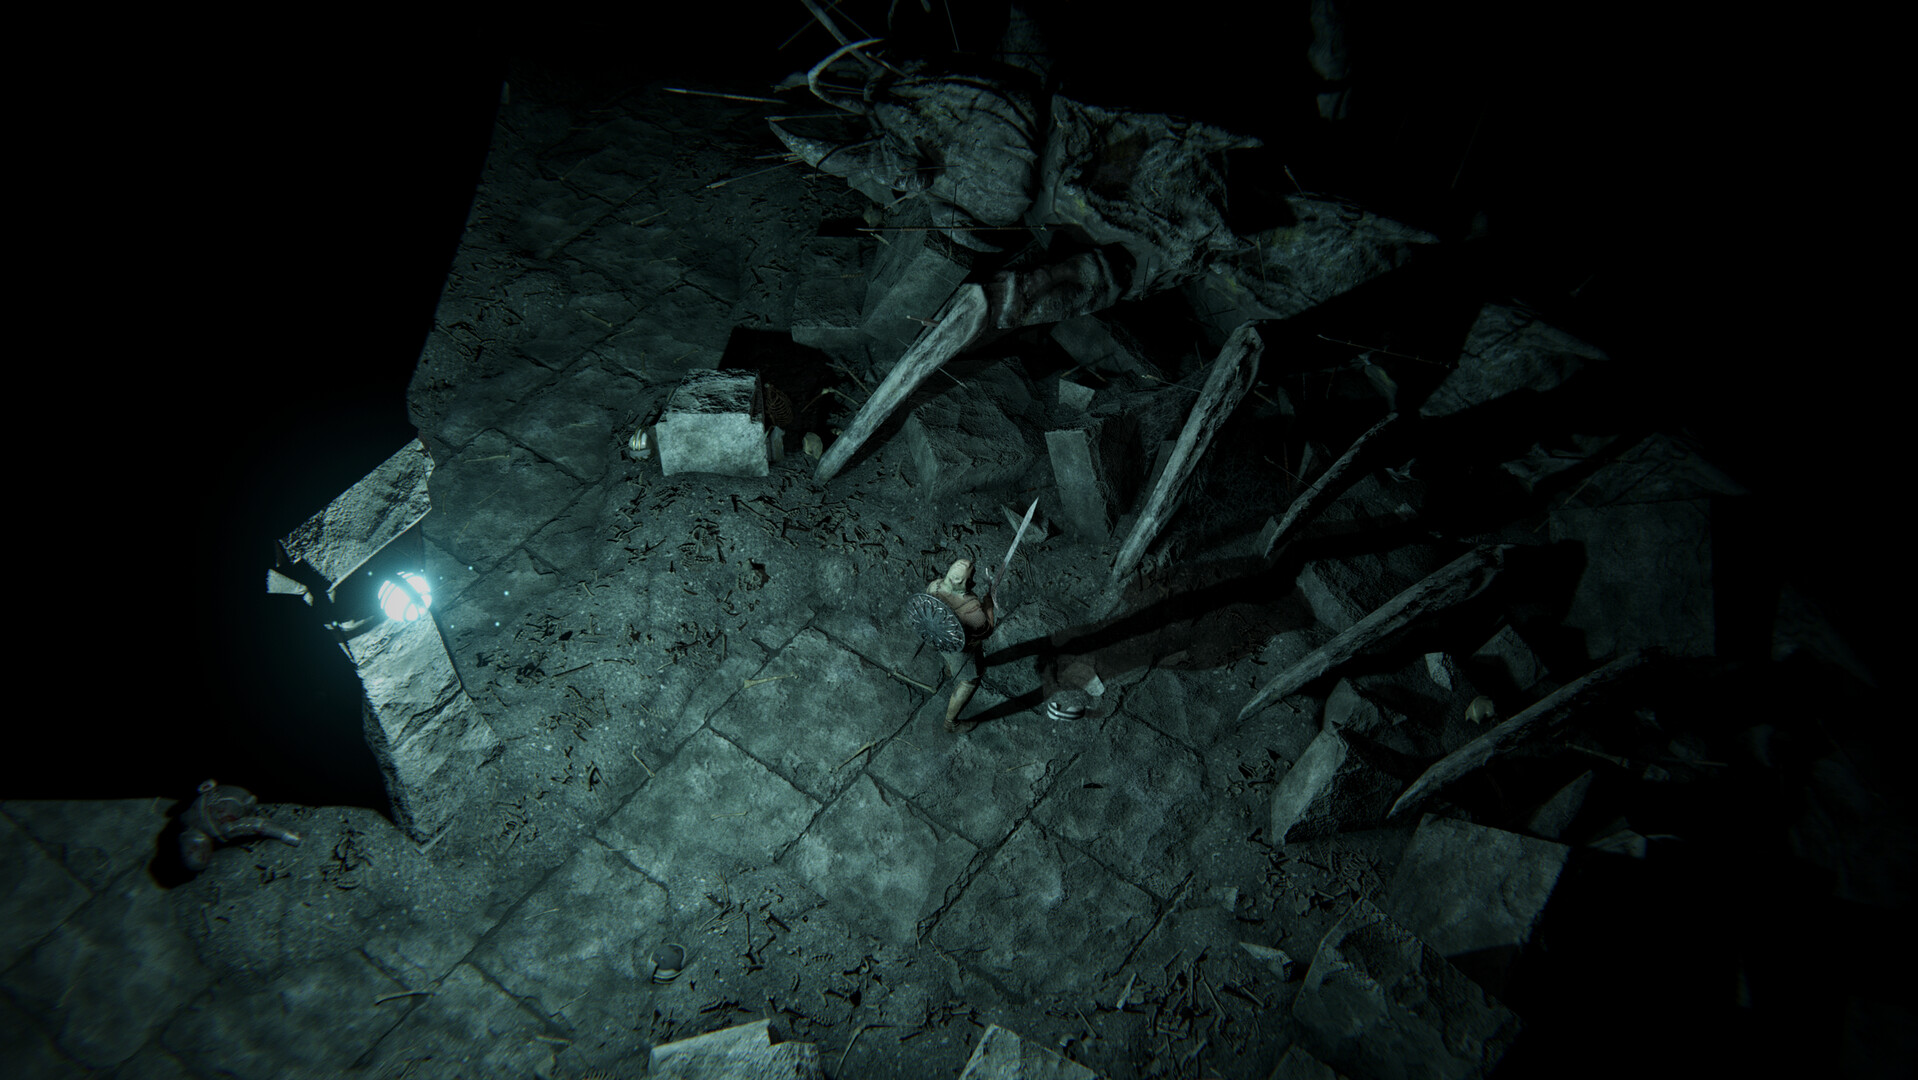
Step 1: Reaching Bilewater
Your journey begins with unlocking Bilewater, a late-game area located in the eastern section of Pharloom’s map, southeast of the Whispering Vaults. Follow these steps:
- Purchase the Bilewater map from Shakra for 90 Rosaries. This map clarifies the route and helps you navigate.
- Travel up the Grand Bellway, then head east through The Stage to reach the Whispering Vaults.
- In the lower section of the Whispering Vaults, look for a hidden passage above the eastern exit. Check the ceiling ledges to find this concealed route.
- Move east until you encounter a breakable wall. Use the Clawline Ancestral Art to smash through it, opening a path downward into Bilewater’s starting area.
- Once in Bilewater, drop down one section and unlock the nearby bench for a safe checkpoint.
Step 2: Starting the Twisted Bud quest
In Bilewater, you’ll find the Twisted Bud, a crying, infant-like creature that kicks off the quest chain. Here’s how to proceed:
- Explore Bilewater’s opening chambers until you locate the Twisted Bud.
- Pick up the creature to begin the Twisted Bud quest.
- Before leaving, unlock the nearby bench to secure your progress.
- Your next destination is Shellwood, where you’ll deliver the Twisted Bud to an NPC named Greyroot.
Step 3: Delivering the Twisted Bud in Shellwood
Travel to Shellwood to find Greyroot, the NPC who accepts the Twisted Bud. Be aware of these key details:
- You must have completed the Rite of the Pollip quest (destroying six Pollip flowers to obtain the Pollip Fruit) before Greyroot will accept the Bud. If you haven’t done this, complete it now.
- Hand over the Twisted Bud to Greyroot. This triggers a cutscene where Hornet becomes infected, initiating the next phase of the questline and granting the Rite of Rebirth.
This infection sets the stage for the Infestation Operation quest, pushing you toward Greymoor.

Step 4: Completing the Infestation Operation in Greymoor
After escaping the Chapel of the Witch following the infection cutscene, head to Greymoor to cure Hornet and unlock the Witch Crest. Follow these steps:
- Locate the locked bellhouse in the top western section of Greymoor. Inside, you’ll meet Yarnby, a bee-like NPC.
- Interact with Yarnby to start the Infestation Operation quest, which is tied to curing Hornet’s infection.
- Yarnby tasks you with retrieving tools from Benjin and Crull, found on Sinner’s Road.

- Navigate to the central section of Sinner’s Road, where cages dangle from above. Make your way to the top eastern area to find Benjin and Crull.
- Purchase Steel Spines from them for 260 Rosaries.
- Return to Yarnby and hand over the Steel Spines. A cutscene follows, during which Hornet is cured, and you receive the Witch Crest.

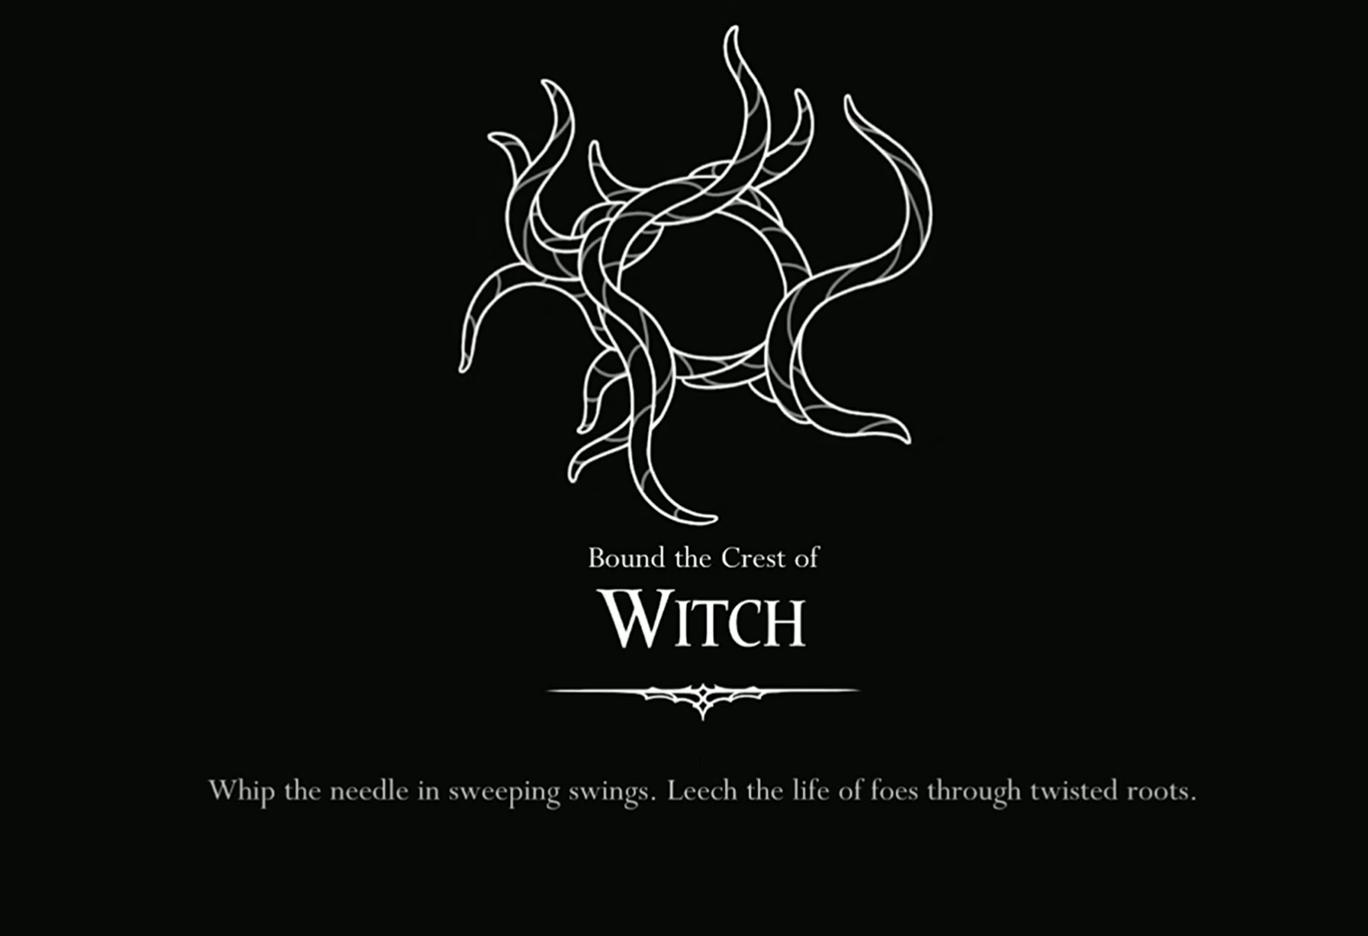
Understanding the Witch Crest’s power
The Witch Crest is a late-game reward tailored for aggressive playstyles. Its in-game description reads: “Whip the needle in sweeping swings. Leech the life of foes through twisted roots.” Here’s what it offers:
- Moveset:
- Basic Attack: Sweeping whip-like swings for broad damage.
- Pogo Attack: An aerial strike for bouncing off enemies.
- Dash Attack: A lunging strike with extended range.
- Charge Attack: A powerful, charged needle swing.
- Silk Bind: A devastating attack that can be enhanced with tools like Flea Brew for increased damage.
- Tool Slots:
- 2 Red Slots (for weapon tools).
- 3 Blue Slots (for defensive tools).
- 0 Yellow Slots.
- Unique Effect: Drains life from enemies, restoring Hornet’s vitality with each hit.
- Build Recommendations:
- Pair with Flea Brew to boost Silk Bind damage.
- Use Injector Bind to reduce Silk Bind charge time.
- Equip Sharpdart and Plasmium Phial for high-damage, ranged attacks.
This crest excels against bosses due to its high DPS and life-draining ability but lacks healing options if Silk Bind misses.
Why You Need the Witch Crest in Silksong
The Witch Crest is a late-game essential in Hollow Knight: Silksong, turning Hornet into a self-healing powerhouse perfect for tough encounters like the Citadel of the High Choir and the Three Ascended. Its life-steal, sweeping attacks, and precision damage shine in both swarms and boss fights, especially when paired with tools like Flea Brew for maximum DPS. Skipping it makes late-game content far harder, with scarce healing and tougher gauntlets forcing heavy reliance on consumables. You’ll also miss the Weaver’s Pact sidequest, hidden Greymoor areas, and rewards like the Heavy Rosary Necklace—making the Witch Crest a must-have for both smoother combat and richer lore.