
- What to know
- Where the objective fits in Quarry Rescue
- How to open the Quarry Rescue door (full walkthrough)
- Troubleshooting if the door still won’t open
- Practical movement tips for crate puzzles in Endfield-style spaces
- What happens after opening the door
- Solving “Find a way to open the door” efficiently
What to know
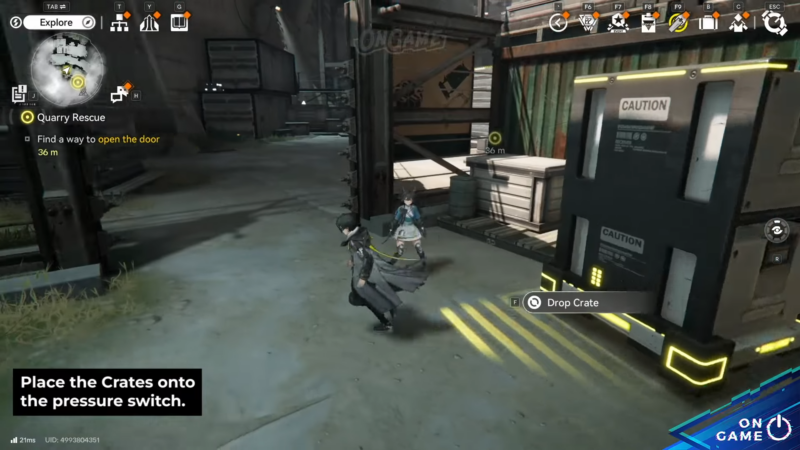
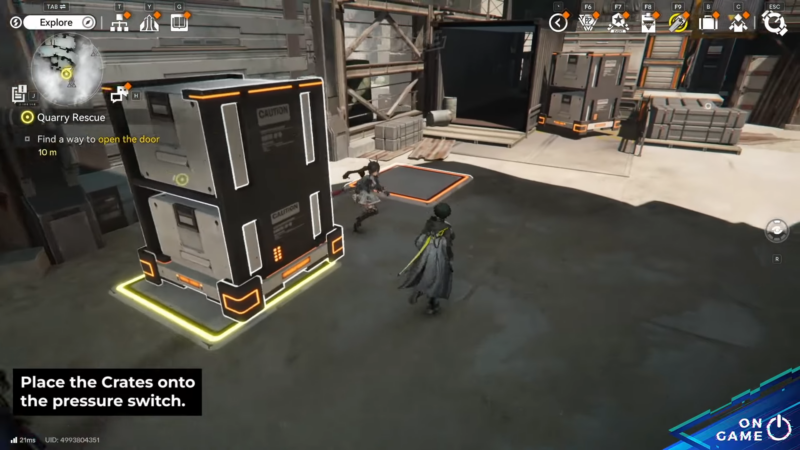
- The locked gate opens only when two tall Drop Crates are placed on the two pressure pads beside the door.
- The route to the needed crates runs through a short traversal sequence involving a forklift lift and a fenced section with a laser barrier.
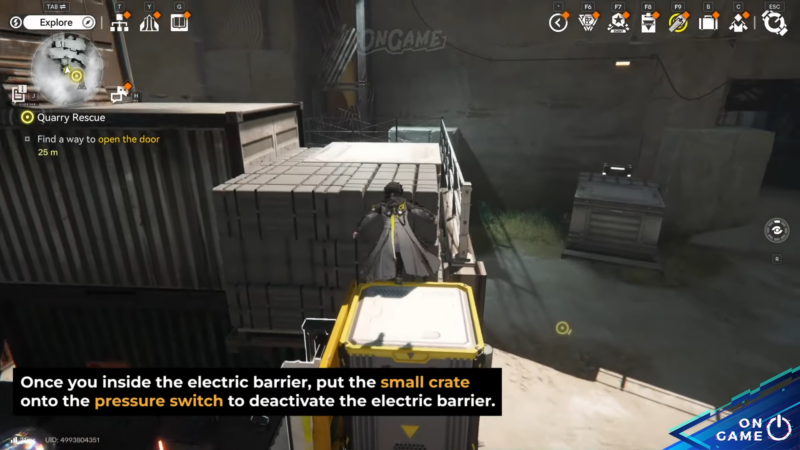
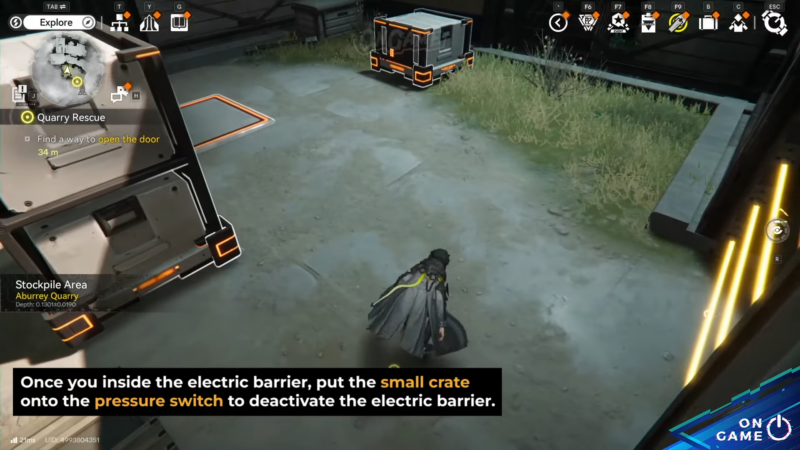
- The laser barrier is disabled by placing a smaller crate onto a dedicated pad inside the fenced area.
- After the door opens, a checkpoint and an elevator route push the mission into the next set of quarry objectives.
This objective looks like it wants a key item, but it’s really a compact “move objects to switches” puzzle built around the quarry’s machinery and crate physics. The goal is simple: get two tall crates to the door pads—everything else is just the route to make that possible in Arknights Endfield.
Where the objective fits in Quarry Rescue
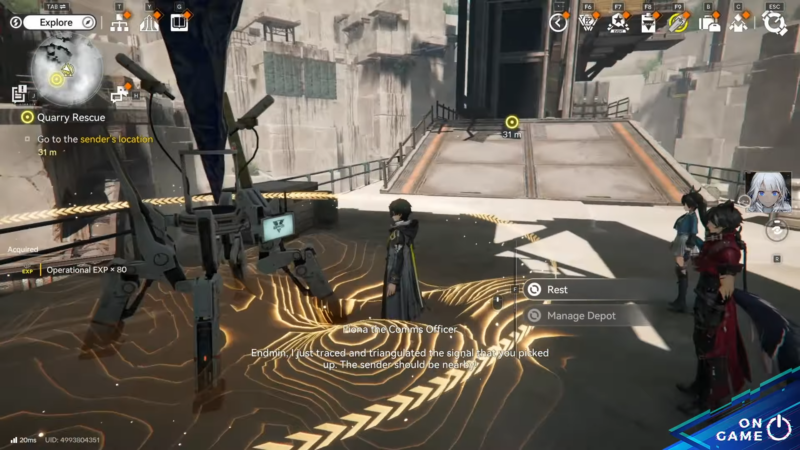
“Find a way to open the door” happens mid-mission after reaching the quarry interior and moving through early combat and traversal. It’s essentially a gatekeeping step that teaches how the quarry’s interactables work together: a lift changes vertical access, a fenced lane constrains movement, and a barrier forces using the right object on the right trigger.
Once this door is opened, the mission flow becomes more linear again, with a checkpoint shortly after and a clear route toward the next vertical transition (typically via an elevator).
How to open the Quarry Rescue door (full walkthrough)
Step 1: Inspect the door area and identify both pads
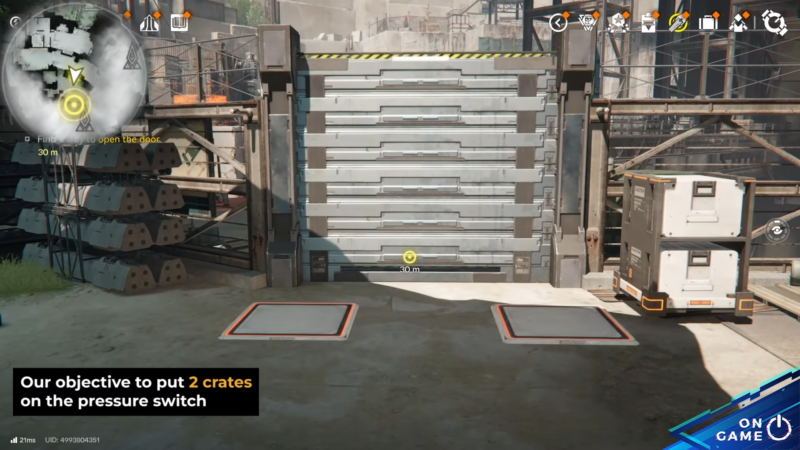
Approach the locked door and locate the two pressure pads beside it. This confirms the win condition: two tall Drop Crates must be parked on these pads at the same time.
Before moving anything, do a quick scan:
- Note any tall crates already nearby.
- Identify the “right-side” path (usually the intended detour) leading away from the door.
- Look for stacked boxes or climbable geometry that hints at vertical access.
Step 2: Take the right-side route to reach the lift sequence
Move to the right of the locked door where the terrain and props usually form a climb-up route (boxes, ledges, or a small platforming line). Follow this route until reaching the forklift area.
This segment’s purpose is not to deliver crates yet—it’s to reposition the environment so the fenced section becomes reachable.
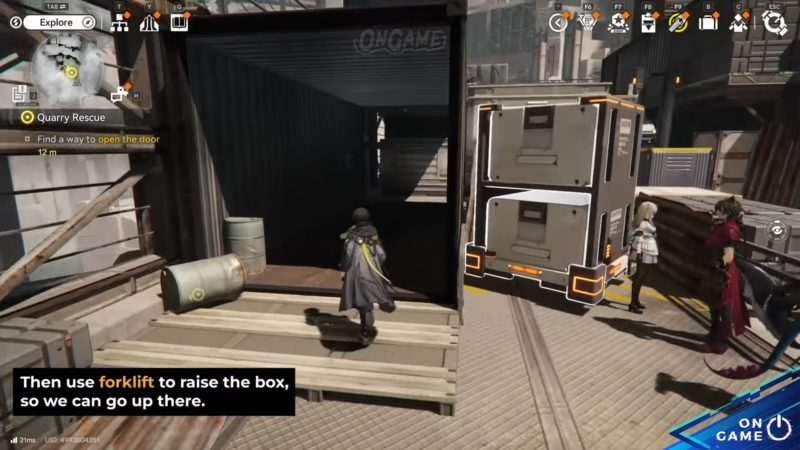
Step 3: Use the forklift to change elevation
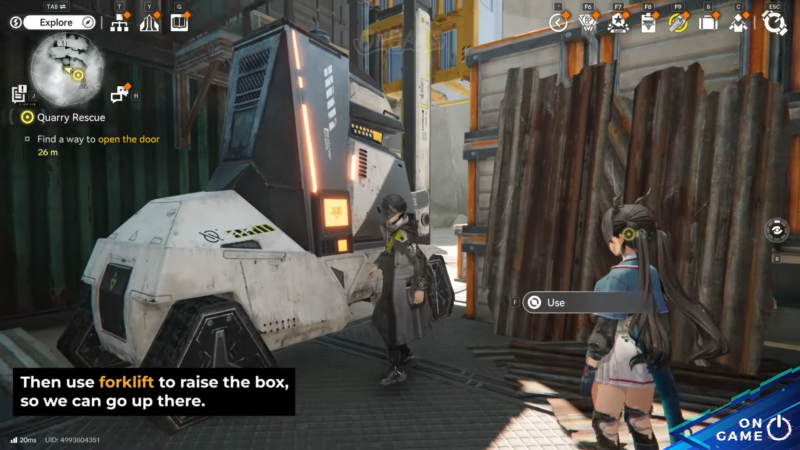
Interact with the forklift so it raises a box/platform. This creates a new height level that functions like a temporary staircase, bridging toward the next area.
If the raised platform doesn’t seem immediately useful, that’s normal—its value becomes obvious after the next repositioning step.
Step 4: Set up a climb by repositioning a nearby crate
After the forklift action, continue through the nearby container/side passage and find a crate that can be pushed or pulled. Reposition it near the stacked boxes or the approach to the raised forklift platform so it acts as a stepping stone.
This is the “make your own ladder” moment:
- Place the crate where it shortens a jump or gives enough height to mantle.
- If a jump feels barely out of reach, the crate likely needs to be a bit closer or rotated slightly by pushing from a different angle.
Step 5: Reach the fenced/laser-gated area
Use the newly enabled elevation path (crate + raised forklift) to jump into the area that’s otherwise blocked off—typically a fenced lane or restricted corner of the quarry.
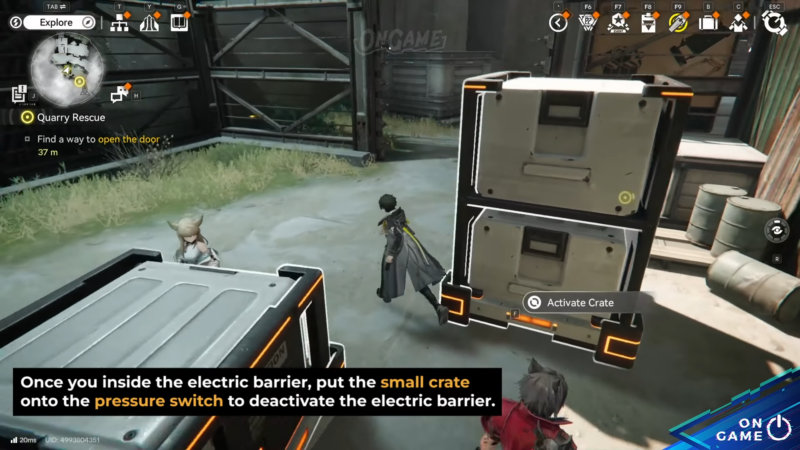
Inside, there are usually multiple crates:
- At least one smaller crate.
- At least one tall crate you ultimately need for the door pads.
The puzzle now shifts from “reach the area” to “unlock the area’s exit.”
Step 6: Disable the laser barrier using the small crate pad
Find the pad that controls the laser barrier (often visible because the barrier blocks a corridor or exit line). Place the smaller crate onto that pad.
Key details that prevent common mistakes:
- The pad for the laser barrier is not the same as the door pads.
- The small crate is used here because it’s the most convenient object to park permanently; the tall crates are needed elsewhere.
- Make sure the crate is fully seated on the pad; if it’s half-on, the barrier may not disable.
Once the small crate is on the pad, confirm the barrier is down before moving on.
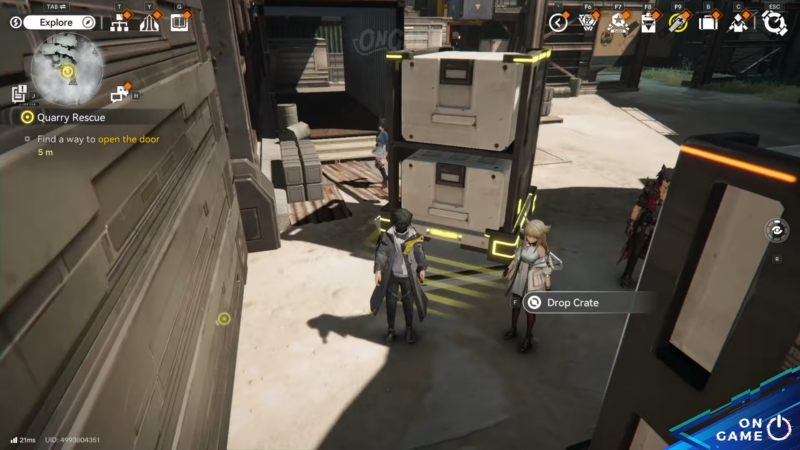
Step 7: Route a tall Drop Crate out toward the door
With the laser barrier disabled, move a tall Drop Crate through the newly opened path. This part can feel awkward because crates can snag on corners.
To avoid wasting time:
- Pull back, realign, and push at a slight angle rather than forcing it straight into a corner.
- Use wider turns and keep the crate centered in corridors when possible.
- If there are multiple tall crates, choose the one with the cleanest route out.
Your objective is to get the tall crate back to the door area.
Step 8: Place the first tall crate on one door pad
Return to the locked door and place the tall crate squarely on one of the two pads beside the gate.
A reliable placement technique:
- Push the crate slightly past the center of the pad, then nudge it back until it sits neatly.
- If the pad doesn’t trigger, reposition so the crate’s footprint fully covers the pad surface.
Step 9: Bring a second tall crate to the other pad
Now repeat the crate-routing logic to bring the second tall crate (either already near the door or retrieved from the fenced area) to the remaining pad.
The door only unlocks when both pads are pressed simultaneously, so don’t move the first crate off its pad while placing the second.
Step 10: Confirm the unlock and move through immediately
Once the second pad is pressed, the door should unlock. Move through the doorway and continue forward.
Right after the gate, it’s common to find:
- A checkpoint terminal (activate it to save progress in case of a mistake later).
- A clearer route marker leading deeper into the quarry and toward the next vertical transition (often an elevator).
Troubleshooting if the door still won’t open
If everything “looks right” but the door remains locked, it’s usually one of these issues:
- Wrong crate type on the pad: The pads typically require tall Drop Crates; a smaller crate may not count.
- Crate not fully on the pad: The trigger can be strict; center the crate more carefully.
- One crate shifted off its pad while moving the second: Re-check both pads at the same time.
- Laser barrier not actually disabled: If a tall crate can’t route out cleanly, confirm the small crate is still holding the laser pad down.
Practical movement tips for crate puzzles in Endfield-style spaces
Crate movement tends to be faster and cleaner with a few habits:
- Push from corners to “steer” rather than constantly repositioning behind the crate.
- Use short bursts of movement to prevent overshooting pads.
- When a crate catches on geometry, back up and approach at a new angle instead of forcing it.
- Treat narrow corridors like a line: keep the crate centered before entering, not after it gets stuck.
What happens after opening the door
After passing the unlocked gate, the mission typically rewards progress with a checkpoint and a more guided route. From there, the next objectives usually move toward an elevator or central quarry platforming segment, eventually leading into the next major machinery-related task.
Solving “Find a way to open the door” efficiently
This Quarry Rescue objective is solved by creating access with the forklift route, disabling the laser barrier by parking a small crate on its pad, and then transporting two tall Drop Crates to the two door pads. Once both pads are pressed, the door unlocks and the mission resumes its forward path through the quarry.