Arknights: Endfield’s Weapon EXP grind is straightforward once you treat it like a repeatable dungeon routine: pick the weapon-material Protocol Space, run the highest tier you can clear quickly, and immediately funnel the drops into your main squad’s weapons.
| Topic | What you do | Why it matters |
|---|---|---|
| Best repeatable source | Clear the weapon-material Space Protocol on repeat | Reliable, targeted Weapon EXP farming loop. |
| Difficulty choice | Select a tier that matches the recommended level | Faster clears usually beat “harder but slow” runs. |
| Pre-run prep | Review enemy intel | Helps you plan counters and avoid bad matchups. |
| Spending Weapon EXP | Character screen → weapon → “+”/upgrade | Converts drops into weapon levels immediately. |
| Hitting level caps | Use Tuning materials to break caps (e.g., past 20) | Prevents your weapon from getting stuck at a cap. |
How the weapon EXP farm works in practice
Space Protocol runs let you select an encounter tier, clear the enemies inside the instance, and then claim the reward at the end.
Because tiers have a recommended level and different enemy setups, you’ll usually get better Weapon EXP per minute by choosing a tier you can clear consistently rather than forcing the hardest option.
Location for weapon EXP farming
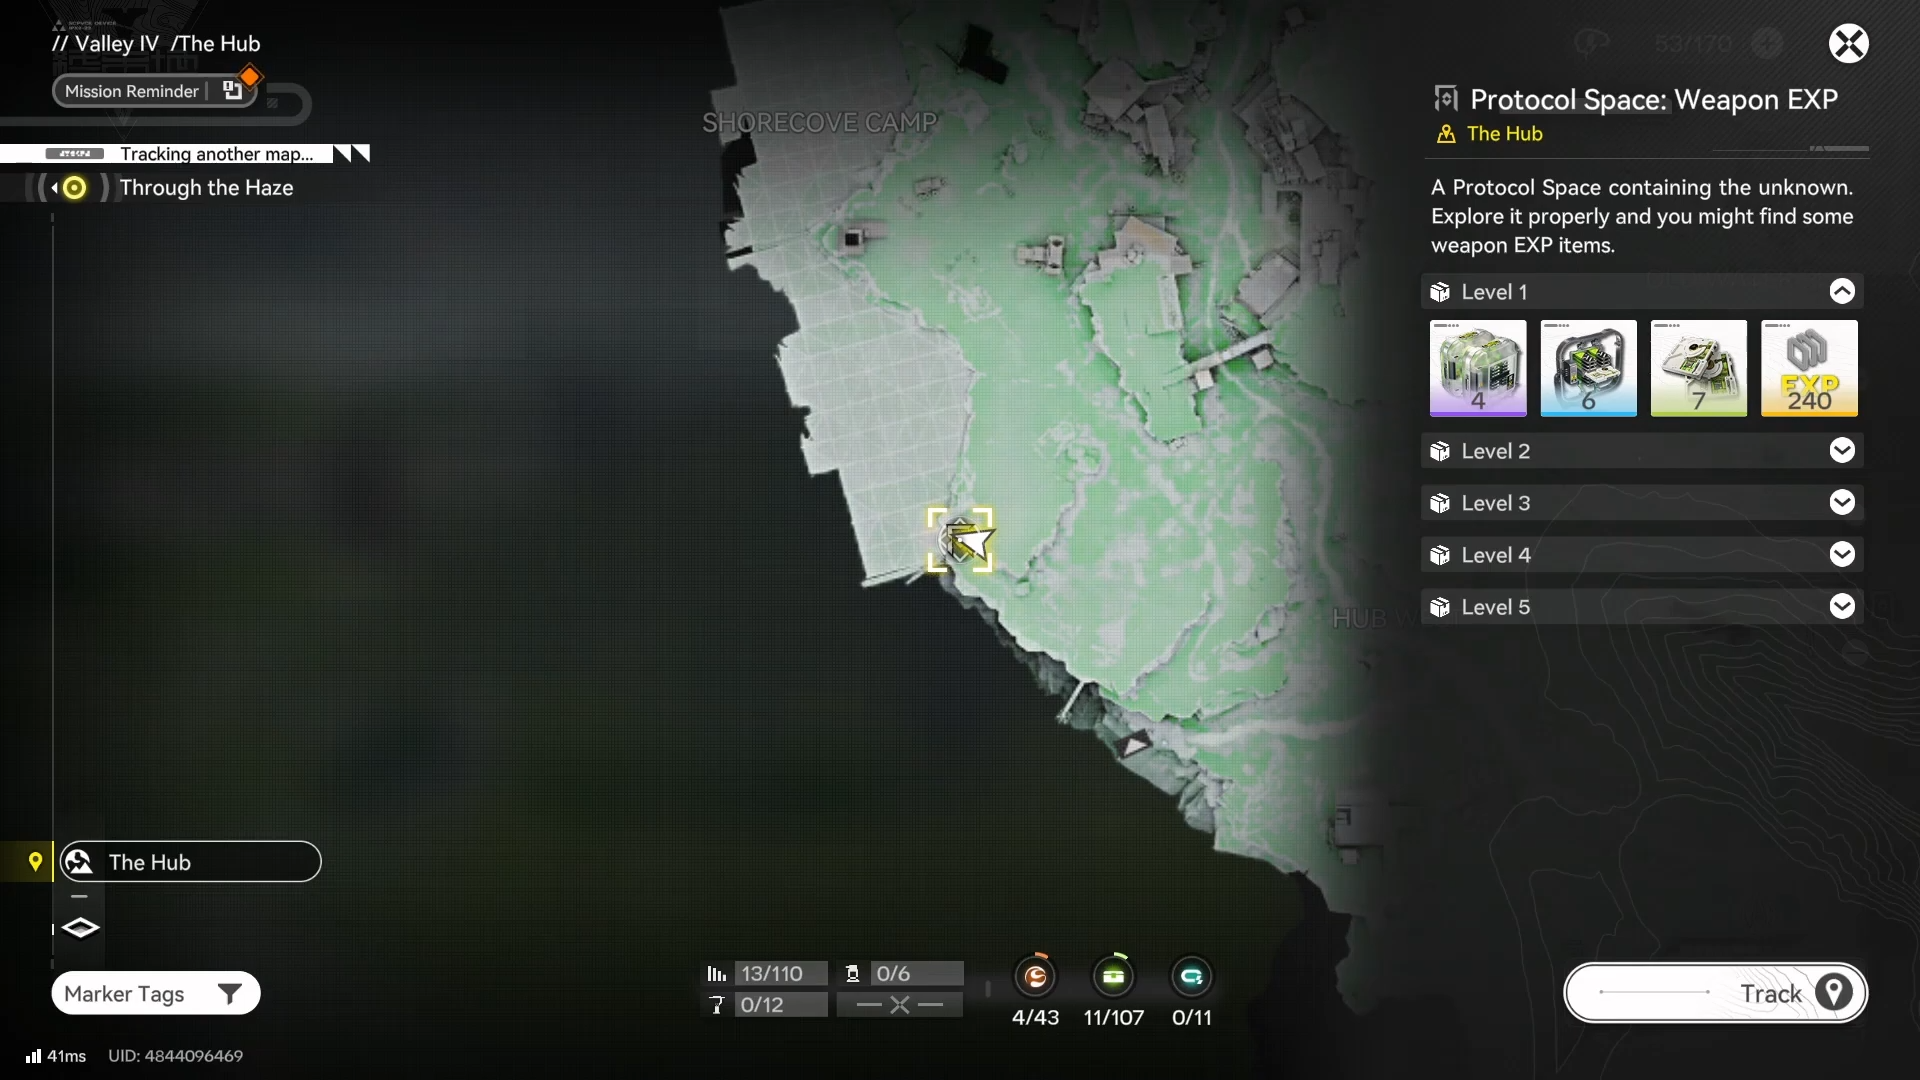
The core of your loop is the weapon-material Space Protocol node on the map, which acts like a dedicated activity that repeatedly rewards weapon upgrade materials when you clear it.
How to farm Weapon EXP efficiently
Step 1: Find the weapon-material Space Protocol
Open your map and head to the Space Protocol that specifically provides materials for weapon upgrades.

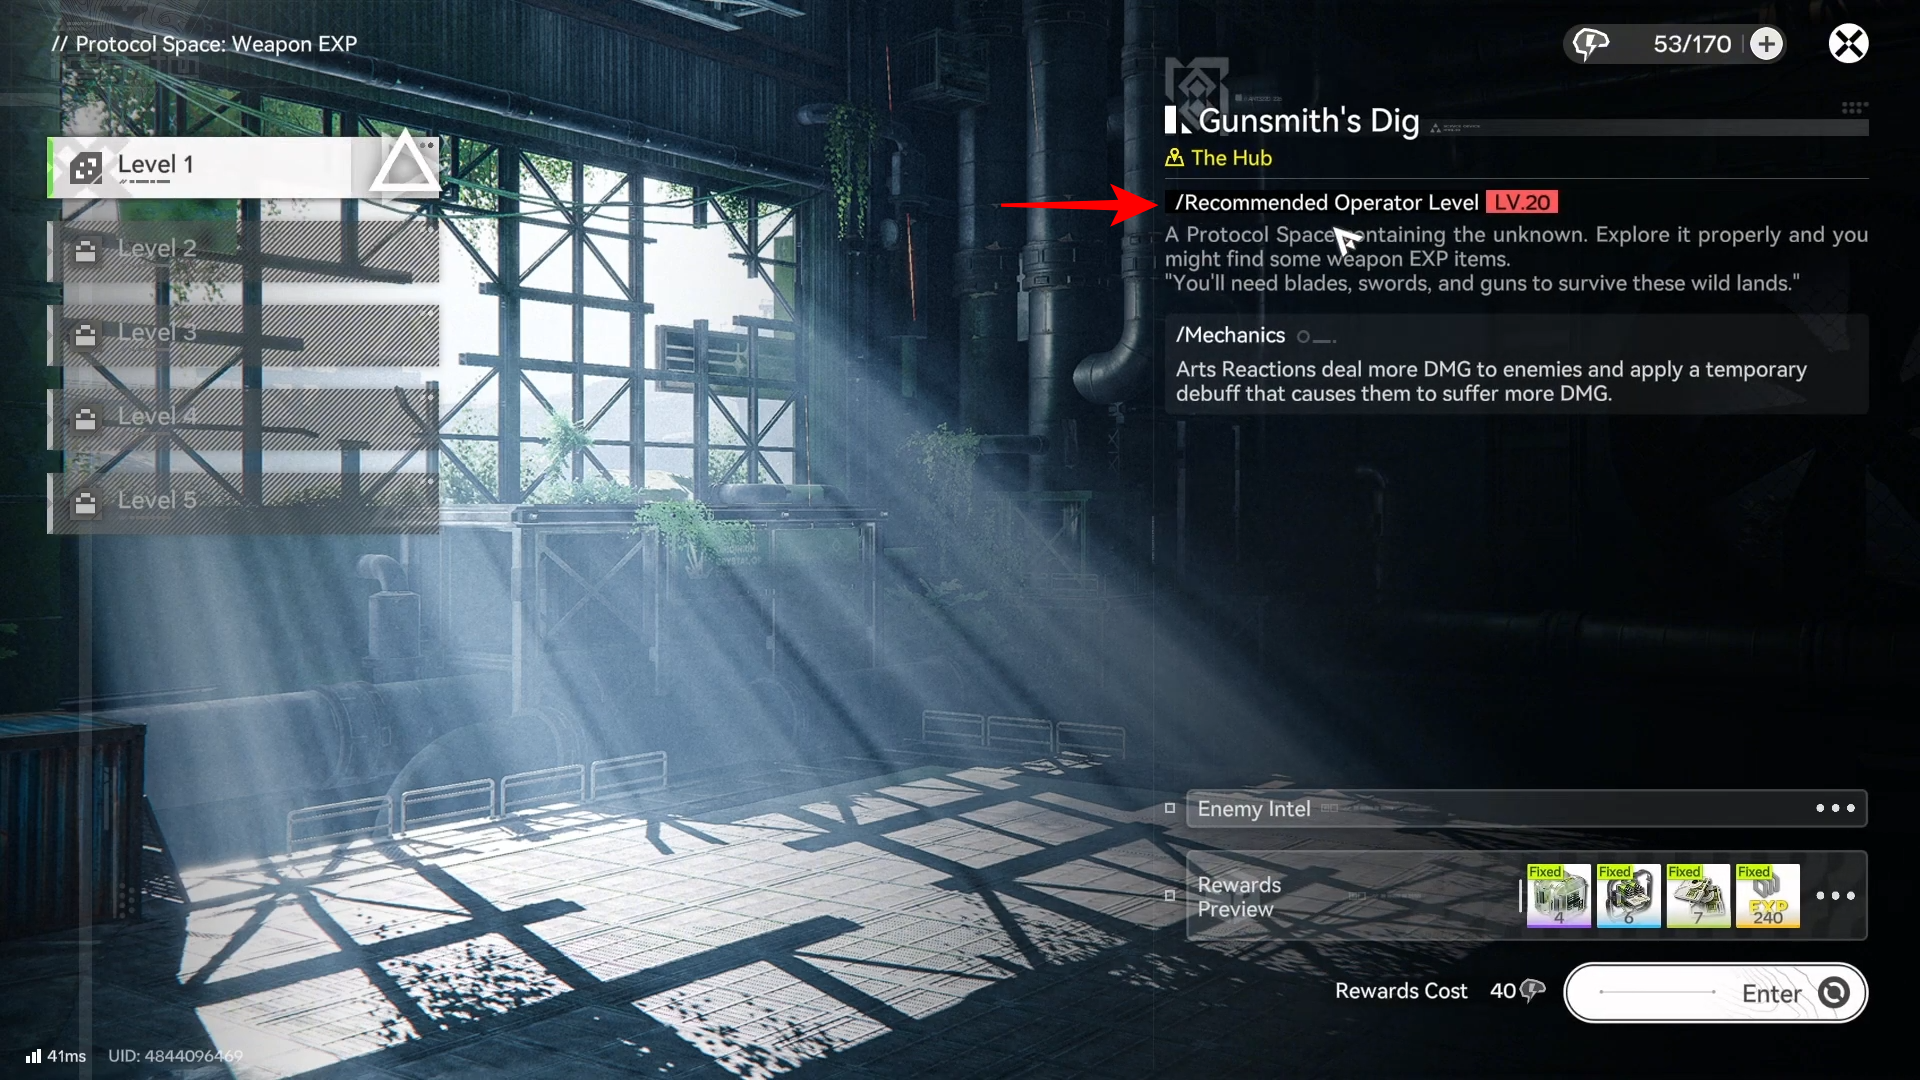
Step 2: Interact and choose a tier you can clear fast
When you interact, select a difficulty tier from the list on the left, and confirm you meet the recommended level shown for that tier.
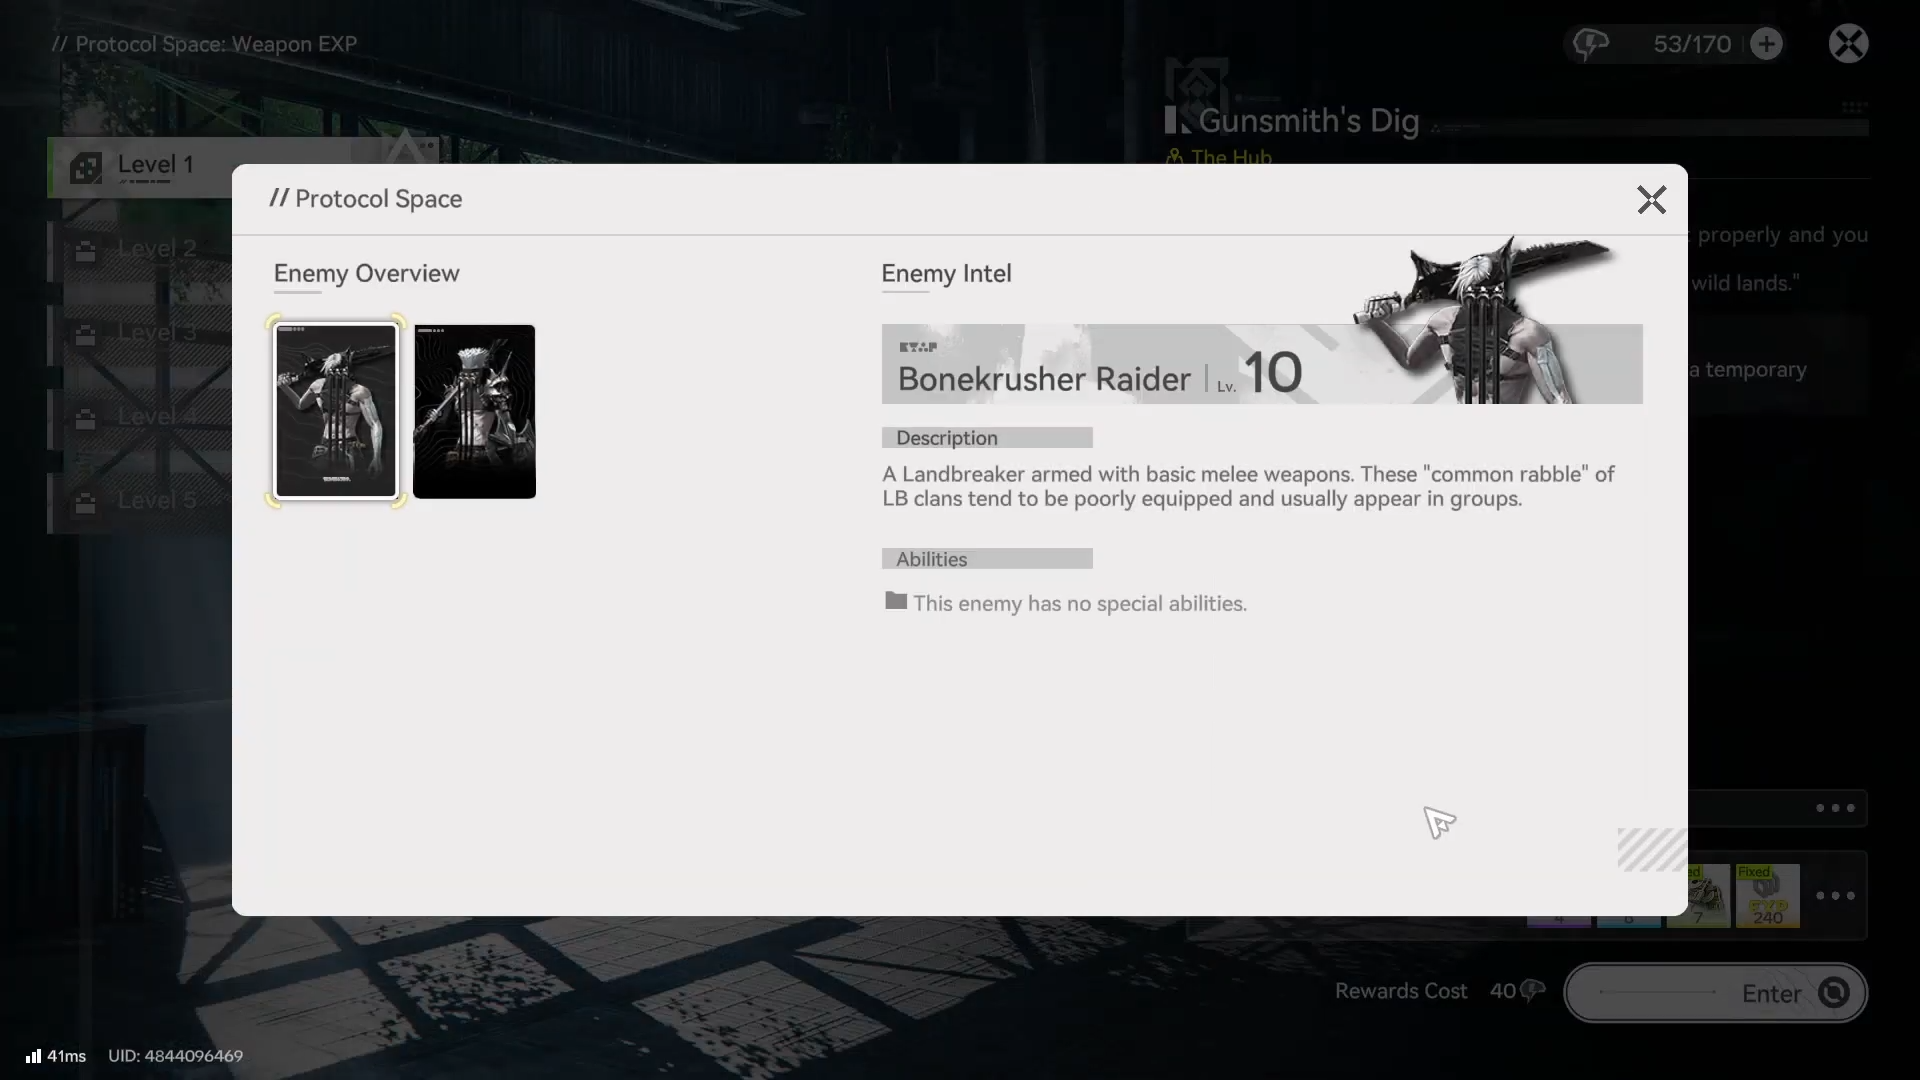
Step 3: Check enemy intel before committing
Use the enemy intel panel to see what you’ll be fighting.
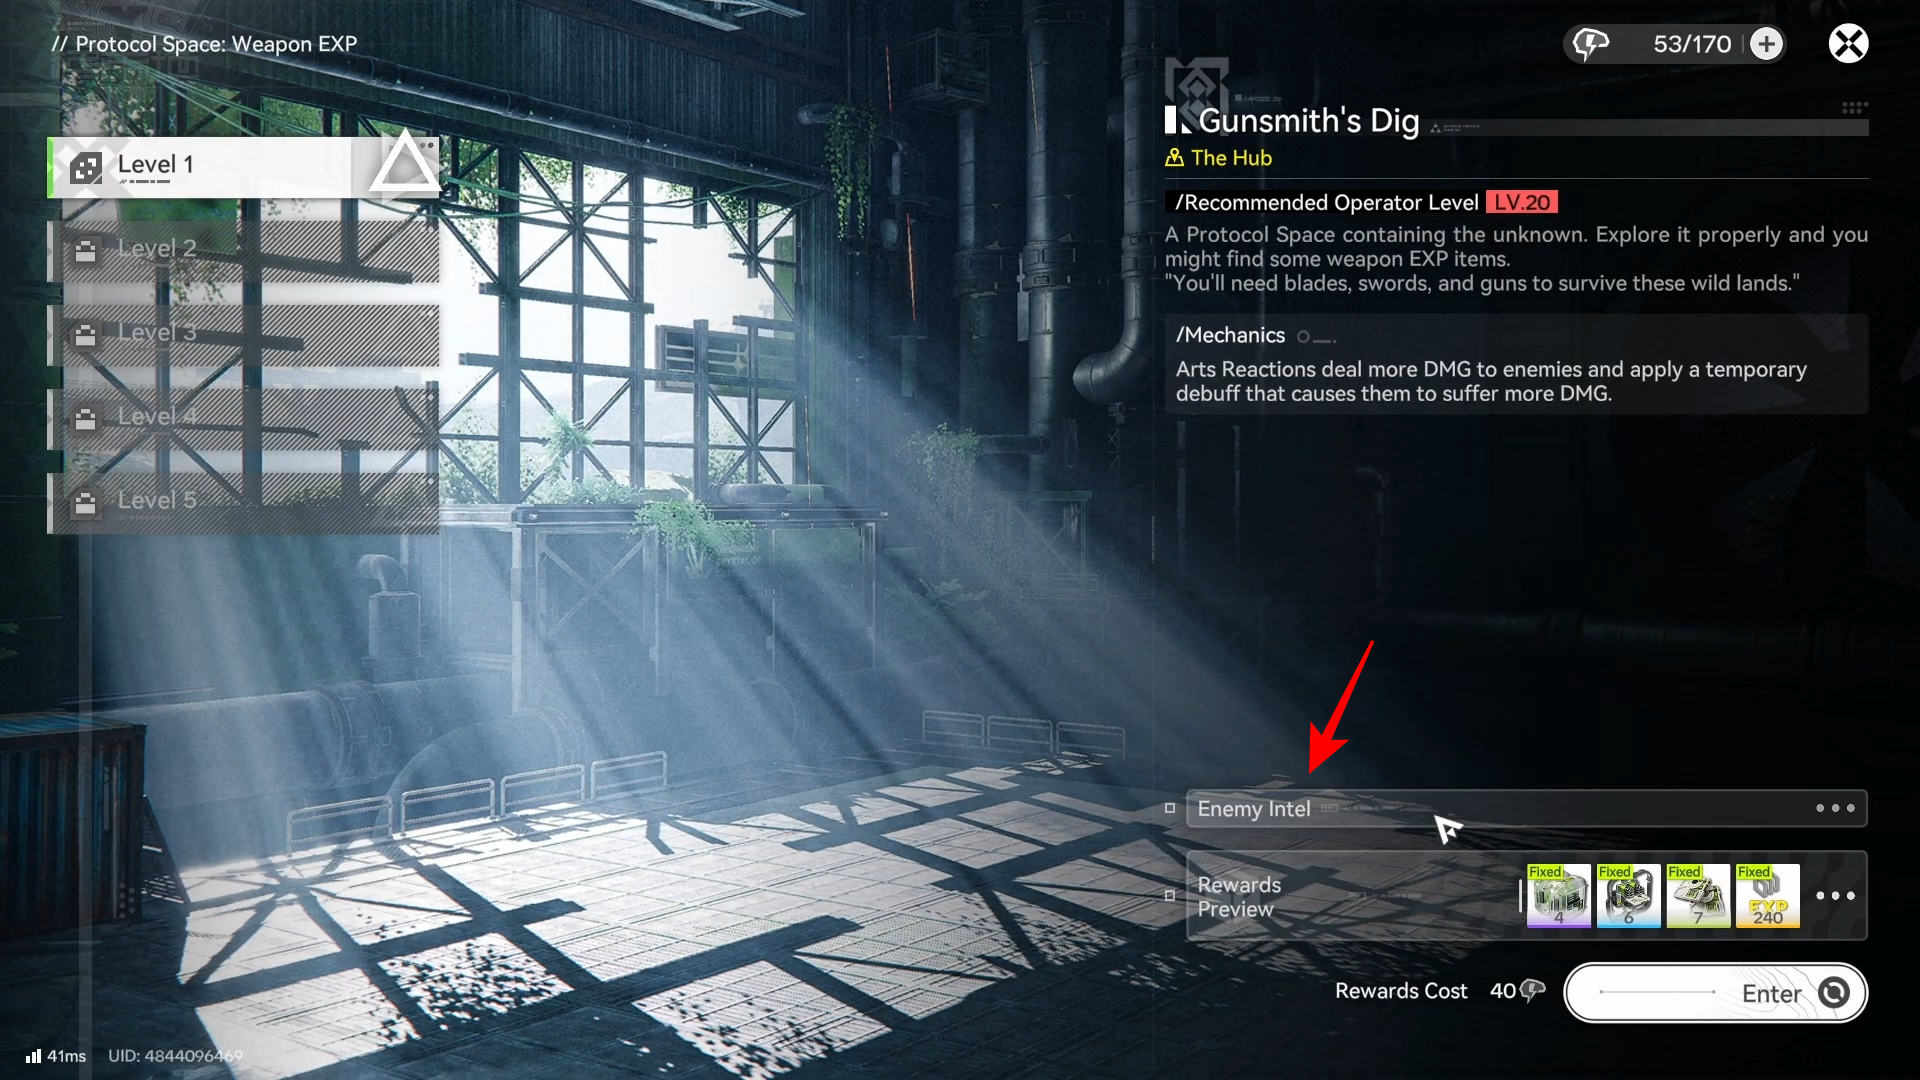
Then adjust your plan (team picks, elements, and approach) so you don’t walk into a counter matchup.
Step 4: Clear the instance and claim the reward
Enter the Protocol Space, defeat the enemies in the dungeon-like run, and take the reward at the end.

Step 5: Repeat runs for steady Weapon EXP income
Keep repeating the same tier until your clear speed slows down (or you can comfortably move up a tier), then re-evaluate.
Step 6: Spend your Weapon EXP items immediately (so nothing is wasted)
Open your character overview and go to your weapon.
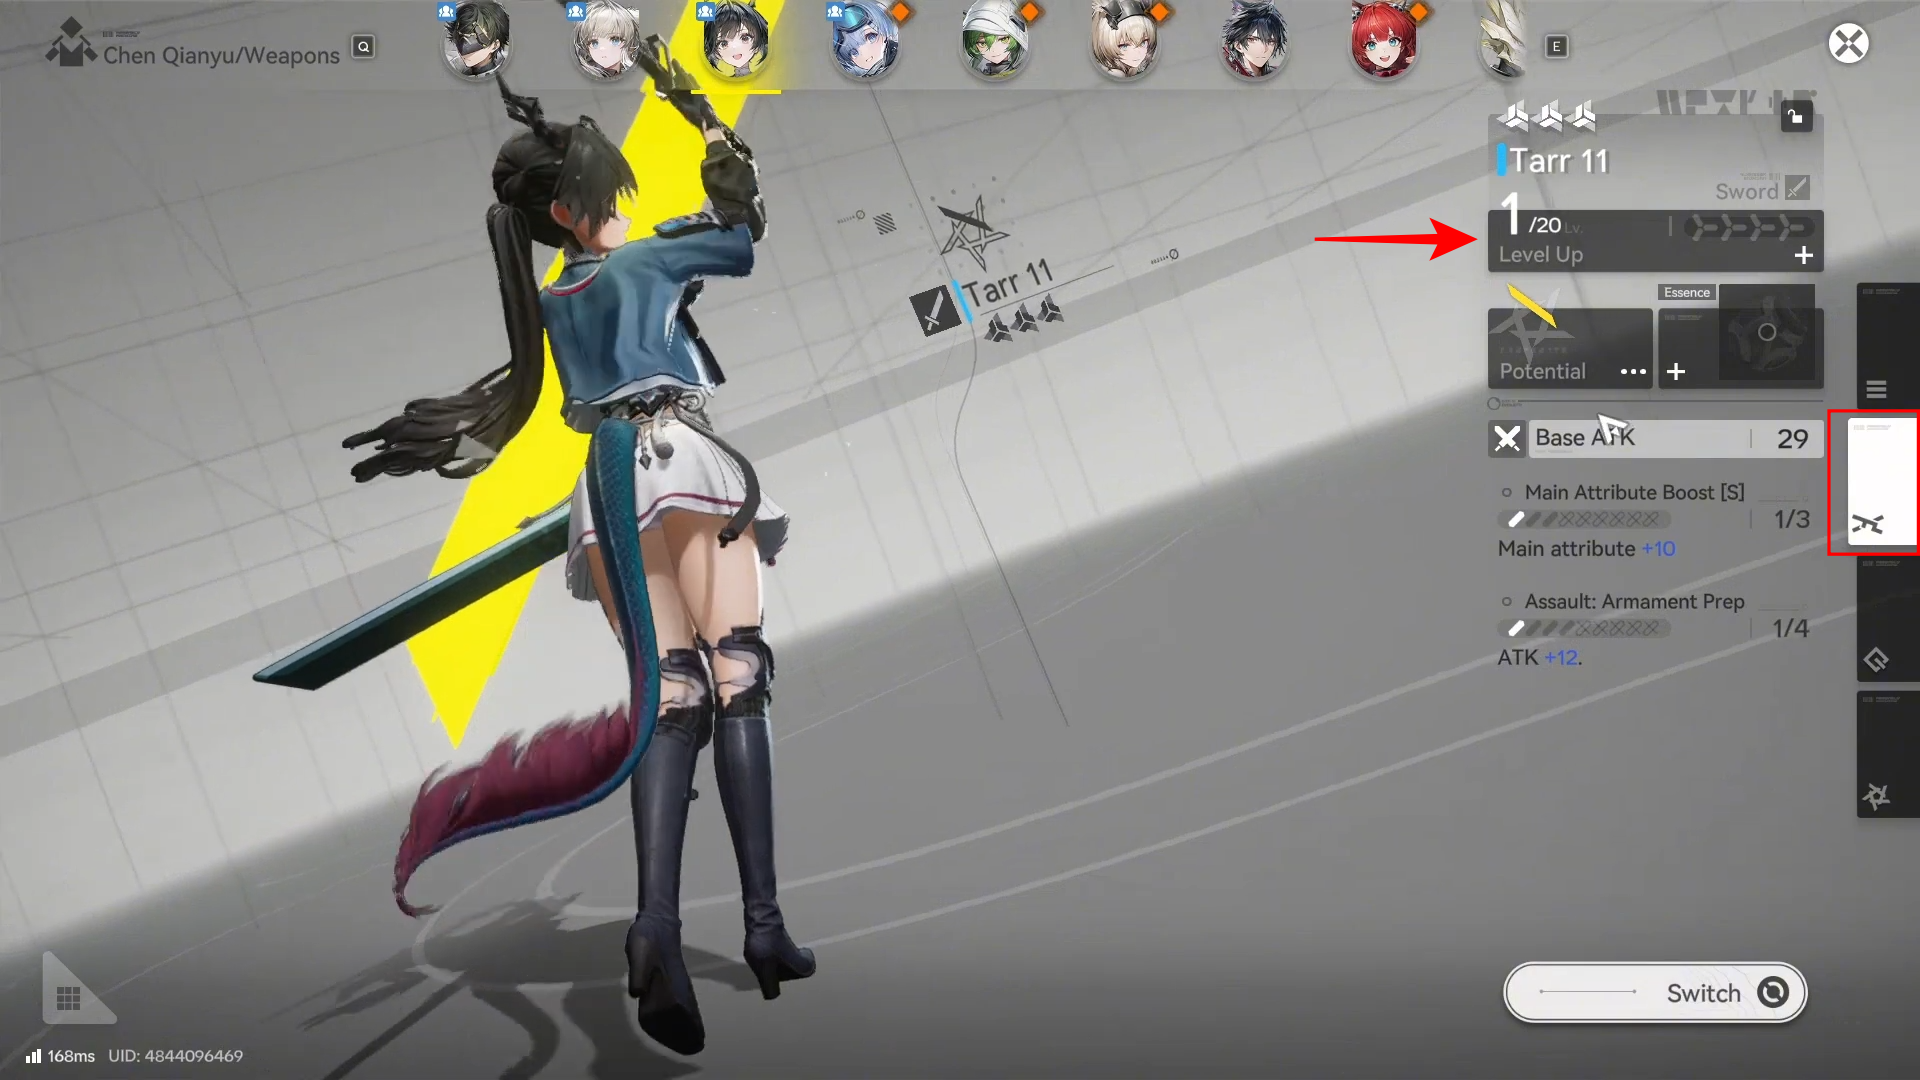
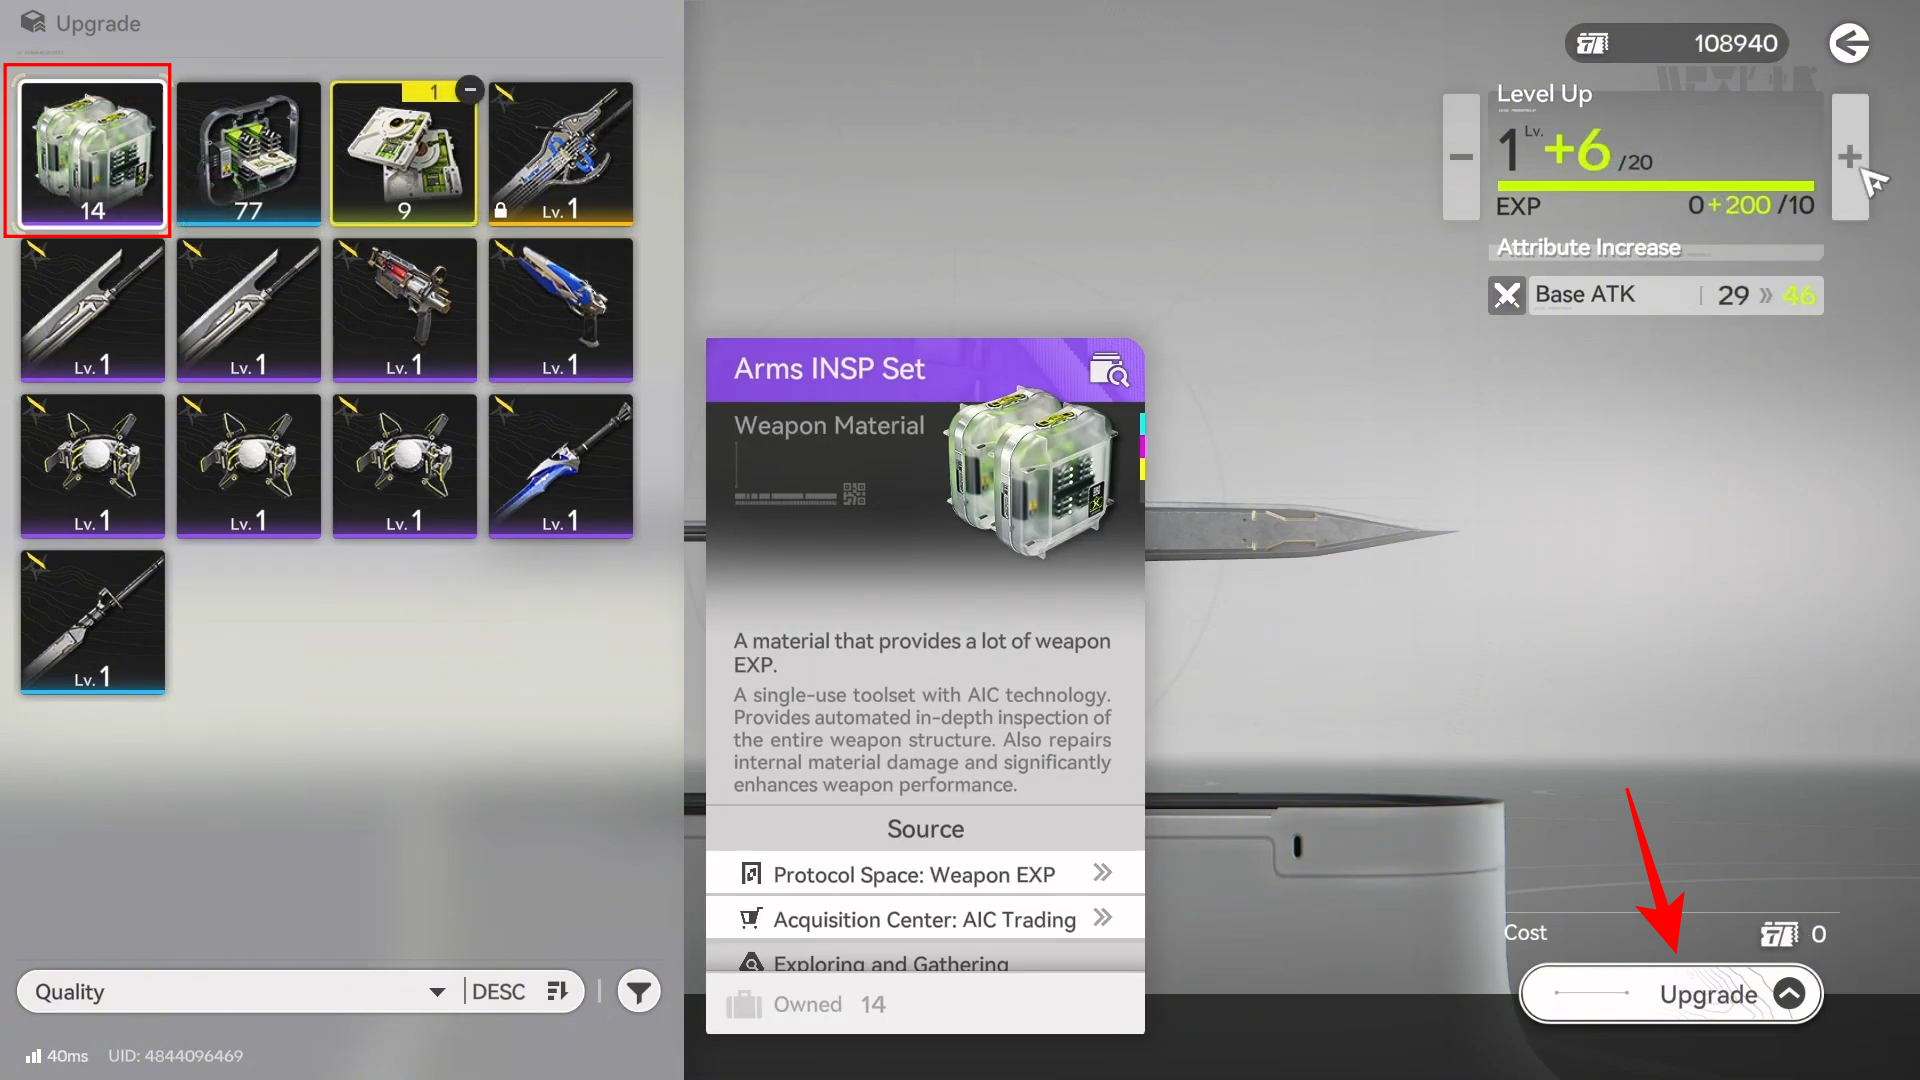
Tap the “+” option.
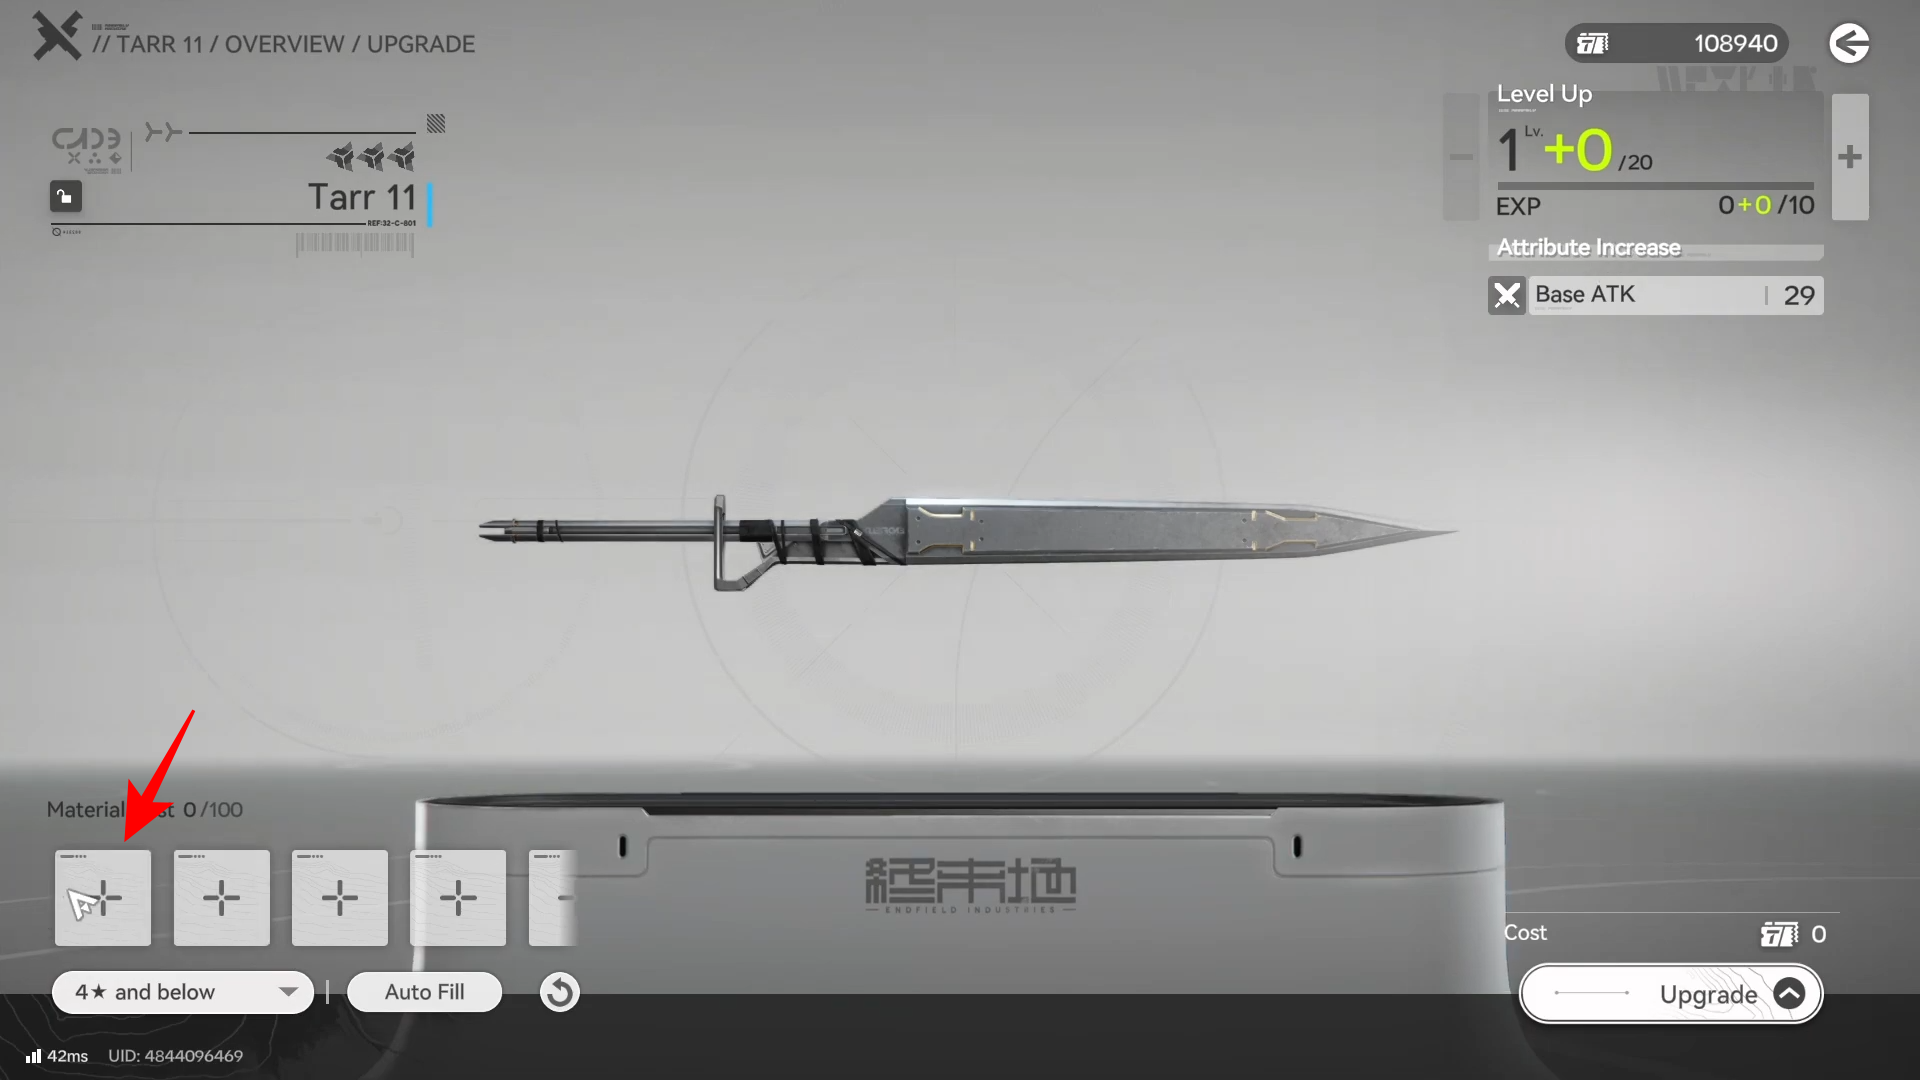
Feed in the Weapon EXP materials you just earned to level the weapon.
How Weapon EXP interacts with weapon caps and Tuning
Weapons don’t just scale forever from EXP alone: as you approach caps, you’ll need to “Tune” the weapon to raise the max level (the guide lists required materials at different cap breakpoints).
For example, the material list shown includes Cast Die plus Kalkonyx for the level 20 tuning step, then heavier materials for later tuning stages.
Keeping your Weapon EXP grind sustainable
If a tier feels inconsistent, drop down one tier and focus on clean clears, because wipe risk and slow runs usually cost more Weapon EXP over time than you gain. Also, don’t ignore tuning requirements—if you’re capped, more Weapon EXP items won’t help until you raise that cap.
Your best Weapon EXP results come from a tight loop: run the weapon-material Space Protocol tier you can clear quickly, use enemy intel to avoid bad fights, then immediately convert the drops into levels through your weapon upgrade menu.
Once you hit level caps, switch priorities to tuning materials so your Weapon EXP can keep translating into real weapon power.