What to know
- Entry is blocked by a breakable wall that requires Industrial Explosives (bomb Easy Tool) in inventory and equipped to use.
- Industrial Explosives are crafted by combining Aketine-derived powder and Amethyst Parts using base production machines.
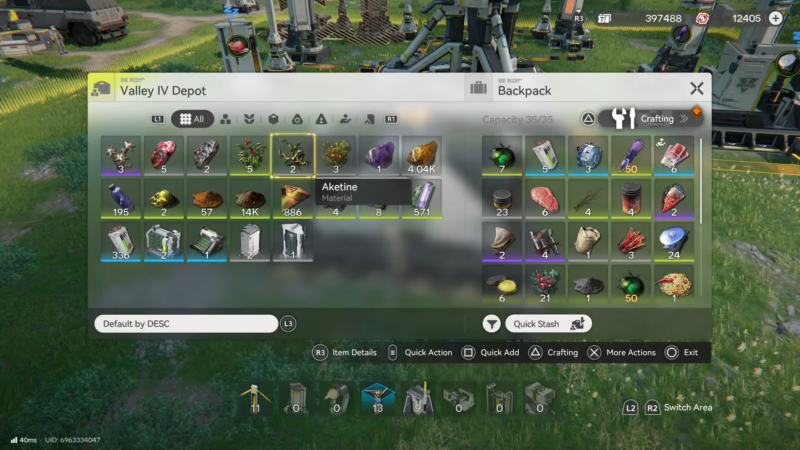
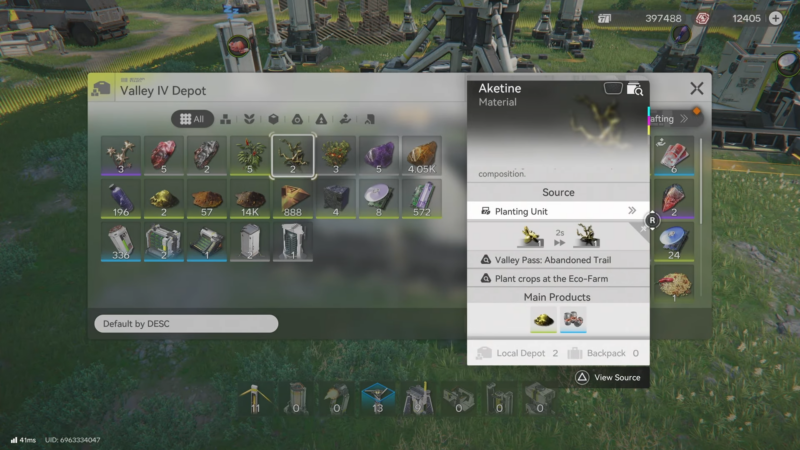
- Aketine can be farmed consistently in Valley Pass, especially around Abandoned Trail spawn clusters.
- Multiple bomb uses are needed inside the plant (walls, obstructing crates, and a laser-to-pylon interaction), so carrying extras prevents backtracking.
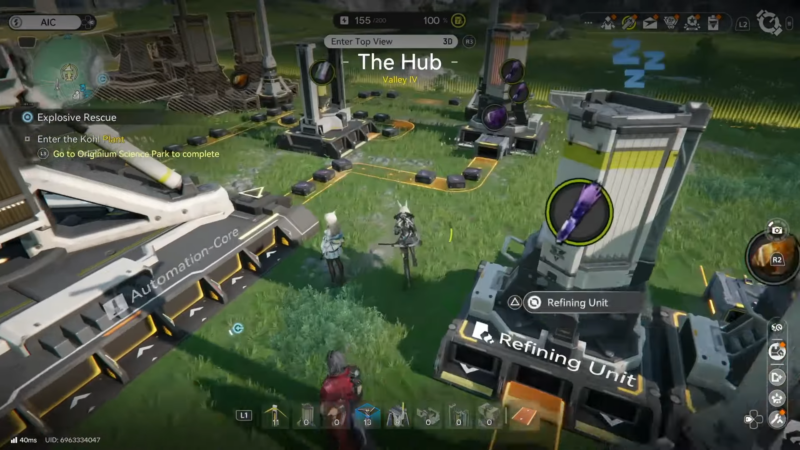
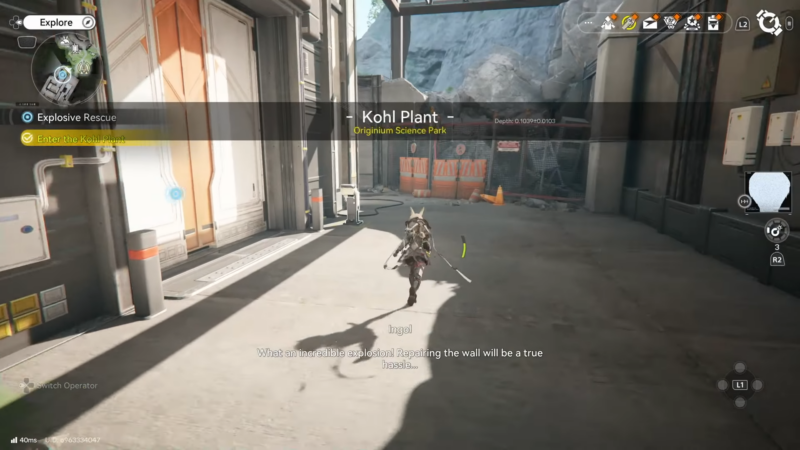
In Arknights: Endfield, Explosive Rescue commonly stalls at the Kohl Plant gate because the game checks for a specific “break wall” item rather than letting standard weapons solve the block. After entry, the interior leans on a repeating pattern: destroy the right obstructions, then interact with a switch or device to open the route forward. The smoothest clear comes from setting up reliable explosive production first, then running the plant in one uninterrupted push.
Quick pre-run checklist
- Confirm Industrial Explosives can be crafted in the base production chain.
- Confirm Aketine supply is ready (either already banked or easily farmed).
- Carry a “comfort stack” of explosives to cover: the entrance breach, several interior obstructions, and at least one attempt at the laser/pylon section.
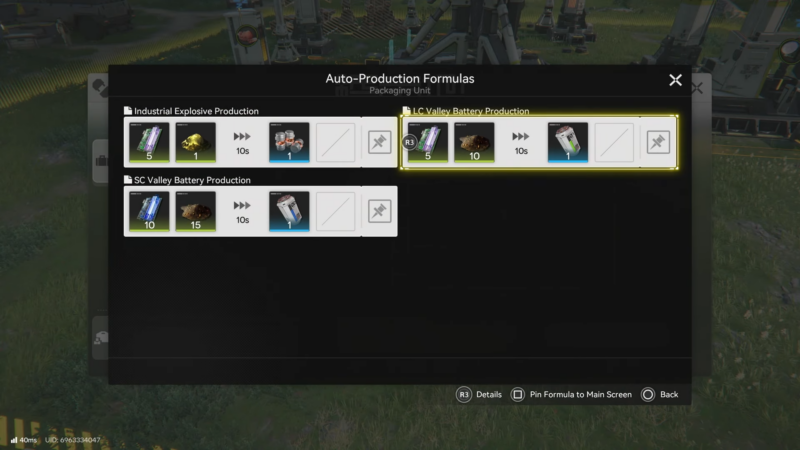
Crafting inputs and outputs
| Item | Role in the quest | Source / production route |
|---|---|---|
| Aketine | Becomes powder for explosives | Gathered in the open world, then shredded into powder |
| Aketine Powder | Direct ingredient | Produced in a Shredding Unit from Aketine |
| Amethyst Parts | Direct ingredient | Produced by processing Amethyst through refining/fitting machines |
| Industrial Explosives | Required tool | Crafted in the Packaging Unit (or equivalent final assembly) |
How to prepare before reaching the gate
The Kohl Plant entrance is a hard gate: the wall is meant to be destroyed with Industrial Explosives, and progress depends on having them available on-hand. Even after the entrance breach, explosives continue to be used to clear containers and trigger pathing interactions, which is why arriving with only one or two often leads to an unnecessary base trip.
A practical approach is to craft a larger stack than expected and place it directly in inventory before returning to the gate. Keeping extra explosives in storage is useful, but it doesn’t help if the quest interaction only checks the current carried items.
How to craft Industrial Explosives (Bomb Easy Tool)
Industrial Explosives are produced by combining two key inputs:
- Aketine Powder (made by processing raw Aketine in a shredding machine).
- Amethyst Parts (a processed crafting component made via the Amethyst production chain).
The general logic is simple: harvest raw resources, process them into intermediate materials, then feed the intermediates into a final packaging/assembly machine that outputs the explosives.
How to set up a reliable production chain
If explosives are going to be used repeatedly, consider arranging the machines so resources flow automatically from storage into the shredder and then into the packaging unit. This helps keep bomb production running while other objectives are being completed elsewhere. The main “gotcha” is power: if the packaging machine is unpowered, it can look like the recipe is wrong even when the ingredients are correct.
How to farm Aketine fast in Valley Pass (Abandoned Trail)
Aketine is often the limiting reagent because it can feel scarce until a reliable route is known. Valley Pass is a consistent region for Aketine gathering, and Abandoned Trail is a commonly used hotspot due to multiple spawn points close together.
A good loop is short, repeatable, and minimizes combat detours. If Aketine respawns quickly in the current session, it can be efficient to circle the same cluster for a few minutes, then return to base to process and craft.
Step-by-step: Aketine farming loop
Step 1
Travel to Valley Pass and head toward Abandoned Trail.
Step 2
Do a full sweep of visible Aketine patches in the area, prioritizing clusters that are close enough to chain together without long traversal.
Step 3
After gathering enough raw Aketine for a batch, return to base and run it through the Shredding Unit to produce Aketine Powder.
Step 4
Use the powder plus Amethyst Parts in the Packaging Unit to craft a stack of Industrial Explosives.
Step 5
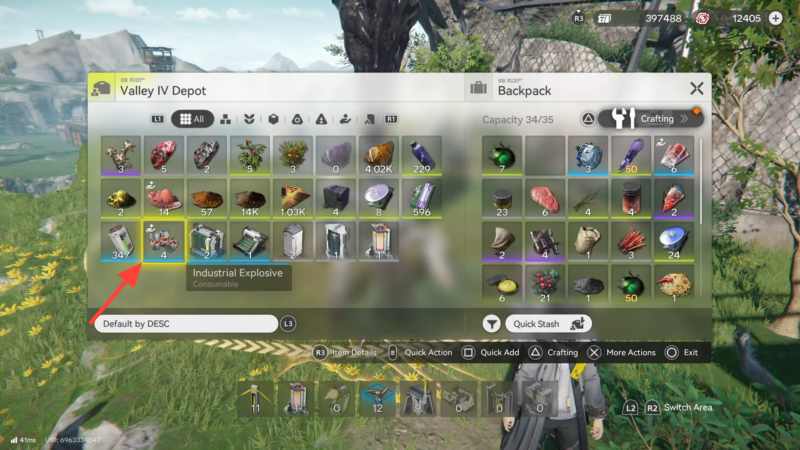
Move explosives into inventory before returning to Kohl Plant, not just into storage.
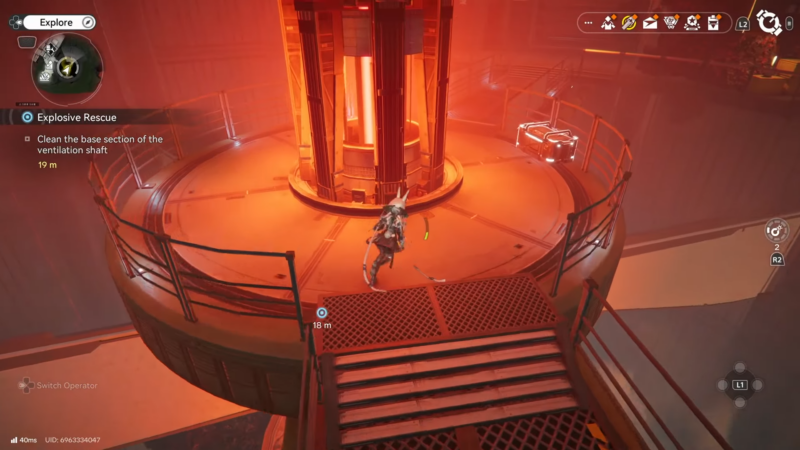
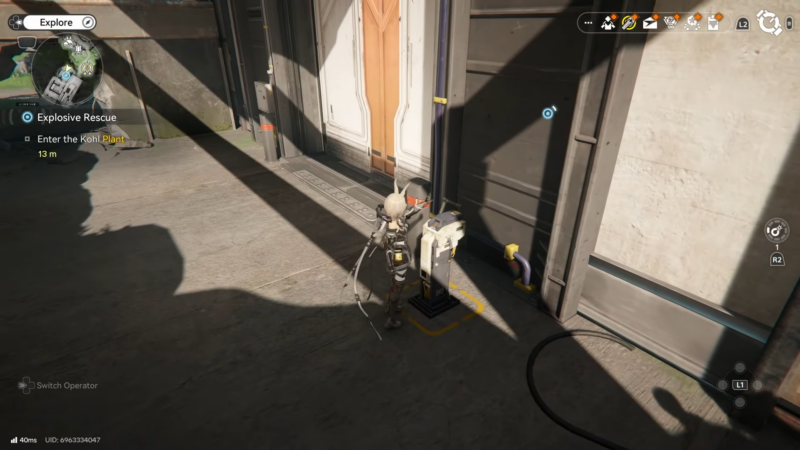
How to enter the Kohl Plant and clear the first barrier
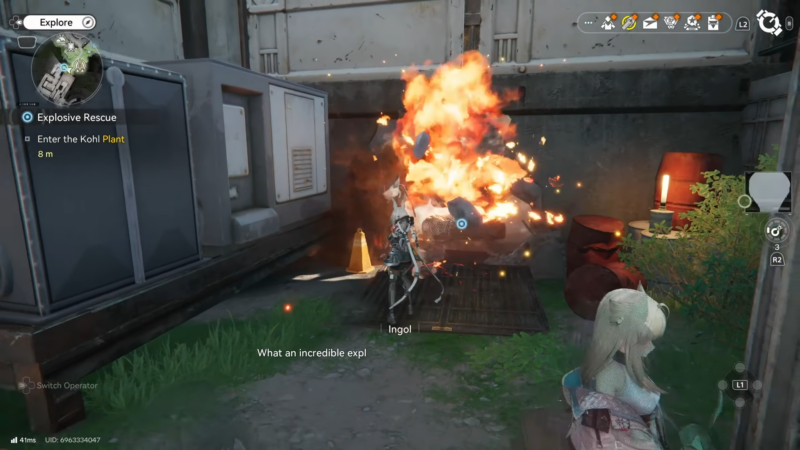
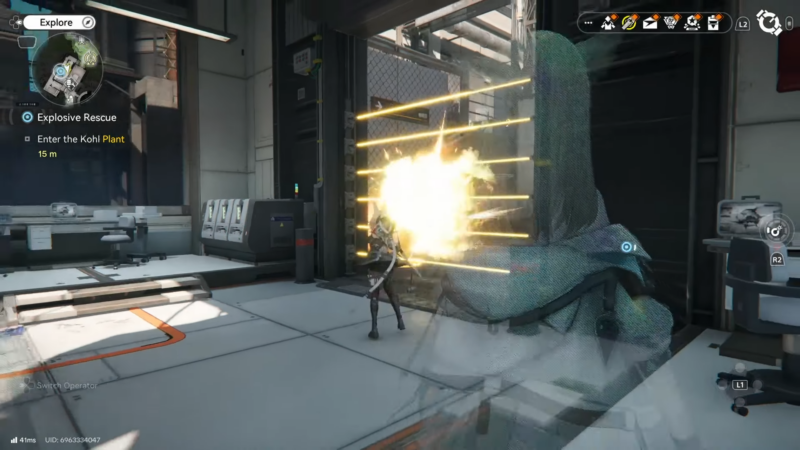
At the gate, the wall is the first check. Equip Industrial Explosives as the active item/tool, then use them on the wall to breach entry. Once inside, the next step is typically a barrier/device arrangement near the entrance area; interacting with the nearby device removes the barrier and opens the first section.
Step-by-step: entry sequence
Step 1
Equip Industrial Explosives
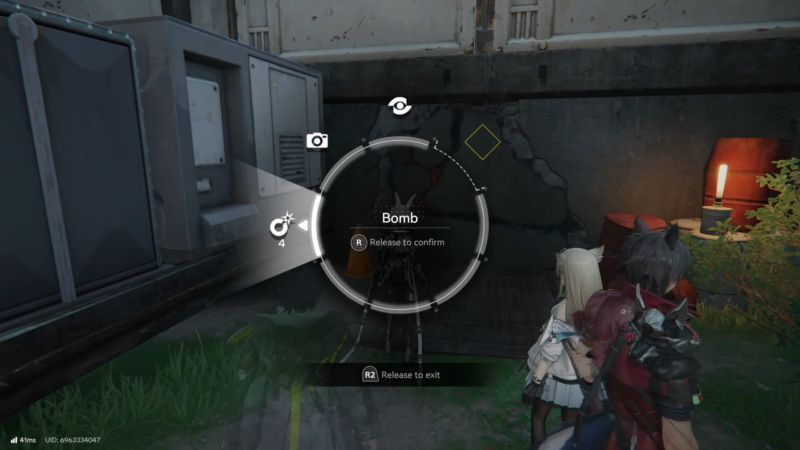
and destroy the wall blocking the Kohl Plant entrance.
Step 2
Move into the entry area and locate the nearby barrier control (often positioned to the right in the early layout).
Step 3
Activate the control to clear the barrier and proceed.
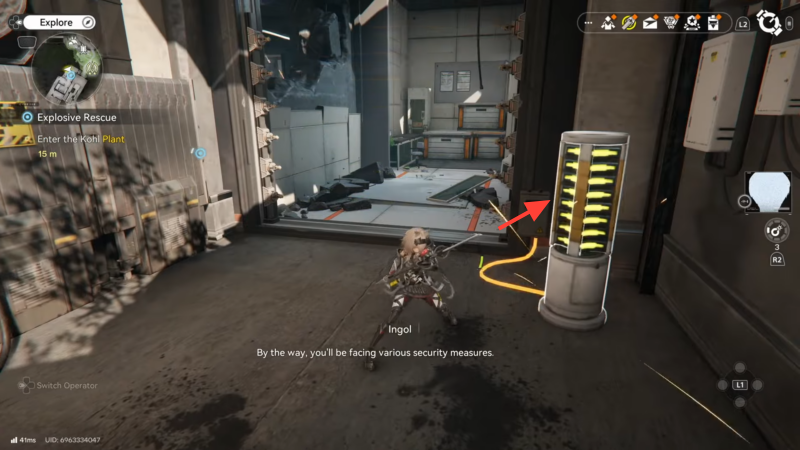
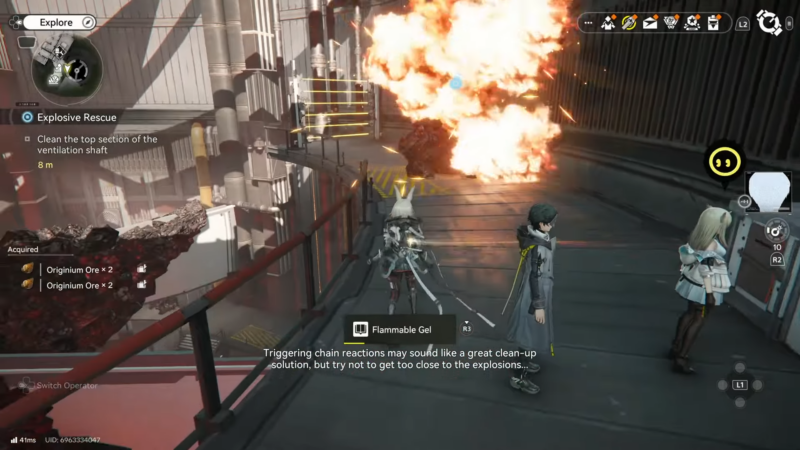
How to progress through crates, switches, and the laser pylon
Inside the Kohl Plant, progress often depends on clearing obstructions that are not always obvious from the main path. A recurring pattern is that crates or large containers are placed on the far side of a partial wall, and they must be destroyed before a button/switch will successfully open the next route.
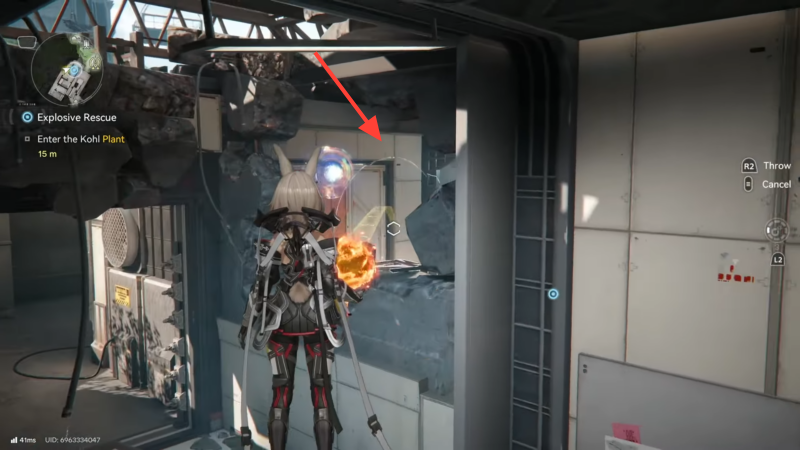
A later section introduces a laser field with a pylon interaction on the other side. The usual approach is to throw an explosive through/over the hazard line to trigger the pylon and disable the obstacle. This is the point where running out of explosives most commonly forces a return trip.
Step-by-step: interior progression
Step 1
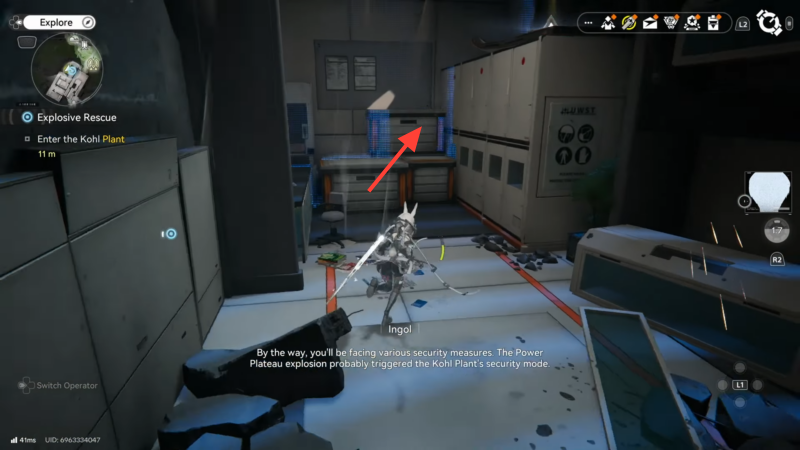
In the first interior room sequence, look for climb/jump opportunities to gain line-of-sight to containers on the other side of a wall.
Step 2
Destroy every obstructing crate/container, especially those touching door frames or placed directly in front of a pathing gate.
Step 3
Return to the button/switch and activate it once the obstruction is fully cleared.
Step 4
In the laser section, prepare an explosive and aim a throw to reach the pylon on the far side, triggering it to disable the hazard.
Step 5
In subsequent rooms, repeat the “destroy through a crack/opening” pattern, then hit the switch on the indicated side (often the right side) to open the next door.
Practical tip for smooth clears
If a door fails to open after hitting the switch, assume something is still blocking the mechanism and do a second pass from a different angle. The most common miss is a single crate tucked against the door or behind a partial wall.
Common issues and quick fixes
| Problem | Likely cause | Fix |
|---|---|---|
| Entrance wall won’t break | Explosives not equipped or not in inventory | Equip Industrial Explosives and ensure they’re carried, then retry |
| Switch does nothing | A crate/container is still blocking the door route | Re-check the far side; destroy everything near the door geometry |
| Stuck at lasers/pylon | Not enough bombs, or throw angle doesn’t reach | Restock explosives and try a cleaner throw line |
| Explosives won’t craft | Missing processed ingredient or machine lacks power | Confirm powder + Amethyst Parts are present and machines are powered |
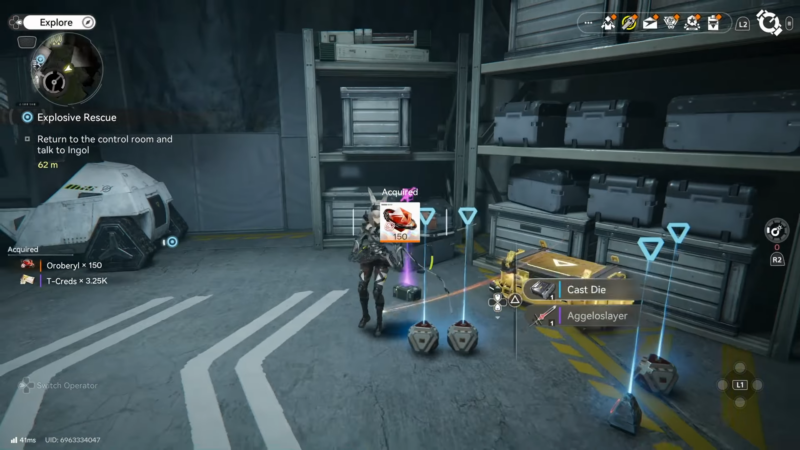
Rewards and what this unlock enables
This quest chain does more than open a door: it pushes the player into learning a reusable “explosives pipeline” that supports future exploration gates and similar destructible obstacles. Once explosives are being produced consistently, later objectives that rely on breakables become much less disruptive because restocking is simple and repeatable.
A practical takeaway is to treat explosives like a standard field consumable: keep a stack ready in storage and top off inventory before heading into any facility-style quest that includes puzzles, obstructions, or hazard interactions.
Clearing Kohl Plant efficiently
Kohl Plant entry is solved by arriving prepared: Industrial Explosives crafted, a dependable Aketine route established, and enough bombs carried to avoid mid-run crafting trips. Inside, progression is mostly about thorough obstruction clearing before hitting switches, then saving enough explosives for the laser-to-pylon interaction that enables the next route forward.