What to know
- Aternos offers free hosting with built-in Hytale support
- No manual server installation or port forwarding is needed
- Servers can be started and stopped anytime
- You can invite friends using a shared server address
Getting your own multiplayer world running in Hytale doesn’t require paid hosting anymore. With Aternos now supporting Hytale servers, you can create a shared world for friends in just a few steps, entirely for free.
How to create and play on a free Hytale server
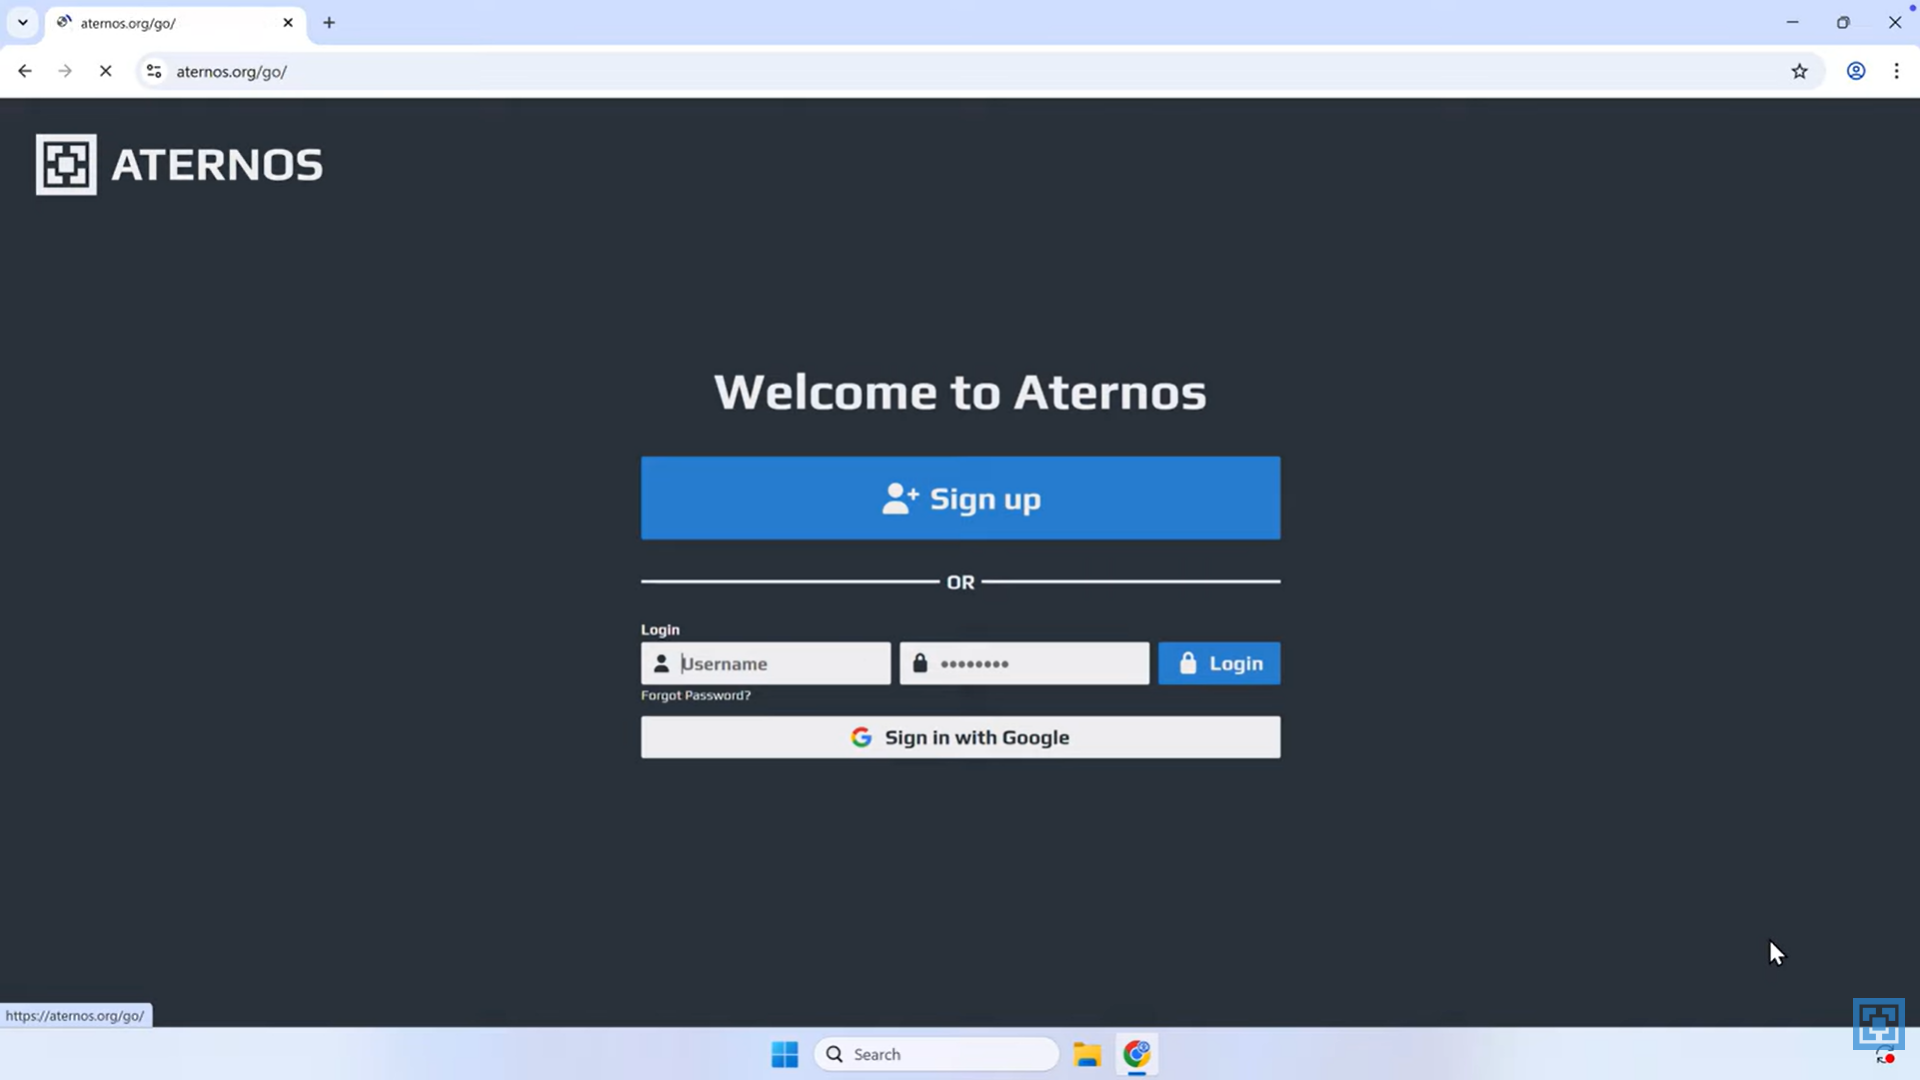
Step 1
Create an account on the Aternos website by clicking Play, then Sign up. Choose a username and password, or sign in using a Google account for quicker access.
Step 2
After logging in, click the Create Server button on the dashboard and select Hytale as your game.
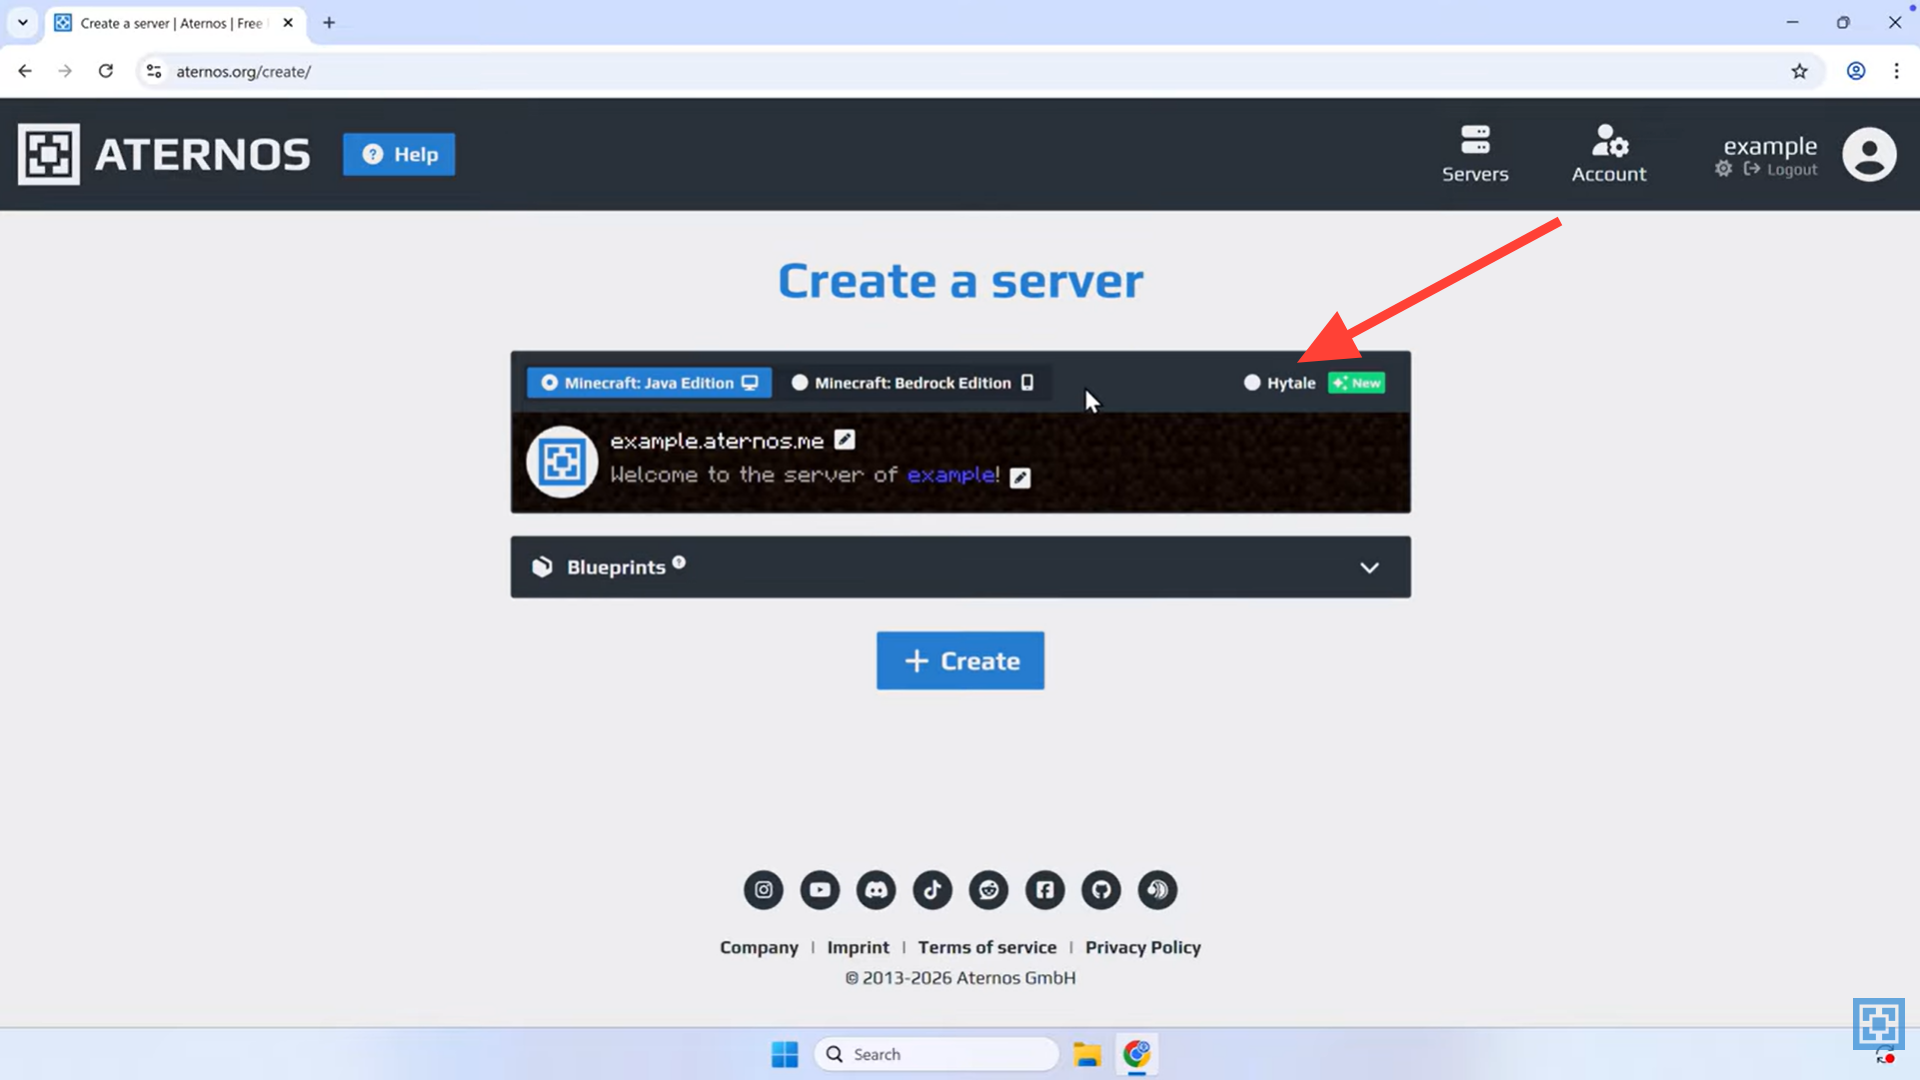
Review the automatically generated server address. If you want a custom name, click the pencil icon to edit it, then confirm by clicking Create.
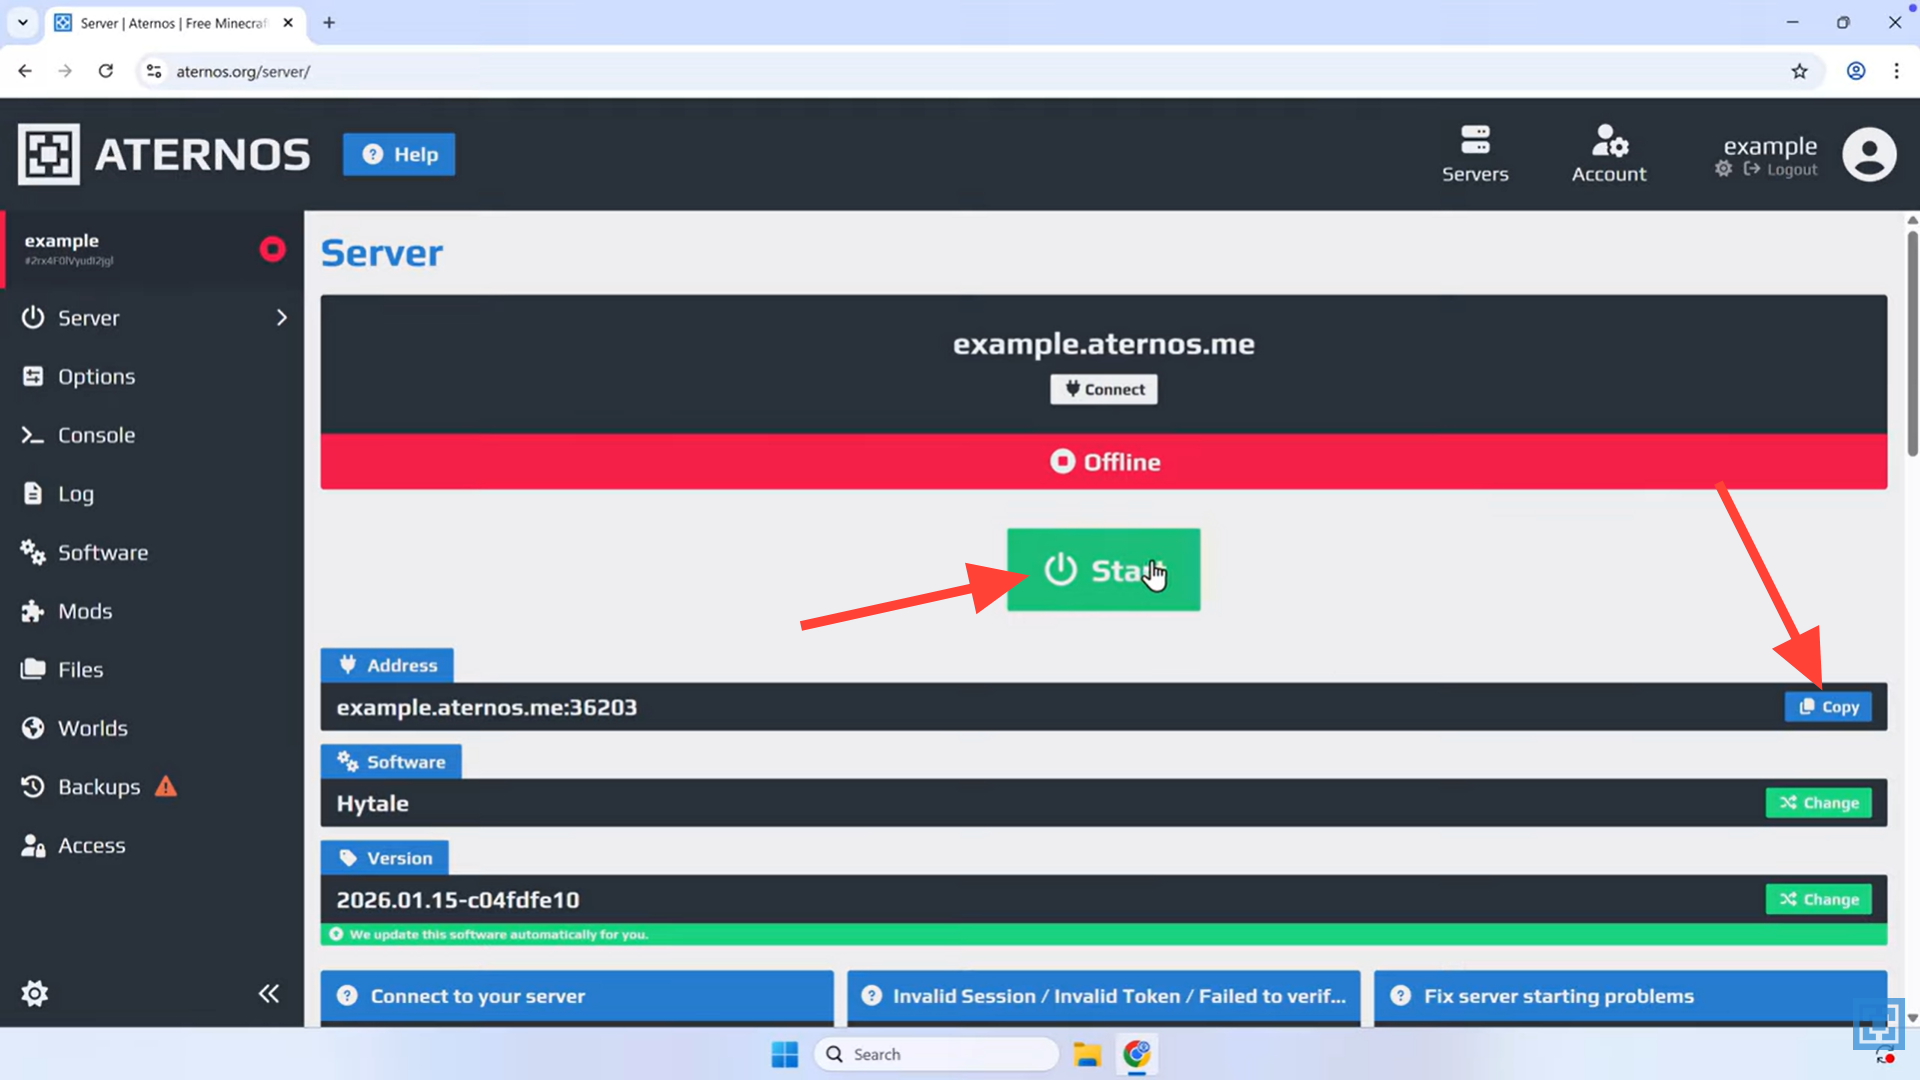
Step 3
Once the server is created, press Start to bring it online. Wait until the status shows the server is fully running before attempting to join. Copy the address of the server.
Step 4
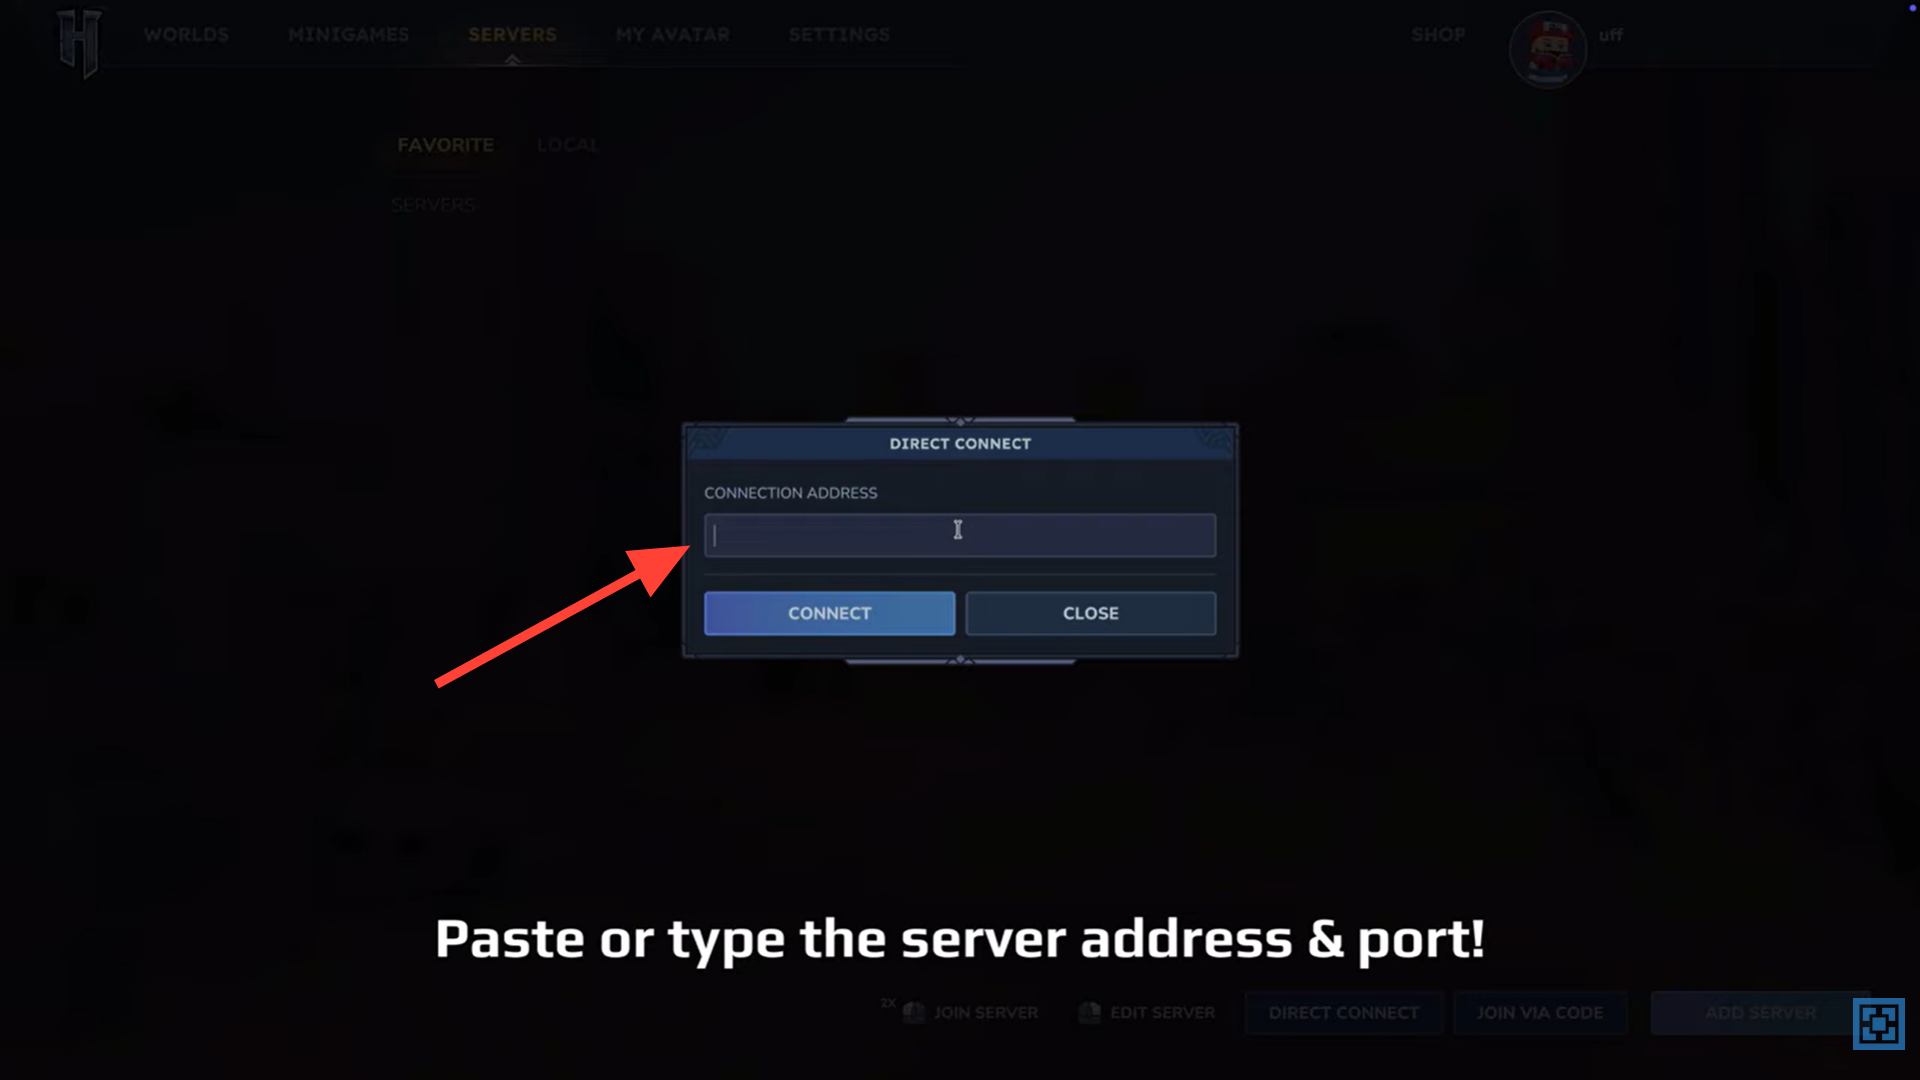
Open the Hytale launcher on your PC and enter the server address shown on your Aternos server page, including the port if one is listed.
Step 6
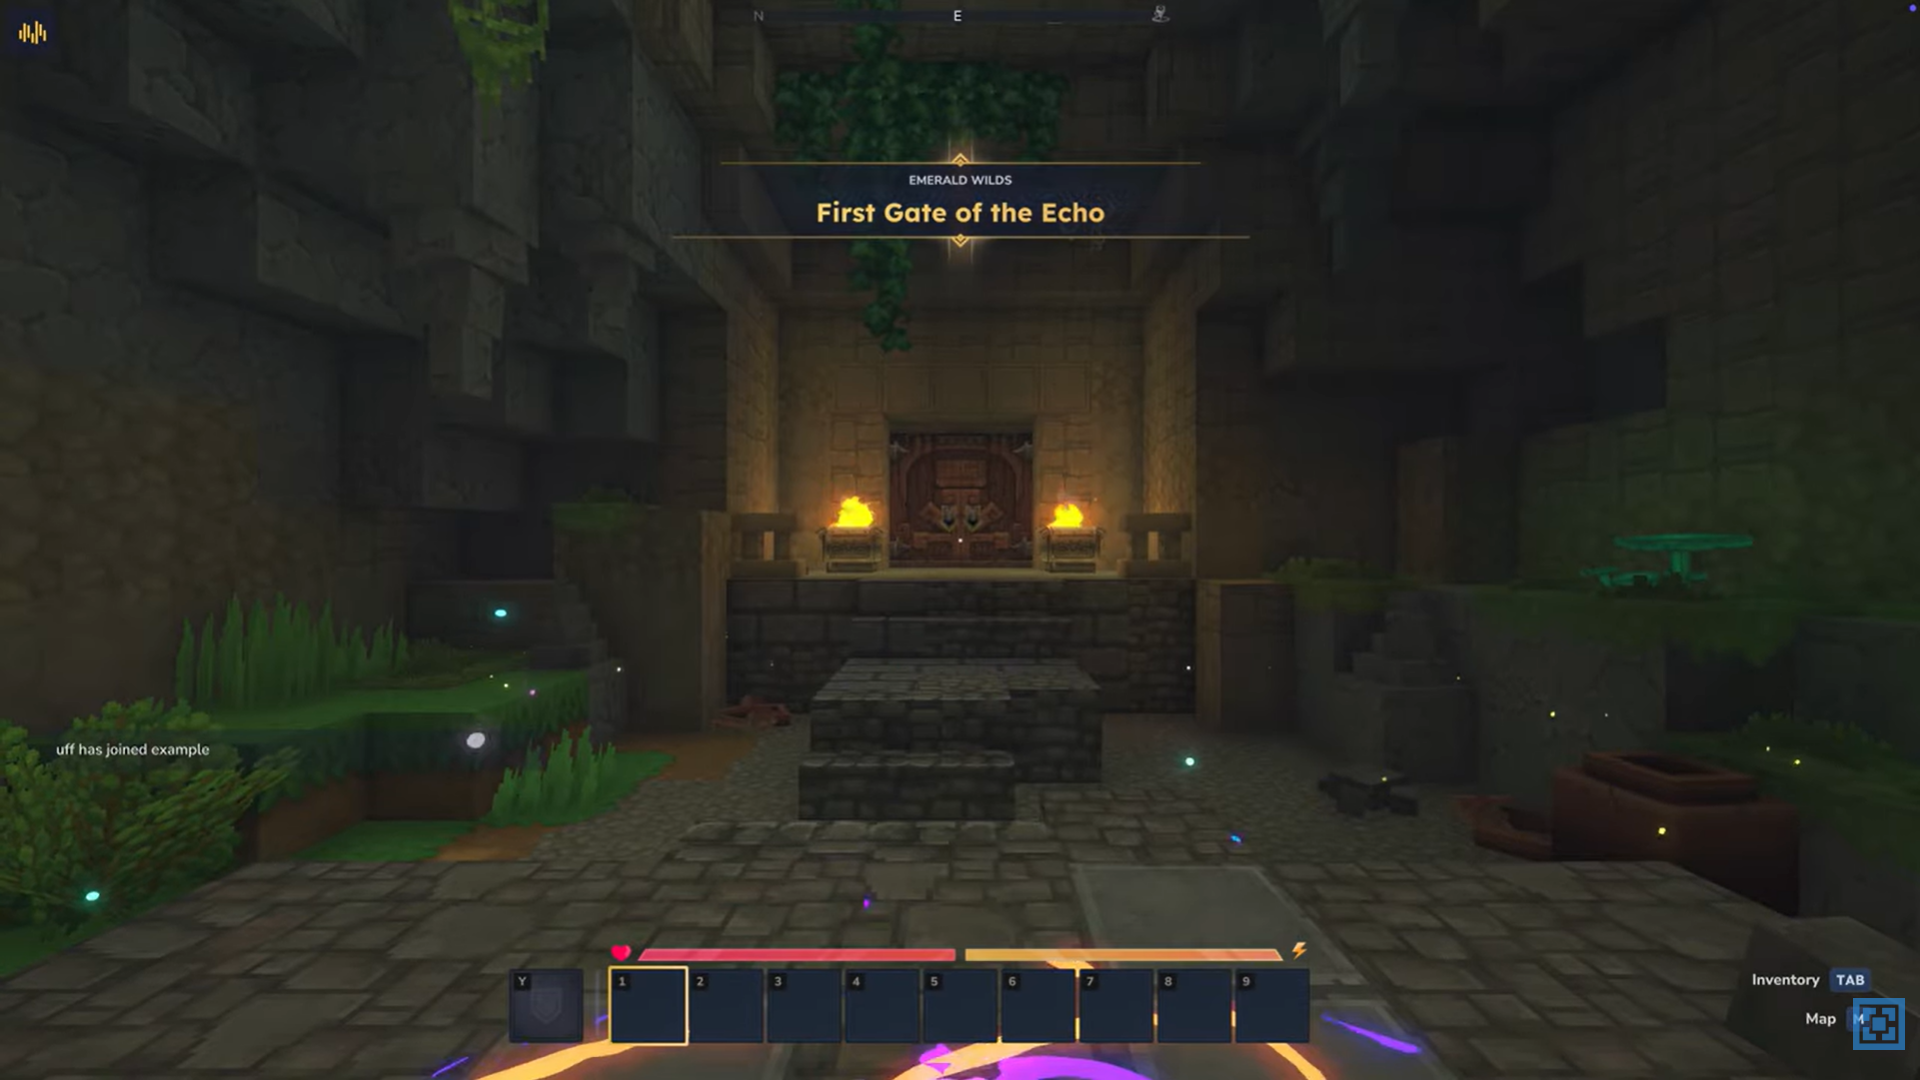
Invite your friends to join using the same address and start playing together in your shared Hytale world.
Customizing your Hytale server experience
After your server is up and running, you can adjust gameplay settings, manage player access, and explore available mod options as Hytale’s server tools continue to expand. This flexibility lets you tailor the world for casual co-op sessions or longer multiplayer adventures.
Starting your Hytale multiplayer journey
Aternos removes the usual barriers to hosting by handling setup and server management for you. With just one guided process, you can create a free Hytale server and jump straight into multiplayer with friends whenever you like.


