If you’re someone who clicks a lot of photos and stores documents and files on your iPhone, then you might also be keeping multiple backups of your iPhone on the Mac. Since these backups are large in terms of sheer size and Macs have limited storage space, you may want to transfer them to external storage. This will not only clear some space on your Mac but also help you manage backups of different devices across multiple locations for safety.
In this post, we’ll explain how you can copy your iPhone backup from a Mac to an external hard disk.
Can you back up your iPhone directly to an external HDD?
No. macOS only allows you to backup contents from your iPhone to your Mac’s local storage. There’s no option to save these backups onto an external HDD directly but you can move existing backups from your Mac to your external storage at any time. Moving backups to external storage will help clear space from your Mac for future backups and other files. This way, you can store a bunch of your iPhone backups and use them to restore your device to any of its previous states.
Related: How to Backup iPhone on Mac
How to copy your iPhone backups to an external HDD
While macOS doesn’t offer you a way to create backups of your iPhone directly onto an external HDD, you can still copy the backups you’ve already created on your Mac and move them to another hard disk. The process involves connecting your iPhone wirelessly over Wi-Fi, finding the iPhone backup on your Mac, and then seamlessly transferring the data onto an external HDD.
If you haven’t yet created a backup of your iPhone, the post we’ve linked below should help you get started.
Step 1: Pair your iPhone to Mac wirelessly
Before you can find your iPhone backup, you need to connect your iPhone to the Mac, so you can locate its backup location. While the easiest way to connect your iPhone to the Mac is via a wired connection, you may want to make it more convenient by letting the two devices stay connected over the same Wi-Fi network. We have a dedicated post (10 Ways to Pair your iPhone With Macbook) on the same, so you can follow Method 2 to connect your iPhone to the Mac wirelessly.
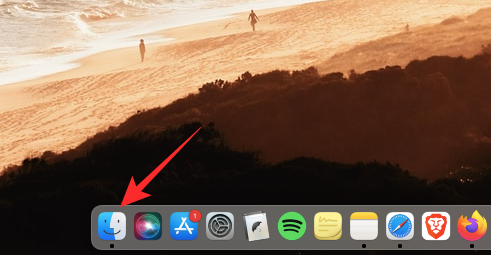
- To explain the steps, in brief, you can establish a wireless connection between your iPhone and Mac by first connecting them with a Lightning-to-USB cable and then opening the Finder app.
- Inside Finder, select your iPhone from the left sidebar, check the Show this iPhone when on Wi-Fi box inside the General tab, and then click on Apply.
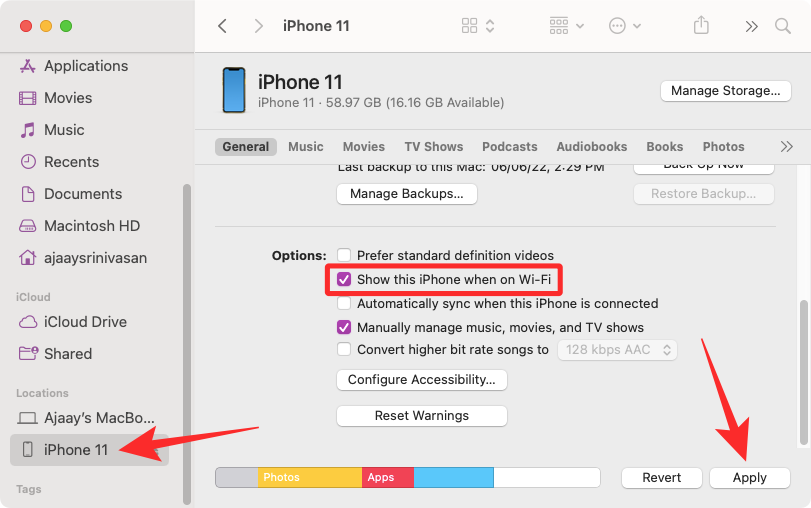
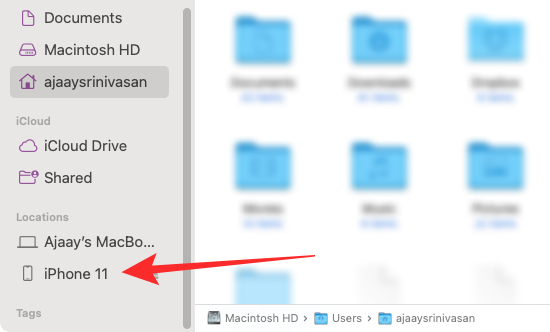
When you do that, your iPhone will show up inside the Finder app even when it’s not connected to the USB cable as long as both devices are connected to the same Wi-Fi network.
Step 2: Locate iPhone backup on your Mac
Once you’ve connected your iPhone to the Mac via Wi-Fi, you can now proceed to find where your iPhone backups are saved.
- Open the Finder app on macOS.

- Inside Finder, click on your iPhone from the left sidebar under “Locations”.
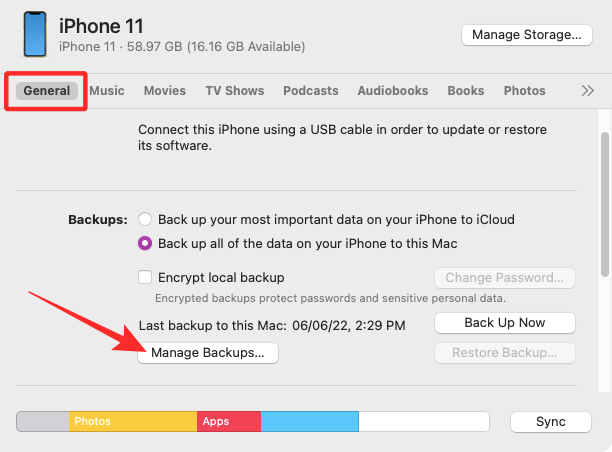
- When the selected iPhone loads up on the screen, click on Manage Backups under the General tab.
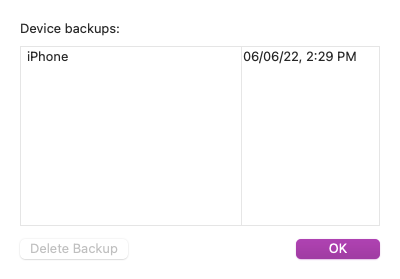
- You’ll see a list of the iPhone backups that you’ve created on your Mac inside the Device Backups box.
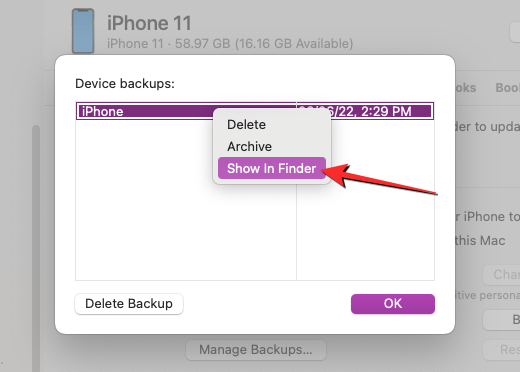
- To locate a backup’s location, right-click on it and select Show in Finder.
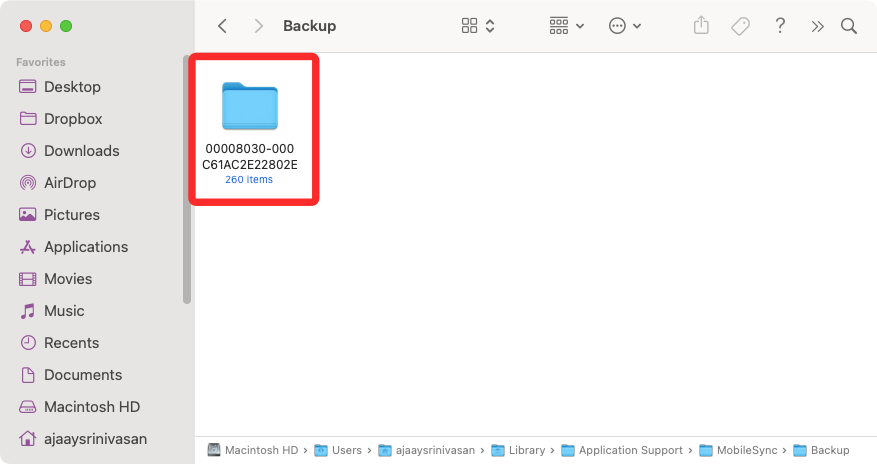
- A new Finder window will open showing the selected backup’s folder highlighted among other backups. You need to keep this window open for copying the contents over to external storage.
Step 3: Move backup to external HDD
When you’ve located your iPhone backup on the Mac, moving it is as easy as copy-pasting contents from one device to another.
- First, connect your external HDD to the Mac using the provided cable.
- When the storage device is connected, open it in Finder and go to the location where you want to move the iPhone backup inside it.
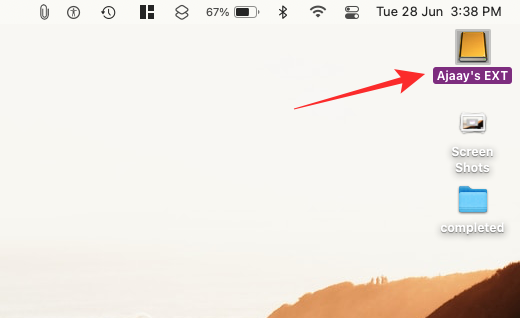
- Now, in the Finder window where your iPhone backup is stored, select any number of backups that are available inside the Backup folder on your Mac.

- Once selected, drag the selected content from this folder to your desired location inside your external HDD’s window.
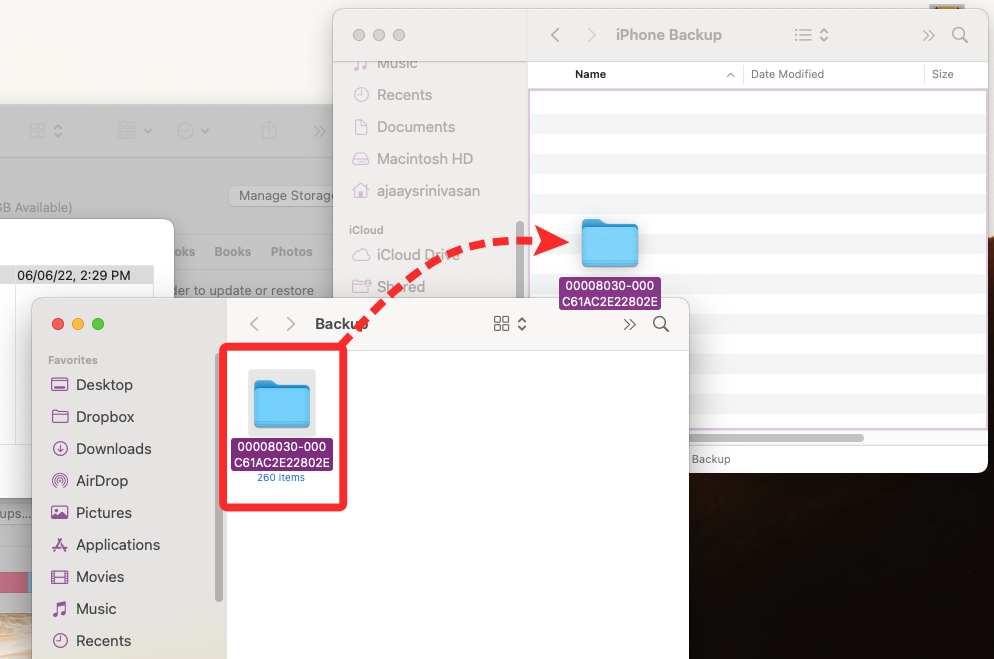
- Your iPhone backups will now be copied over to the external storage device and you can use it in the future to restore your iPhone to a previous state.
How to clear iPhone backups from a Mac
If you’ve copied your iPhone backup to external storage, you may no longer need to keep it stored on your Mac. By clearing it, you can not only save storage for other files but you can also create more backups on your iPhone.
- To clear your iPhone backups from the Mac, open the Finder app on macOS and locate your iPhone from the left sidebar under “Locations”.

- When your iPhone loads up inside Finder, click on Manage Backups inside the General tab.

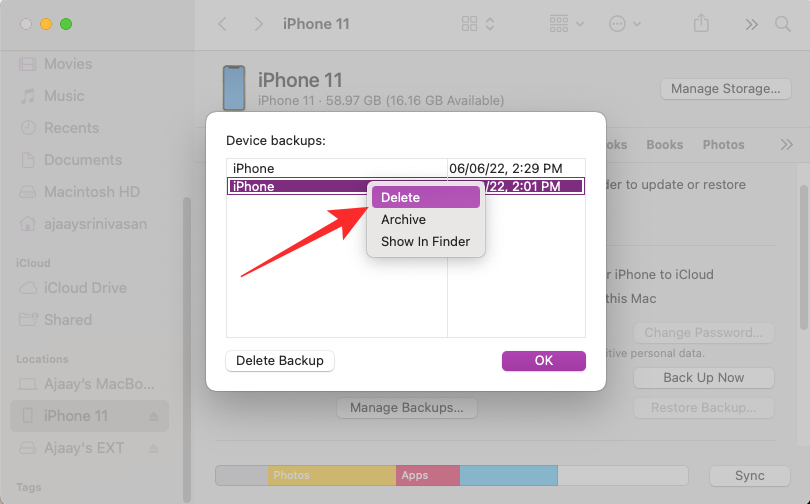
- You’ll see all your existing iPhone backups inside the Device backups dialog box. Here, right-click on the backup you want to remove from your Mac and click on Delete Backup.
- In the prompt that appears, confirm your decision by clicking on Delete.
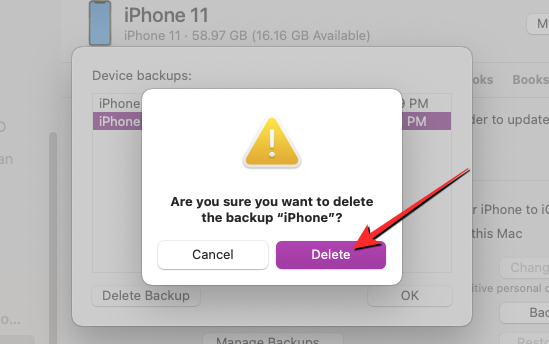
The selected iPhone backup will now be removed from your Mac. Since you’ve saved a copy of it on your external HDD, you can move its contents to the Backup folder on your Mac to restore it.
How to move iPhone backup from external HDD to Mac
If you wish to restore your iPhone to a previous state using a backup that you copied over to an external HDD, the Finder app doesn’t let you restore it directly from the external storage. You are instead required to transfer the backup back to its original location on your Mac and then perform the restore.
- To move an iPhone backup from external storage to your Mac, connect the HDD back to your Mac and locate the backup that you copied from the Mac before.
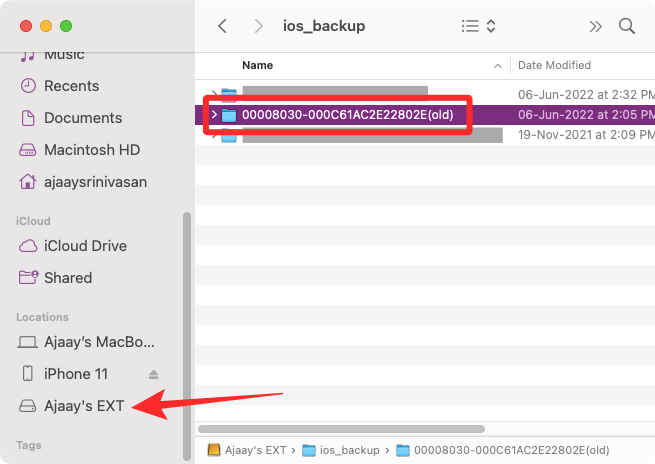
- Once located, move the backup from the external store to this location on your Mac –
~/Library/Application Support/MobileSync/Backup/by dragging and dropping the backup folder.
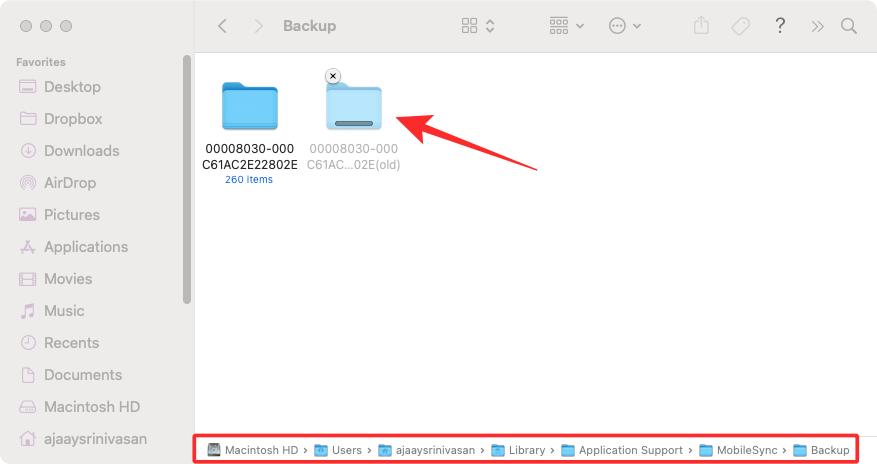
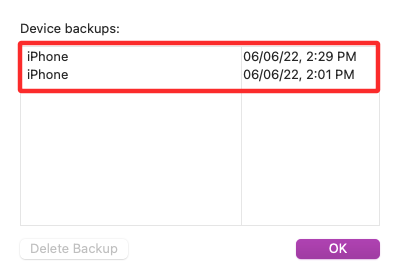
- If done successfully, the backup should show up inside the Finder app when you access your iPhone from the Mac.
That’s all you need to know about copying your iPhone backups to external storage.
RELATED


