Defeating the Savage Beastfly 2 in Hollow Knight: Silksong demands precise dodging and strategic attacks in a dynamic arena.
What to know
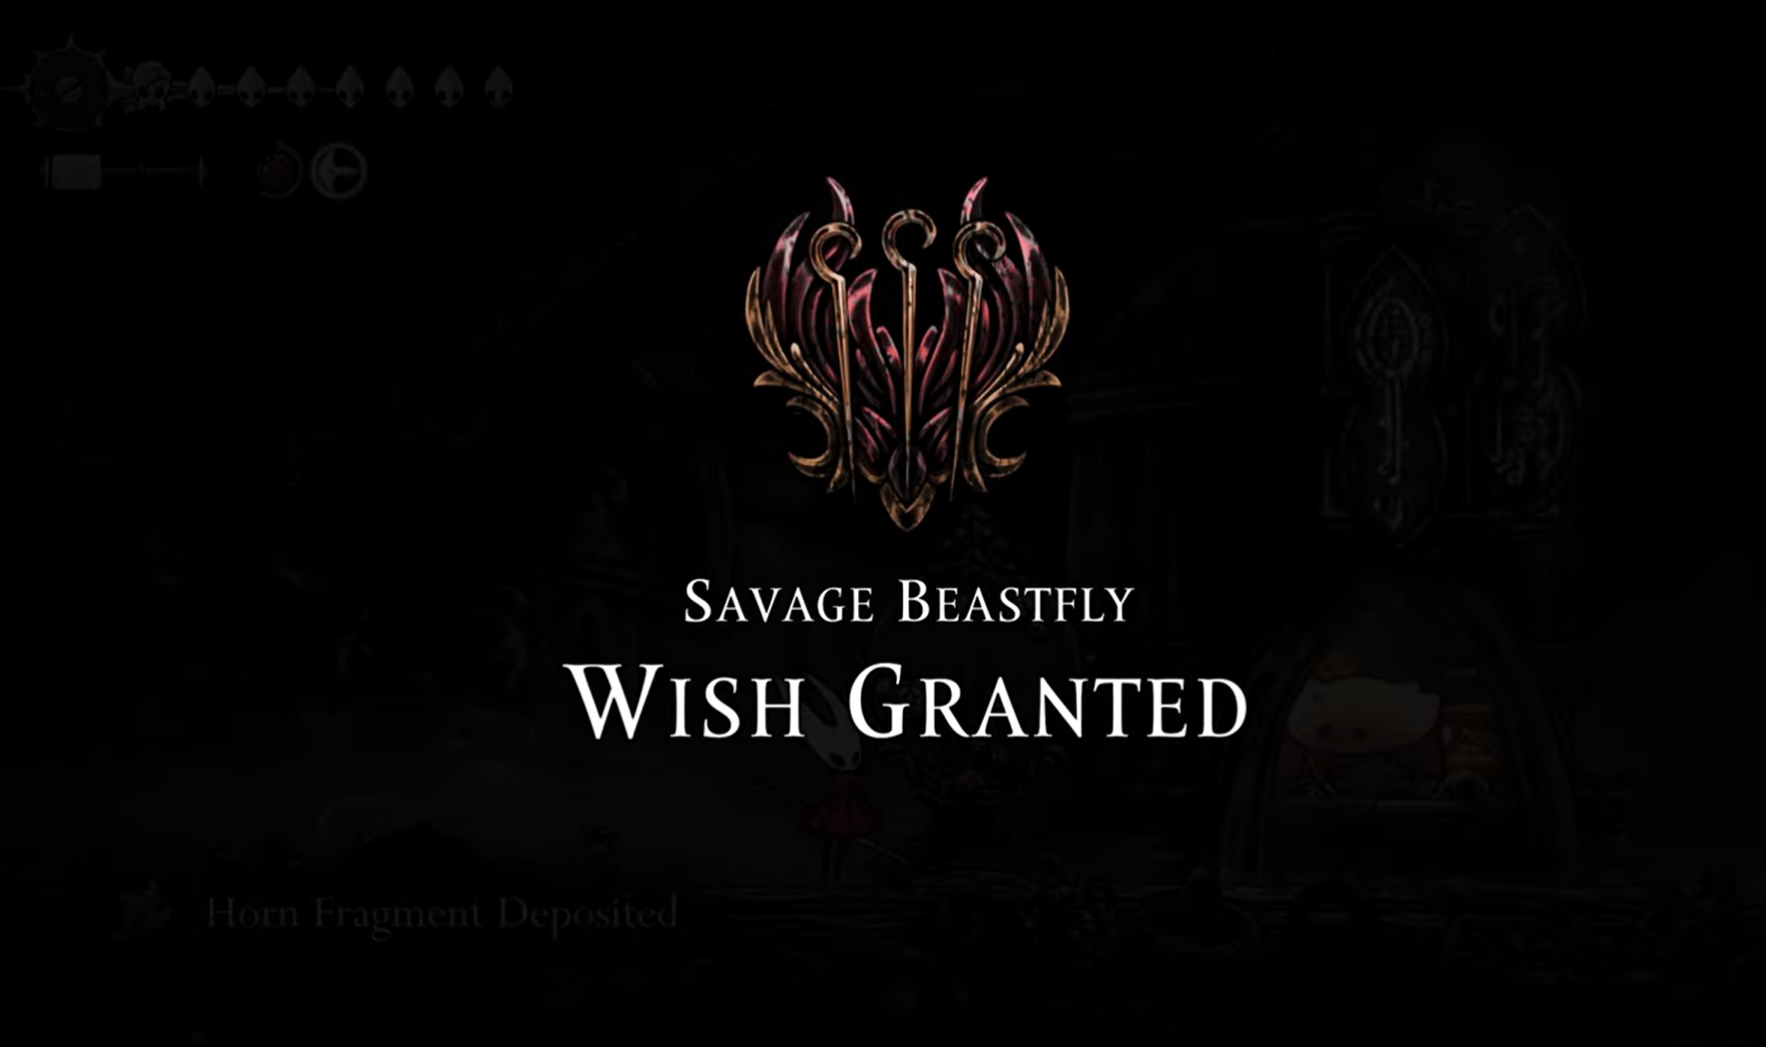
- The second Savage Beastfly fight appears in the Far Fields (the Fourth Chorus boss arena) after you accept a Bellhart “Grand Hunt” Wish.
- You must have already defeated the Savage Beastfly in the Chapel of the Beast and progressed past the Cogwork Dancers to get the Far Fields hunt.
- The fight is long, spawns flying adds (later ones shoot magma), and rewards a Mask Shard / Horn Fragment from the Far Fields encounter.
- Best approach: improve mobility and tools first (double jump/claw/Curveclaw/harpoon choices), save silk for heals/tools, bait slams and punish the landing windows.
Silksong’s “Savage Beastfly 2” (the Grand Hunt Far Fields spawn) is an optional, repeat encounter that can feel punishing if you try it too early. Below, you’ll see where to trigger it, the exact requirements, recommended loadout, how the boss behaves, and a detailed step-by-step battle plan so you can beat it efficiently.
Location of the Savage Beastfly
The second Beastfly fight occurs in the Far Fields in the exact arena where you previously fought the Fourth Chorus.

You get access to this version only after picking up the Savage Beastfly Grand Hunt Wish at Bellhart’s wish board, which appears once you’ve defeated the Chapel-of-the-Beast Beastfly and progressed past the Cogwork Dancers in Act 2. Set your bench or Bellway near Far Fields before attempting it.
How to meet the unlock requirements (what must be done first)
- Defeat the Beastfly in the Chapel of the Beast (Hunter’s March) — that initial defeat is required to create the Hunt entry.
- Progress to/complete the Cogwork Dancers (Act 2 progress); after that, the Grand Hunt Wish appears on Bellhart’s board.

- Accept the Savage Beastfly Grand Hunt from Bellhart, then travel to the Fourth Chorus arena in Far Fields to force the special spawn.

- Only the Far Fields version completes the Hunt and drops the Horn Fragment / Mask Shard.

How to prepare: recommended crests, tools, and upgrade priorities
You can brute-force the fight, but it’s far easier with mobility and a few specific tools/charms. The table below summarizes strong picks and why they help.
| item / charm / tool | why it helps | where to get / note |
|---|---|---|
| Double jump / Grip claw / Drifter’s Cloak (mobility) | avoid vertical pressure and reposition during slam/charge phases | standard progression upgrades — prioritize before retrying. |
| Curveclaw / Harpoon / ranged tools (e.g., Sting Shard) | safe damage when Beastfly is airborne or when adds block you | Curveclaw/harpoon transform ranged engagement; Sting Shard is recommended. |
| Threadstorm / Pollip-style tools | strong AOE / add control; saves silk heals for clutch moments | tools that help clear summoned adds fast reduce fight length. |
| Magma Bell / Magnetite Dice | survivability against lava/projectile damage and occasional lucky hit avoidance | recommended for Far Fields where adds shoot magma. |
| Save silk (for heals) and a healing tool | Beastfly fights are long; you’ll want silk for emergency heals | guides recommend conserving silk. |
(These are tested community-recommended loadouts; you can adapt by playstyle — melee players may favor stronger crests, ranged players the Curveclaw/harpoon.)
Savage Beastfly 2: Fight Pattern and Rewards
| Beastfly action | tell / animation | what to do (counter) |
|---|---|---|
| Horizontal charge/dash | Beastfly dives low and zips across the arena | Stay on the ground at edge so it clips the wall and briefly stalls — then punish the side as it recovers. |
| Vertical smash / ground pound (slam) | Beastfly flies high then smashes down in a column | Bait it into slamming when adds are close so the slam kills its own summons; punish the Beastfly’s sides while it recovers. |
| Summon flying adds (early small flies; later tarflies that shoot magma) | Spawns midfight; adds may cluster around you | Clear adds quickly with AOE tools or bait a slam to kill them; in Far Fields, watch for magma projectiles. |
| Air strafing while raining damage | Long period where Beastfly stays airborne and throws pressure | Use ranged tools, avoid staying under it too long, and preserve silk for heals. |
These behaviors are consistent across the Chapel-of-the-Beast and Far Fields fights, but the Far Fields variant’s terrain and magma-throwing adds make it more punishing if you’re underprepared. Here is the list of rewards:
| Location of fight | Requirement | Reward | Notes |
|---|---|---|---|
| Chapel of the Beast (Hunter’s March) | Encountered during Act 1 story progression | No unique item reward (fight completion only) | Needed to unlock the Grand Hunt entry on Bellhart’s board |
| Far Fields (Fourth Chorus arena) | Accept Savage Beastfly Grand Hunt Wish after Chapel fight + Cogwork Dancers | Horn Fragment or Mask Shard | Counts as the official Hunt completion and upgrades your survivability |

Wrap-up — finishing notes for the Far Fields Savage Beastfly
The Far Fields Savage Beastfly is an optional but rewarding Grand Hunt that tests patience, add-control, and the ability to bait its slam and charge moves. Do the Chapel-of-the-Beast fight first, accept the Grand Hunt from Bellhart after Act 2 progress, prepare mobility and add-clear tools, and use the bait-slam → punish rhythm described above. If you’re struggling, take time to upgrade mobility/tools or try a ranged/DoT strategy. You’ll get the Mask Shard / Horn Fragment when you clear the Far Fields version.


