- What to know
- Reference table for this quest step
- Unlocking the zipline from the AIC Factory Plan (Field Mobility I)
- How to place the zipline route near the outpost (two separate ziplines)
- How to power the ziplines so the quest completes
- Common sticking points and quick fixes
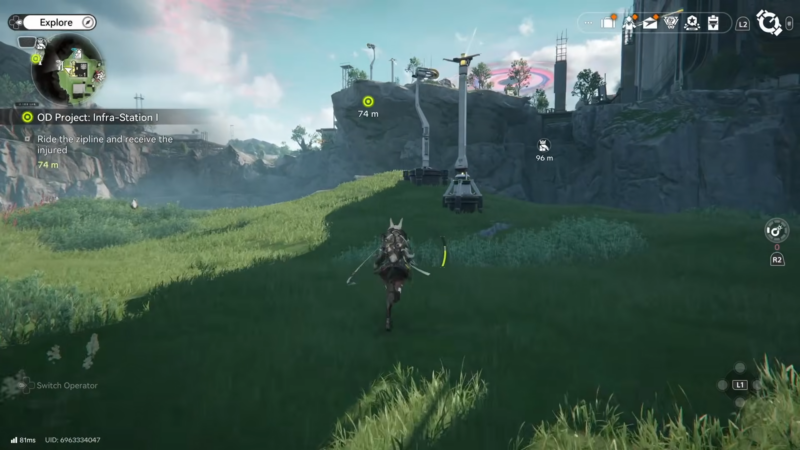
- Finishing the OD Project Infra zipline route objective
What to know
- The zipline feature must be unlocked first in the AIC Factory Plan by reaching Field Mobility I.
- The quest requires two separate ziplines to be placed for the route to count as completed.
- Each zipline still needs power after being built, so power lines must reach both endpoints.
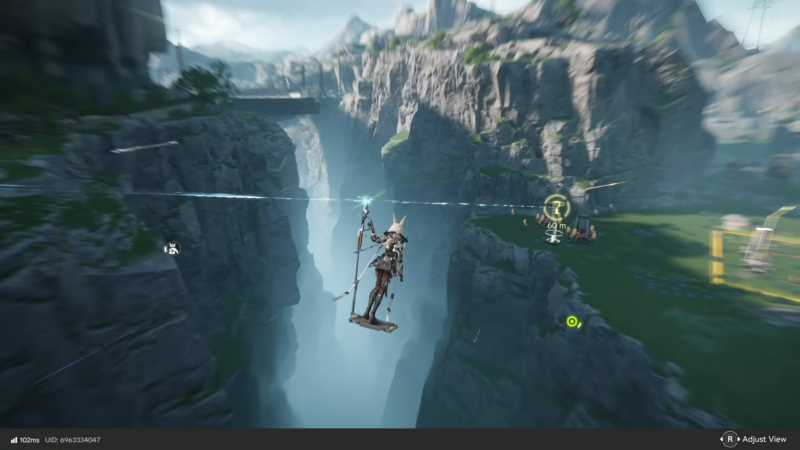
- If a pre-built zipline exists in the area (placed by another player), it can help with crossing, but teleporting may still be needed.
In Arknights: Endfield, the OD Project Infra step can feel confusing at first because it mixes progression (unlocking zipline) with base-building basics (placing facilities) and power routing (getting electricity to the structure).
Reference table for this quest step
| Quest requirement | What it’s checking for | Where it happens in gameplay |
|---|---|---|
| Zipline unlocked | Field Mobility I obtained in AIC Factory Plan | AIC Factory Plan “simulation” screen |
| Zipline placed | Zipline facility placed from Facilities list | Build/Facilities menu |
| Route created near outpost | Zipline endpoints placed in the correct outpost-side area | Around the ridge near the outpost/injured objective |
| Powered up | Electricity connected to each zipline after construction | Power lines, pylons, or existing powered grid |
Unlocking the zipline from the AIC Factory Plan (Field Mobility I)
The zipline cannot be placed until the AIC Factory Plan unlock is done. The fastest way is to open the radial/wheel menu and enter the AIC Factory Plan “simulation,” then focus progress on the right-side nodes until Field Mobility I is reached.
More points may be needed to reach that node. These points come from campaign exploration progress, and one practical source is activating the inflatable “arm” point objects encountered in early areas. Once enough points are earned and Field Mobility I is obtained, zipline placement becomes available in the Facilities list like other buildables.
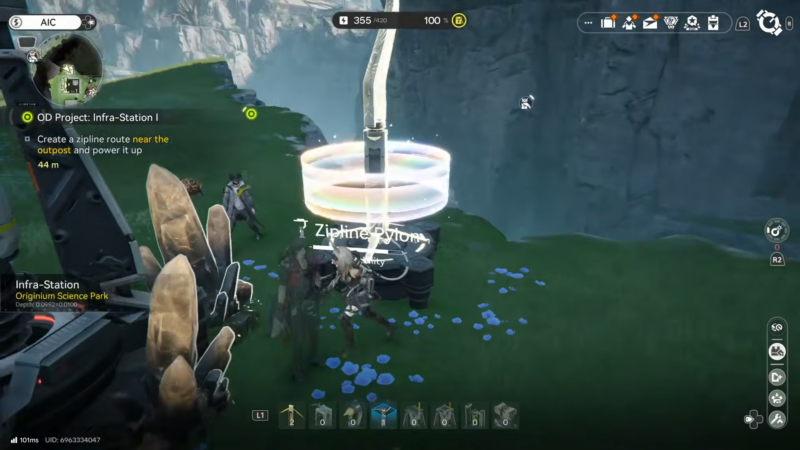
How to place the zipline route near the outpost (two separate ziplines)
This objective is not just “place one zipline.” It needs two separate ziplines in the outpost ridge area to register correctly.
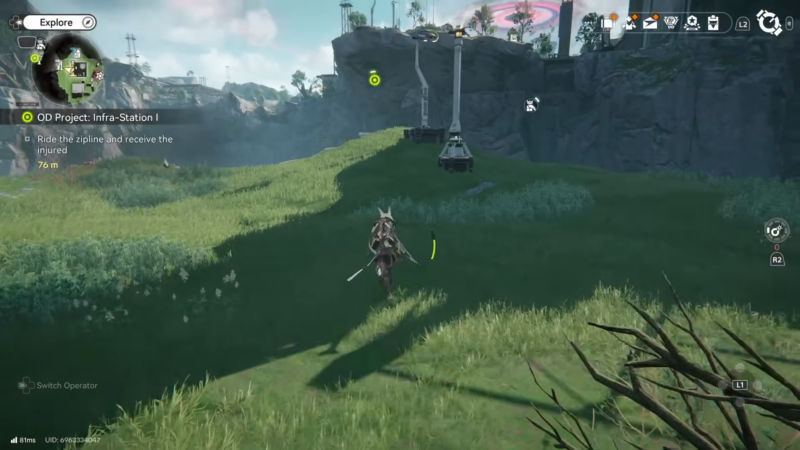
Step 1
Travel to the outpost-side ridge area tied to the objective, near the “injured” marker for the quest.
Step 2
Open the Facilities list and select the zipline building option (now available after Field Mobility I).
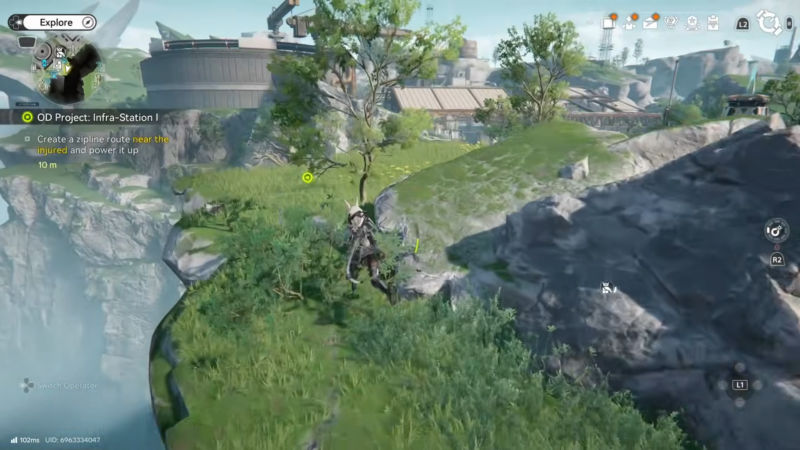
Step 3
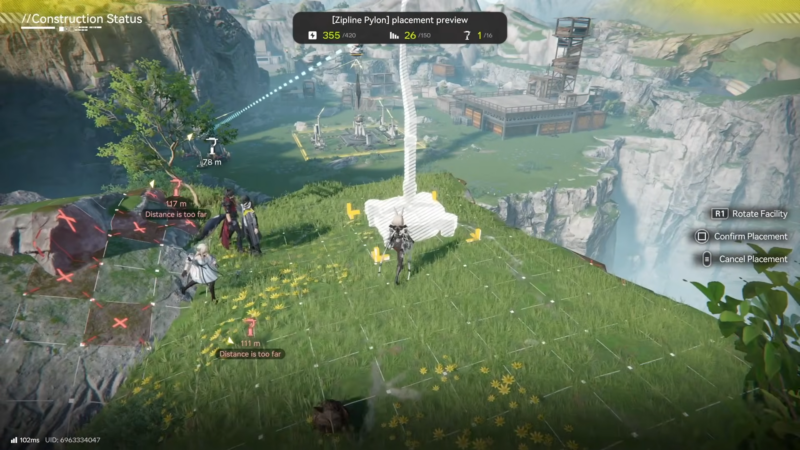
Place the first zipline connection so it reaches up to the top of the ridge (the first endpoint goes up on the ridge).
Step 4
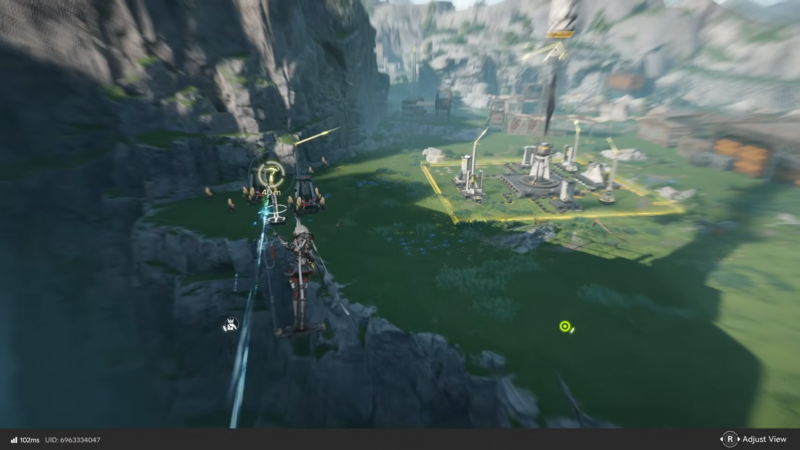
After placing the first one, return back across to the other side of the ridge area where the route must continue.
Step 5
Place the second zipline on the other side to connect the intended path for the quest (this is the “second separate zipline” requirement).
Step 6
If crossing back is awkward, use teleporting to return to the needed side quickly. In some sessions, an existing zipline placed by another player may be available to cross, but it may not always be present.
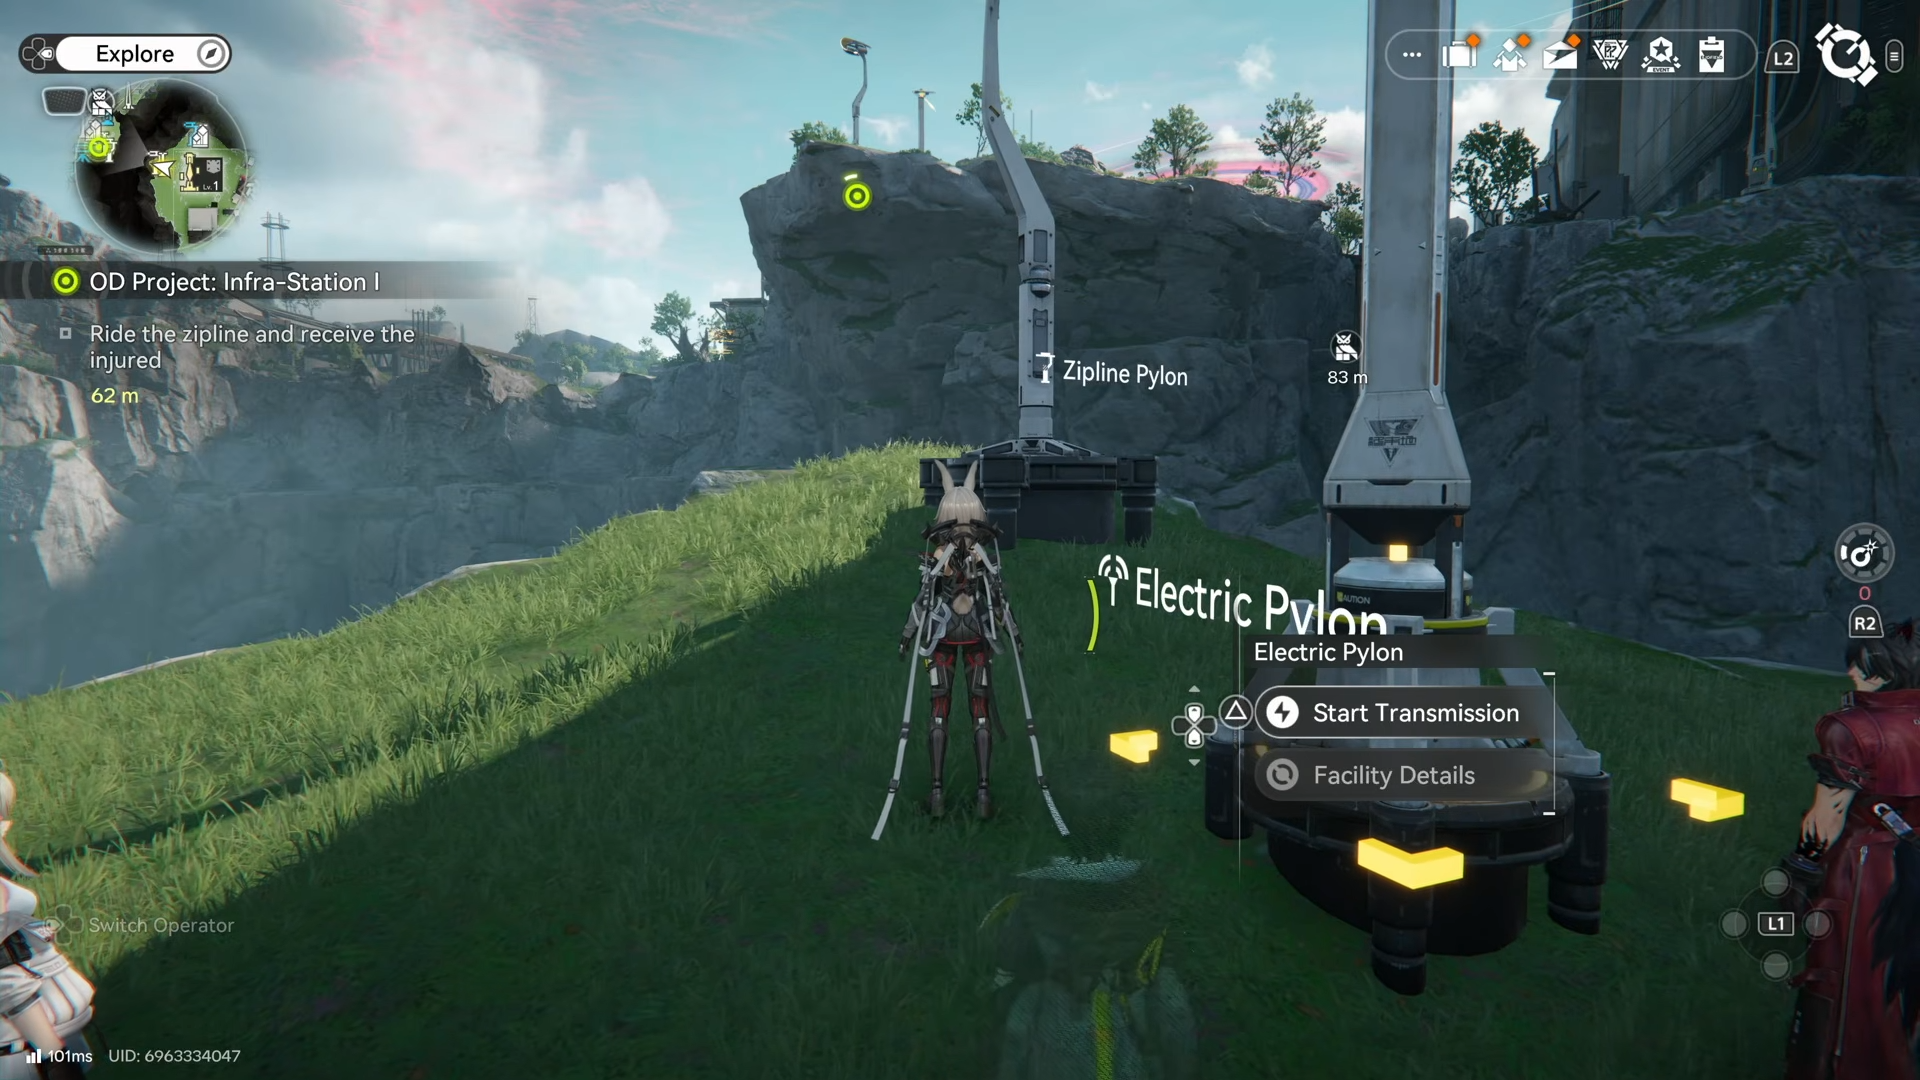
How to power the ziplines so the quest completes
Even after construction, the zipline will not count as “powered up” until electricity is supplied.
Step 1
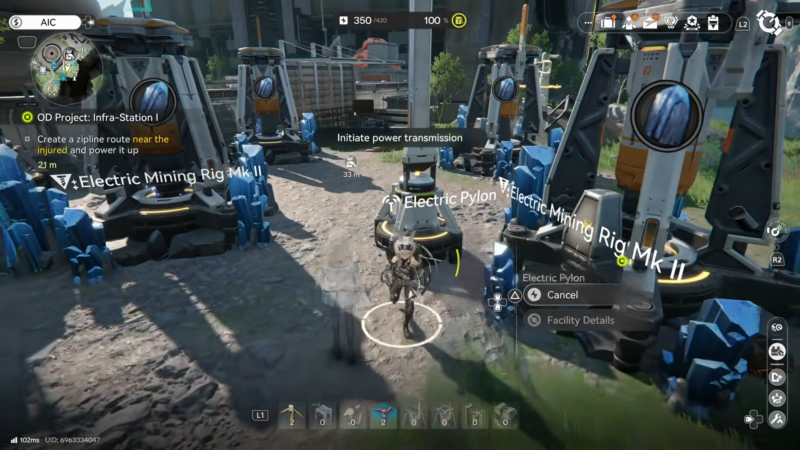
Check whether an existing powered setup is already nearby (for example, an automatic mine or other powered infrastructure with electricity lines already running).
Step 2
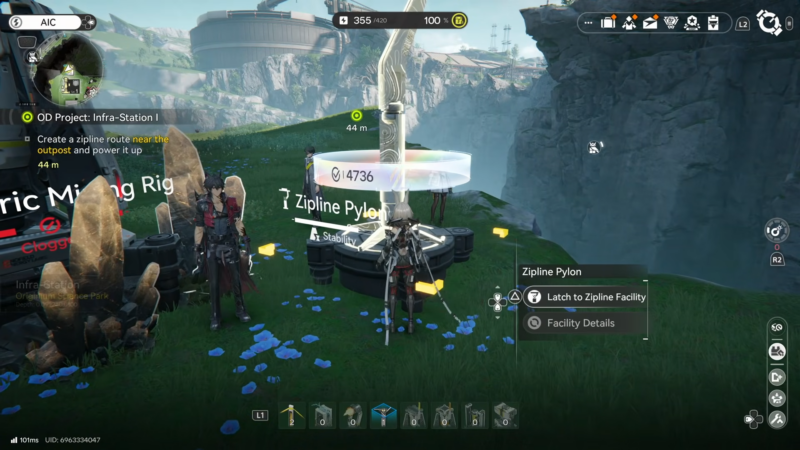
If power is already strung up near the ridge, connect the zipline endpoints into that network so the game recognizes the zipline as powered.
Step 3
If there is no power in the area, run power lines from the starting/base area by wrapping the line around the terrain until it reaches the zipline location.
Step 4

For the first zipline, connect power to it and confirm it shows as powered.
Step 5

Repeat the same process for the second zipline; it also needs power separately.
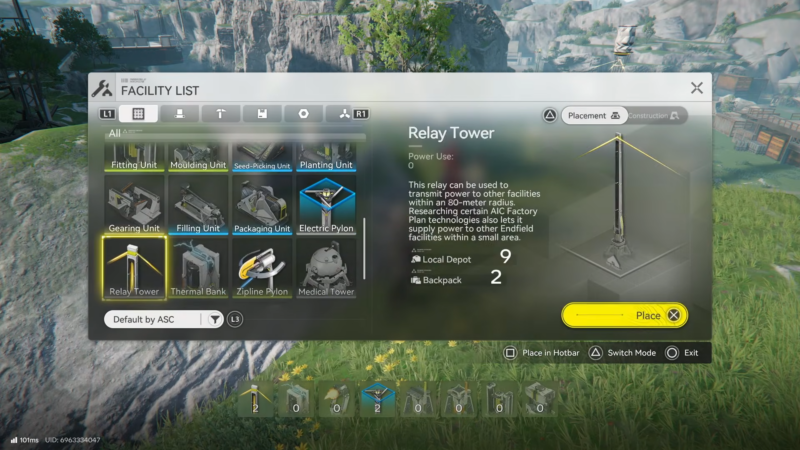
Step 6
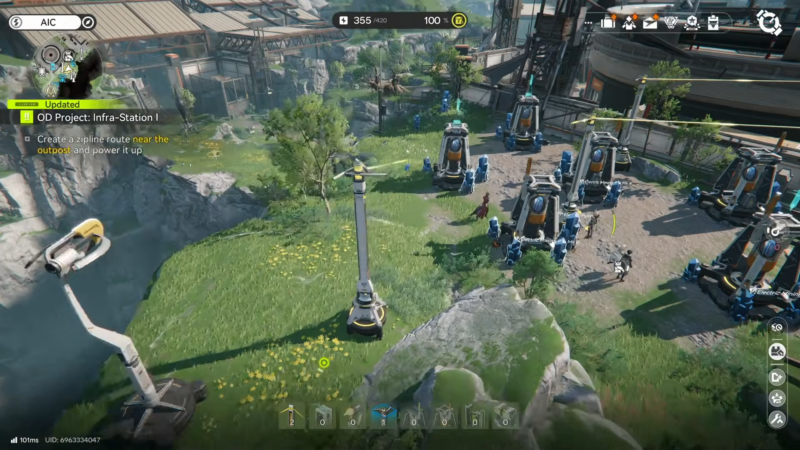
If power coverage is short or awkward, add a pylon in between to bridge the distance, then connect it onward to the zipline endpoint.
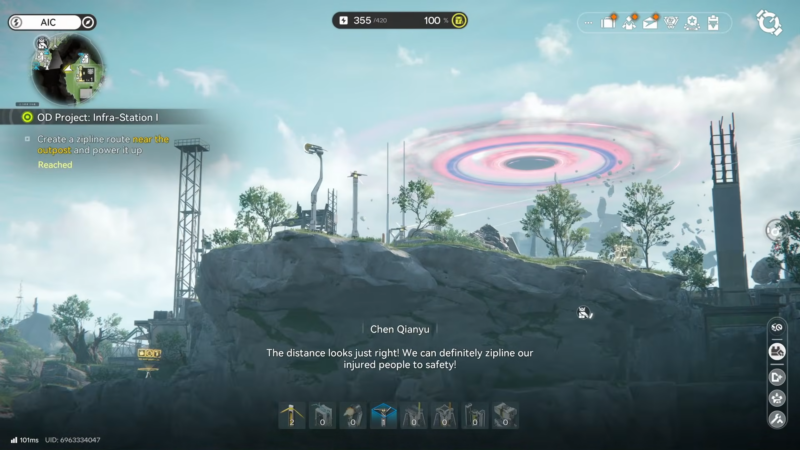
Once both ziplines are placed and powered, the route becomes a permanent shortcut across the ridge and the quest should complete.
Common sticking points and quick fixes
Some progress stalls happen because the zipline is built but not powered. If a zipline looks placed correctly but the objective does not update, power routing is the first thing to re-check.
Another common issue is building only one zipline. This step expects two separate placements in the area, so ensure both connections exist, then ensure both are powered.
Teleporting is also part of the practical solution. After the first zipline goes on top of the ridge, getting back to the packing machine side (on the other side of the ridge) can be faster with teleporting if no convenient crossing exists.
Finishing the OD Project Infra zipline route objective
This step is completed by unlocking zipline via Field Mobility I, placing two separate ziplines in the outpost ridge area, and supplying power to both so they activate. After that, the new route functions as a reliable shortcut, and the quest update should trigger.


