What to know
- Dough production depends on three linked steps: wheat farming, flour crafting, and dough crafting.
- The build uses a 20×7 cleared rectangle, then gets filled with dirt before planting.
- Water sources are placed at repeatable intervals so the whole field stays irrigated.
- Plant wheat early so it grows while the rest of the build is finished.
This guide expands the build steps and includes timestamps you can use for quick screenshots. The layout in Hytale is designed to stay simple, repeatable, and easy to scale by copying the same module.
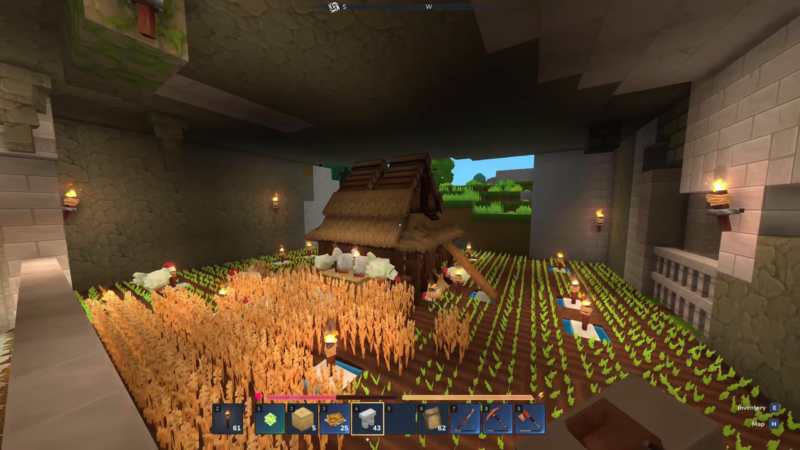
Simple dough farm build reference (20×7 footprint)
Use this quick reference right after setup to avoid second-guessing measurements mid-build.
| Part of build | Recommended spec |
|---|---|
| Farm footprint | 20×7 rectangle (cleared, then filled with dirt) |
| Lighting | Torches placed alongside water points to prevent dark spots |
| Water pattern | Water points placed at corners and at intervals to cover rows evenly |
| Workflow | Wheat grows while build finishes; then harvest → craft flour → craft dough |
How to build a simple dough farm in Hytale (timestamped steps)
Step 1
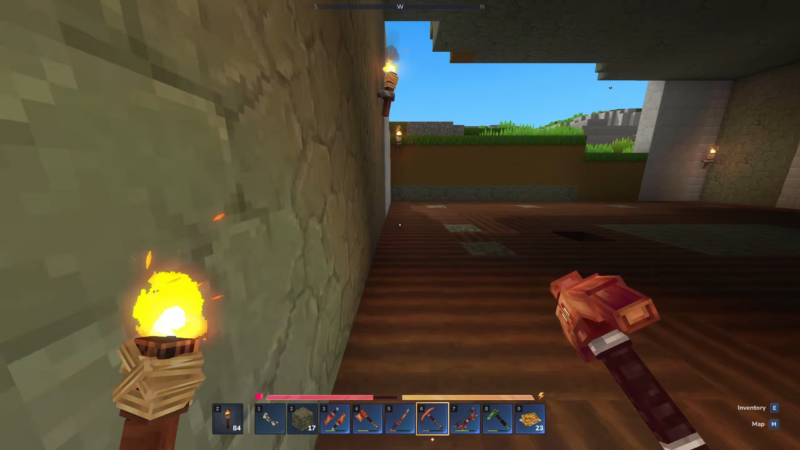
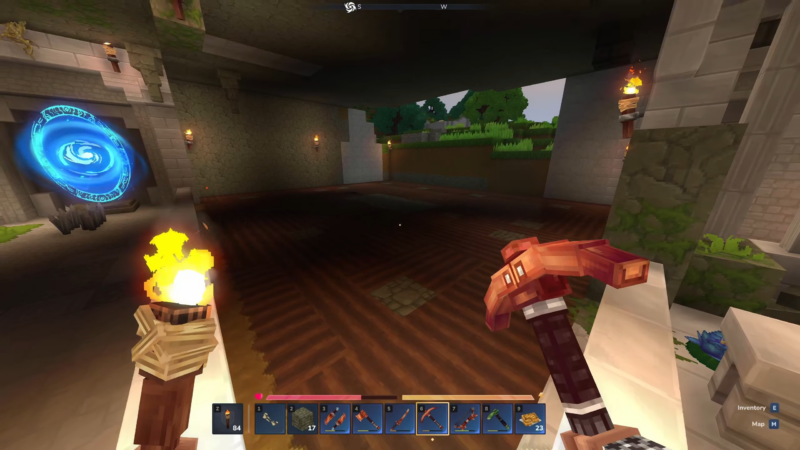
Clear a 20×7 area where the farm will sit, removing uneven blocks so the entire footprint is flat. Prioritize a location close to crafting and storage so later wheat-to-dough runs stay fast and consistent.
Step 2
Place temporary storage nearby (double chests if available) and dump all dug-out materials into it. Keeping the build site clear prevents inventory overflow and makes it easier to track how much dirt and building material is still needed.
Step 3
Fill the entire cleared 20×7 footprint with dirt until it becomes a solid, plantable surface. If dirt from the excavation is not enough, gather additional stacks before continuing so the farm base isn’t patched together in uneven sections.
Step 4
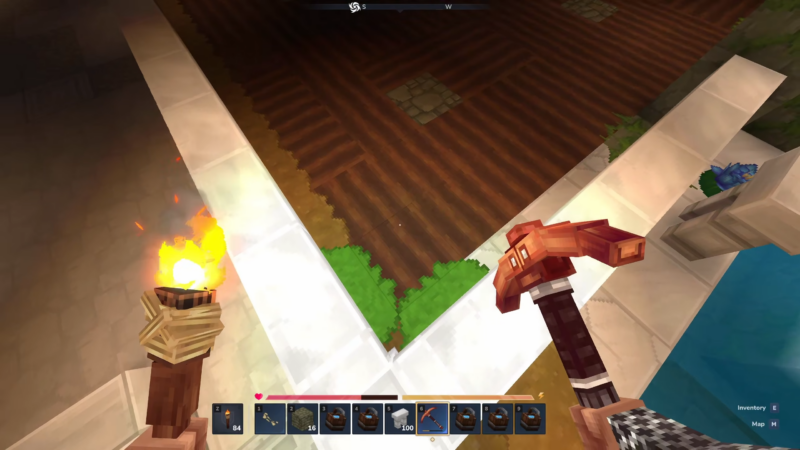
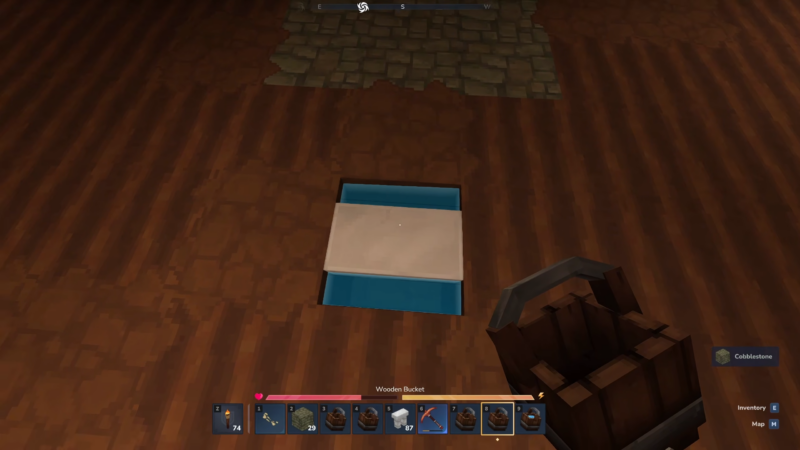
Plan the irrigation points before tilling: identify the corners and count inward so water placement lands in a repeatable pattern. This prevents missing hydration coverage, which can create slow-growth strips and reduce wheat output.
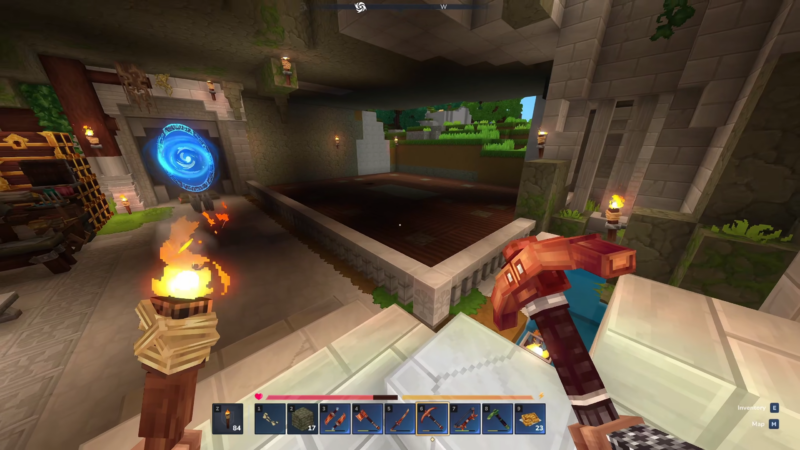
Step 5
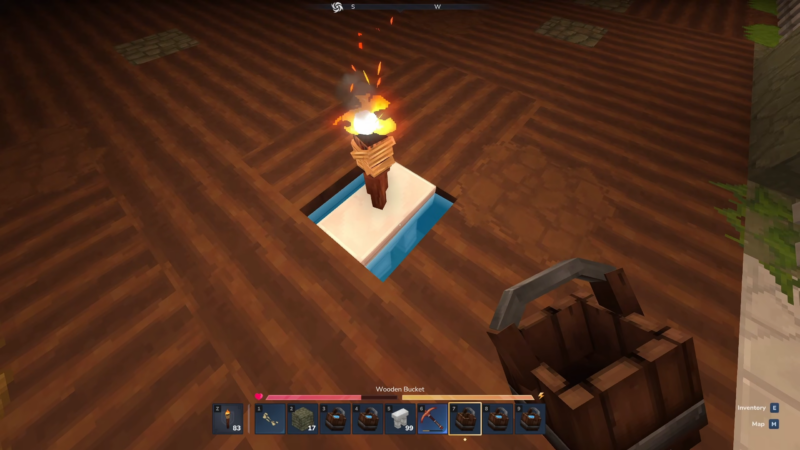
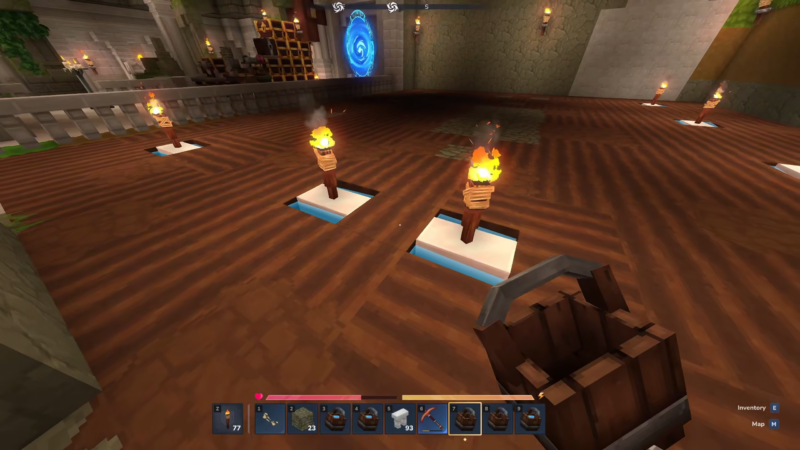
At the first corner, remove the correct block position for the water source, place a wall block, then place a torch on top for lighting, and finally add water into the intended water tile. This establishes the “water + light” template used throughout the plot.
Step 6
Repeat the same “wall, torch, water” setup on the other corners using the same counting method so the layout stays symmetrical. Keeping the corners consistent makes it easier to expand later by copying the same footprint.
Step 7
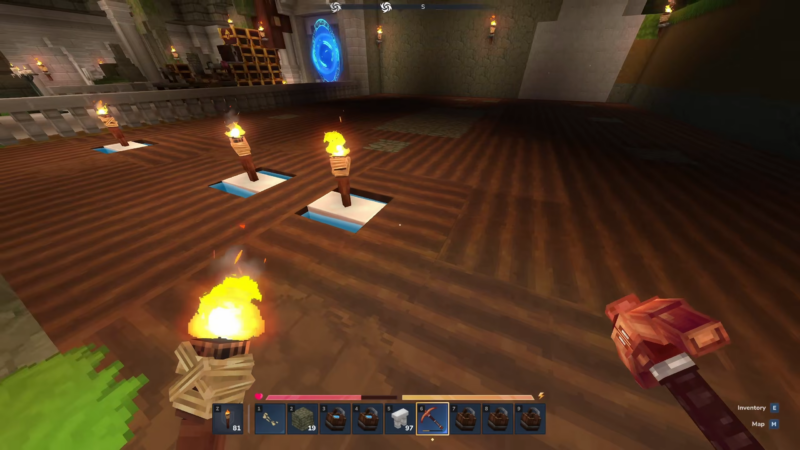
Add additional water points along the outer edges at the same measured interval used in the corner pattern. The goal is full hydration coverage across the 20×7 area so every row can be planted without dry gaps.
Step 8
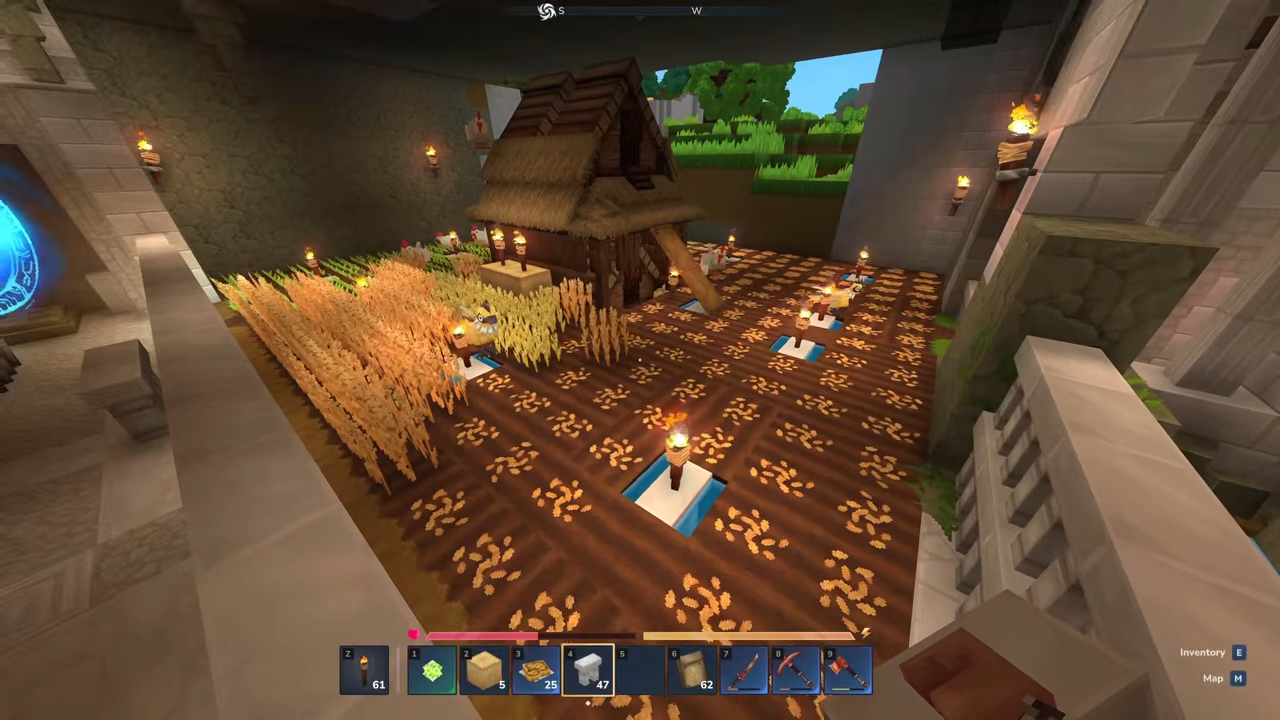
Add internal water points using the “one, two, then water on the third” style spacing used to cover the middle of the plot. This step is what prevents the center lanes from becoming the weak point of the farm.
Step 9

Hoe/till the dirt into farmland across the entire 20×7 area once irrigation is in place. Doing this after water placement avoids reworking tilled soil and keeps the workflow clean.
Step 10
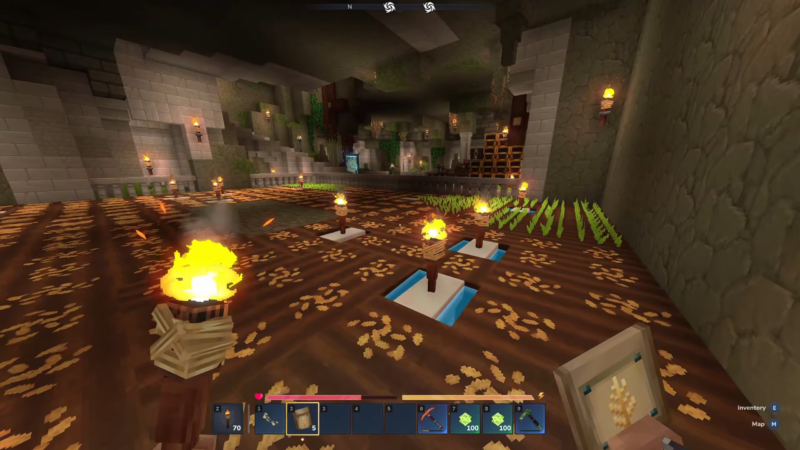
Plant wheat seeds across the field right away so growth starts while the rest of the dough pipeline is prepared. Full-coverage planting gives maximum output, but leaving a narrow walking strip can help movement if the build feels tight.
Step 11
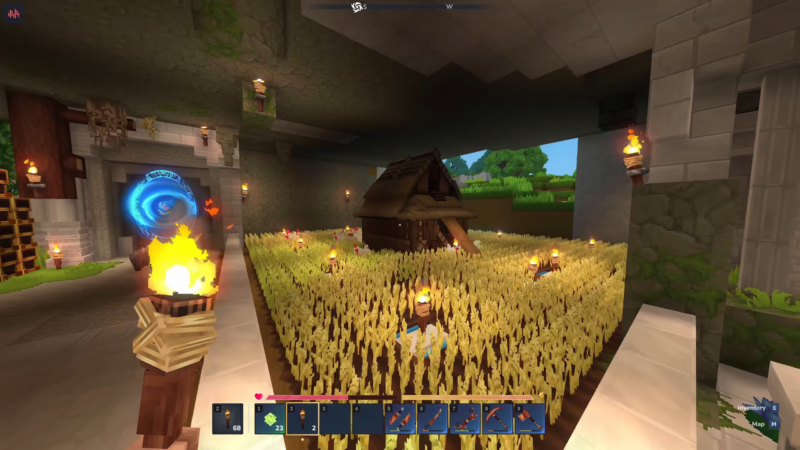
Set up a small processing corner right beside the farm: input storage for wheat and seeds, crafting stations for flour and dough, and output storage for finished dough. Keeping all three within a few steps is what makes the farm “efficient” even without automation.
Step 12
Run the production loop in batches: harvest mature wheat, replant immediately, convert wheat into flour, then convert flour into dough, and store the dough in the output chest. Batch processing keeps inventory stable and prevents half-finished crafting steps from clogging the workflow.
Throughput and scaling notes that keep it simple
The easiest way to increase dough output is duplicating the 20×7 module next to the original and sharing the same crafting/storage corner. If walking time starts to dominate, add a second processing corner rather than stretching the farm longer.
| Scaling method | What changes | What stays the same |
|---|---|---|
| Add a second 20×7 plot | More wheat per harvest cycle | Same irrigation template, same planting routine |
| Duplicate processing corner | Less waiting/less walking | Same farm footprint and harvest timing |
| Add dedicated seed chest | Faster replant cycles | Same harvesting pattern |
Thanks for reading through! If this guide helped you, share your thoughts or doubts in the comments section. We reply regularly and would love to help if you’re stuck anywhere.