
- What to know
- Materials for building a House in Hytale
-
How to build a beginner friendly house in Hytale
- Start with foundation and basement layout
- Erect the Ash log structure and framing
- Adding texture with stone and stairs
- Upper walls and plank filling
- Decorative elements that stay practical
- Doors, windows, and exterior fencing
- How to build the house roof properly in Hytale
- Chimney and exterior finishing
- Interior setup and basement organization
- Final decorative touches
- Why this starter house works well early game
- A cozy start that grows with you
What to know
- This build focuses on a compact footprint with a hidden basement for storage
- Uses early-game materials like cobblestone, ash logs, and softwood planks
- Designed to be survival-friendly and expandable later
- Prioritizes warmth, lighting, and interior usability over scale
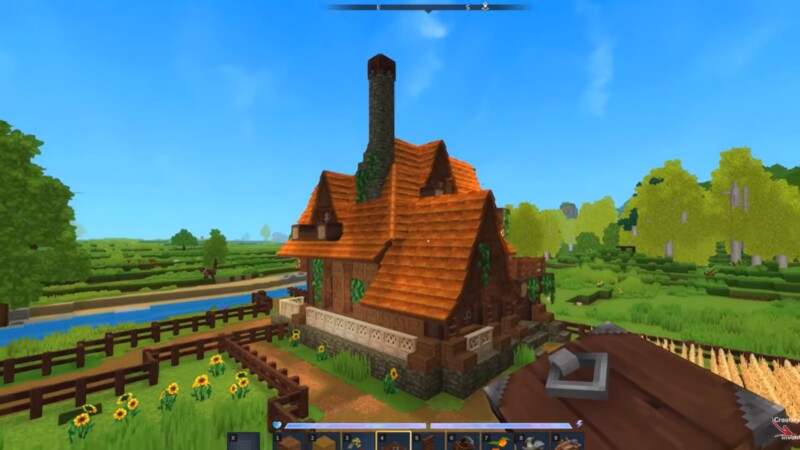
Right from the start, building a reliable shelter in Hytale makes survival smoother. This cozy starter house is designed to be small, resource-efficient, and practical, while still looking lived-in and warm. You get a full basement for storage, a clean interior layout, and decorative touches that don’t require rare materials.
Materials for building a House in Hytale
| Category | Items needed | Purpose |
|---|---|---|
| Foundation | Cobblestone / Stone blocks | Stable base, basement floor, durability |
| Frame | Ash logs (or any wood logs) | Structural support and corners |
| Walls | Softwood planks / Wooden planks | Main wall construction |
| Roof | Hardwood roof pieces / Stairs | Weather protection and aesthetics |
| Flooring | Planks / Stone blocks | Clean interior surfaces |
| Doors | Simple wooden door | Entry and mob safety |
| Windows | Glass panes / Open gaps | Light and visibility |
| Lighting | Crude torches / Lanterns | Prevent mob spawns, visibility |
| Storage | Chests | Item organization |
| Crafting | Workbench | Crafting tools and blocks |
| Decoration (optional) | Fences, slabs, ivy | Visual detail and depth |
| Tools | Pickaxe, Hatchet, Crude hammer | Gathering, building, texturing |
How to build a beginner friendly house in Hytale
The build follows a logical, survival-first flow. You start underground for safety and storage, then move upward into structure, texture, and finally decorative details.
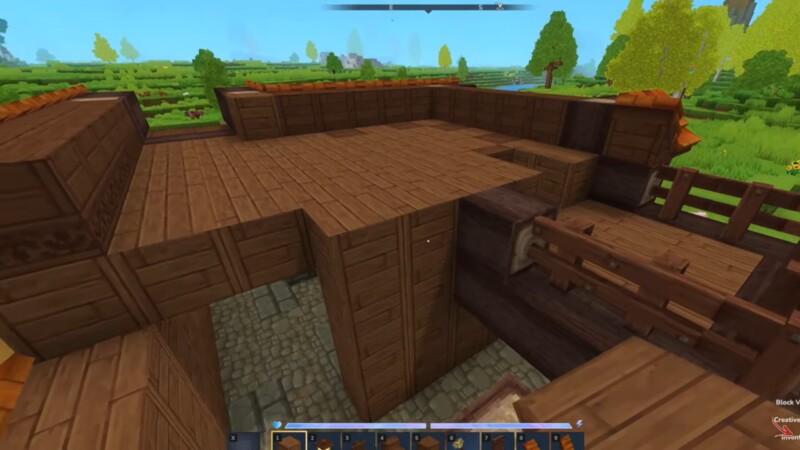
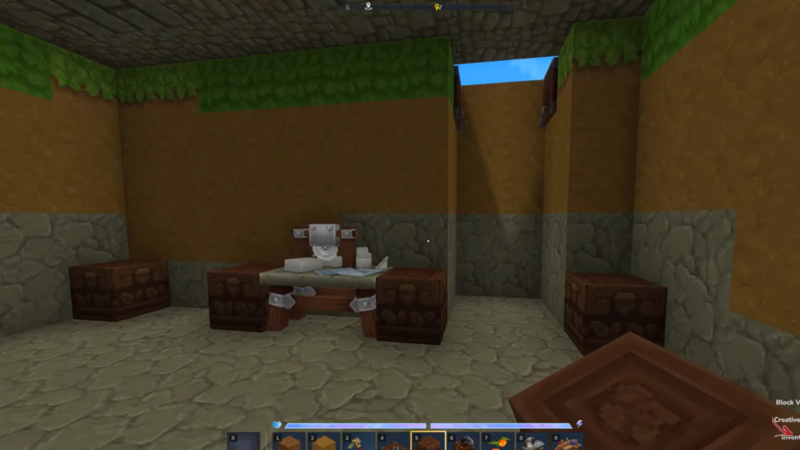
Start with foundation and basement layout
The foundation is laid out using cobblestone, forming a solid base that also defines the basement footprint. You dig down five blocks to create enough vertical space for storage and workstations, then replace the dirt floor with cobblestone to keep everything clean and consistent.

This basement becomes your early-game hub for chests, crafting, and resource organization.
Erect the Ash log structure and framing
Ash logs form the skeleton of the house. Vertical logs mark corners and door/window openings, while horizontal logs connect them at consistent heights. Leaving intentional gaps for windows early helps avoid rework later.
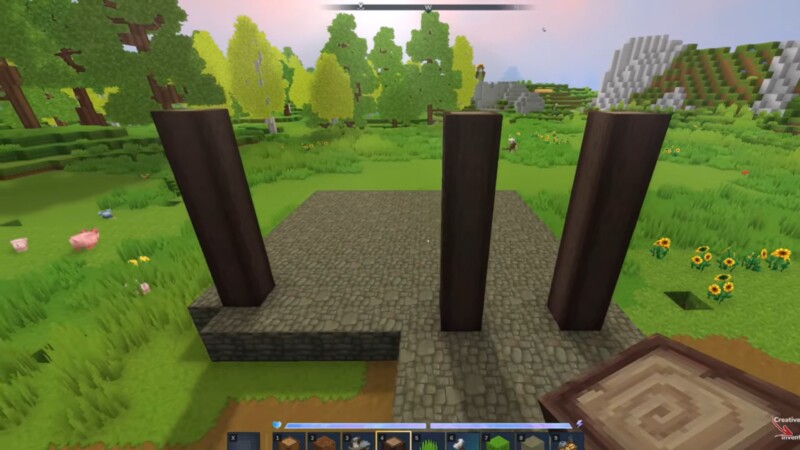
The structure stays simple and symmetrical, which makes it easier to roof and expand later.
Adding texture with stone and stairs
To avoid flat, boring walls, stone bricks are crafted and placed randomly around the foundation for subtle texture variation. Softwood and cobblestone stairs are added around the base to create depth and soften harsh edges.
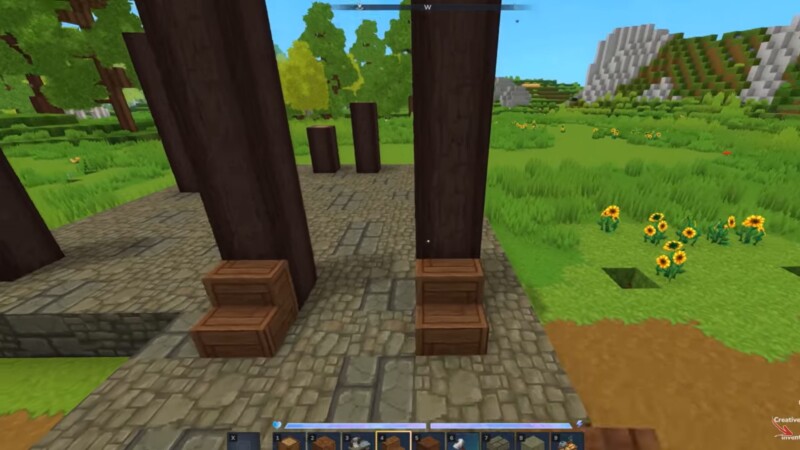
This step is cosmetic, but it makes the house feel intentional rather than temporary.
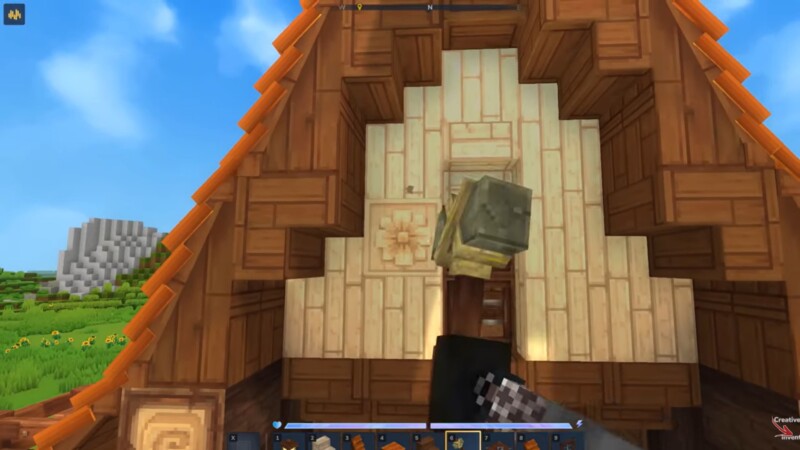
Upper walls and plank filling
Once the frame is complete, softwood planks are used to raise the walls. These fill in the gaps between ash logs while keeping the build lightweight and survival-friendly.
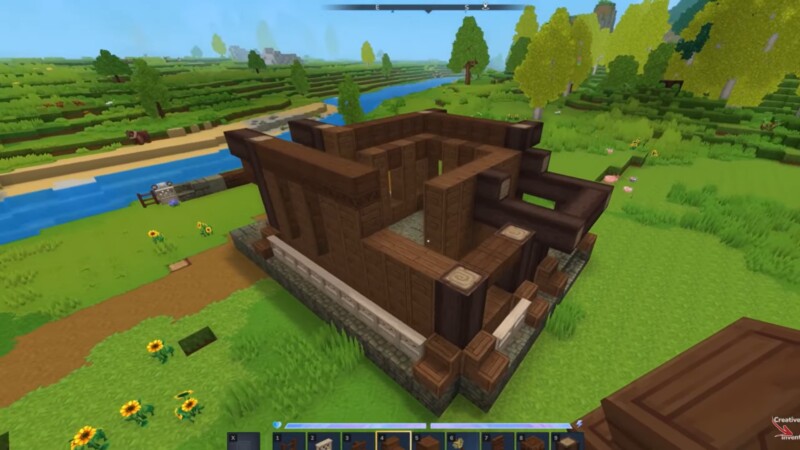
The contrast between logs and planks gives the house a warm, cabin-like feel.
Decorative elements that stay practical
Hardwood fences, decorative planks, lightwood fences, and hardwood stairs are used sparingly. These elements frame windows, define edges, and add visual interest without cluttering movement paths.
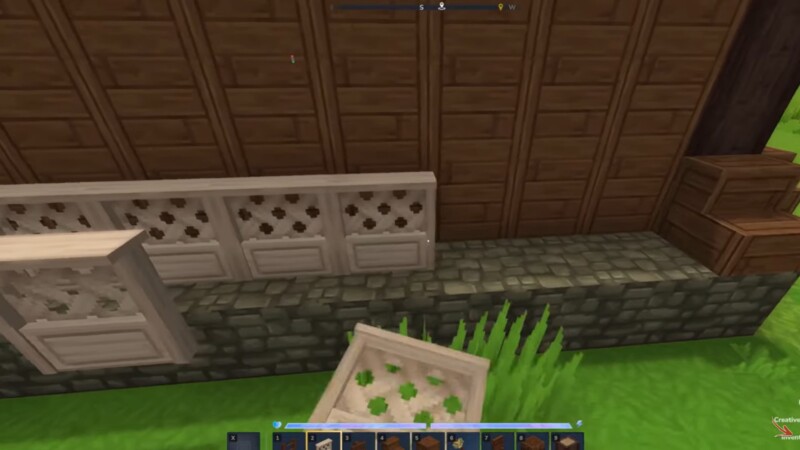
Nothing here interferes with survival gameplay—every detail still leaves the house easy to navigate.
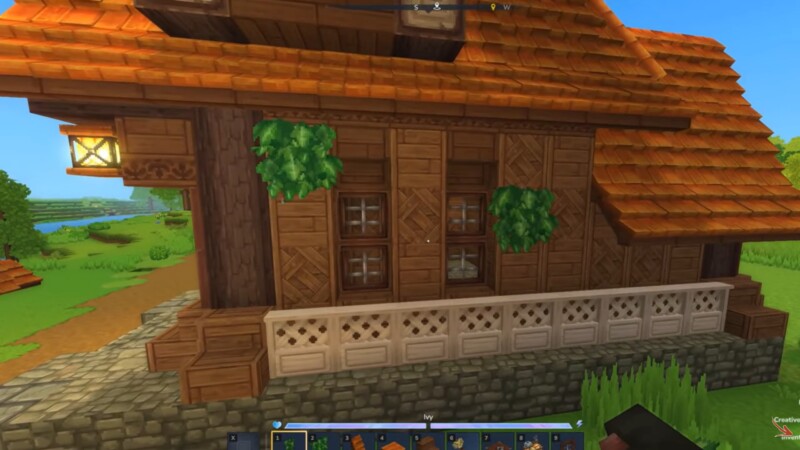
Doors, windows, and exterior fencing
Simple wooden doors are placed at the main entrance, with windows positioned to maximize daylight inside. Exterior fencing helps visually separate areas around the house and adds a sense of safety without fully enclosing the build.
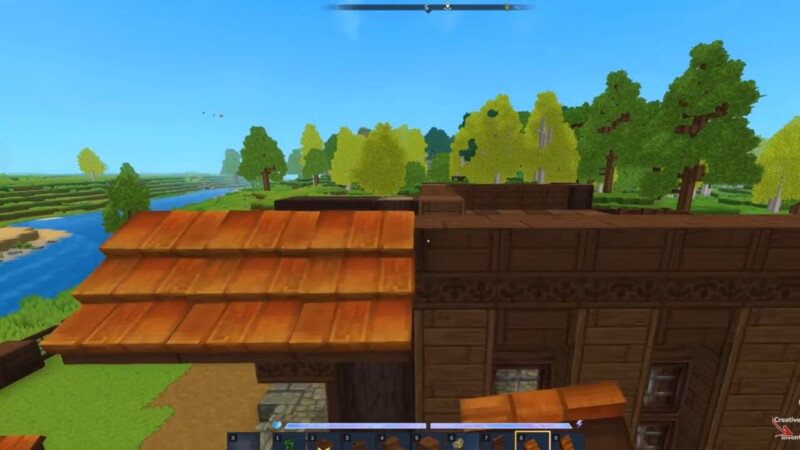
How to build the house roof properly in Hytale
Step 1: Place the base roof pieces
Start with 45-degree hardwood roof pieces along the top edges of the walls, making sure they’re aligned evenly on all sides.
Step 2: Increase roof steepness
Add steeper roof pieces above the first layer. Rotate pieces carefully to maintain symmetry and prevent gaps.
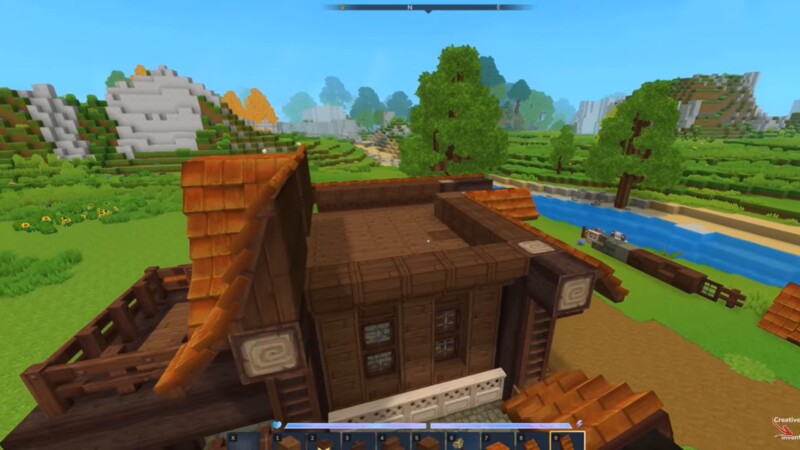
Step 3: Cap with flat roof sections
Use flat roof pieces at the peak to finish the structure cleanly and make room for the chimney.
Chimney and exterior finishing
A cobblestone chimney is built upward from the side of the house. Roof pieces are adjusted around it so the chimney feels integrated.
Slabs and extra planks are added near edges and corners to break up flat surfaces.
Interior setup and basement organization
Inside, the main floor is kept open for movement, with space for a bed, light sources, and future utilities.
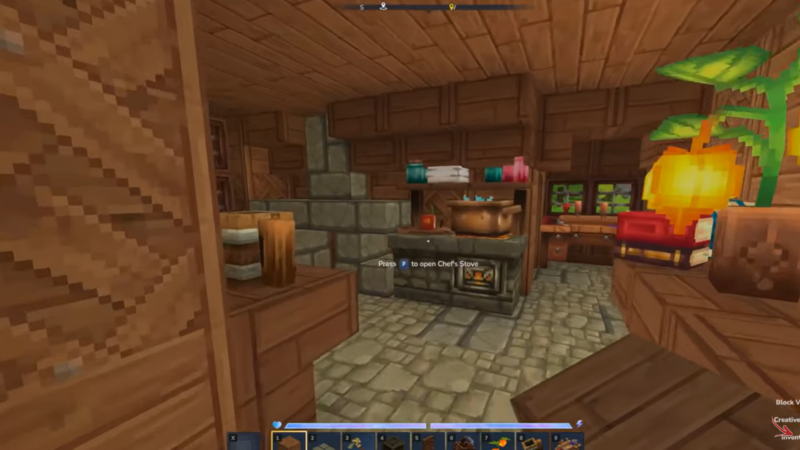
The basement walls are cleaned up using hardwood plank ornament blocks and beach logs, turning a raw hole into a finished storage area.
Chests, workbenches, and crafting stations are placed along the walls to keep the center clear.
Final decorative touches
Using the crude hammer, you add surface variation to blocks for a more worn, natural look. Ivy is placed on exterior walls to make the house feel aged and settled into the world.
These final touches are optional but add a lot of atmosphere for very little effort.
Why this starter house works well early game
- Minimal resource waste
- Strong protection from mobs
- Excellent storage early on
- Easy to upgrade into a larger base
A cozy start that grows with you
This cozy starter survival house gives you everything you need early in Hytale—shelter, storage, and comfort—without locking you into a massive build. It’s practical on day one and flexible enough to evolve as your world and resources grow.
We hope you found value here. Do share your feedback or ask your questions in the comments—we engage often and would love to continue the conversation.


