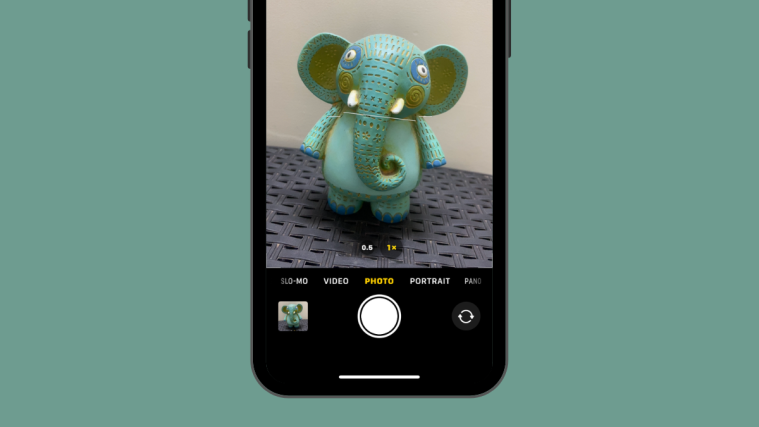
What to know
- The iOS 17 update introduces a level indicator for the Camera app, aiding in precise alignment for your shots.
- To activate this feature, navigate to Settings > Camera > Composition and switch on the Level option.
- This indicator leans either left or right if your camera angle deviates from the vertical axis. For ideal alignment, have the indicator intersect two lines on either side.
- Once your iPhone achieves this perfect alignment, the indicator changes to a yellow line while your phone gives a subtle vibration as confirmation.
What is the level indicator on the iPhone Camera app in iOS 17?
The native Camera app on the iPhone has always been good at taking photographs, but Apple has added a tiny little utility that makes taking perfect pictures easier. With iOS 17, you should be able to use a level indicator that helps you capture subjects with the right alignment for both landscape and portrait shots.
Before iOS 17, the Camera app had a level indicator for top-down shots or of objects above you, and it was part of the Grid overlay, which forced you to use the camera grid to access the level indicator. In iOS 17, you can use the level indicator without enabling grids on the Camera app, and this new indicator also shows you if you’re holding your phone parallel to the ground.
When you enable the level indicator for the iOS camera, you’ll see three horizontal bars, with the one in the middle tilting left or right as you change your iPhone’s camera angle. To achieve the perfect shot, you aim to make these three bars appear in a straight line; at this point, you should see a single bold yellow level indicator. When you align your shot perfectly using the level indicator, you’ll also feel a faint vibration from your iPhone to let you know that you hit the right spot.
How to add the level indicator inside the Camera app on iPhone
- Requirements: iOS 17 update (check under Settings > General > Software Update).
To turn on the level indicator on your camera, open the Settings app on your iPhone.

Inside Settings, scroll down and select Camera.

In the Camera screen, scroll down to the “Composition” section and turn on the Level toggle.

This will enable the level indicator for the Camera app on your iPhone.
Related: iOS 17: iPhone Is Too Close Issue: 4 Ways to Fix
How to use the level indicator on the iPhone Camera
Once you’ve turned on the level indicator on your iPhone, you can use it inside the Camera app straightaway. To view the level indicator, open the Camera app.

When the app opens, you should see the viewfinder on the screen. Now, point to the subject you want to capture either in vertical or landscape mode. When your iPhone detects that the device is tilted to one side or the other, you should see three thin white lines at the center of the viewfinder. The two white lines on the left and right are reference levels, and they will be aligned parallel to the bottom of your phone. The white line in the middle is the level indicator that shows which side your camera is tilted toward.

As you can see in this screenshot, the white line in the middle indicates that your phone is titled slightly toward the right axis. To perfectly align your shot in this instance, you will need to tilt your phone leftwards.

When you do that all three white lines will intersect to create a single yellow line as you can see here. At this moment, you’ll also feel a faint vibration from your iPhone to confirm that you’ve aligned the shot perfectly.

The level indicator works on landscape shots as well. Here’s what it looks like when you use it for landscape mode photos.

Related: iOS 17: How to Enable Face ID for Private Browsing in Safari on iPhone
Which camera modes show the level indicator?
When activated, the level indicator will appear on all iPhone camera lenses, whether you’re using the main or selfie camera. You’ll also see it in almost every camera mode, including Photo, Video, Portrait, Slow-Mo, and Time-Lapse. However, it’s not available in the Pano mode.


