Struggling to track Hornet on an empty screen? Missing Shakra is no disaster—just a little detour, a bell, and all your maps are back where they belong.
What to know
- Shakra, the wandering map NPC, sells essential navigation tools across different regions—don’t worry if she moves.
- Bell rings in Bone Bottom can summon her to repurchase maps you missed.
- Maps, the Quill, Compass, Bench Pins, and Markers each cost Rosaries—budget accordingly.
- Multiple confirmed locations for Shakra include The Marrow, Bone Bottom, Deep Docks, Far Fields, Greymoor, and Shellwood.
Missing Shakra doesn’t mean wandering aimlessly forever. When the map feels blank and disorienting, pinpointing her locations and learning the tricks to summon her again turns confusion into confidence.
How Shakra moves and why that matters
Shakra shifts between zones as the game progresses—but she’s not missing, just on the move. That wandering cartographer will next appear based on your progression, so missing her in one area isn’t the end of your map access. Her mobility ensures you can always retrace your steps or summon her back when needed.

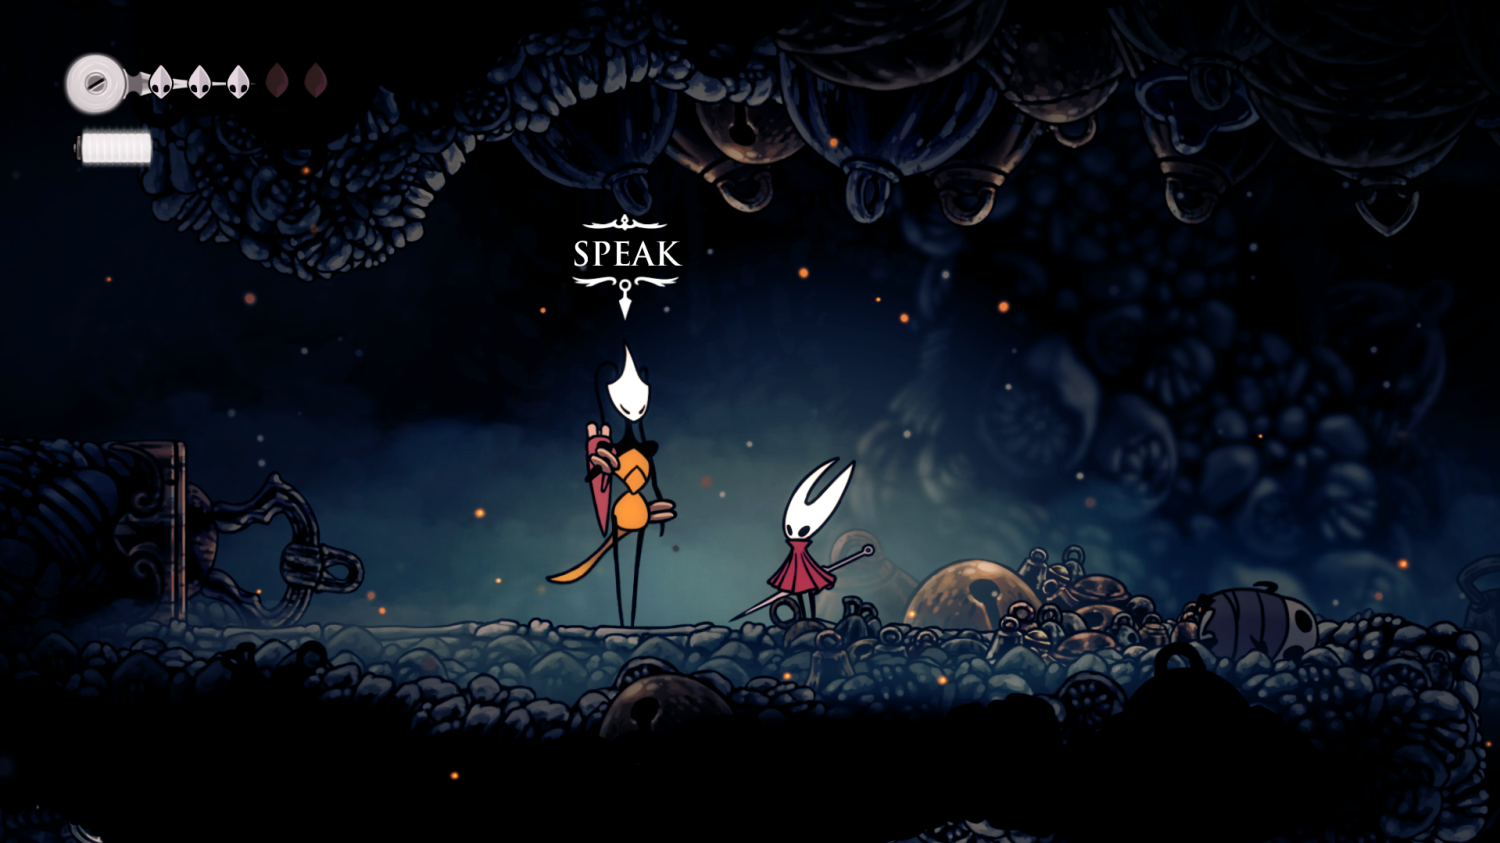
Where to find Shakra (and what she sells here)
| Location | How to find her | Map & accessory availability |
|---|---|---|
| The Marrow | Roughly one hour in; follow the corridor until you hear her humming | Mosslands Map, The Marrow Map, Compass (70), Quill (50), Bench Pins (60), Shell Marker (40) |
| Bone Bottom | After defeating Bell Beast; in the eastern settlement, jump platforms to the right | Re-sells previously missed maps; you can summon her via bell ring |
| Deep Docks | Move right from The Marrow entrance, drop into a large left-side chamber | Deep Docks Map, Vendor Pins, Ring Marker |
| Far Fields | In the tall gusty chamber; small room just above the path forward | Far Fields Map |
| Greymoor | Float down via Drifter’s Cloak from Far Fields, then proceed right | Greymoor Map |
| Shellwood | From Greymoor, take the elevator, find her in the lower-left passage after a combat trial | Bellhart Map, Shellwood Map |
How to get missing maps back
When Shakra vanishes, revisit Bone Bottom and ring the bell at the top right of the settlement. That summons her back to town so the maps you missed can still be purchased—no need to retrace every step. Players have confirmed this trick again and again.
Rosary cost breakdown and buying priority
Here’s what each essential item costs (in Rosaries), which helps outline a buying strategy:
- Maps:
- Mosslands Map: ~40
- The Marrow Map: ~50
- Deep Docks, Far Fields, Greymoor: ~50 each
- Bellhart Map: ~40
- Shellwood Map: ~70
- Accessories:
- Quill: ~50
- Compass: ~70
- Bench Pins: ~60
- Shell Marker: ~40
Suggested spending order:
- Compass—seeing your location is critical.
- Maps you can afford next (especially early areas).
- Quill—fills in map details as you rest.
- Bench Pins and Markers—useful, but only after maps and Compass are in place.
If short on Rosaries, farming enemies or exploring nearby secret rooms can quickly top you up.
Why you need to find Shakra
Running blind in Silksong is a choice when maps and tools are furnished by Shakra—and essential ones at that. Buying early ensures smooth exploration, recoil from getting lost, and confidence as you piece together Pharloom. Missing her or a map isn’t permanent—maps are recoverable, and exploration never stalls for long.
Final cartographer tips for map recovery
When map-reading turns into wandering, remember:
- Visit Bone Bottom and ring the bell—Shakra will return.
- Prioritize Compass and maps to stay oriented.
- Shakra moves predictably—track her progression across zones.
- Accessories enrich your map but aren’t survival-critical—spend wisely.
Let wandering turn into wandering with purpose. When Shakra slips away, let the bell call her back. With maps, Compass, Quill, and pins, charting the world becomes a joy again—no more wandering aimlessly.