Whatsapp is one of the most popular cross-platform messaging services currently available across iOS, Android, Blackberry & Symbian S60 platforms.
Unlike the popular Blackberry Messenger a.k.a BBM which works exclusively across Blackberry devices, Whatsapp is cross-platform which means users can message each other irrespective of the what platform is being used.
Simply put, an iPhone user, Blackberry user and Android user can all chat with each other simultaneously.
Since WhatsApp Messenger uses the same internet data plan that you use for email and web browsing on your phone, there is no cost to message and stay in touch with your friends. In addition to basic messaging WhatsApp Messenger users can also send each other unlimited images, video and audio media messages.
One of the few limitations of Whatsapp is that it requires an active telephone number to work, and the app is linked to that phone number. Which means that if you are already using Whatsapp on your primary phone, you cannot use the same number to activate it on another device.
With the Nexus 7 WiFi now fast becoming the Christmas gift of choice, there are no doubt several users out there wishing they could use this awesome messaging service right from that 7 inch screen without having to touch the phone at all. And thanks to XDA Member AnonFBI, we now have a simple method to install and use Whatsapp on the Nexus 7 WiFi.
As always, we have put together a neat little step-by-step guide which will help you get Whatsapp up and running on your Nexus 7 WiFi tablet.
How to Install Whatsapp on the Nexus 7
- We would be using an a free Android emulator called BlueStacks on your PC to download and use Whatsapp services. Download BlueStacks to your PC,and install it like a regular Windows application, by double clicking the exe file. Let the installer take its time to download runtime packages and install fully.
- Next, we need to download the actual Whatsapp apk. Now, there is only a particular version of Whatsapp that has been found to successfully work on the Nexus 7. if you download the latest version from Google Play, it will not work. So download WhatsApp v2.8.7326. Download Link
- Next Download another app called SRT AppGuard. This is needed to change certain specific permissions on Whatsapp such as internet access, access to phone status etc. Download Link
- Transfer both the downloaded apk files from Step 2 and 3 to your Nexus 7. Keep a copy of the Whatsapp apk on your PC desktop too.
- Now right click on the WhatsApp v2.8.7326.apk file on your desktop, and then select Open with BlueStacks APK installer. This will install Whatsapp within the BlueStacks emulator.
- Next, use a file explorer like ES File Explorer on your Nexus 7 to navigate to the apk files you transferred to the internal memory in Step 4. First Install the Whatsapp apk file, and then install the AppGuard app. Do not open Whatsapp at this point.
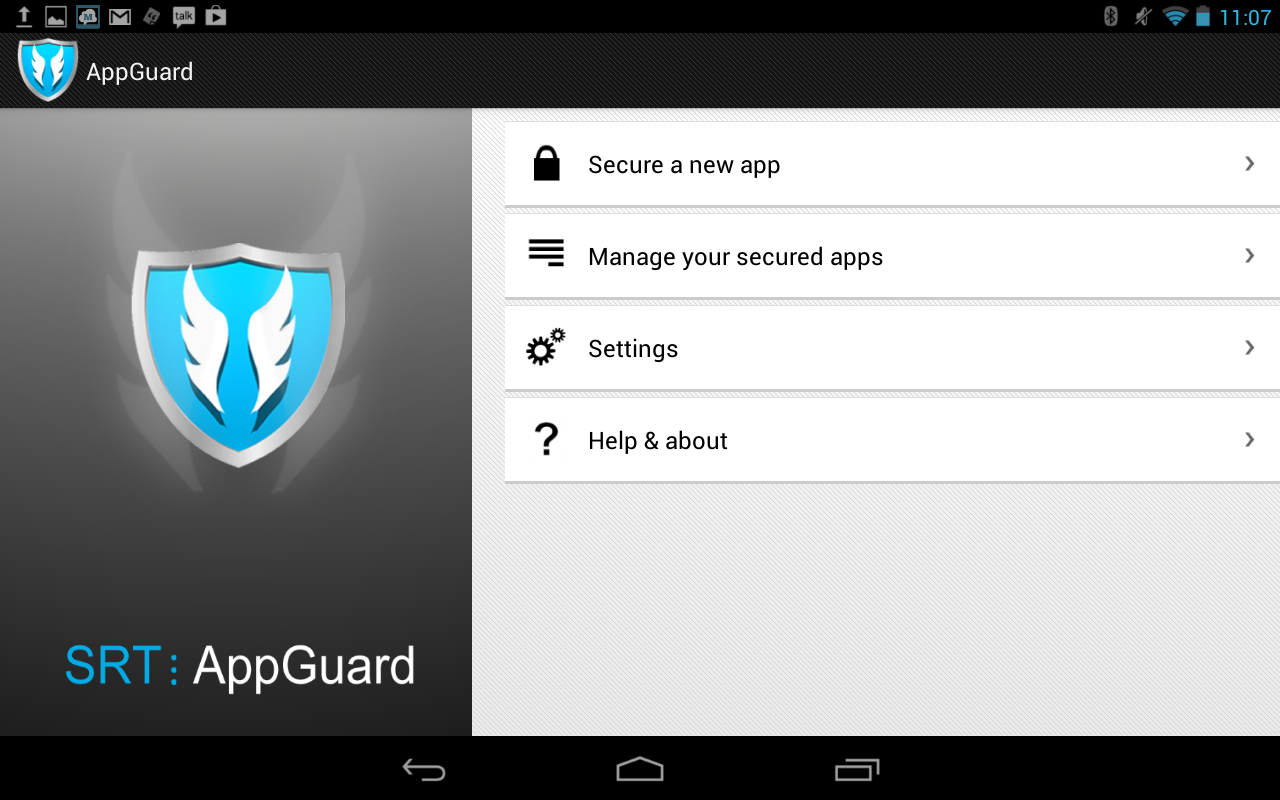
- Now open the SRT AppGuard app that you installed in the previous step. From the main screen, select Secure a new app.
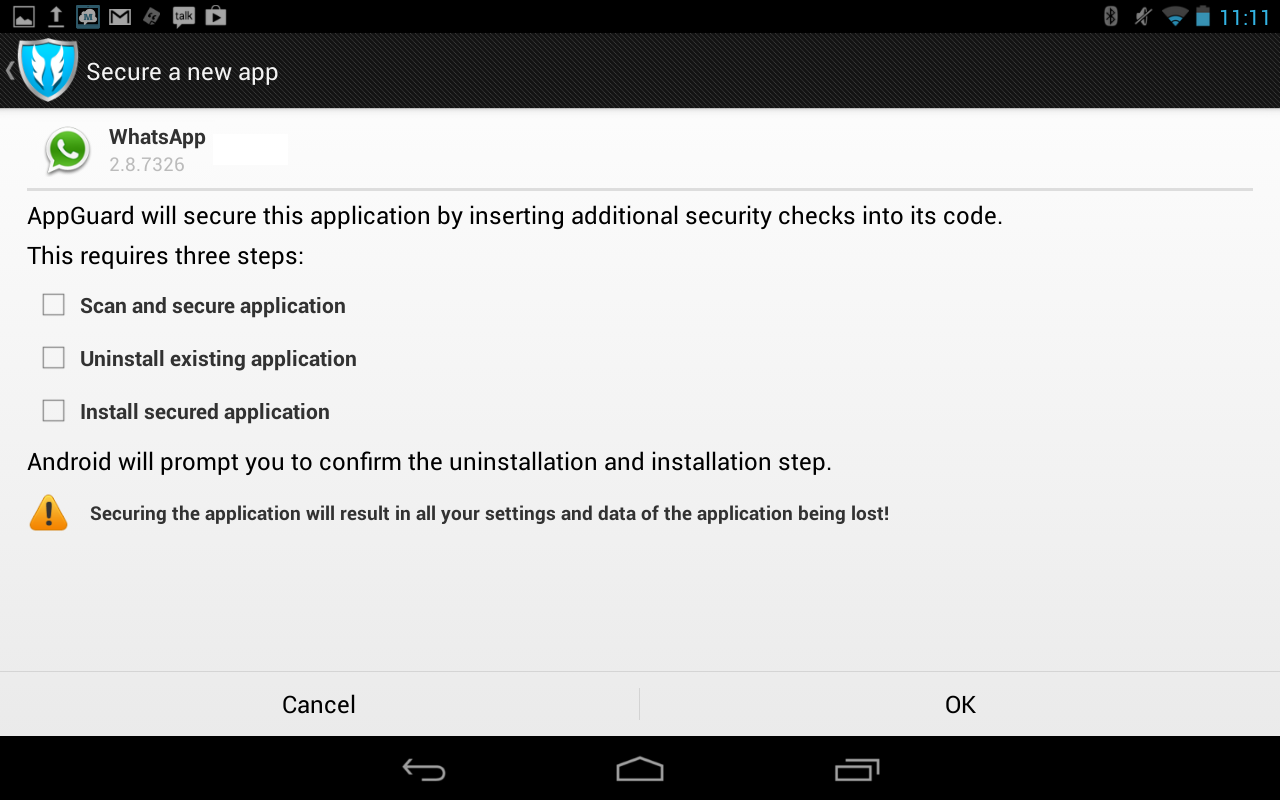
- On the next screen, select Whatsapp from the list of apps. This should present a new screen like the one below. Select OK at the bottom to start securing Whatsapp. This will initiate a three step process, and along the way will prompt you whether you want to uninstall the existing app. Just click OK at that time.
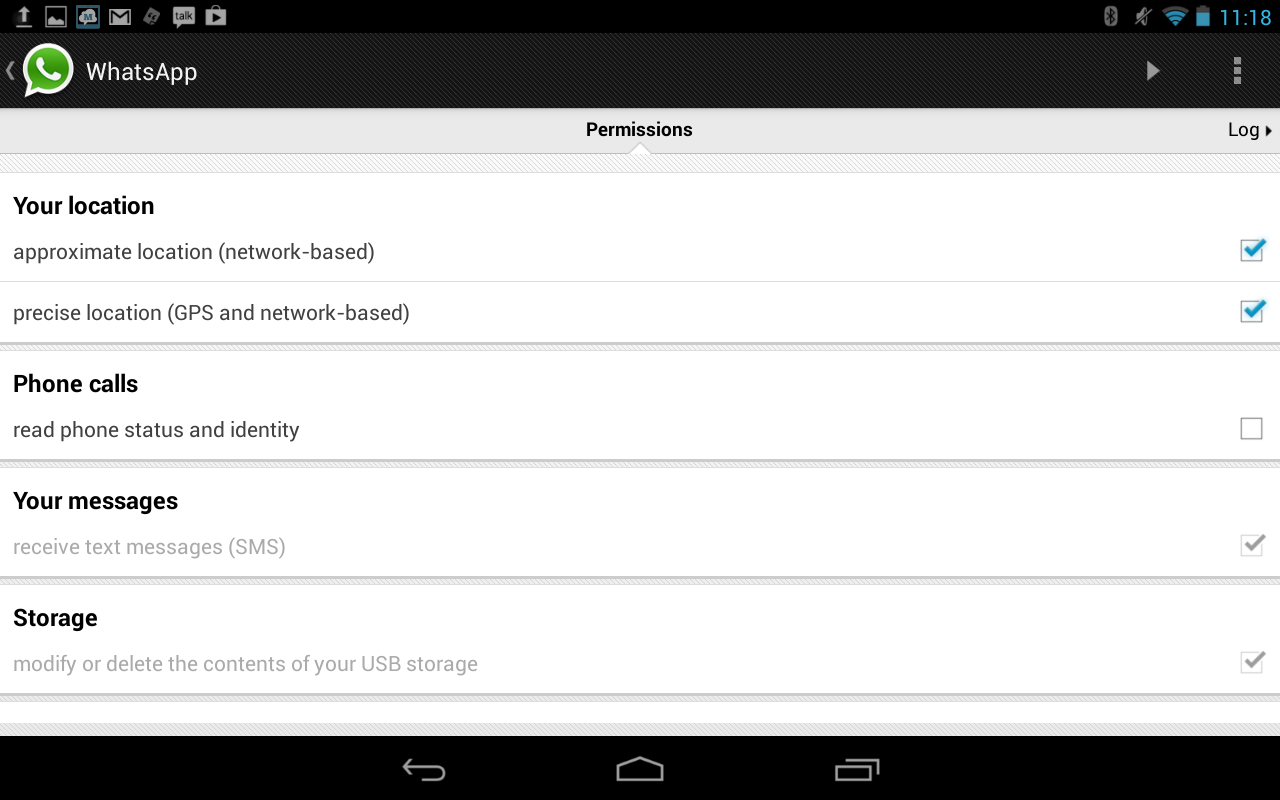
- Once AppGuard has completed securing Whatsapp, we would need to change the permissions for the app on the Nexus 7. To do that, select Manage your Secure Apps from the main AppGuard scren, and then select Whatsapp. You should see the list of permissions that Whatsapp has by default. Look for Phone Calls : read phone status and identify in the list, and uncheck the box.
- Now we need to set up Whatsapp in BlueStacks, the Android emulator we installed on your PC in Step 1. Launch BlueStacks on your PC and click the My Apps section on the screen.
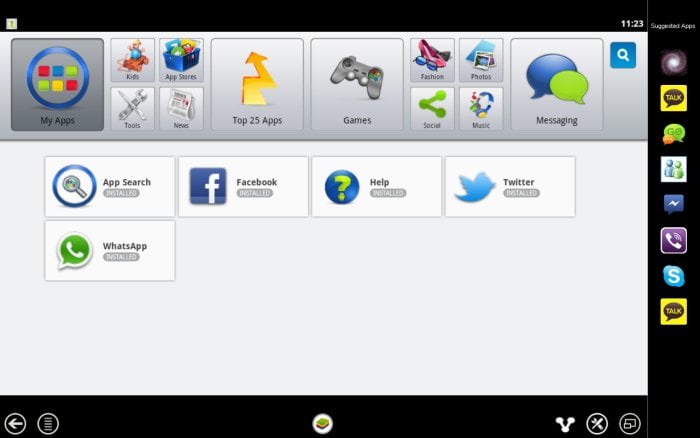
- Double click the icon to launch Whatsapp and you should be greeted with the familiar welcome screen.

- Click the Agree and continue button to proceed. On the next screen, select your country from the dropdown list. The country code will get automatically populated by Whatsapp. In the Phone Number field, enter an active phone number that you have access to. If you want to use the same number as the one you are using on your phone, you would need to uninstall Whatsapp from your phone before proceeding. Reason being that Whatsapp only allows one account per phone number.

- Wait for Whatsapp to verify the phone number you entered and send you a 3 digit verification code via SMS on that number. Make sure it is an active number, else you won’t receive the code. Once you receive the SMS with the 3 digit code, exit BlueStacks on your PC.
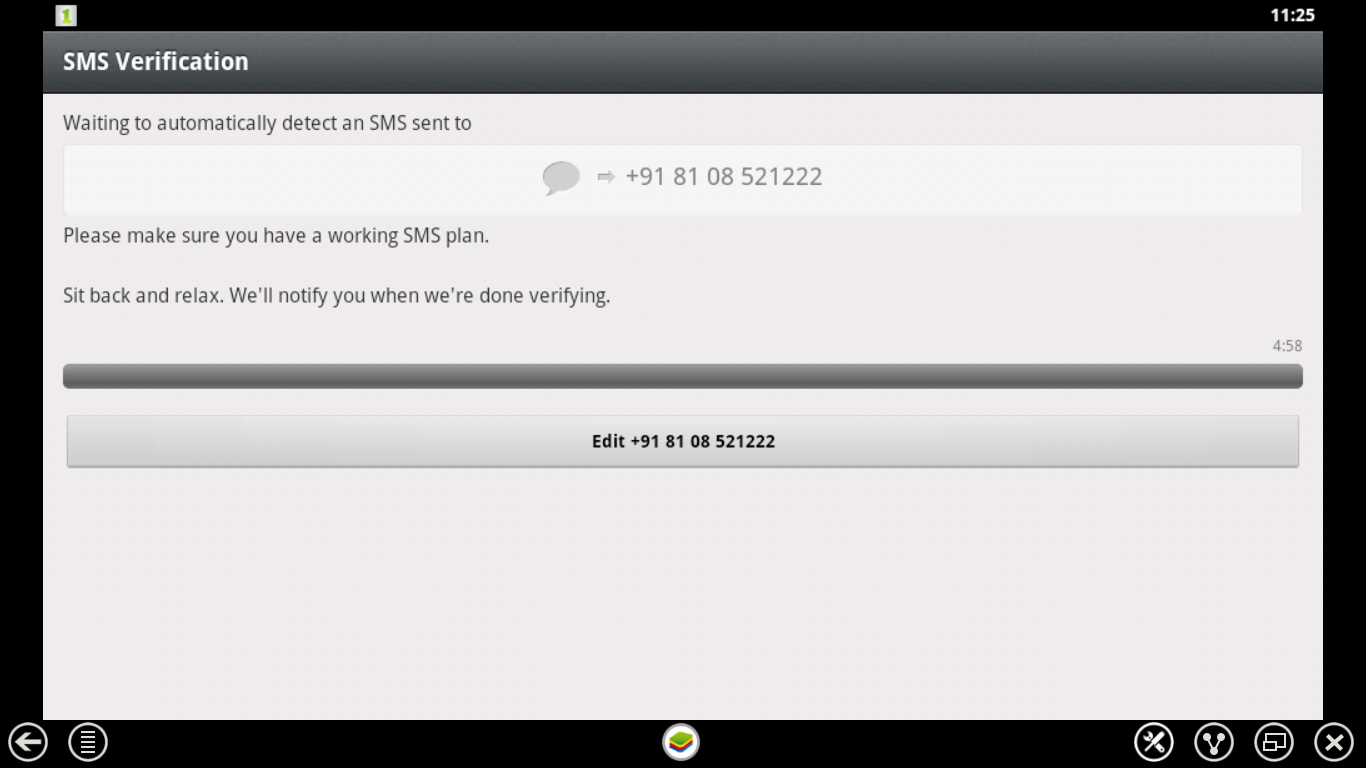
- Time to move on to the final stages of setting up Whatsapp on your Nexus 7 now. Open Whatsapp on your Nexus 7, Click the accept button on the main screen, and on the next screen choose your country code and enter the exact same phone number you used in BlueStacks – Step 12
- You will see an SMS Verification Error. This is normal. Don’t worry. Click the Call Me option to verify Whatsapp by phone. This won’t work either, and you will see another error screen. At this point, click the Options menu (three dots at the bottom right), Select Enter Code, and enter the three digit verification code you received on your mobile phone in Step 13.
- That’s it. You are now verified, and can chat will all of your friends on Whatsapp, right from the comfort of your Nexus 7.
Go ahead and try it out. For someone with just one phone number, it might not be worthwhile, but if you have an alternate number as well, then you may as well be connected via Whatsapp on your phone as well as the Nexus 7.
Via XDA




Hey, when I get to step 14, it doesn’t start verification but only says the version of the app I am using is too old, and that I have to download the new version from whatsapp.com/android. I can then only press OK and be sent back to entering a phone number. On the pc it doesn’t say this. What did I do wrong?
me too :/
same case here
same case here
This does not work anymore.. says your version of whatsapp is too old when you enter your phone number in.
This does not work anymore.. says your version of whatsapp is too old when you enter your phone number in.
I get the message ‘your phone date isn’t right, correct it now’
I get the message ‘your phone date isn’t right, correct it now’