Follow this step-by-step walkthrough to hunt down Mad Goro and complete his Mad Pursuit in Ghost of Yōtei.
What to know
- Traitorous Raider — a mid-high difficulty bounty featuring Mad Goro, a heavily armored raider with shock attacks.
- Found in the frozen ridgelands around Yotei; approach stealth or ranged.
- Recommended level: 28–35 (adjust for your build).
- Rewards include unique gear, crafting mats, and significant currency.
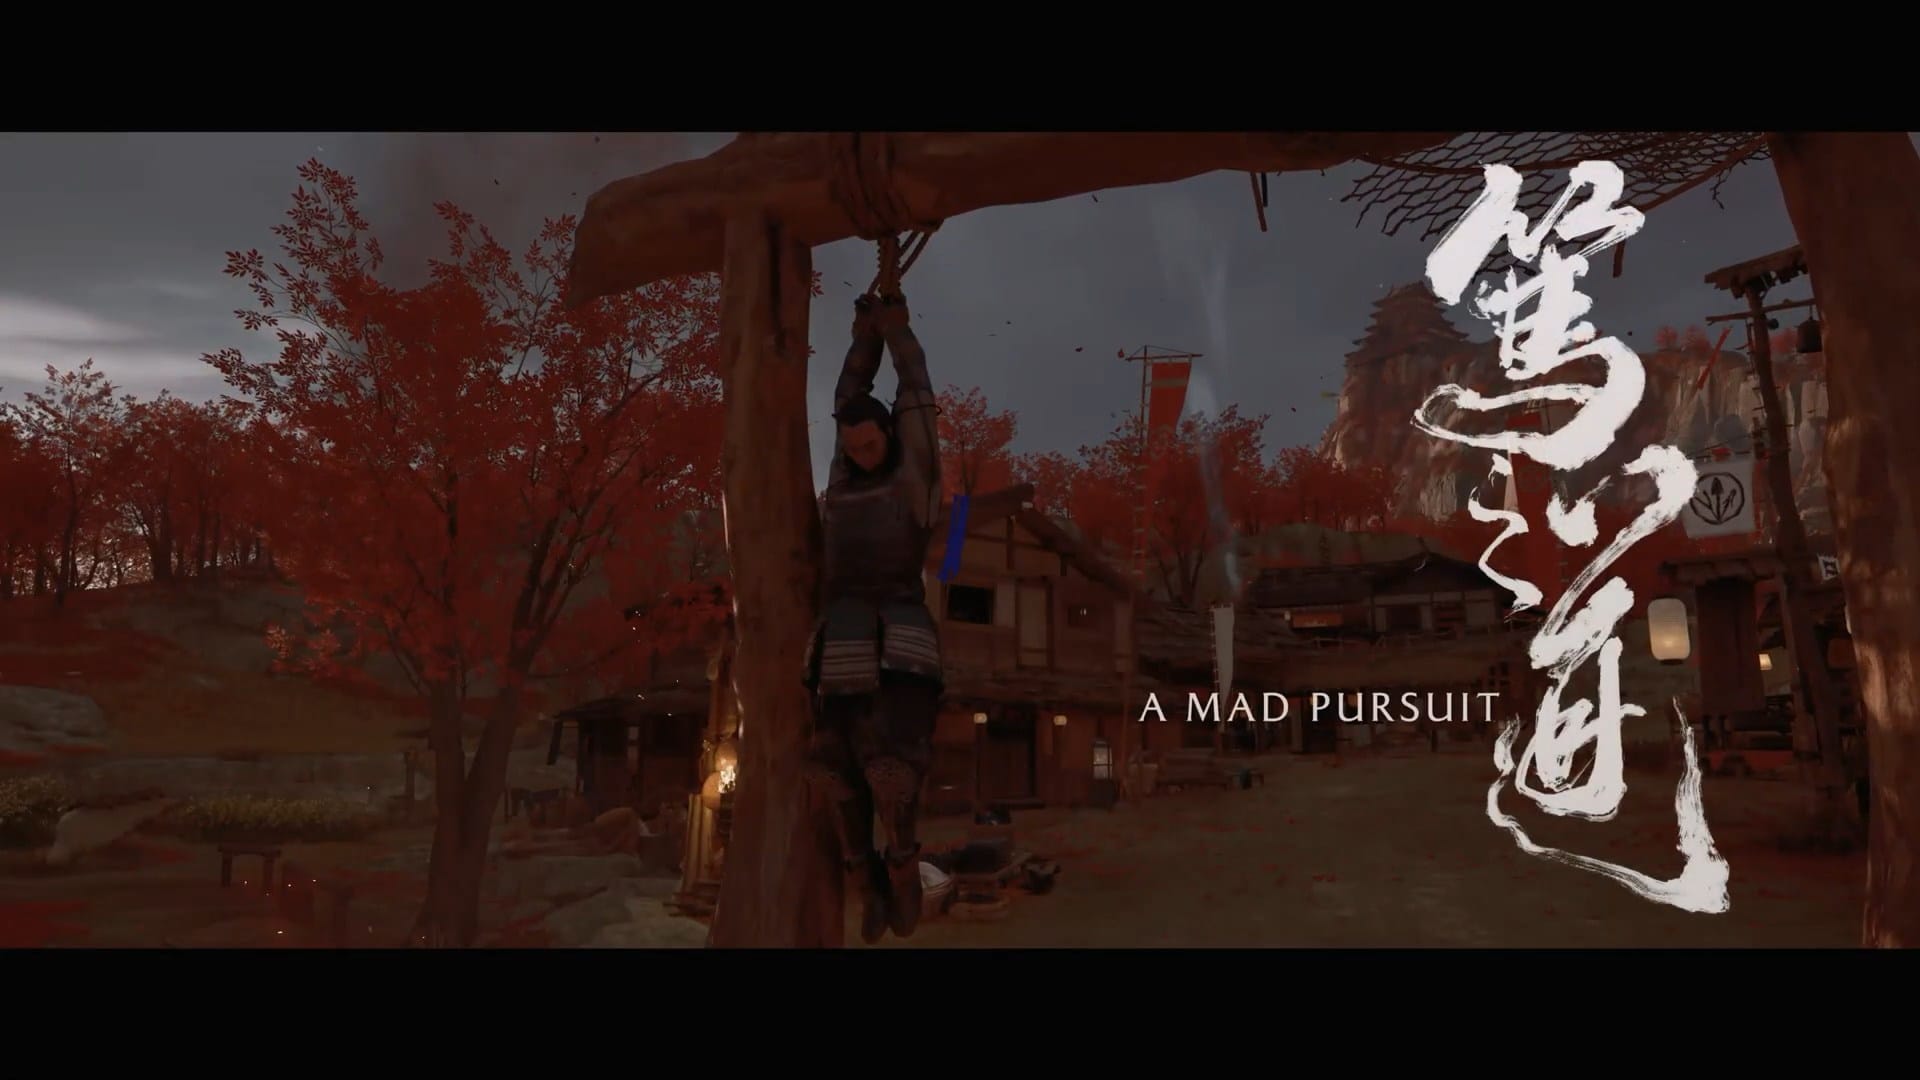
A Mad Pursuit is a tightly scripted sub-chapter of The Oni tale. It mixes short investigative beats (talks and eavesdropping) with mounted traversal and a chase that ends in a one-on-one with the Traitorous Raider Mad Goro. The following walkthrough names each step clearly, shows what to do at each location, and gives combat tips so you can finish the chase and interrogate Mad Goro without backtracking.
A Mad Pursuit subquest overview
| Phase / Objective | Details |
|---|---|
| Quest Start | Begins automatically after accepting “The Traitorous Raider – Mad Goro” bounty in Ishikari Market. |
| Initial Ambush | Two waves of Oni Raiders attack as soon as the bounty is accepted. |
| Tavern Inquiry | Speak with the barman and eavesdrop on three groups discussing Mad Goro’s movements. |
| Journey to Iwami Village | Travel west with Jubei to investigate gunfire reports near the village. |
| Abandoned Camp | Explore the camp and defeat Ronin attackers to uncover Mad Goro’s trail. |
| River Path Pursuit | Follow the river north, clear a small Oni camp, and head uphill to Mad Goro’s hideout. |
| Final Chase and Duel | Chase Mad Goro on horseback, dodge his musket fire, then duel him near the broken bridge. |
| Completion & Rewards | Ends both A Mad Pursuit and the bounty; rewards include 250 Gold, +200 Reputation, Mad Goro’s Kusarigama, and the “Mad Flame” Charm. |
Traitorous Raider location
Mad Goro’s camp is hidden deep in the Northern Yotei Ridgelands, east of Frostfall Creek, near a ruined watchtower overlooking the frozen valley. The area is surrounded by jagged cliffs and scattered raider patrols, making a stealthy approach ideal.
A Mad Pursuit subquest step-by-step guide
Follow these steps to complete the sub-quest of the Oni, “A Mad Pursuit,” along with the Traitorous Raider Mad Goro bounty:
Phase 1: Accepting the bounty and surviving the ambush
Step 1 – Reach the Ishikari Market
Travel to Ishikari Market located in the Ishikari Plain region. You’ll find the Bounty Board near the broker Kojiro.

Step 2 – Accept the “Traitorous Raider, Mad Goro” bounty
Interact with the board and accept the bounty. As soon as you do, enemies will appear nearby.

Step 3 – Defeat two waves of Oni Raiders
You’ll be ambushed twice. The first wave has standard raiders; the second introduces shielded types. Use heavy strikes or parries to break defenses and clear both waves.
Combat Tips for Fighting Oni Raiders:
- Use heavy attacks or charged strikes to shatter Oni Raider shields before they can corner you.
- Their slow but heavy swings are easy to time—perfect parries stagger them fast.
- Oni Raiders are vulnerable to fire damage; bombs or flame-based abilities can control groups.
- Don’t get surrounded—use dodges or evasive rolls to reposition and isolate enemies.
- Clear weaker raiders first so you can focus on shielded or elite Oni without distractions.
Phase 2: Unlocking the Side Tale “A Mad Pursuit”
Step 4 – Speak with the tavern barman
Once the market is safe, head inside the tavern and speak to the barman. Choose any dialogue option to trigger the Side Tale: A Mad Pursuit.

Step 5 – Eavesdrop on three conversation groups
Inside the tavern, quietly listen to three groups of men gossiping about Mad Goro’s camp. Move slowly to avoid alerting them and collect all clues.

Step 6 – Meet Jubei and fight raiders with him
As you eavesdrop, Jubei enters the tavern and asks Atsu about her whereabouts. As both leave the tavern, a cluster of oni raiders are waiting for you to start a rumble.

Step 7 – Follow Jubei to the West
Jubei joins you as an ally. Use the Guiding Wind to follow the road heading west toward Iwami Village.

Phase 3: Investigating camps and tracking the raider
Step 7 – Investigate Iwami Village
Arrive at Iwami Village and question locals about gunfire. They’ll direct you toward an abandoned camp outside the village.

Step 8 – Search the abandoned camp
Inspect the tents and supplies. Raiders will ambush you; defeat them. After the skirmish, Jubei suggests following the river to continue the pursuit.

Step 9 – Follow the river and clear the mid-camp
Ride along the riverbank, dealing with another Oni Raider camp along the way. Continue until the path slopes upward into a mountain pass.

Step 10 – Enter Goro’s camp
As you continue to pursue the Mad Goro tracks, you will see Oni’s camp with corpses. Ambush alive Raiders and investigate to get more clues.

Step 10 – Spot Mad Goro at the upper camp
At the top, you’ll find Mad Goro firing a musket from afar before fleeing on horseback. This starts the chase sequence.

Phase 4: The horseback chase and final duel
Step 11 – Pursue Mad Goro on horseback
Mount quickly and chase him through the forest trail. He throws firebombs and fires his musket backward. Stay at mid-range and dodge explosions to keep up.

Step 12 – Corner him at the broken bridge
After a few minutes, Jubei will cut him off near a collapsed bridge. Dismount and prepare for the duel.

Step 13 – Defeat Mad Goro in combat
Mad Goro alternates between three weapons:
- Burning stick – causes burn damage; roll twice to extinguish flames.
- Kusarigama – long-reach chain weapon; stay mid-range to parry safely.
- Katana – standard melee phase; focus on Perfect Parries.
Once weakened, finish him off to complete both the bounty and the Side Tale.
Traitorous Raider rewards
| Reward | Typical quantity / chance | Notes |
|---|---|---|
| Mad Goro’s Guard (unique piece) | 1 (rare) | Armor piece with shock resistance and +stagger stat |
| High-tier crafting materials | 2–6 | Used for mid-tier upgrades |
| Currency (credits/gold) | 150–400 | Varies with difficulty/karma bonuses |
| Consumables (potions/bolts) | 1–3 | Random drops from lieutenants and chest |
| Bounty reputation | +15–25 | Increases with optional objectives completed |
Mad Goro combat tips
- Mad Goro’s shock attacks partially bypass shields; equipping shock-resistant rings or armor significantly reduces healing needs.
- Stagger builds (weapons/skills that amplify stagger damage) shorten the fight and reduce exposure to his slam combos.
- Maintain vertical awareness — the watchtower area has ledges with ice that can break; falling can interrupt your rhythm or reset engagement.
- Bring at least one ranged weapon/mod that applies slow or interrupt (shock arrows, net rounds) — these make the encounter much easier.
- If you’re underleveled, bring a companion or summon (if game mechanics allow) to distract while you focus on stagger windows.
- Save a high-damage single-target ability for after his second stagger — that’s when he’s most vulnerable.

This fight rewards careful planning and patience. Use the terrain, stagger-heavy tools, and interrupt windows to neutralize Mad Goro with minimal risk. Complete optional objectives for better loot and reputation.


