Embark on Atsu’s journey to master the devastating Odachi greatsword through Master Yoshida’s challenging trials in the snowy landscapes of Ezo.
After completing The Way of Odachi training with Master Yoshida and acquiring the Odachi weapon, Atsu faces three crucial missions that will cement her mastery of this powerful two-handed sword. These missions serve as practical applications of the Odachi techniques learned during the initial training sequence.
How to start the Path of the Odachi
The Path of Odachi questline automatically begins once the initial training concludes, with Master Yoshida providing specific targets that will disrupt Lord Saito’s operations across the Tokachi Range.
How to complete the Path of the Odachi – Step by Step
There are three missions in the Path of the Odachi quest:
- Liberate Marshland Homestead
- Complete Inokichi the Hungry Bounty
- Complete Junpei the Snatcher Bounty
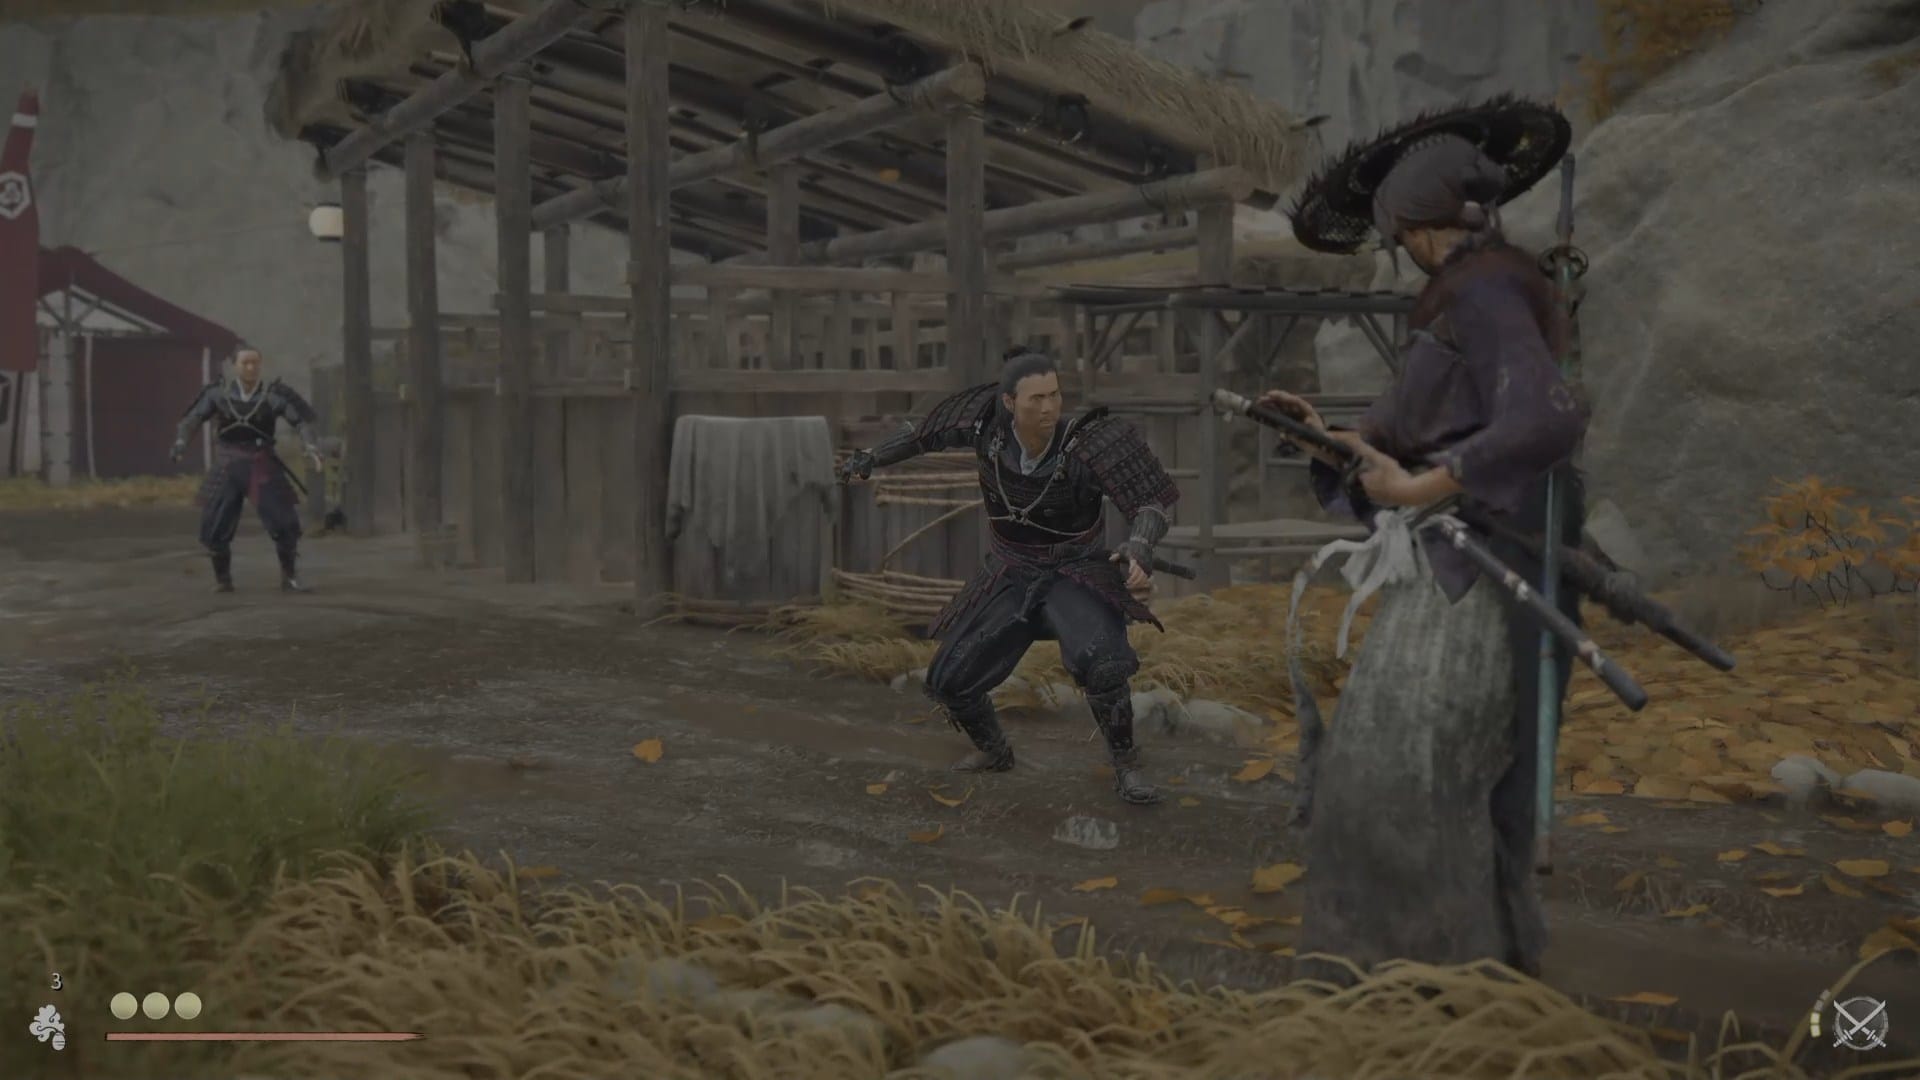
Mission 1: How to liberate Marshland Homestead Yotei Six Camp
The Marshland Homestead represents the first major test of your newly acquired Odachi skills. It’s located in the eastern Tokachi Range, north of the Tomamu Marshlands.

Step 1: Approach from the southern entrance
Position yourself south of the Marshland Homestead for optimal infiltration routes. The southern approach offers better cover and fewer initial guards to contend with.
Step 2: Eliminate watchtower guards and cross wooden beam
Use your bow to silently take out the guard posted on the wooden watchtower along the exterior wall. Alternatively, cross the wooden beam, reach the camp and take them out with your sword.
Step 3: Clear perimeter guards stealthily
Systematically eliminate guards around the camp’s perimeter. Utilize rooftops and tightropes to gain tactical advantages for stealth assassinations. Or, get up close and personal and take them out with your sword.
Step 4: Use Odachi against brute enemies
The Marshland Homestead contains several brute-type enemies – perfect targets for practicing Odachi techniques. Switch to the Odachi when facing these larger, heavily armored opponents.
Step 5: Locate and free Chika the gambler
Use your spyglass to identify the primary target – Chika the gambler. Go to her and free her.
Step 6: Claim the Charm of Thunderous Assault
Chika rewards you with the Charm of Thunderous Assault, which increases Odachi knockdown chances.

Mission 2: How to defeat Inokichi the Hungry at Huranui Mill
Inokichi the Hungry controls the Huranui Mill, a fortified Yotei Six camp that serves as both a strategic location and bounty target worth 1,500 coins.

Step 1: Scout from the eastern cliff
Approach Huranui Mill from the eastern direction. There’s a cliff northeast of the location that you can utilize for reconnaissance.
The Nupur River flowing through the camp also provides excellent concealment.
Step 2: Infiltrate via tightrope network
Cross the tightrope over the river and assassinate the first guard. Use the elevated tightrope system to move between sections while avoiding ground patrols.

Step 3: Clear the southern entrance area
Secure the area near the two burned tents at the southern entrance. Loot the reward cache and eliminate the two patrolling enemies.
Enter the mill’s lower level and clear out guards positioned in the undercroft area. Similarly, use the western tightropes to reach mid-level positions and eliminate river guards and the archer guarding the central yard.
Step 4: Confront Inokichi in the central hall
Enter the main hall where Inokichi the Hungry awaits. He wields a heavy club and represents an ideal target for Odachi combat techniques.
Step 5: Handle Inokichi’s combat patterns
Dodge his heavy attacks and counter with quick Odachi strikes. Use environmental obstacles for cover and apply hit-and-run tactics when facing his reinforcement waves.
Step 6: Defeat reinforcement waves and liberate mill
After damaging Inokichi, additional Yotei Six warriors arrive. Clear all remaining enemies in northern tents and dock areas to fully liberate the mill. Access the Altar of Reflection in the central courtyard for skill point advancement.
Mission 3: How to complete Junpei the Snatcher bounty
Junpei the Snatcher operates from a hidden base accessible through Boar’s Eye Cave, located between the Niikappu and Nupur Rivers in the Saru Plains region.

Step 1: Locate Boar’s Eye Cave entrance
Find the cave entrance in the northeast Tokachi Range, marked by a man standing before a rocky outcropping between the two major rivers. He’s a competing bounty hunter, who will approach and offer to split the reward.
Step 2: Deal with the rival bounty hunter
This encounter inevitably turns hostile – defeat him to proceed into the cave.
Step 3: Enter the Suspicious Thicket area
Climb into the Suspicious Thicket section within the cave system. Challenge the guards positioned here to a Standoff, then eliminate any remaining enemies.
Step 4: Descend into underground tunnels
Drop down the ladder located in the north corner to access the tunnel system beneath the thicket. Navigate through the underground passages while clearing Junpei’s men from each room.
Step 5: Free the Matsumae prisoner
Locate and rescue the captured Matsumae prisoner at the tunnel’s end. This action triggers the final confrontation sequence.
Step 6: Return to surface for final battle
Escort the rescued prisoner back above ground. As soon as you emerge from the tunnels, Junpei and his remaining forces launch their final assault.
Step 7: Defeat Junpei and other enemies
The final battle includes a ronin armed with a musket who poses the greatest immediate threat. Rush this enemy with your katana. After neutralizing the gunner, switch to your Odachi to deal with the heavy brute enemy effectively.
Engage Junpei directly using dual katanas, as his spear-based moveset is vulnerable to faster weapons. Watch for parry glints on most of his attacks and time your counters accordingly.
Step 8: Claim the bounty reward
After defeating Junpei, collect the 750 coin bounty reward and report back to Master Yoshida to complete this phase of training.
With the Path of Odachi complete, Master Yoshida acknowledges your progress and provides access to more advanced training sequences. The foundation established through these three missions prepares you for the greater challenges ahead in your quest to eliminate the remaining members of the Yotei Six.