Track enemies more efficiently by marking in Ghost of Yotei, making it easier to focus your strategy during combat and exploration.
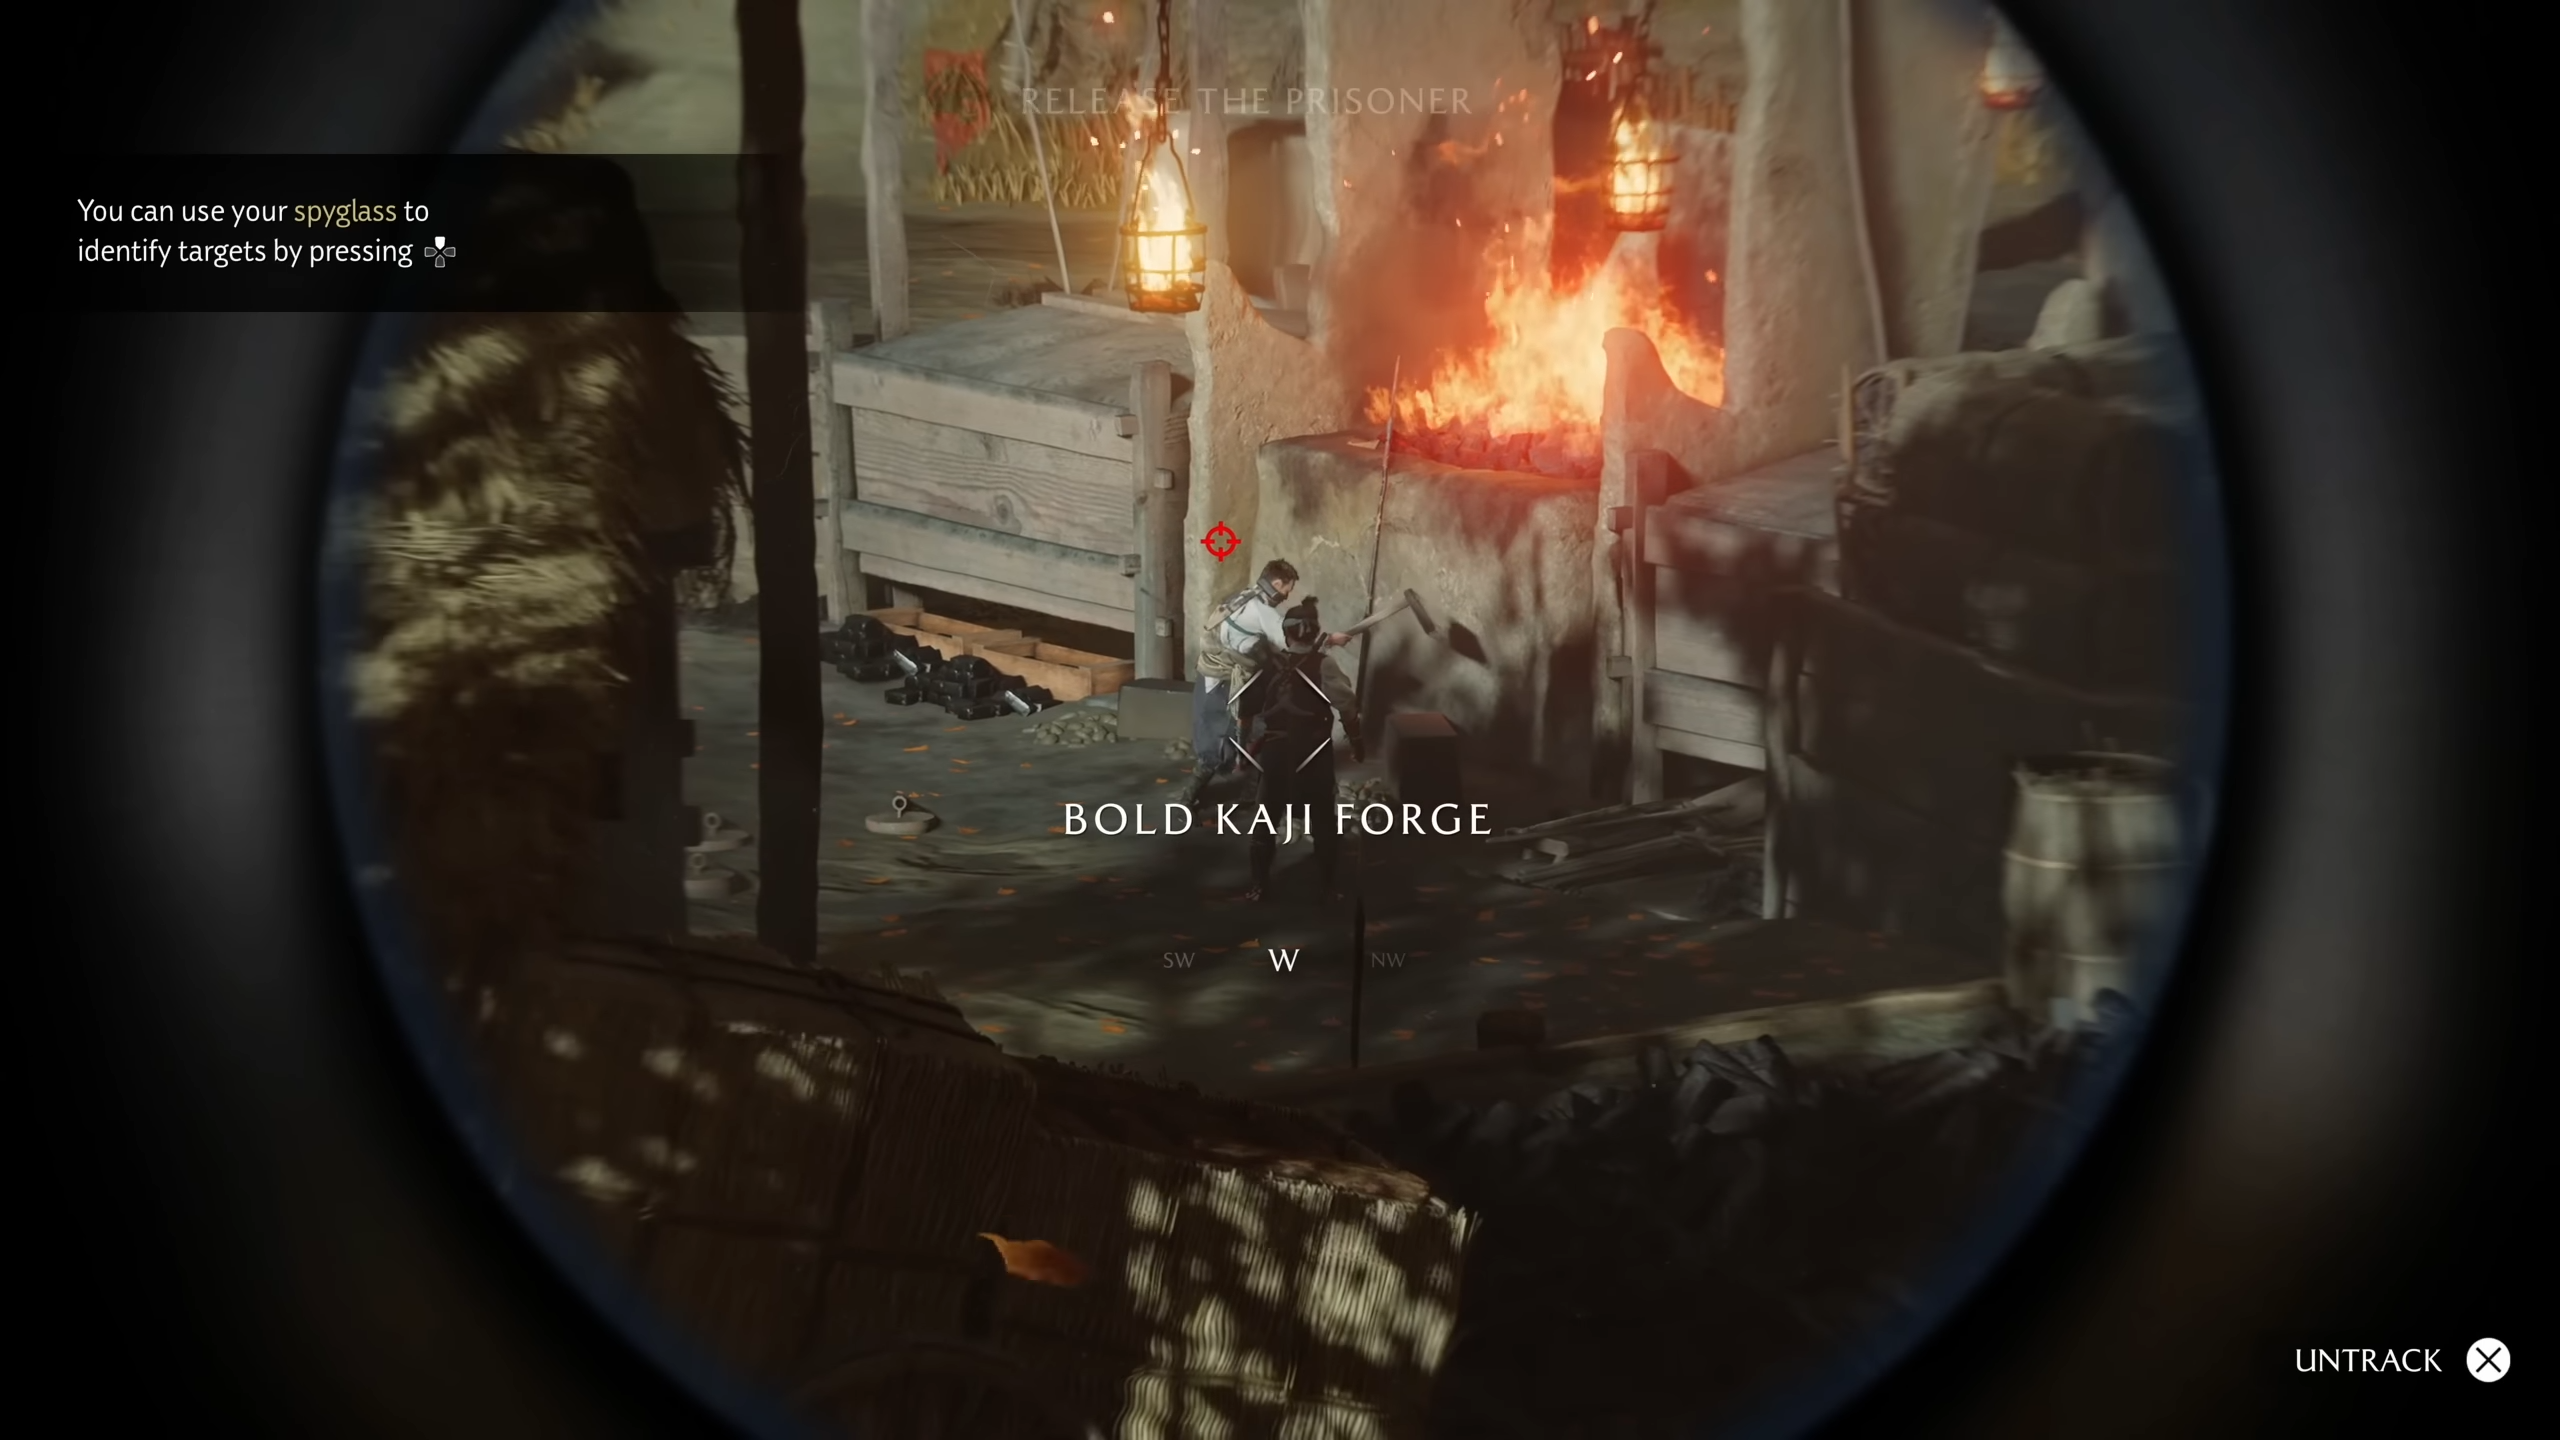
In Ghost of Yotei, you can mark adversaries with your Spyglass, making it easier to prioritize targets and avoid being overwhelmed. Here’s everything you need to know to enable and use enemy marks in combat.

How to activate enemy marking
Step 1
Open the main game menu by pressing the Options button on your controller.
Step 2
Navigate to the ‘Settings’ tab using R1, then find the ‘Gameplay’ section.
Step 3
Locate the ‘Target Lock’ setting, which sits just below the difficulty option.
Step 4
Choose from three options — Disabled, Enabled, or Swap on Defeat. Enabled lets you switch targets manually, while Swap on Defeat auto marks a new enemy once your previous target is defeated.
Step 5
Return to the game. During combat, press Up on the d-pad to mark or lock onto a specific enemy. A red arrow will appear over the target’s head.

Step 6
Switch targets by moving the right analog stick toward the desired enemy’s direction, allowing rapid marking during chaotic fights.
Enemy types and marking impact
| Enemy Type | Attack Glint | Response | Marking Effect |
|---|---|---|---|
| Standard | None | Block/Parry | Focused tracking |
| Parriable | Blue (Horizontal) | Parry | Priority for counters |
| Unblockable | Red (Cross) | Dodge/Roll | Essential to monitor |
| Disarm | Yellow (Vertical) | Dodge/Roll | Must be tracked if weapon loss is risky |
Quick reference guide to marking
- Enable mark from settings (Up on d-pad).
- Red arrow indicates marked enemy.
- Change target with right analog stick.
- Camera movement is restricted when marking is on, so plan accordingly.
Make the most of marking by combining it with weapon vulnerabilities and the Spirit system for a potent tactical edge.