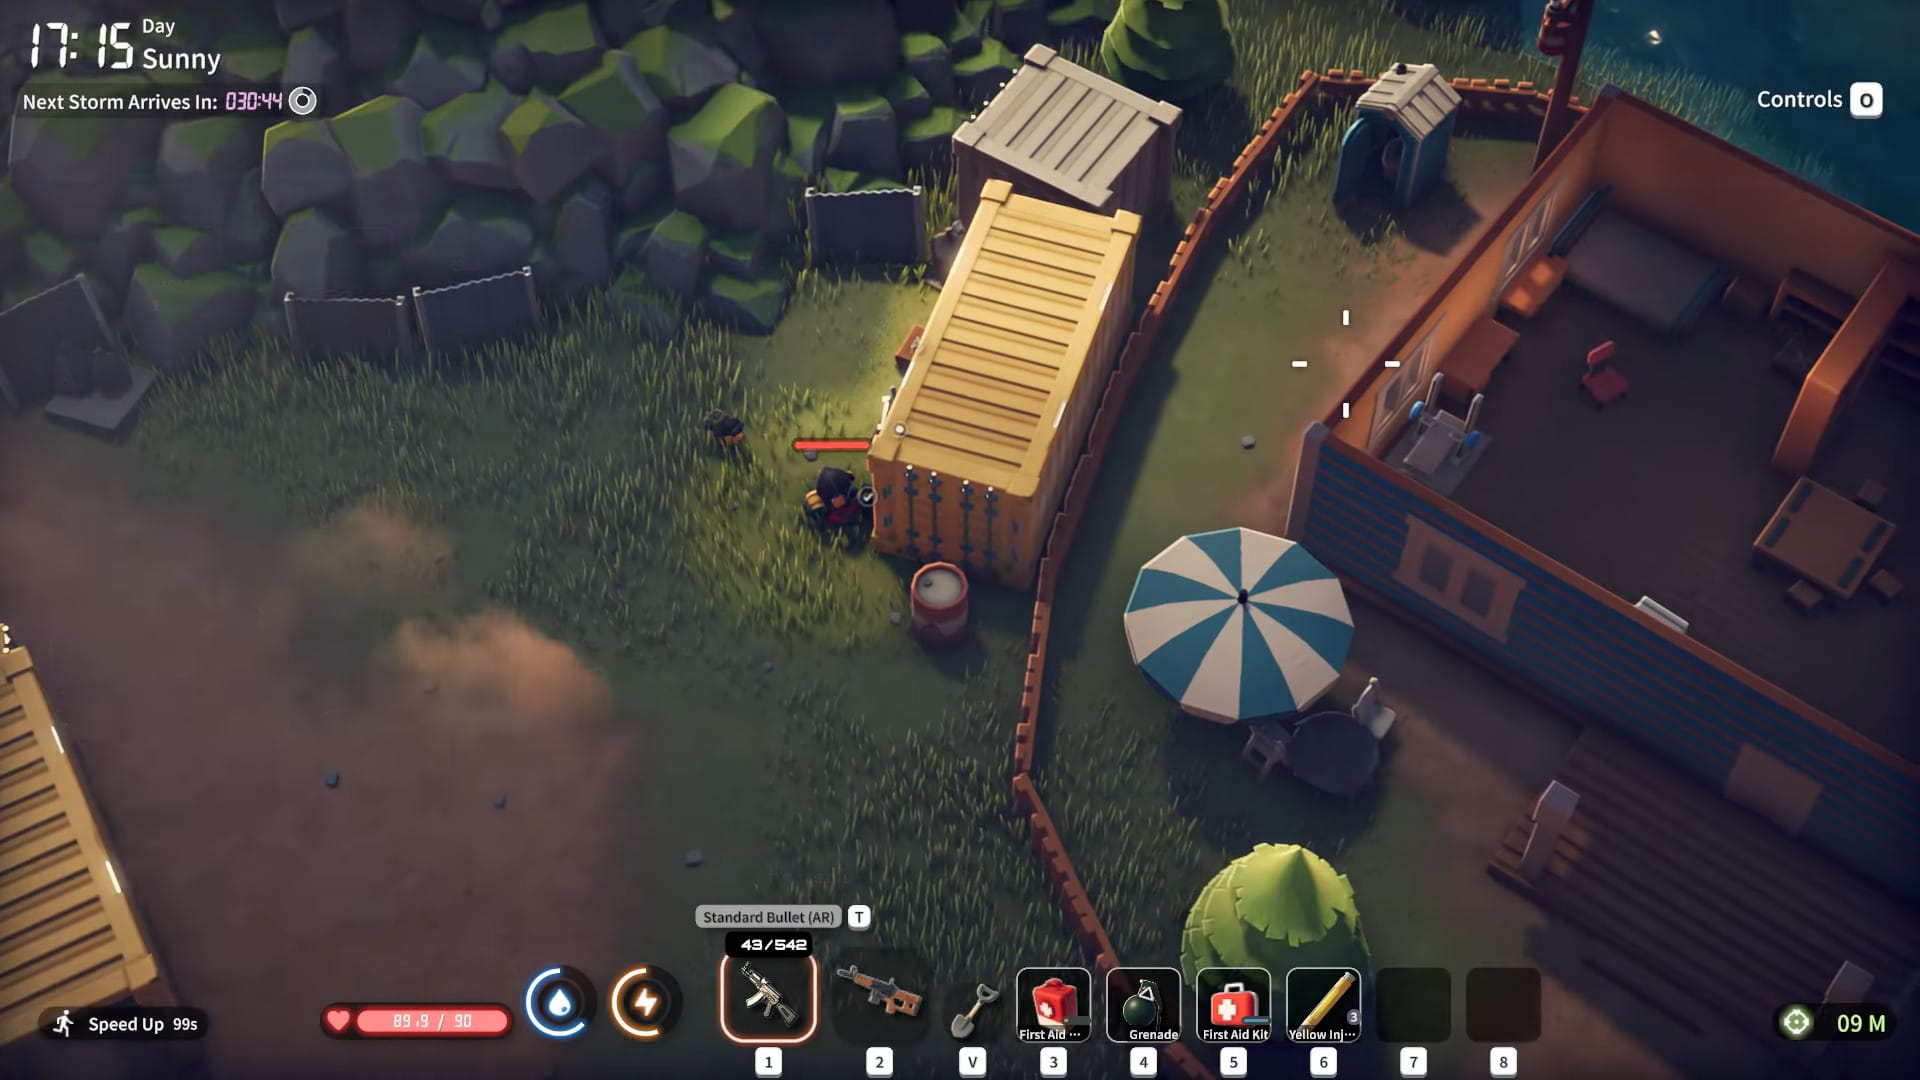
An optimized route and gear guide for maxing loot in Ground Zero within 15 minutes.
Ground Zero can yield end-game items on its own. Hitting the right spots in the right order allows gathering helmets, combat armor, rare weapons, crafting mats, and high-value consumables in a single, focused run.
Preparing your loadout for looting
Before dropping into Ground Zero, equip items that boost survivability, carry capacity, and key collection:
How to choose protective and carrying gear
Ground Zero has minimal environmental hazards but heavy enemy presence. Balancing speed and protection is critical.

Step-by-step gear selection
Step 1
Equip at least one HP totem (tier 2 for +15 HP without major speed penalty).
Step 2
Use a sturdy tier 3 backpack or travel bag to maximize slots for loot.
Step 3
Slot in a key case to collect and store multiple keys found on-map.
Step 4
Wear a gas mask or helmet to boost head armor; swap out if mobility suffers.
Pack weapons and ammo
A reliable mid-range rifle with attachments streamlines combat and looting.
- Recommended rifle: AK-123 or STG77 A3 with two-times scope, extended magazine, ADS-reducing laser, tier 2 balance stock, grip
- Carry standard AR bullets and some armor-piercing rounds crafted via dismantling and powder buys
- Stock 5–10 grenades to clear camps or destroy walls for shortcuts
High-yield looting route across Ground Zero
Running a consistent loop lets you hit prime locations quickly. Plan for a 15-minute clockwise circuit starting from southeast extract.

How to follow the optimized looting loop
Step 1
Spawn and move north through the downed wall using a grenade to enter the central area.
Step 2
Clear the roadside camp for guaranteed loot and safe key.
Step 3
Head west to the riverside house with hidden cabinets and ammo crates.
Step 4
Proceed north to the scavenger camp—check all clothes piles and containers.
Step 5
Move east to the food storage boxes near the factory access gate for potatoes, energy bars, protein powder.

Step 6
Loot the grayhouse area: cabinets, consoles, safes.

Step 7
Swing south to the footwear shack with tactical crates and med boxes.
Step 8
Return southeast via the small hill vendor to sell excess ammo and restock grenades.
Step 9
Drop south to the bodybuilder’s house for additional food and ammo spawns if time remains.

Step 10
Extract at the southeast point, ending the loop with all high-value items collected.
Best containers and spawn spots for rare loot
| Location | Loot type | Notes |
|---|---|---|
| Roadside camp | Combat armor, helmets, safe key | Always hit first |
| Riversided house | Ammo crates, small safes | Cabinets often hide red envelope |
| Scavenger camp | Backpacks, clothes piles, weapon attachments | Check duck capacity |
| Food storage near factory | Potatoes, chocolate milk, energy bars | Stacks of consumables |
| Small hill vendor area | Grenades, basic med kits | Quick restock |
| Bodybuilder’s house | Tactical crates, hidden behind shelves | Optional, time permitting |

How to adjust loop based on player level
Loot quality scales with level. If under-leveled:
- Skip high-enemy density camps
- Focus on food and ammo boxes for crafting materials
- Return to vendor more often to offload
If over-leveled:
- Add optional points like the fortified hunter camp
- Use chrome mercenary ambushes to farm high-end drops
Crafting a tight 15-minute loop and prioritizing key containers ensures maximum value per run. You’ll rarely need other maps once mastering these spots—stay light, stay quick, and sell smart to upgrade gear or base.


