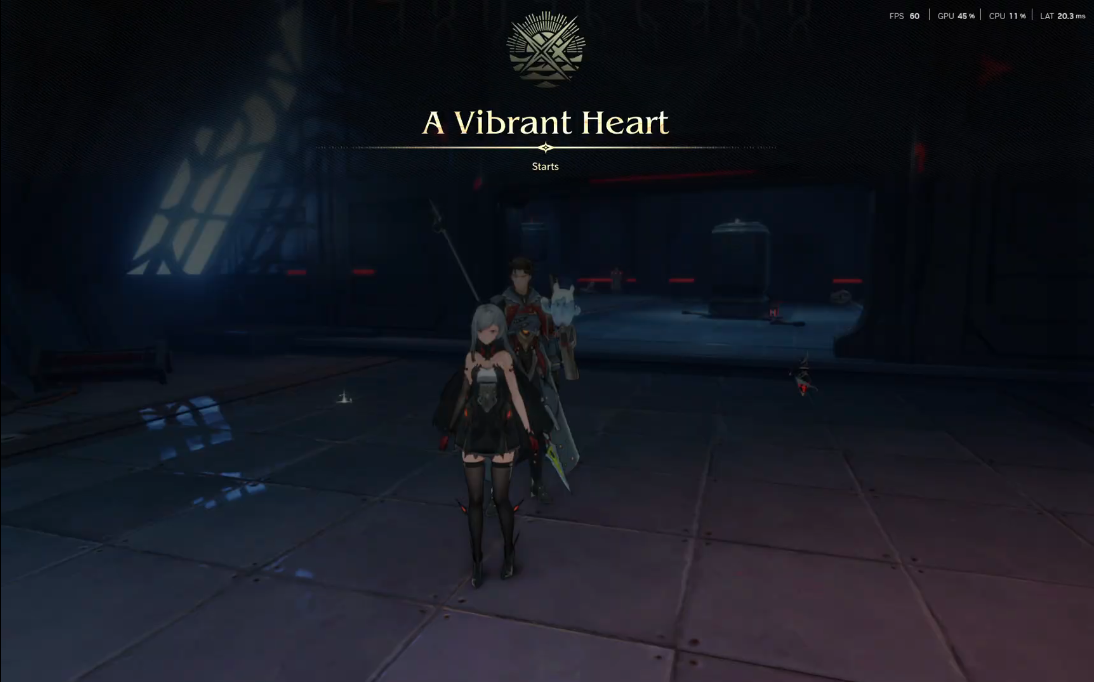
Dive deeper into the fortress with Avar as you uncover the malfunctioning Phoxynamo system. Face off against hostile Filthoids, decrypt control terminals, and stabilize the fortress’s core before it collapses.
A Vibrant Heart” continues your main storyline inside the high-tech fortress. The mission challenges you to navigate complex areas, battle Filthoid variants, and assist Avar in reactivating multiple Phoxynamo wheels to restore power to the heart of the engine room.
A Vibrant Heart: Step-by-step guide

Step 1: Advance Into the Fortress
Enter the main corridor and move toward the navigation marker. Eliminate scattered enemies along the path to secure the route ahead.

Step 2: Repel the Filthoid Attack
A large wave of Filthoids will ambush you near the control bay. Focus on dodging their heavy strikes and use wide-area attacks to thin them out efficiently.

Step 3: Head to the Engine Room
Follow the objective marker deeper inside the fortress. You’ll enter a wide chamber leading to the Engine Room access corridor. Be prepared for environmental hazards and a few minor enemy groups before reaching the next terminal.

Step 4: Decrypt the Lift Control System
Interact with the lift terminal to trigger a decryption puzzle. Manipulate the lines to connect the start and endpoint without overlapping routes. Once successful, you’ll unlock access to the cargo lift controls.

Step 5: Activate the Cargo Lift
Return to the lift control panel and activate it to descend to the lower sector of the fortress. Be prepared for another short wave of enemies before the descent begins.

Step 6: Follow the Markings & Activate Geniemon
Follow the glowing floor markings deeper into the area. Along the way, activate any Geniemon you encounter—they assist with scanning and unlocking deeper access points.

Step 7: Defeat the Veloci Filthoid (Blast Unlocked)
A new enemy type appears: the Veloci Filthoid, a faster, more aggressive variant.
During this fight, the Blast ability unlocks. Use it strategically when the Veloci pauses between charges for a powerful counterattack.

Step 8: Meet Monica & Enter the Engine Room
After defeating the Veloci, a cutscene introduces Monica. Follow her guidance into the Engine Room, where the malfunctioning Phoxynamo systems are located.

Step 9: Disarm the Mechanism
Interact with the central control panel to disable the defense barrier and gain access to the Phoxynamo area.

Step 10: Locate and Shut Down the Active Phoxynamo Wheel
Follow your objective marker to find the active wheel and shut it down to begin stabilizing the core’s energy output.

Step 11 – Investigate Control Panels A, B, C, D
- A: Southeastern main control panel
- B: Northern transformer area
- C: Eastern boiler room
- D (Optional): Search for Vic
Investigate each one in any order to restore power links and uncover the system’s status. Each point requires you to interact with control consoles and defeat any guarding Filthoids. After completing A, B, and C, the quest will progress automatically.

Step 12: Descend to the Lower Engine Chamber
Once all controls are secured, take the stairs or lift down to the lower level where the backup Phoxynamo wheels are located.

Step 13: Wait for Avar to Unlock Backup Controls
Defend Avar as they decrypt the control systems. Enemies will spawn in waves—prioritize ranged attackers and keep Avar safe until the unlock is complete.

Step 14: Activate Backup Phoxynamo Wheel 2
Once the controls are unlocked, interact with the wheel to activate it and restore part of the energy flow.

Step 15: Wait for Avar Again
Avar will continue working on the next terminal. Another defense phase begins—stay close and handle the incoming Filthoid reinforcements.

Step 16: Activate Backup Phoxynamo Wheel 3
Once the second unlock completes, activate the third wheel. The fortress will start showing signs of recovery, but instability remains.

Step 17: Wait for Final Unlock
Guard Avar for the last time. Expect a tougher wave of enemies here, including elite Filthoids.

Step 18: Activate Backup Phoxynamo Wheel 4
Interact with the final control to restore full system power. The fortress core stabilizes temporarily, triggering a final sequence.

Step 19: Escape the Engine Room
Once the last wheel is online, alarms will sound. Quickly follow the exit markers to escape the engine room before overload. The quest concludes after you exit the facility.
A Vibrant Heart: Rewards
| Reward Type | Quantity / Description |
|---|---|
| Trial EXP | +500 |
| XP | +1200 |
| Currency | +10,000 |
| Weapon Modules | ×11 |
| Core Components | ×8 |
| Special Drop | Cognizing Sal Volatile ×1 |
| Unlocks | Escape route from Engine Room & access to Backup Phoxynamo Wheel Control |
A Vibrant Heart: Combat Tips
- Use Charged Attacks: Effective against Filthoid swarms and shielded enemies.
- Maintain Mobility: Many attacks have wide AoEs; dodge sideways rather than backward.
- Leverage Blast Skill: Unlocks mid-quest—time it for maximum burst damage on elites.
- Decryption Puzzle: Always trace from the bottom left to top right, avoiding overlaps.
- During Avar’s Unlocks: Crowd control and ranged weapons help keep enemies off her.


