Unravel hidden chambers and collect treasures in the Stone Quake Divinecraft Dungeon with precise puzzle solving and clever use of Wind Sense.
In Where Winds Meet, the Divinecraft Dungeons are optional challenges where you’ll face a series of environmental puzzles and hidden chambers. The dungeons are found inside underground caves and require clever use of mystic arts. Here’s everything you need to know to complete the challenges at Stone Quake.
Rewards
- Fleeting Leg Wraps – x1
- Medicinal Tales – x2
- Echo Jade – x25
- Qinghe Exploraiton – x25
- Coin – x9600
- Stored EXP – x9600
Location
The Stone Quake Divinecraft Dungeon challenge is found to the northwest of Sundara Land, near the Mercyheart Monastery. The exact location is given below.

Stone Quake Core mechanics
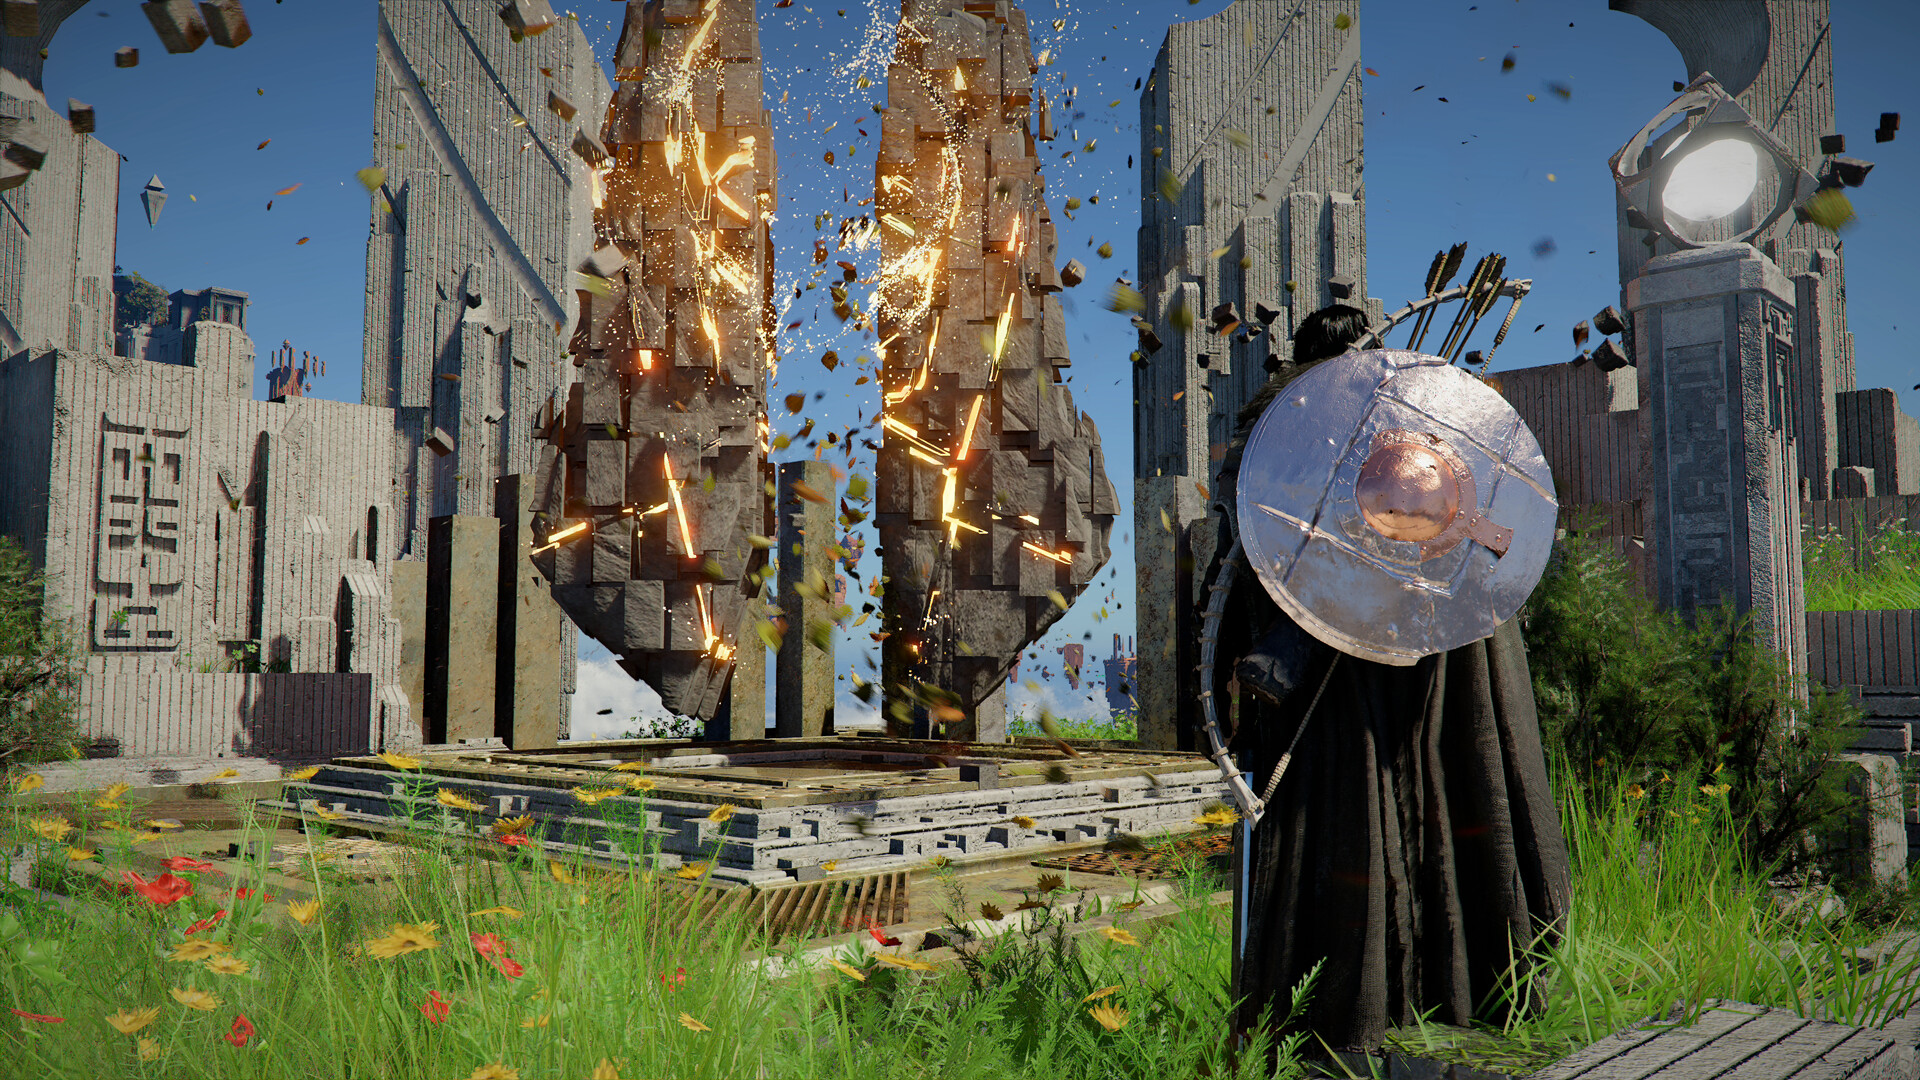
Stone Quake revolves around explosive barrels that act as moving keys for the whole dungeon. Marked floor spots and cracked walls signal where to drop and detonate barrels, often chaining explosions to open new areas or reveal hidden chests.
Wind Sense is crucial here because it highlights weak points in walls, hidden gaps, and sometimes interactable props you might otherwise miss. Ranged attacks that can safely ignite barrels from a distance make navigation safer and prevent accidental self-damage.
Recommended Loadout
Before entering, it helps to:
- Equip at least one reliable ranged option (bow, ranged martial technique, or throwable) to hit barrels from afar.
- Bring a moderate sustain setup (basic healing items or a defensive martial style) because mis-timed detonations can chip away at health.
- Free up inventory space if farming Echo Jade and region exploration points in one sweep with nearby dungeons.
Walkthrough
Step 1
Fast travel to Mercyheart Monastery in Sundara Land. Then make your way to the location given above.
Step 2
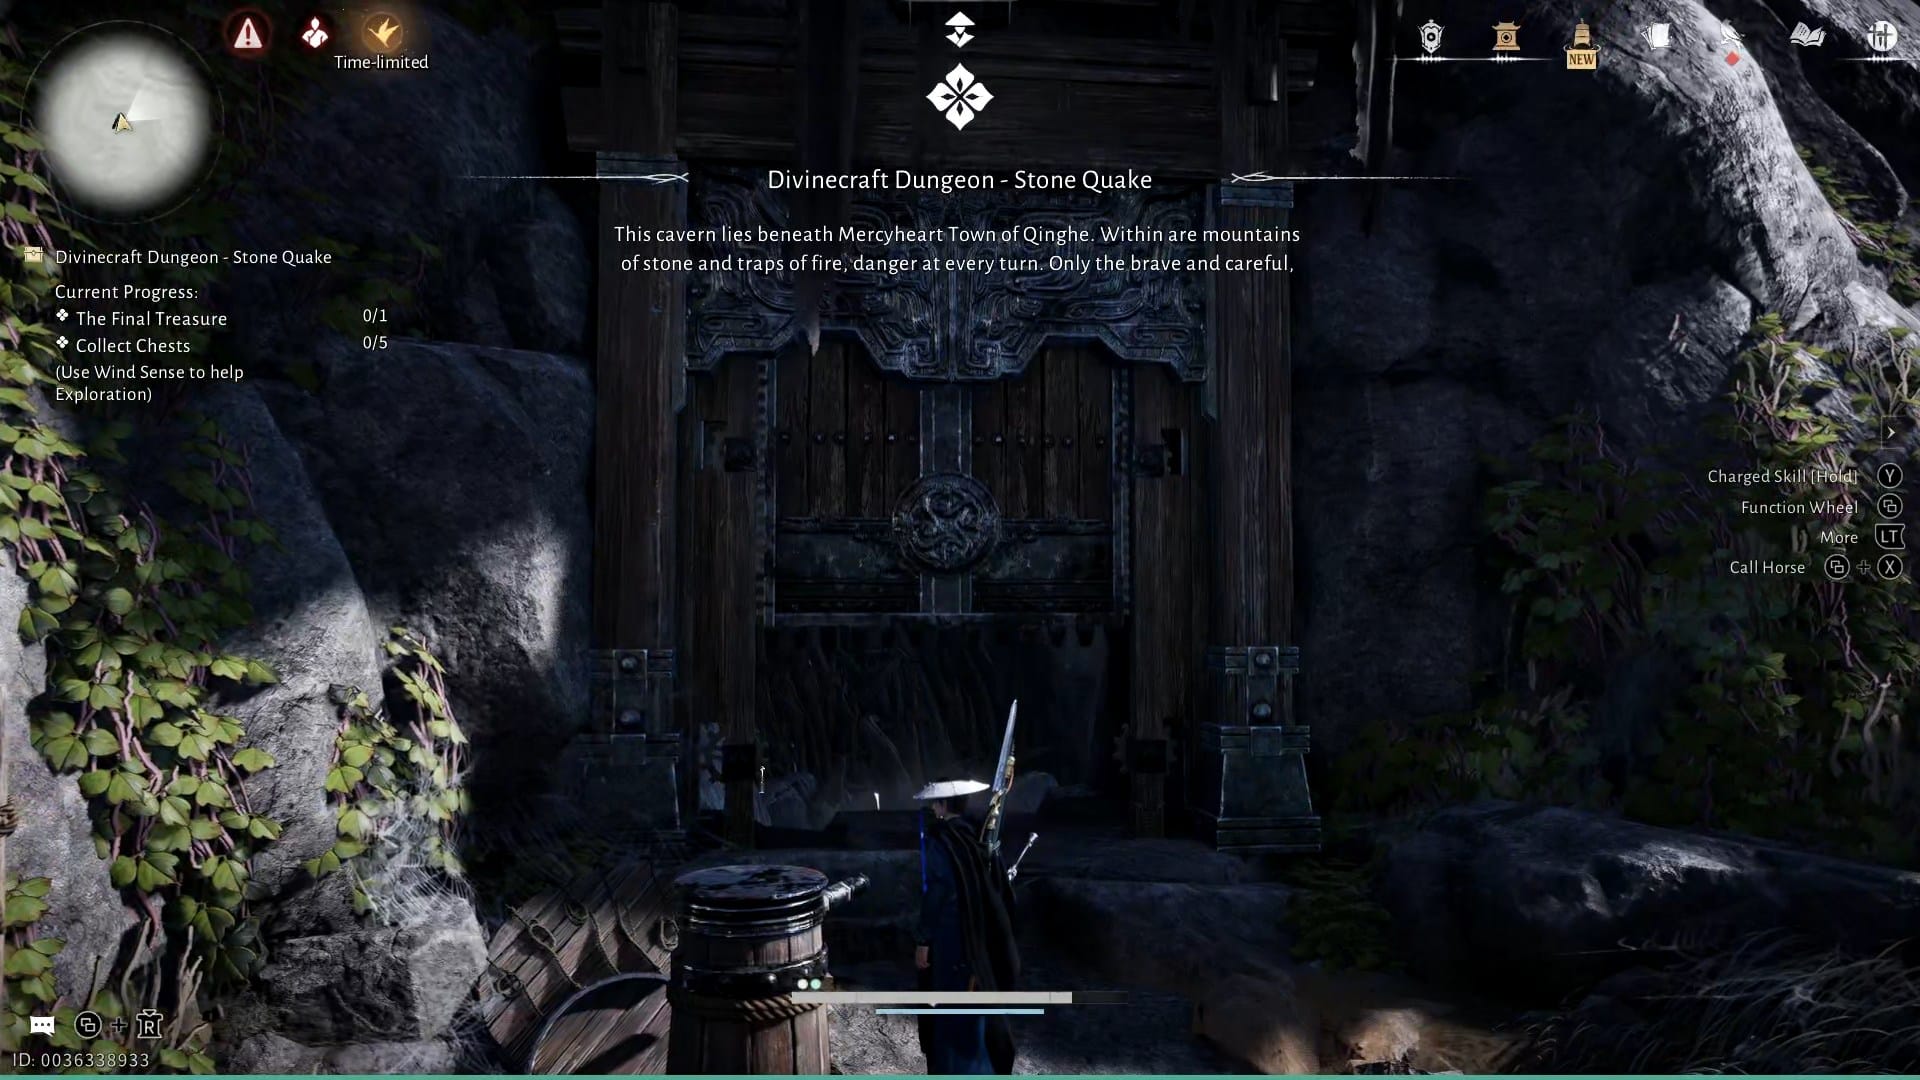
Interact with the entrance to zone into Stone Quake

The name will appear, confirming that it’s the Stone Quake dungeon.

Step 3
The initial section of Stone Quake introduces the basic barrel-and-rubble loop. Treat this corridor as a tutorial to understand how far blast radiuses reach and how barrels can be repositioned.
Activate the first lever to get a barrel drop.

Pick up the barrel.

Place the barrel on the designated spot.

Then use a fire arrow to blow it up. You’ll find more fire arrows nearby.

The blown wall will reveal a chest for you to collect.

Step 4
In the next room, repeat the same loop. Activate the lever to get the explosive barrel, place it before the wall, and then blow it up with your fire arrow.
Behind the destroyed wall is a lift that will take you down.

Collect the chest on the right.

Step 5
Go up the stone steps.

Climb the main ladder.

Look for the wall with an ‘X’ in the dark and blow it up.

Find the chest behind it.

Step 6
Climb back down and return to the room. Here, blow up the three barrels placed before a wall.

This will blow up the wall. Walk through it and collect the third chest.

Step 7
Next to the chest in the dark will be an activator. Use it to get another barrel.

Pick up the barrel and place it on the lift.

Then find another activator (at the end of the room), get a barrel, and place it on the spot to the right of the lift.

This will cause the lift to go up. Now climb up the platform and shoot the barrel to cause a chain explosion.

Then go to the right and climb the main ladder again. A wall would have blown open here, and given way to a drop below.

Drop down and get the chest.

Step 8
On this floor, you’ll have to work out a puzzle. But first, open the door behind the chest.

Activate the lever and get a barrel.

If the barrel that was used to make the lift work before is still placed there, you won’t be able to get another barrel. So return to the lift area, blow up the barrel that was placed to make the lift work. Then return and get another barrel for the puzzle.
Return to the area with the puzzle. Put down the barrel on the central piece.

Jump on the moving platform that arrives over the water.

You will need to stop this moving platform at its furthest point, so you are close enough to the next lift to jump on it. So, while you’re on the first moving platform, look back and blow up the barrel that was placed on the puzzle piece. This will stop the platform at its furthest point.

Jump on the second moving platform.

Finally, move straight ahead and get the final chest.

And that’s about it! You would have now completed the Divinecraft Dungeon – Stone Quake challenge.


