- What to know
- Understanding how the rotating platform system works
- How to approach the puzzle from the right side path
- How to complete the Rift pillar puzzle in Crimson Desert
- What happens after activating the final mechanism
- How to manage stamina while climbing in cold conditions
- Rewards and progression impact
What to know
- You must activate and control rotating platforms using terminals.
- The right-side path offers the safest and most consistent climb.
- Managing stamina in cold conditions is essential to progress.
- The final step requires a slam ability to trigger the ending sequence.
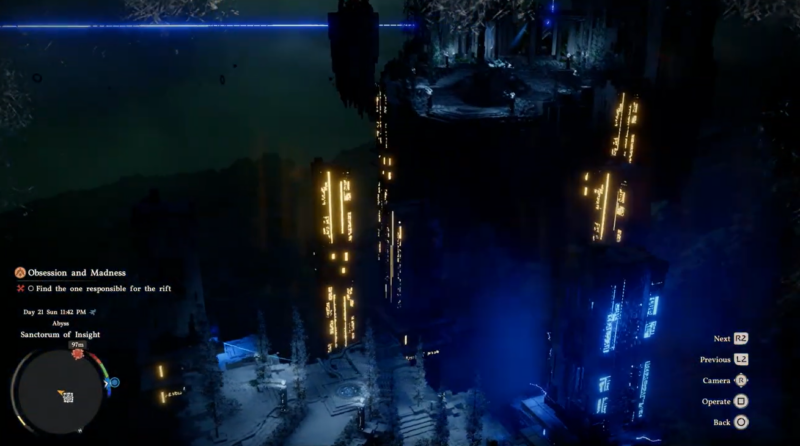
The “Obsession and Madness” quest in Crimson Desert introduces one of the more visually striking and mechanically demanding puzzles you’ll encounter. As you approach the Sanctum of Insight, your objective shifts to finding the one responsible for the rift. What follows is a layered platform puzzle that tests your navigation, timing, and stamina management under environmental pressure.
| Element | Details |
|---|---|
| Quest Name | Obsession and Madness |
| Objective | Find the one responsible for the rift |
| Location | Sanctum of Insight (Abyss region) |
| Core Mechanic | Rotating platform alignment via terminals |
| Difficulty | Moderate (requires timing + stamina control) |
| Final Action | Slam ability activation on top platform |
Understanding how the rotating platform system works
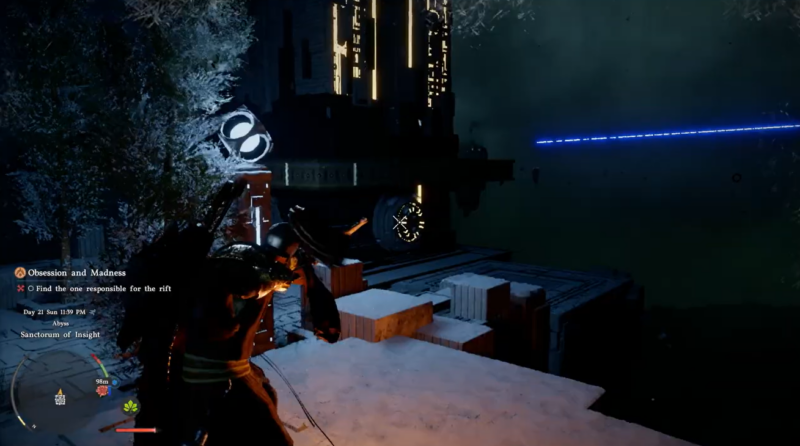
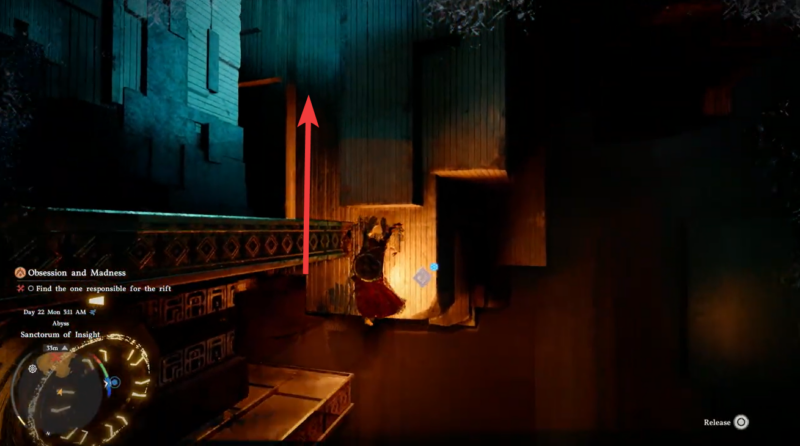
At the heart of this puzzle is a set of towering structures that behave like magnetic platforms, shifting positions when controlled correctly. You begin at the base, where a terminal acts as your entry point into the system. Once activated, this terminal allows you to link with other nearby structures and manipulate their orientation.
The rotation mechanic is not random—it responds directly to your inputs, letting you align pathways between pillars. When done correctly, platforms will slide into place, creating climbable routes upward. However, misalignment can leave you stranded or force you to restart positioning.
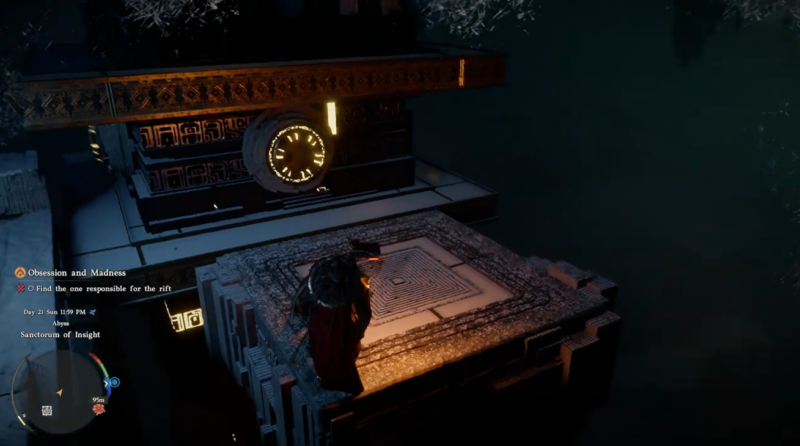
You will notice glowing patterns on each tower, which subtly indicate active pathways and alignment possibilities. Paying attention to these visual cues helps you predict how platforms will move before committing to a rotation.
How to approach the puzzle from the right side path
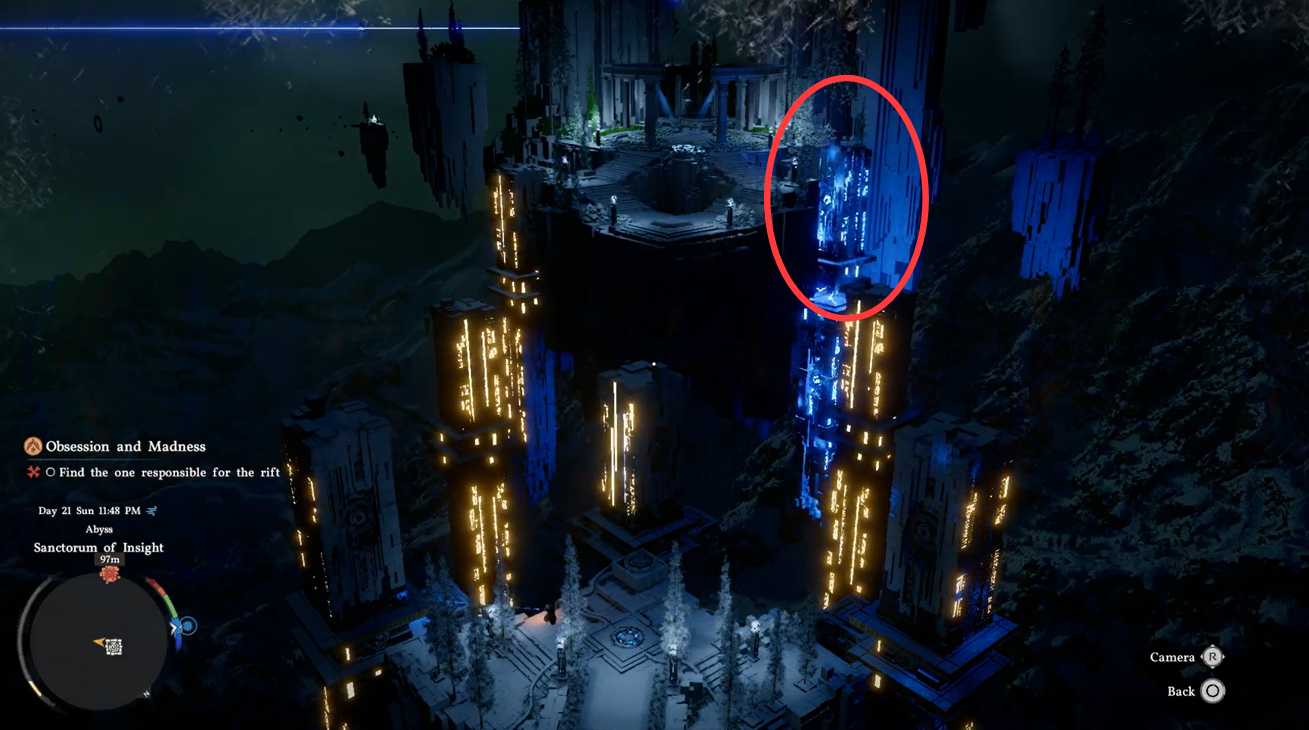
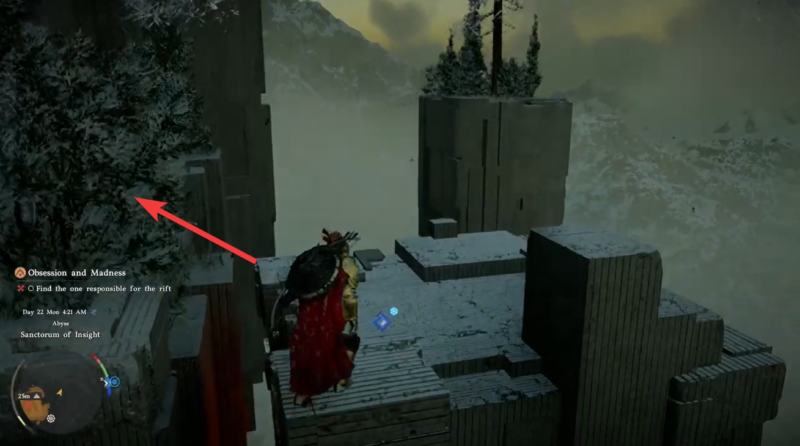
While multiple routes appear viable, the right-side path is consistently the most efficient and forgiving route to the top. This path minimizes unnecessary jumps and provides better recovery opportunities if you lose stamina.
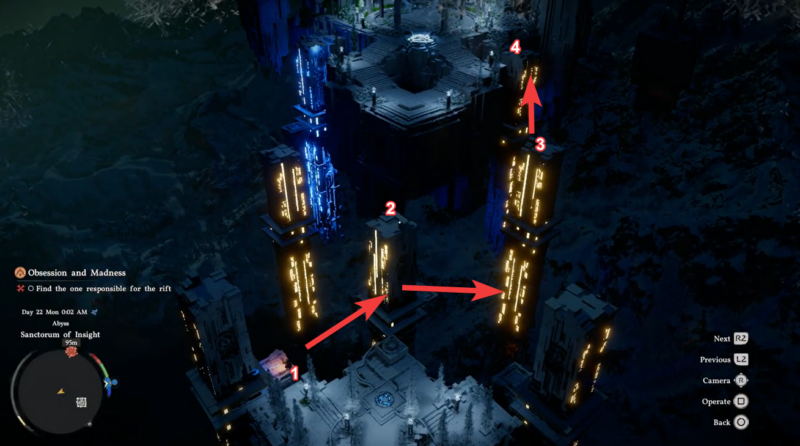
As you rotate the structures, focus on bringing the right-side towers closer together. This creates a staggered climbing path that lets you ascend gradually rather than relying on long jumps. The positioning shown in the image above reflects a reliable sequence where each platform connects logically to the next.
You are not racing against time, but your stamina will drain quickly due to the cold environment, making route efficiency critical. Choosing the right path early prevents repeated resets.
How to complete the Rift pillar puzzle in Crimson Desert
Step 1
Activate the main terminal at the base of the puzzle. This enables interaction with the surrounding towers and allows you to begin manipulating their positions.
Step 2
Attach your control link to the system by holding the required input. Once connected, you gain control over the rotation mechanics of nearby platforms.
Step 3
Use rotation controls to align the platforms toward the right side path. Focus on creating a continuous upward route rather than experimenting with all possible directions.
Step 4
Begin climbing once the first set of platforms is aligned. Move carefully and conserve stamina, especially during longer vertical climbs.
Step 5
Utilize the gray wall sections to recover stamina when needed. These moments of recovery are essential to reaching higher sections without falling.
Step 6
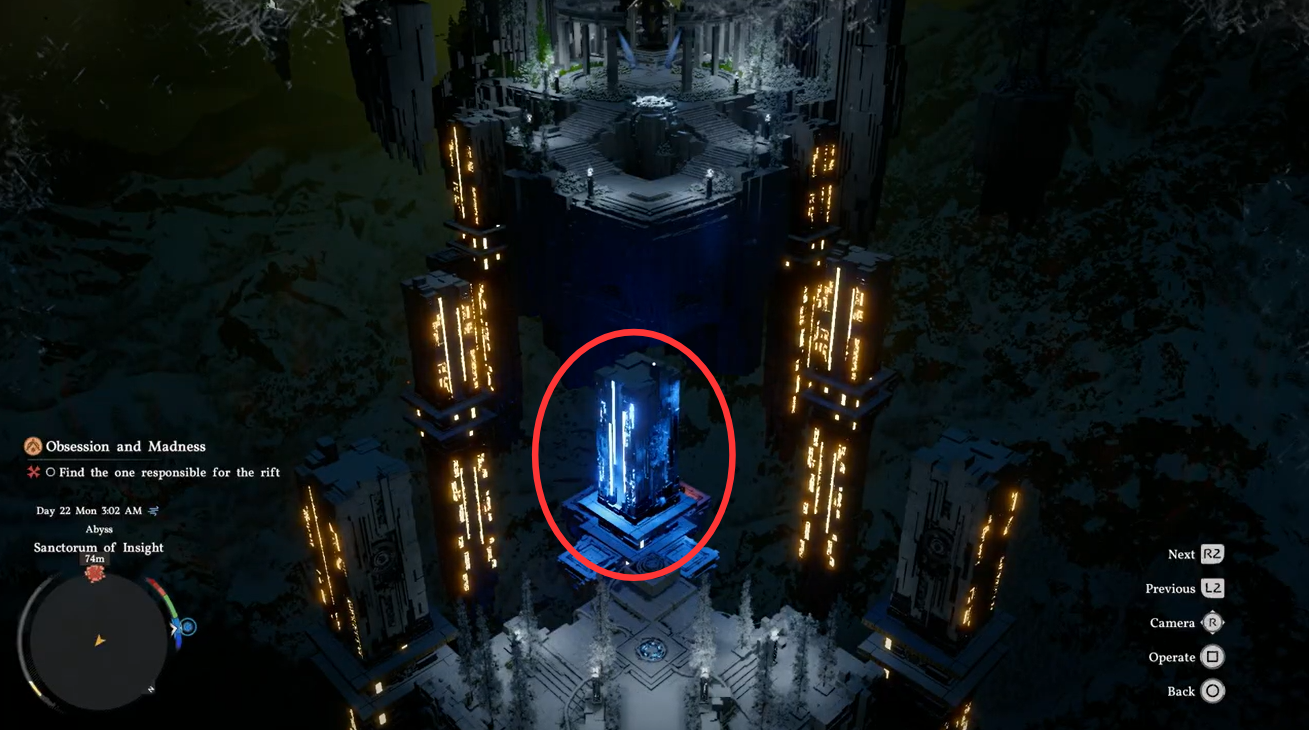
Continue rotating and climbing in stages until you reach the top platform. Each adjustment should bring you closer to a stable upward path.
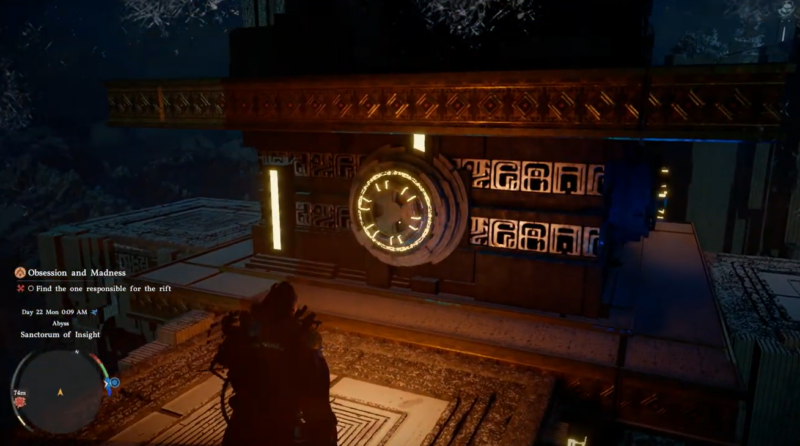
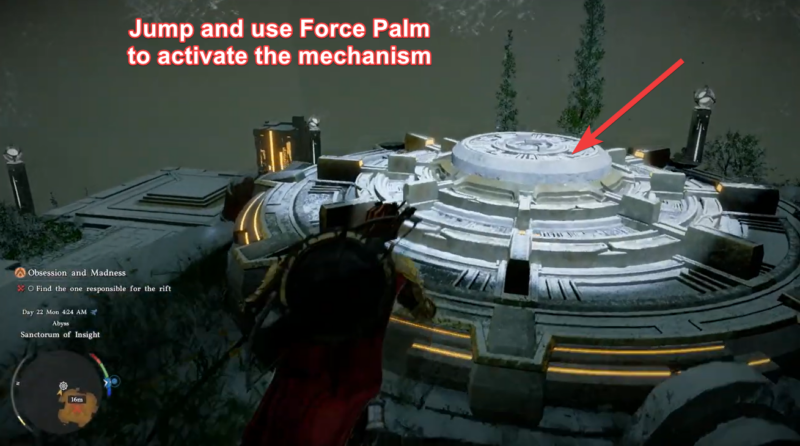
Step 7
Perform a jump followed by a slam ability (R3 input) on the final mechanism. This triggers the completion of the puzzle and initiates the next sequence.
What happens after activating the final mechanism
Once you successfully execute the slam on the top platform, the puzzle concludes with a cutscene. This moment reveals Grundir as the individual responsible for the rift, advancing the narrative of the quest significantly.
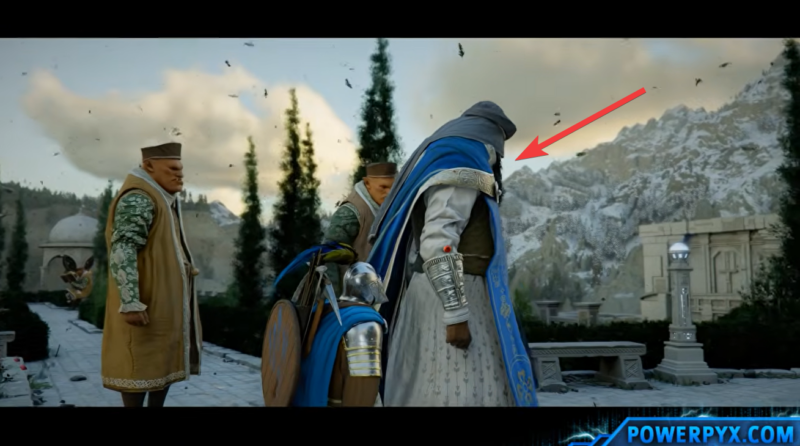
This transition is not just a reward for solving the puzzle—it marks a turning point in the storyline. The buildup through exploration and mechanical challenge pays off with a meaningful character reveal.
How to manage stamina while climbing in cold conditions
One of the hidden challenges in this puzzle is environmental stamina drain. The cold significantly reduces your climbing endurance, meaning even correctly aligned platforms can become difficult if you don’t manage your movement carefully.

A key technique is using the gray wall sections on the right side to reset your stamina mid-climb. These surfaces allow brief recovery, giving you just enough energy to continue upward. Without using these recovery points, you risk falling even with perfect platform alignment.
You should avoid rushing upward in a single push. Instead, climb in controlled bursts, pause when possible, and always plan your next grip point before moving.
Rewards and progression impact
| Reward Type | Details |
|---|---|
| Story Progression | Unlocks next phase of main quest |
| Character Reveal | Grundir identified as responsible |
| Experience Gain | Moderate quest completion XP |
| Exploration Unlock | Access to new narrative areas |
This puzzle stands out because it blends environmental storytelling with mechanical depth. You are not just climbing towers—you are actively reshaping the environment to uncover hidden truths.
If you focus on the right-side route, manage your stamina carefully, and use platform rotations strategically, the challenge becomes far more manageable. The key lies in patience and observation rather than speed.
By the time you reach the top and trigger the final action, you’ll have mastered one of Crimson Desert’s more intricate puzzle systems while advancing a critical piece of the story.