What to know
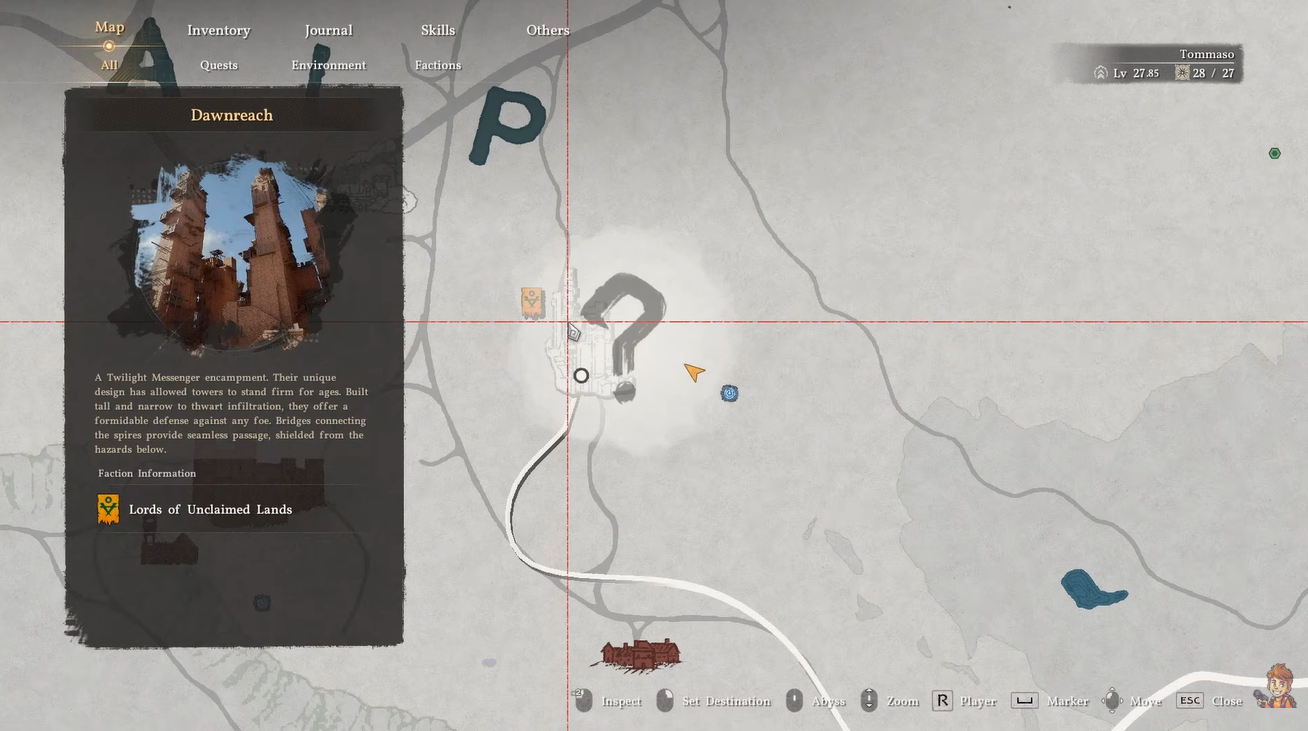
- The Maze of Dawnreach is located in Dawnreach, Tashkalp region of Crimson Desert
- You must find and solve two tilted tower mechanisms to collect Engraved Stones
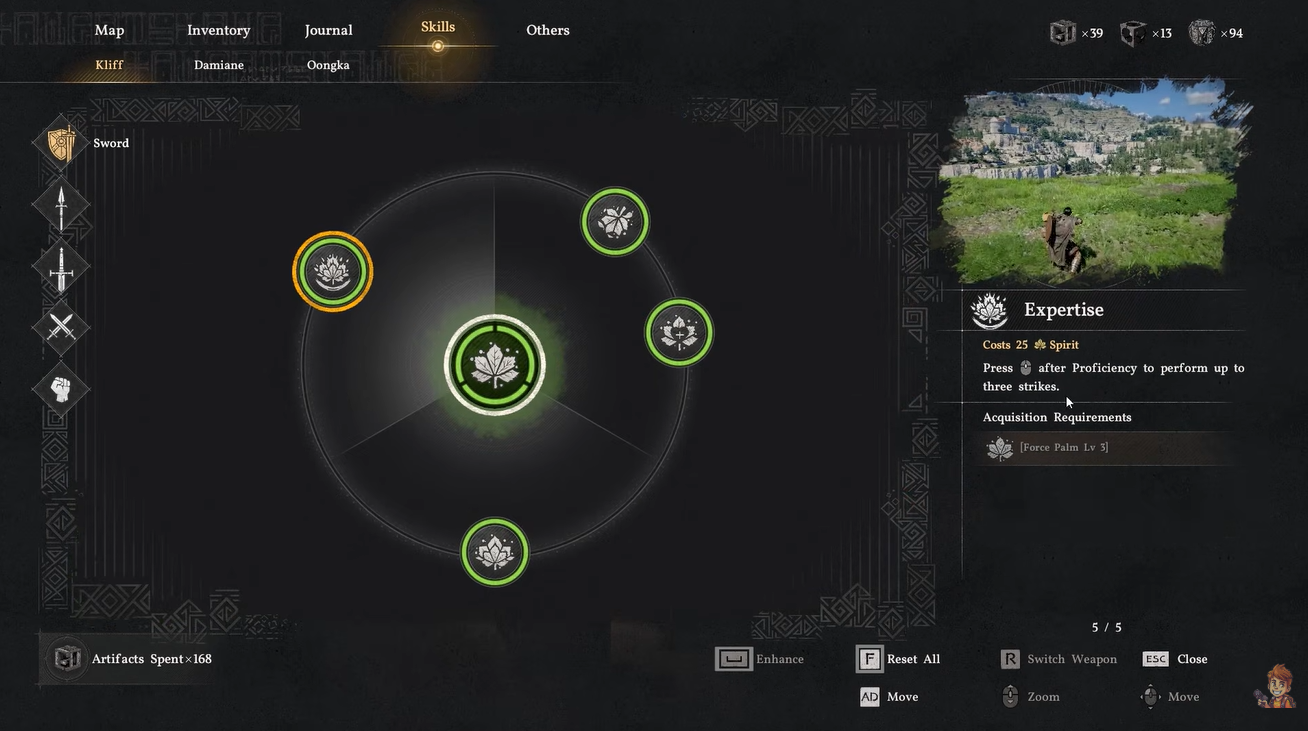
- Force Palm Expertise skill is essential to complete the puzzle
- Final reward is a valuable Abyss Artifact from the main tower
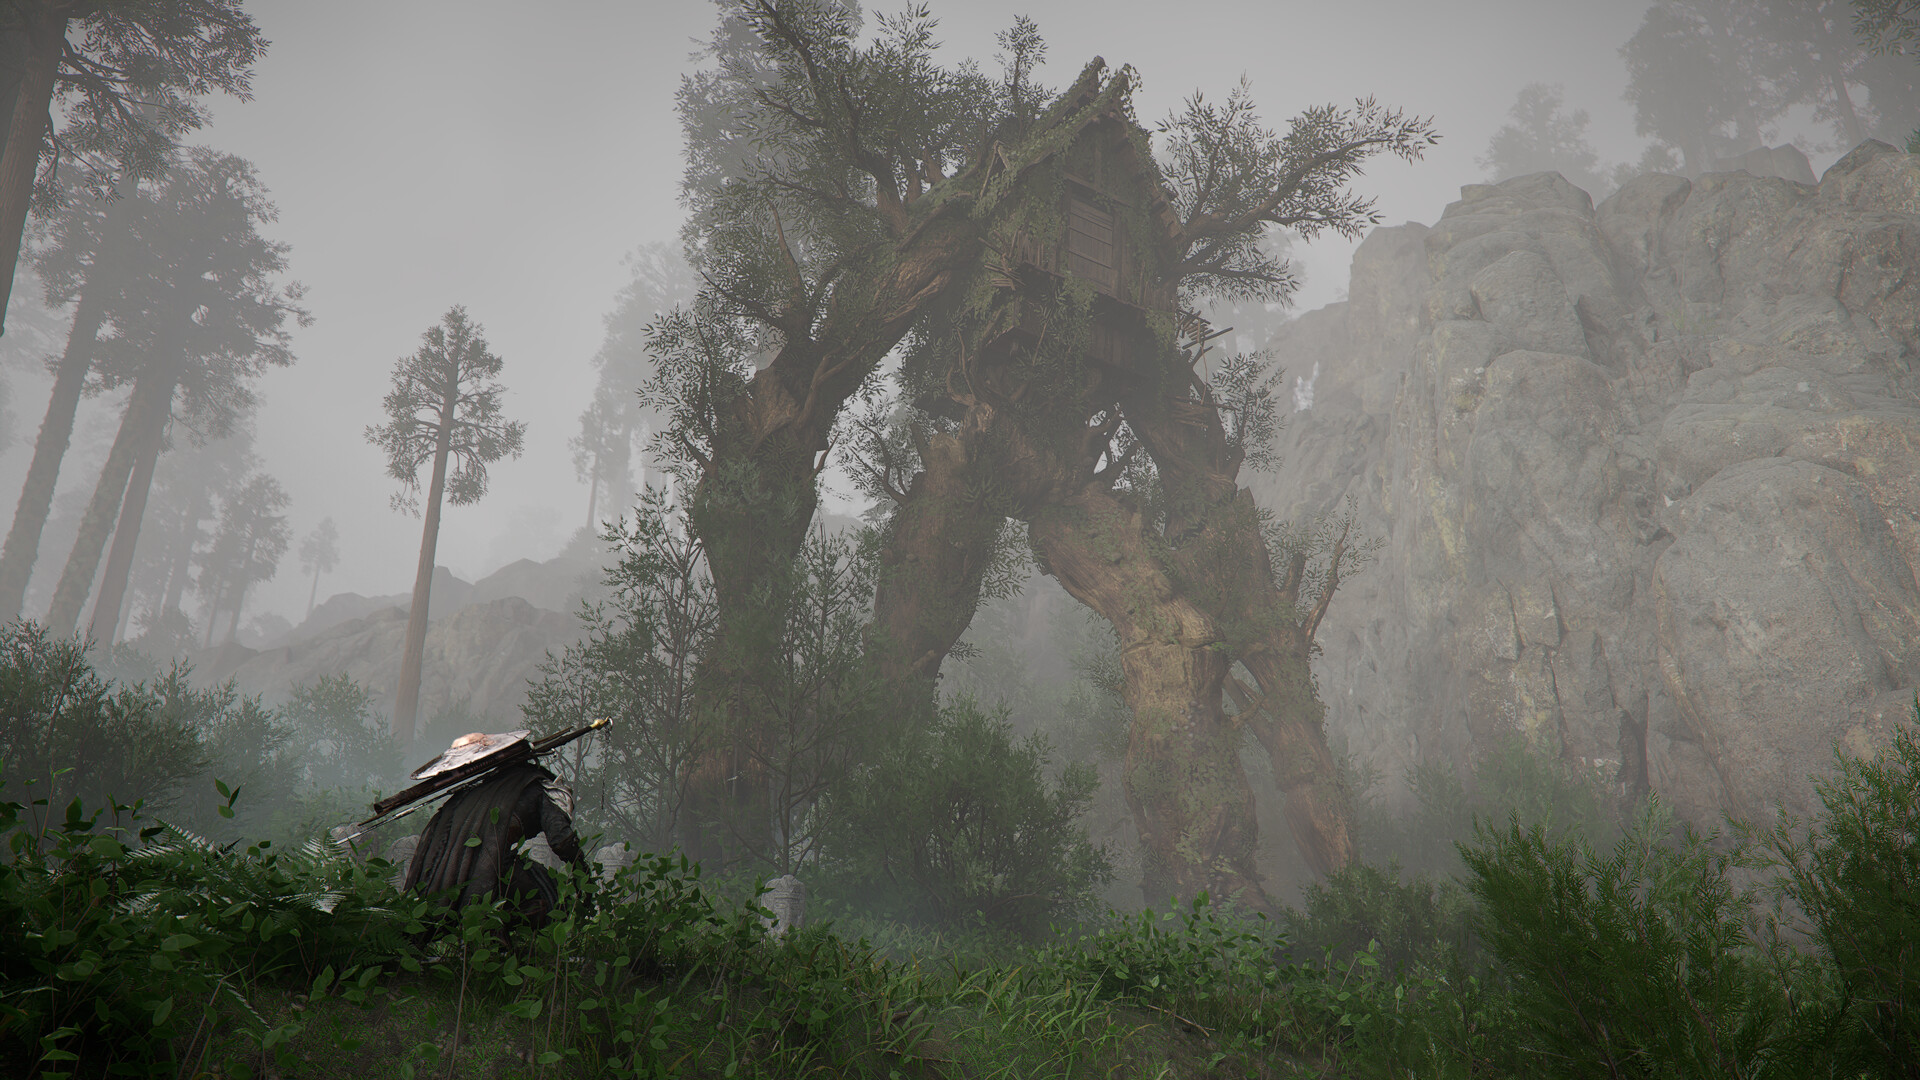
The Maze of Dawnreach puzzle in Crimson Desert is one of those cleverly designed environmental challenges that tests both observation and skill usage. As you explore the Dawnreach area in Tashkalp, you’ll encounter unusual tower formations that hint at a deeper puzzle. Solving it requires careful navigation, correct use of abilities, and understanding how the towers interact.
| Aspect | Details |
|---|---|
| Puzzle Name | Maze of Dawnreach |
| Location | Dawnreach, Tashkalp |
| Requirement | Force Palm Expertise Skill |
| Key Objective | Collect 2 Engraved Stones |
| Final Step | Use stones in main tower |
| Reward | Abyss Artifact |
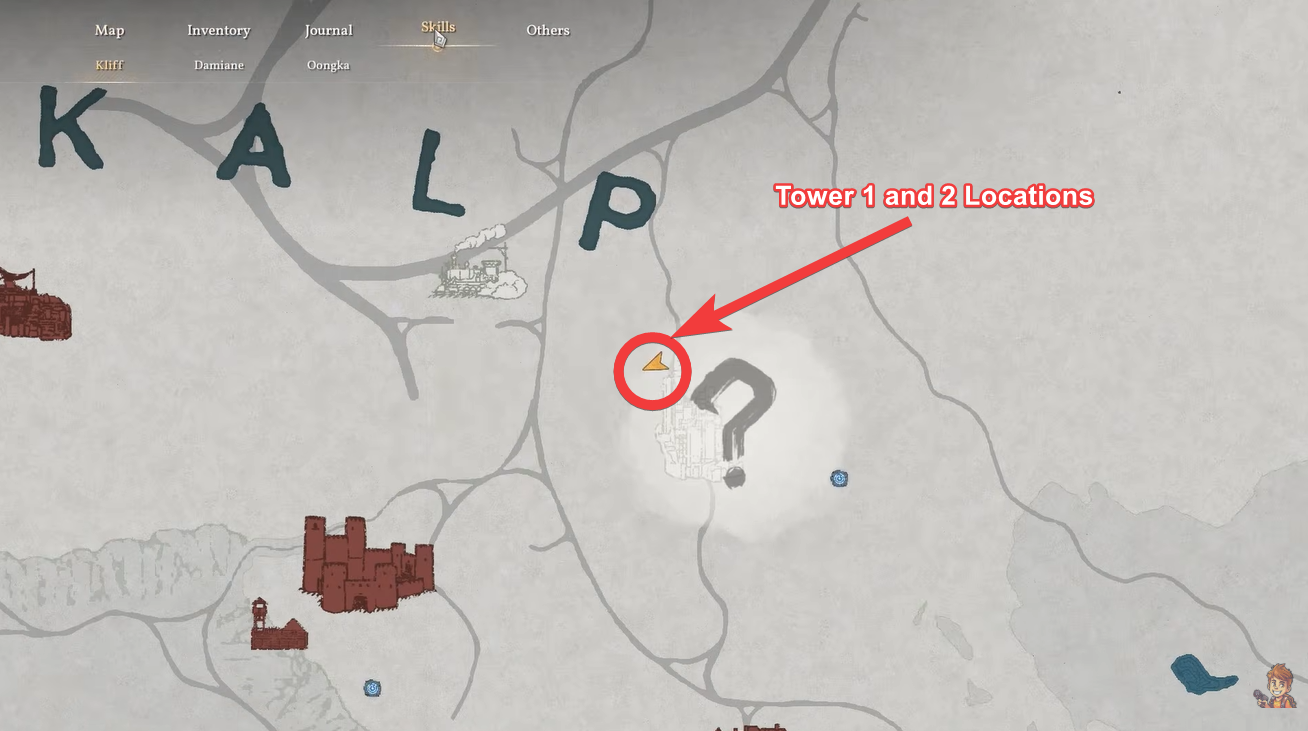
Crimson Desert Maze of Dawnreach location
As you enter Dawnreach, you’ll notice the landscape is dotted with ancient towers. Two specific formations stand out—tilted towers, where a taller structure leans over a smaller one. These are not random ruins but the core mechanics of the puzzle. The area is relatively open, making exploration easier, but spotting the correct towers requires attention to their unique tilted design.
Maze of Dawnreach puzzle solution and mechanic explained
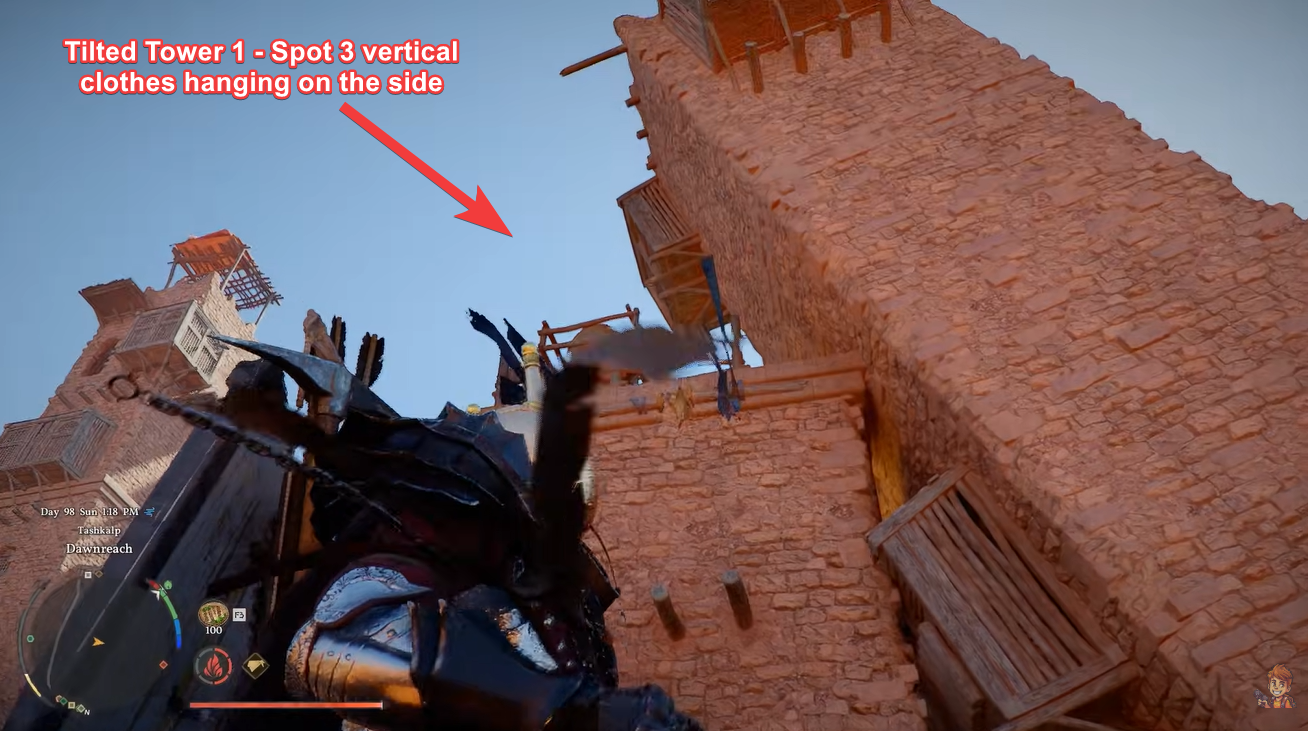
1 – Finding tilted towers in the area
The puzzle revolves around interacting with these tilted towers using your abilities. Each tower pair functions identically, so once you understand one, the second becomes straightforward. The taller tower appears to rest against the smaller one, blocking access and concealing the entry point.
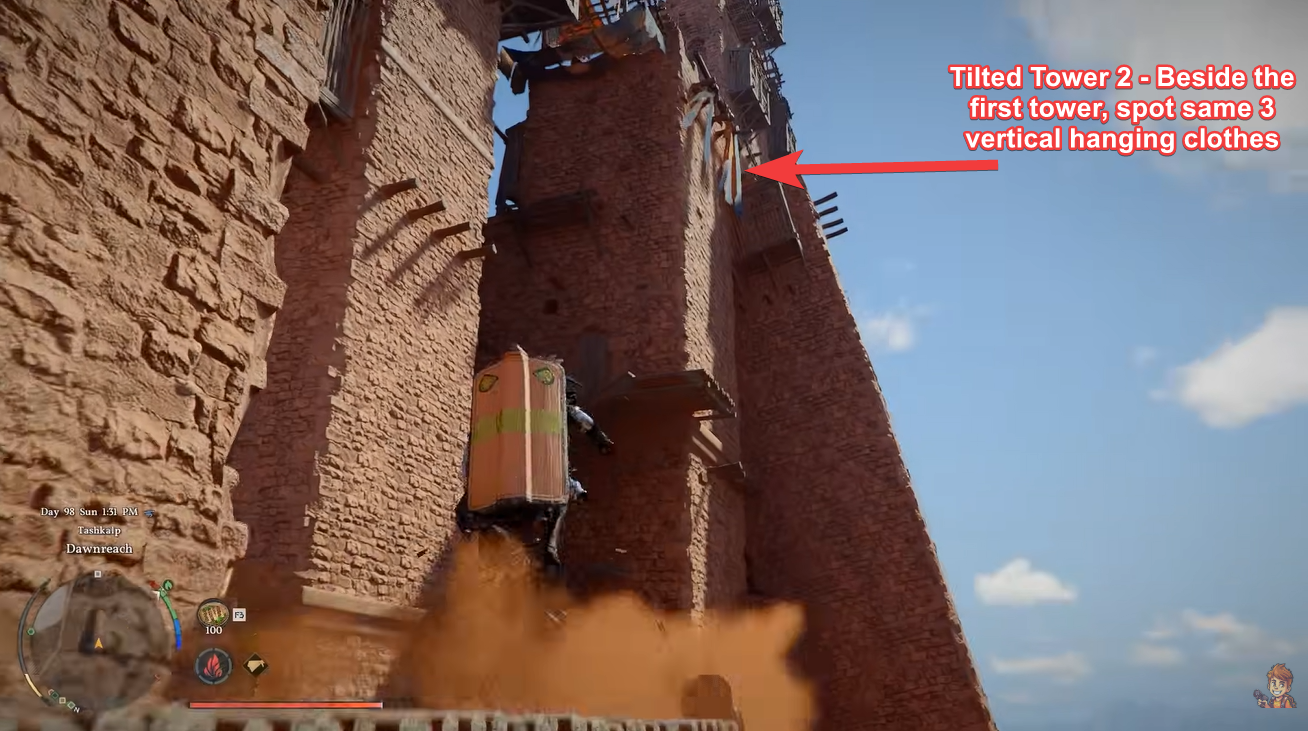
To progress, you must use the Force Palm Expertise skill to push the taller tower away, creating access to the smaller structure. This action reveals a hidden pathway that would otherwise remain inaccessible.
Tower 1 and 2 locations
2 – Getting Engraved Stones from each tower
Step 1
Locate a tilted tower pair where a taller tower leans over a smaller one. These are your primary puzzle points.

Step 2
Use the Force Palm Expertise skill on the taller tower to push it away from the smaller tower, clearing the obstruction.
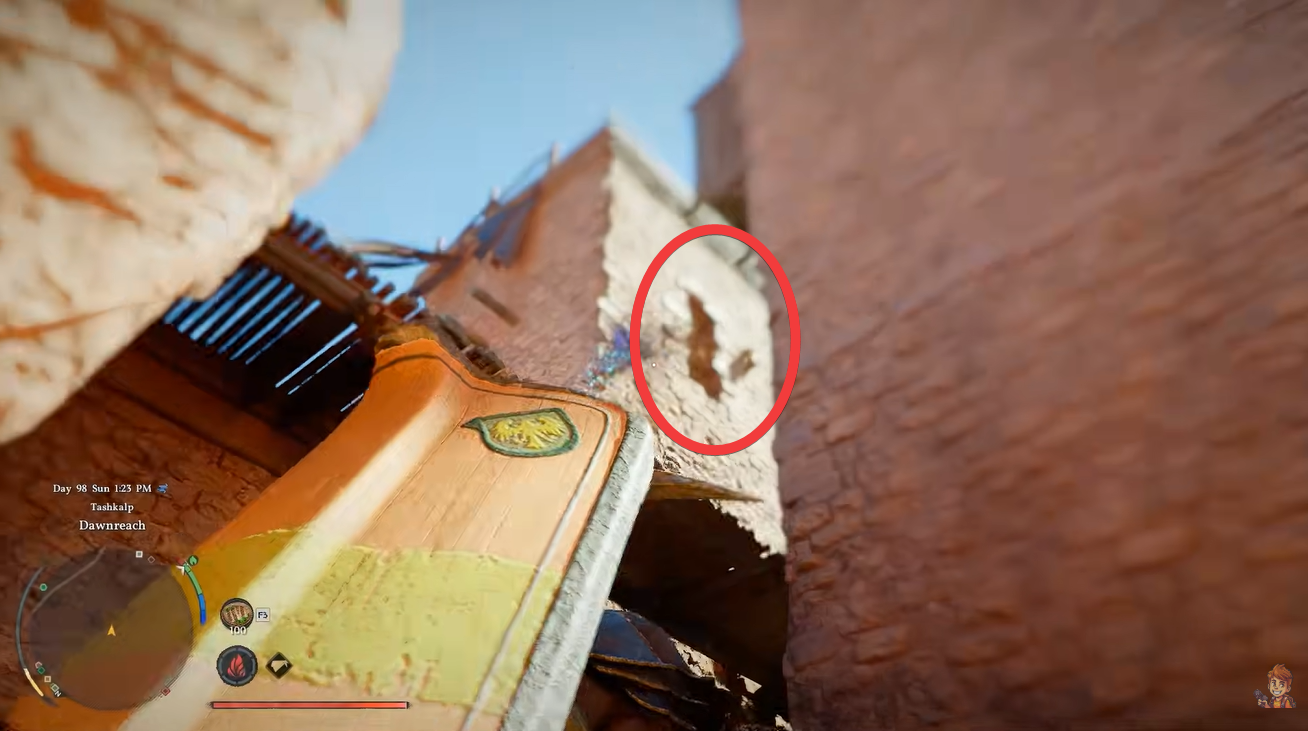
Step 3
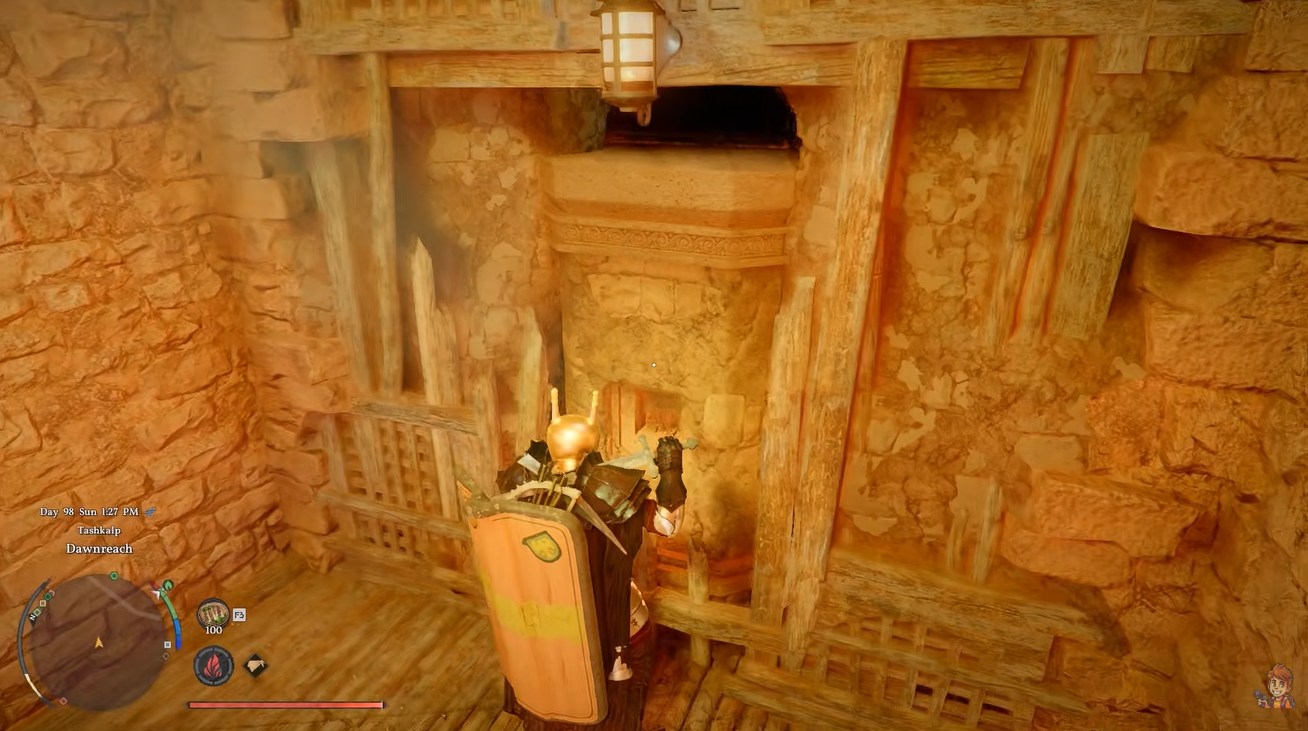
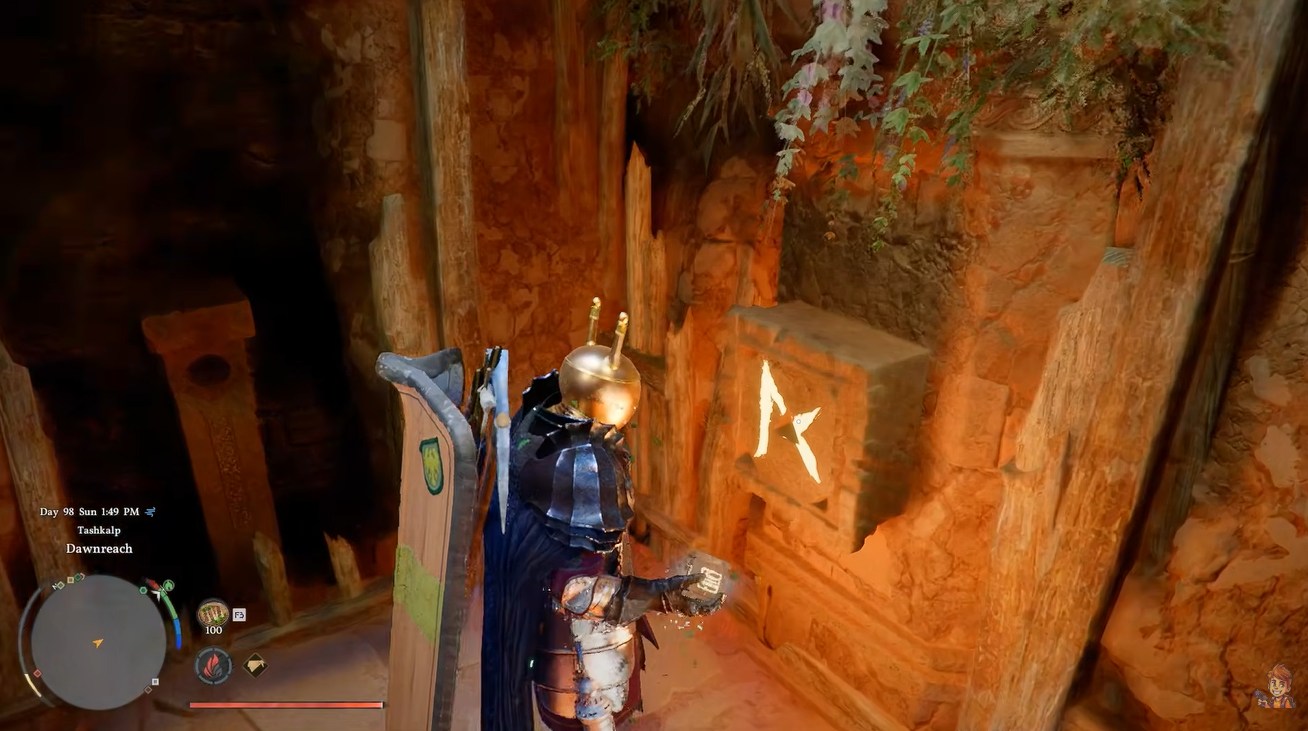
Find the rectangular opening on the smaller tower that becomes accessible after moving the larger structure.
Step 4
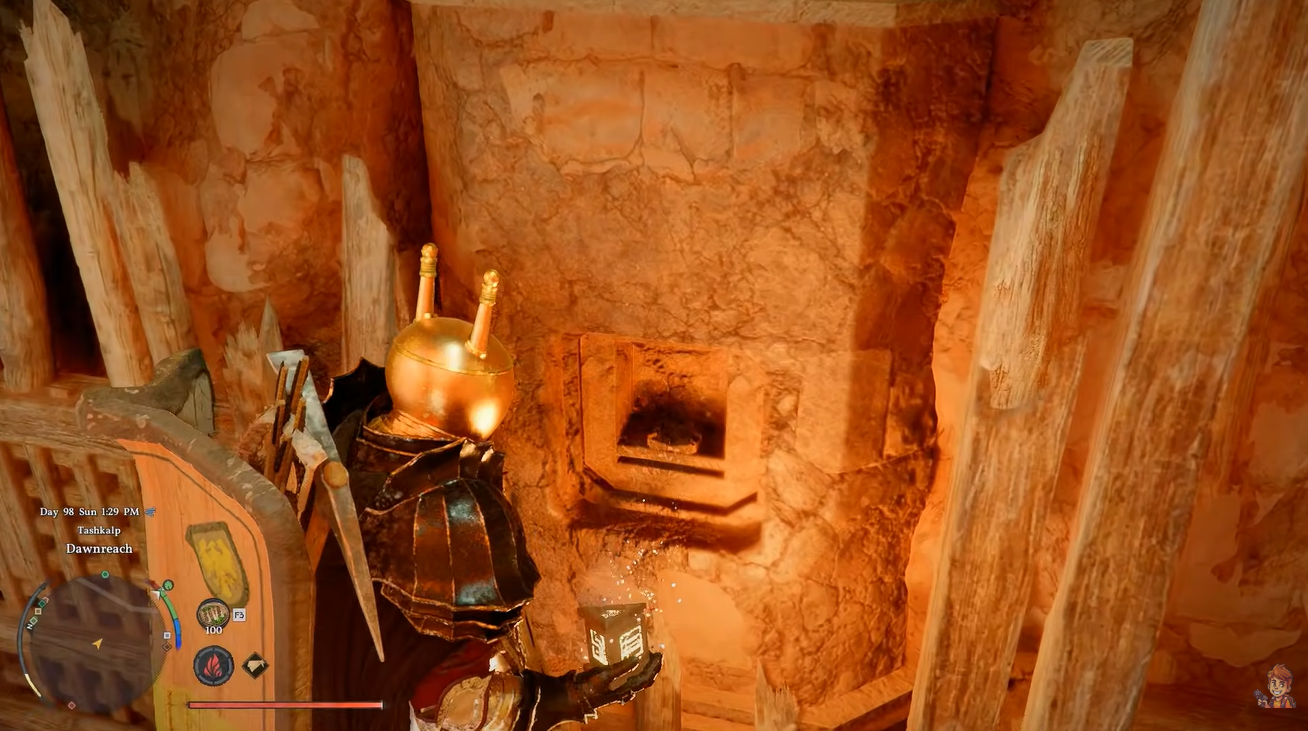
Enter the tower and locate the rectangular pillar inside. This is the activation mechanism.
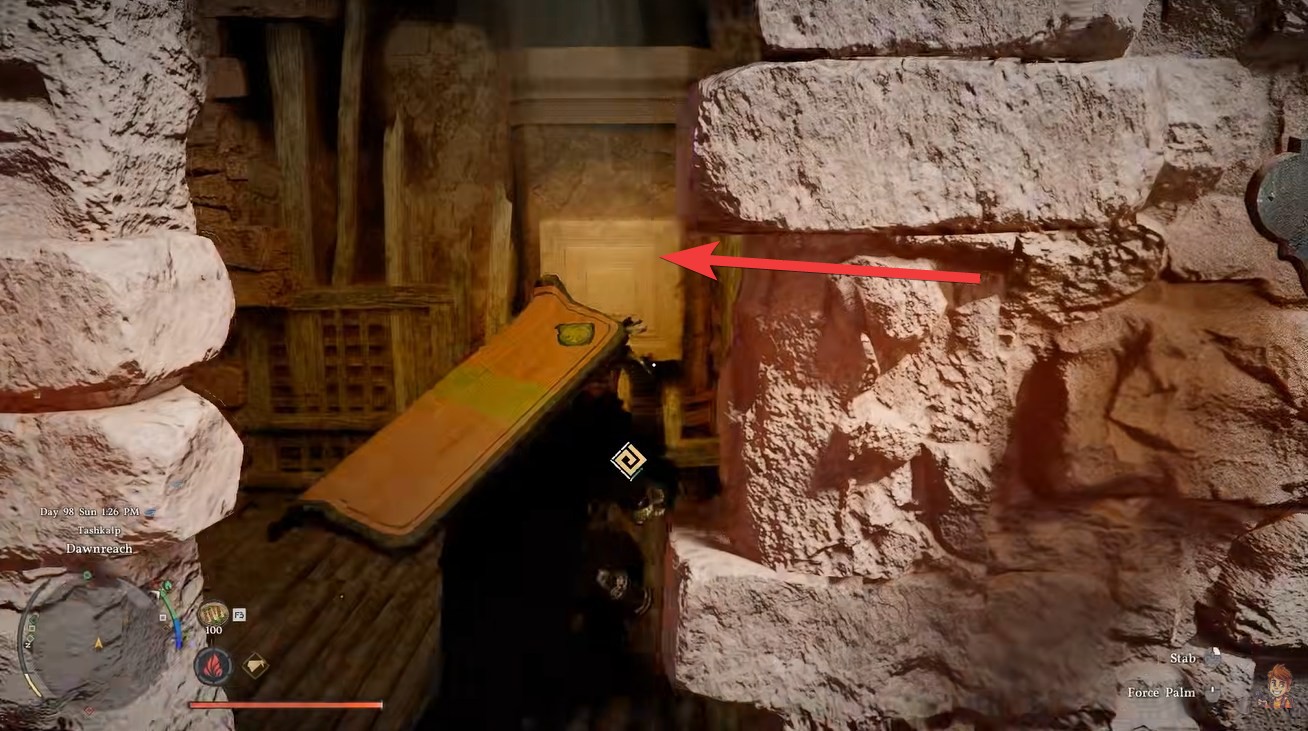
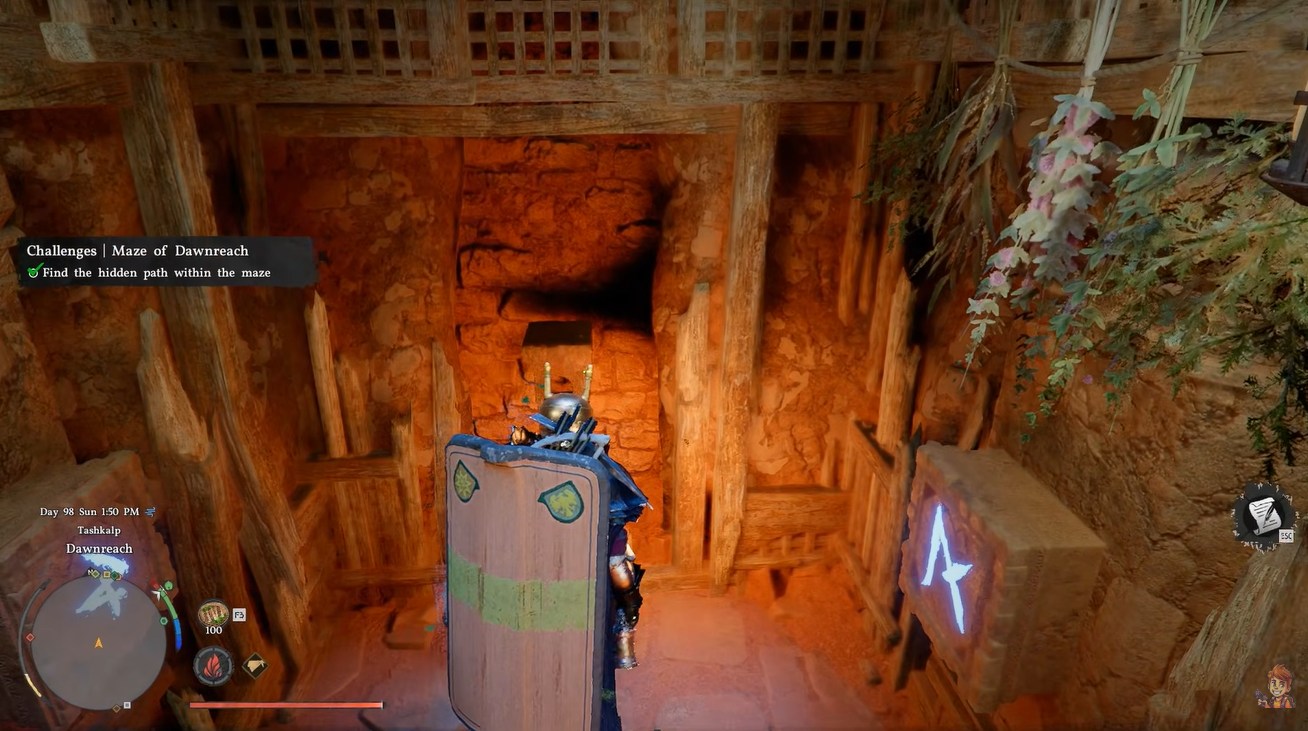
Step 5
Use Force Palm again on the pillar to activate it, which triggers the release of an Engraved Stone.
Step 6
Repeat the exact process for the second tilted tower elsewhere in the Dawnreach area to collect the second Engraved Stone.
3 – Placing stones and getting Abyss Artifact
Once you have both stones, the puzzle shifts toward its final stage. You now need to locate the main tower, which is the tallest structure in Dawnreach and clearly stands out from the rest.
Step 1
Climb to the top of the tallest tower in the area. Navigation may require careful platforming depending on your approach.
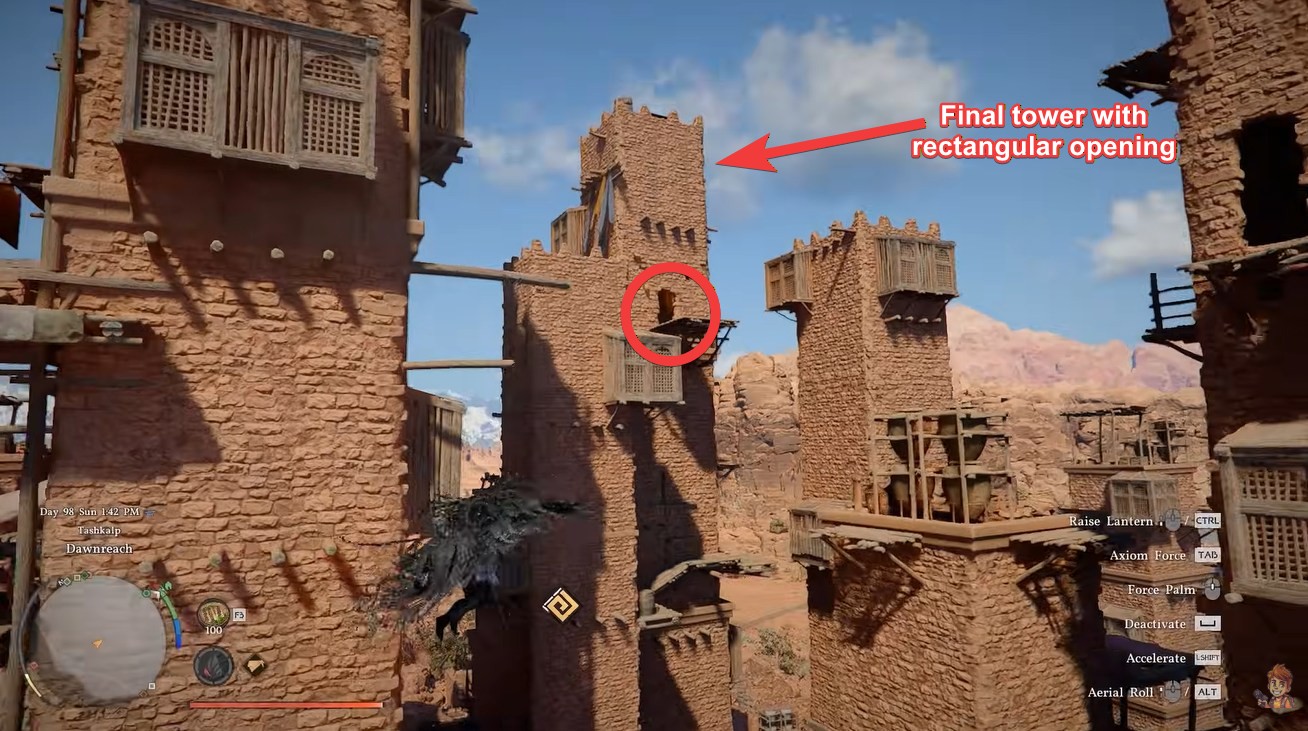
Step 2
Locate a rectangular entry point similar to the smaller towers. This visual consistency signals the final interaction point.
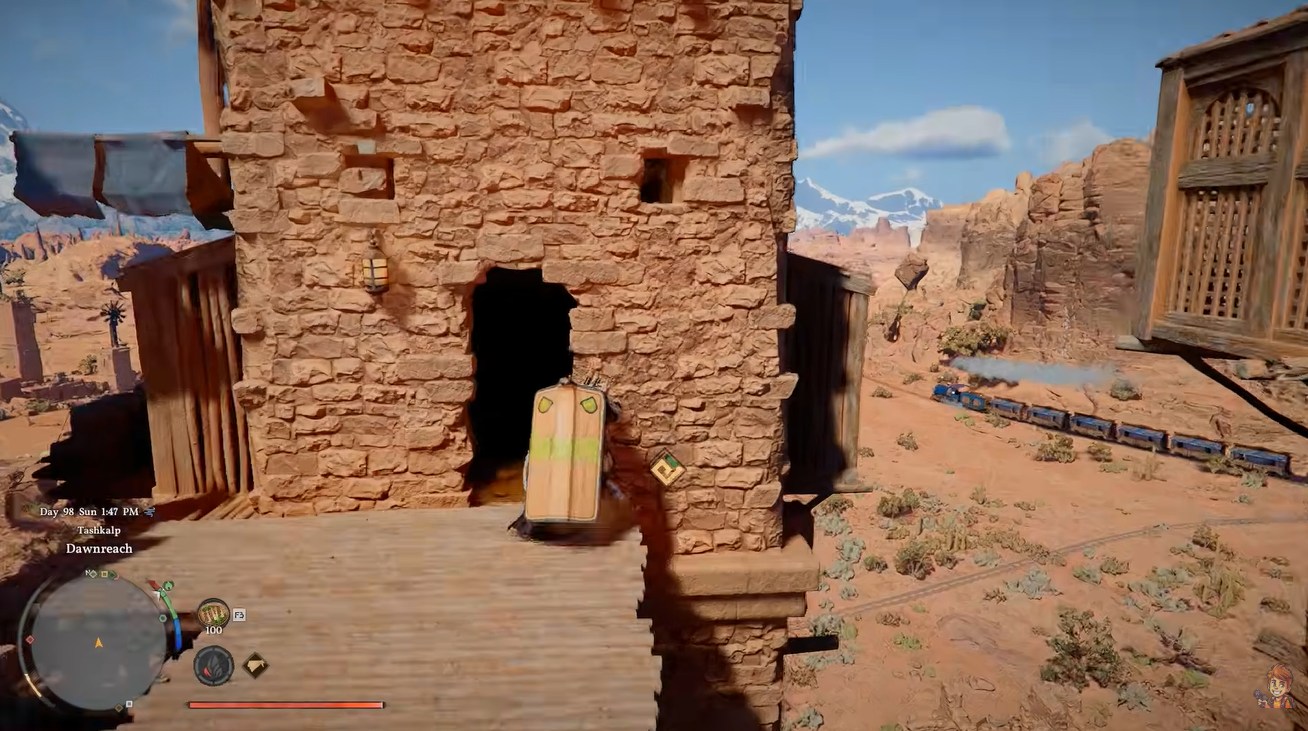
Step 3
Insert both Engraved Stones into the mechanism inside. This completes the puzzle logic.
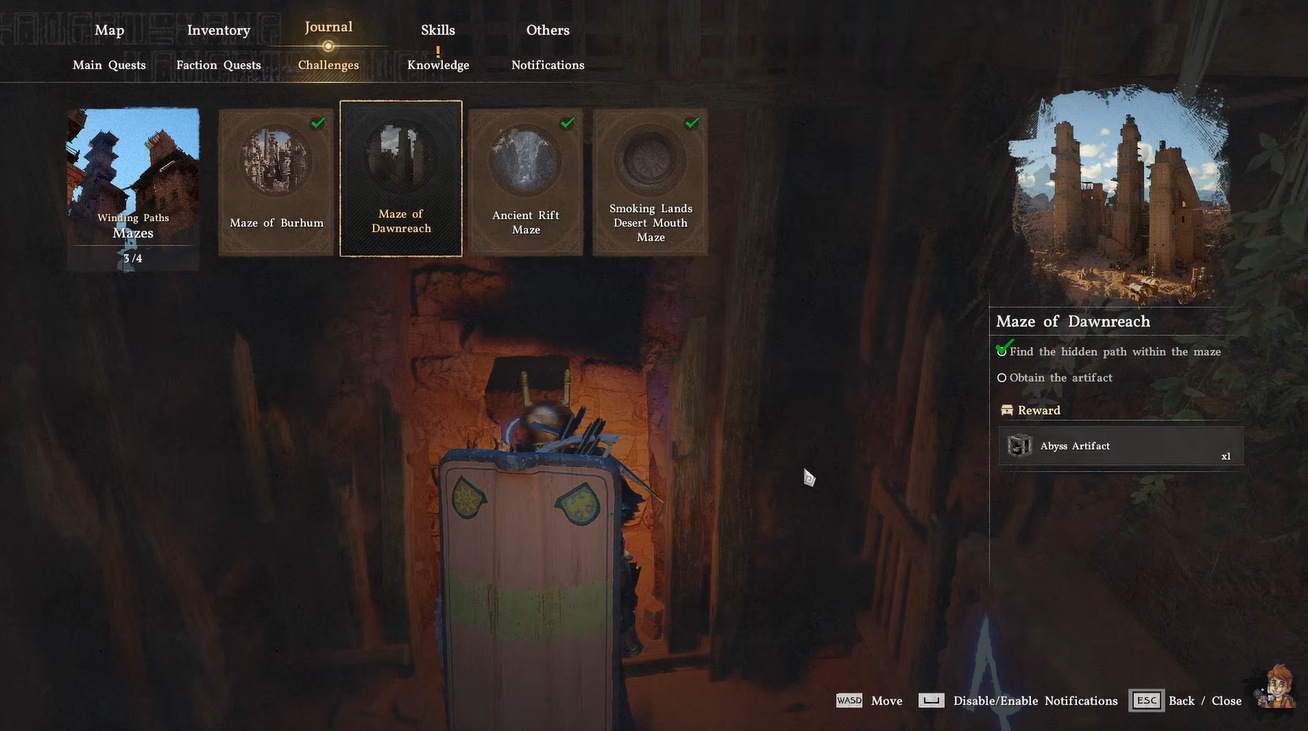
Step 4
Claim your reward—the Abyss Artifact, which becomes available immediately after activation.
Rewards for completing Maze of Dawnreach
| Reward | Description |
|---|---|
| Abyss Artifact | A rare item obtained after solving the puzzle |
| Exploration Progress | Contributes to Dawnreach completion |
| Puzzle Completion | Unlocks hidden mechanics in the region |
What makes the Maze of Dawnreach puzzle particularly engaging is how it blends environmental storytelling with gameplay mechanics. You’re not just solving a static puzzle—you’re physically altering the environment using skills, which adds a dynamic layer to exploration.
The repeated use of the same mechanic across two towers reinforces learning while keeping the process intuitive. By the time you reach the main tower, the game expects you to fully understand the system, making the final step feel rewarding rather than confusing.


