
What to know
- The Mark of the Scar quest begins near Forebearer’s Barren and leads into Urdavah’s stone city.
- Reaching the tablet is more about traversal than combat.
- The objective area can mislead you with blocked paths and region errors.
- Revealing the tablet’s secrets involves interacting with environmental clues nearby.
The Mark of the Scar quest in Crimson Desert is one of those moments where exploration, patience, and environmental awareness all come together. As you progress through the Shattered Ties questline, you’ll eventually be tasked with uncovering the secrets of a mysterious stone tablet hidden deep within Urdavah. While the objective marker may look straightforward, the journey is anything but simple.
| Aspect | Details |
|---|---|
| Quest Name | Mark of the Scar |
| Region | Urdavah (Stone City) |
| Starting Point | Forebearer’s Barren |
| Main Objective | Reveal the secrets of the stone tablet |
| Difficulty | Moderate (navigation-heavy) |
| Key Challenge | Terrain traversal & puzzle interaction |
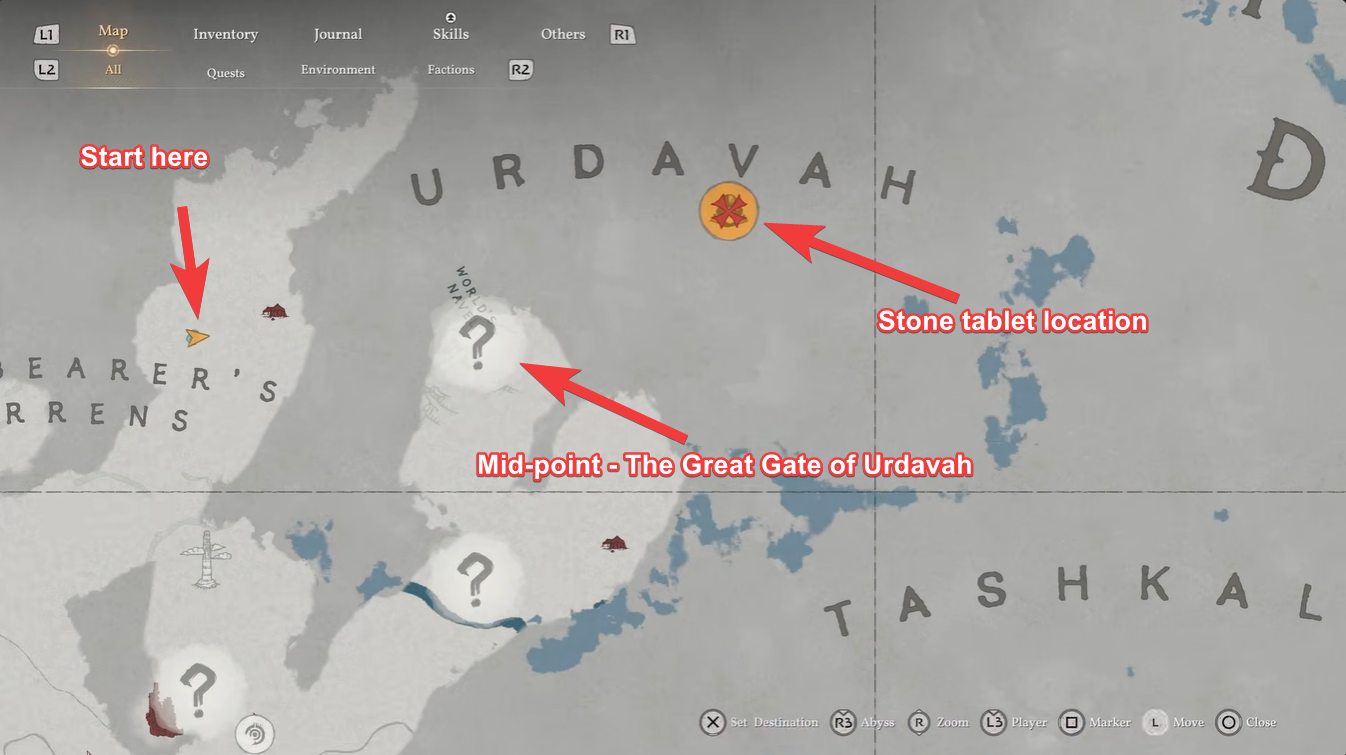
How to reach Urdavah region in Crimson Desert
Your journey begins at Forebearer’s Barren, a desolate yet deceptively complex area that acts as the gateway to Urdavah. From here, the route is not clearly marked, and relying purely on the objective marker can lead to frustration.
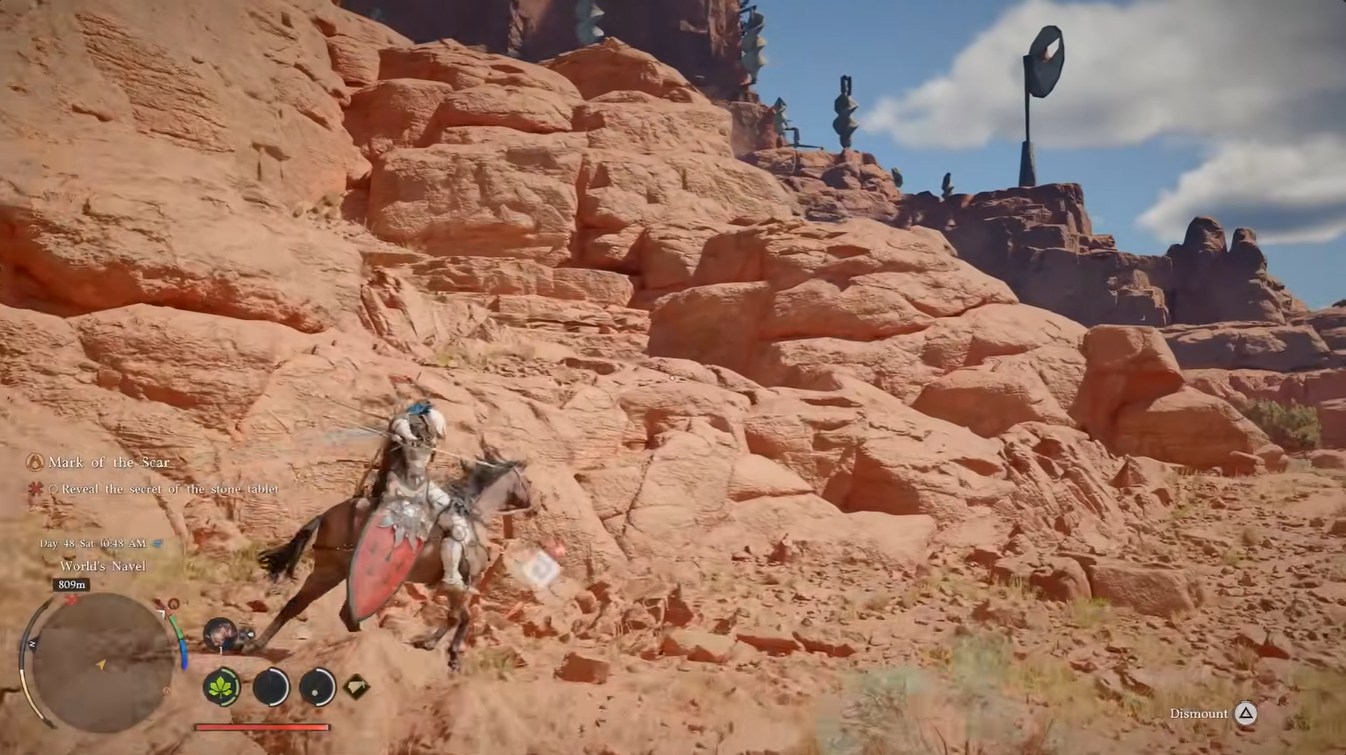
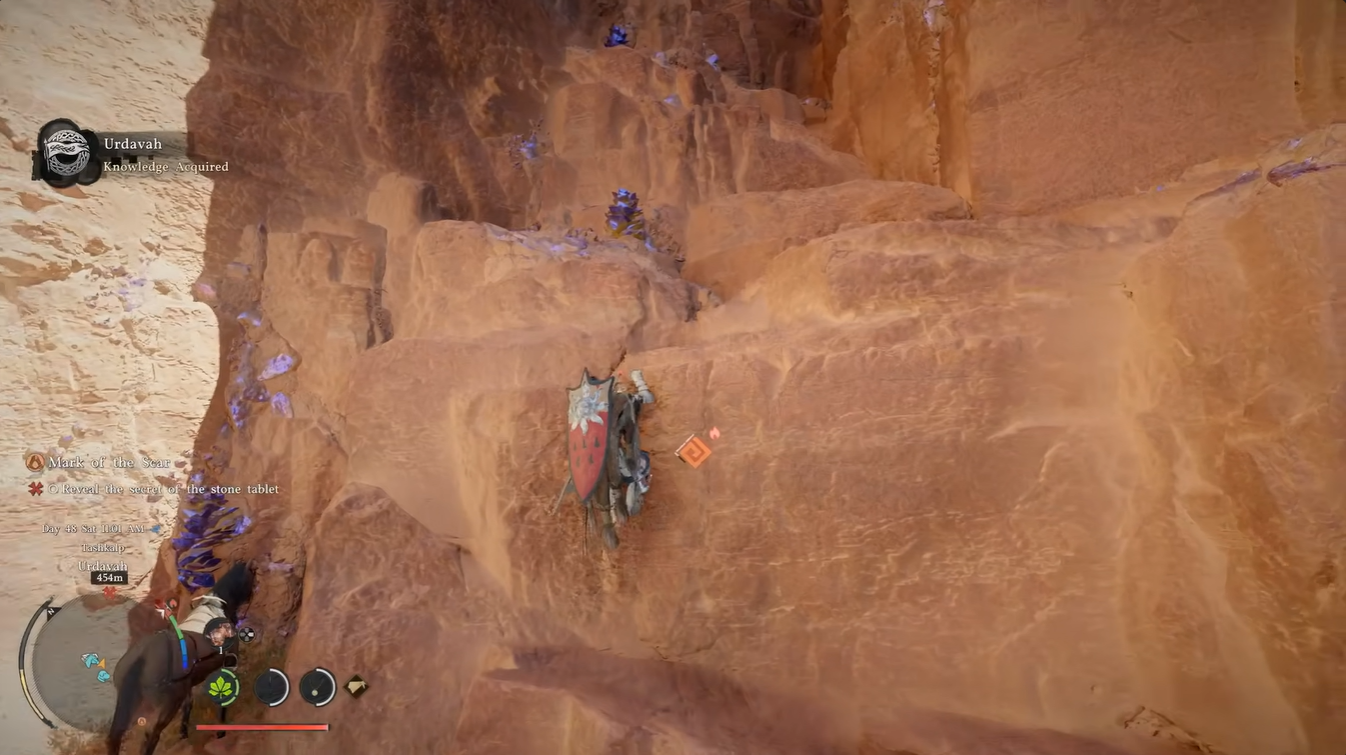
You should ride your horse as far as possible toward the stone city, using open terrain to your advantage. Eventually, you’ll encounter a secondary gem mine, which serves as a natural stopping point. Beyond this, continuing on horseback becomes inefficient and risky, so transitioning to on-foot traversal is the smarter choice.
Be cautious when approaching the right side of the mountain paths, as these routes demand high stamina and precise movement. A single misstep can send you falling, forcing you to restart large portions of your climb. The game subtly nudges you toward safer, slightly longer routes, even if they initially seem less direct.
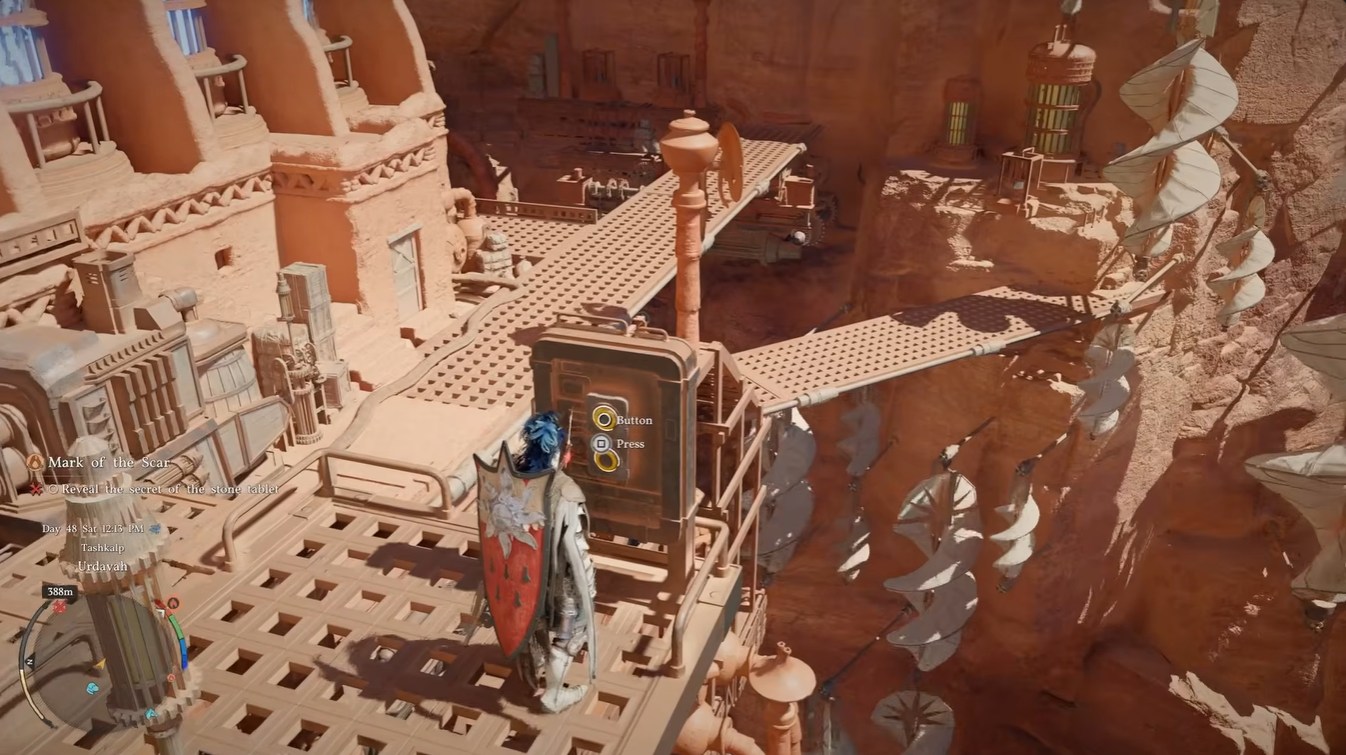
Interestingly, you may come across an elevator structure within the ruins. While it looks like a shortcut, it currently does not function for this quest, suggesting it may be tied to future updates or alternate quest paths.
Understanding the stone tablet puzzle mechanics
Once you finally reach the stone tablet, the objective shifts from traversal to interpretation. Unlike traditional puzzles, this one doesn’t immediately present a clear interaction prompt.
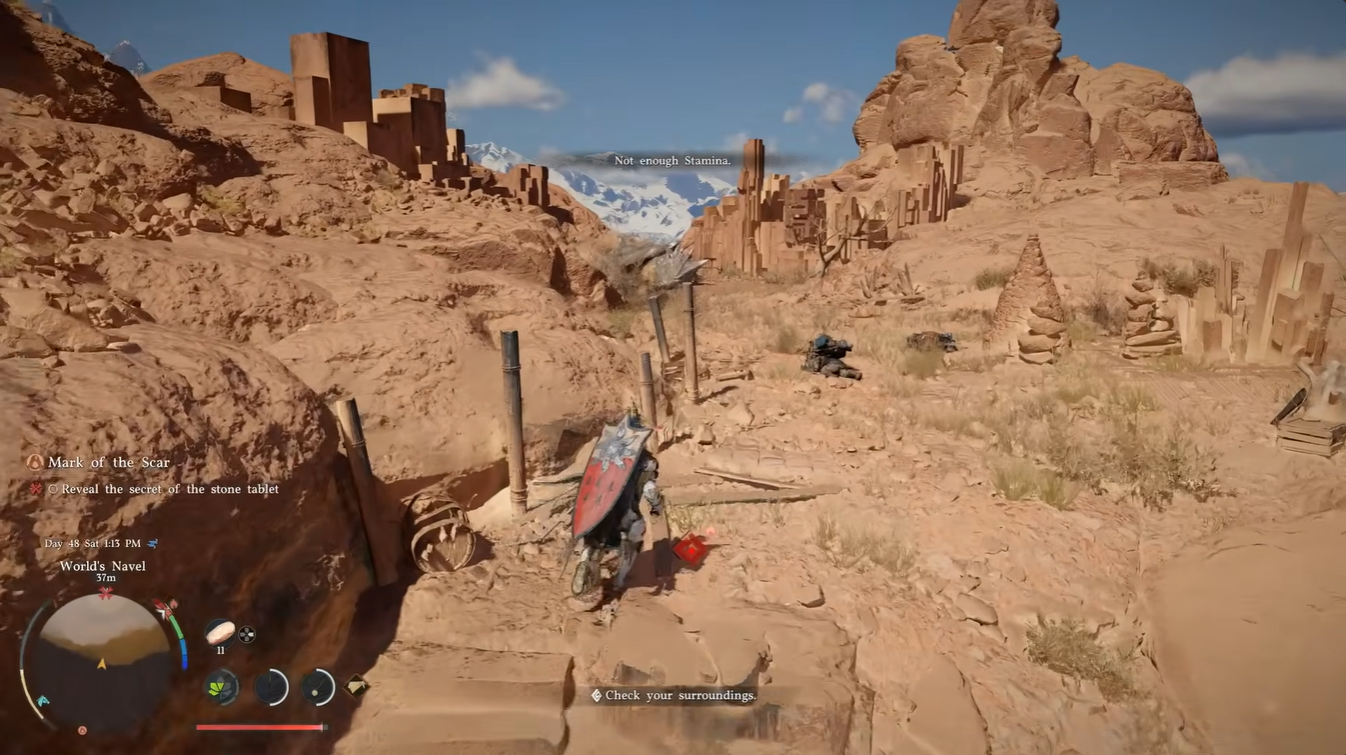
The key to revealing the tablet’s secrets lies in observing your surroundings. Nearby environmental elements—such as markings, glowing fragments, or ancient symbols—often provide subtle hints. You need to interact with the correct points in sequence or align your position properly to trigger the hidden mechanism.
If nothing happens at first, don’t assume it’s bugged. The game expects you to experiment with positioning and timing. Rotating your camera, adjusting your angle, or revisiting nearby objects can often reveal what you initially missed.
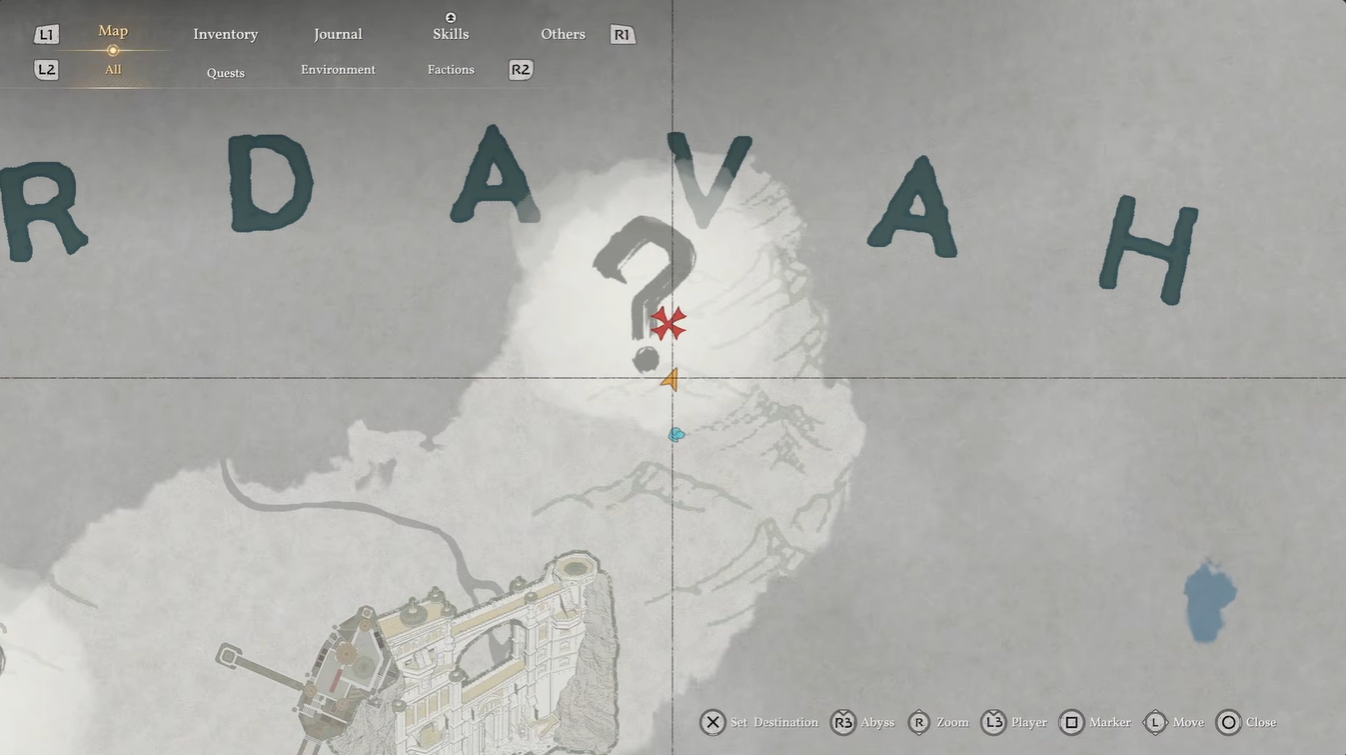
How to reach the stone tablet in Crimson Desert
Step 1
Start from Forebearer’s Barren and head toward Urdavah’s stone structures, keeping your route slightly left of the direct objective marker to avoid blocked terrain.
Step 2
Ride your horse until you reach the secondary gem mine area. This is your last efficient mounted checkpoint before terrain becomes too uneven.
Step 3
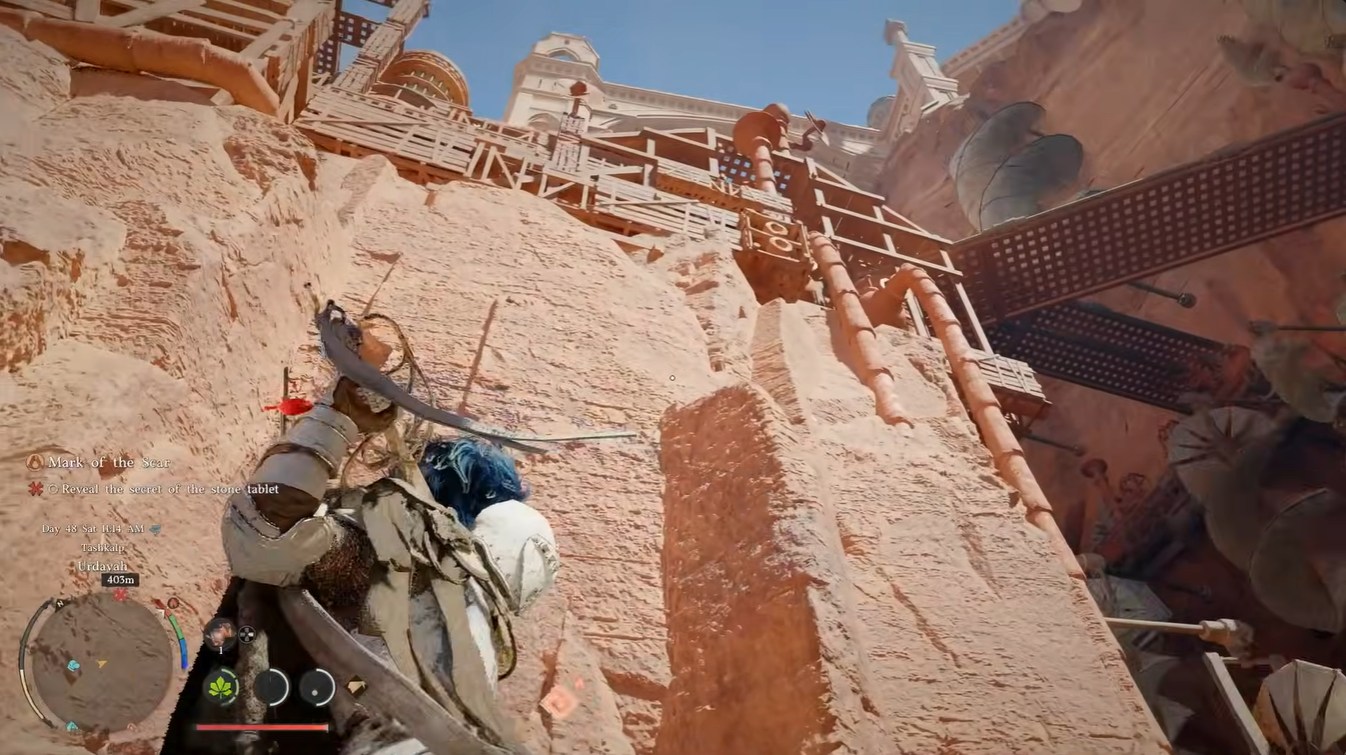
Dismount and proceed on foot, focusing on stable climbing paths rather than steep shortcuts. Preserve stamina for critical climbs.

Step 4
Avoid the far-right mountain routes, as they are porous and require near-perfect stamina management.
Step 5
Ignore the inactive elevator structure, as it won’t help you progress in this quest.
Step 6
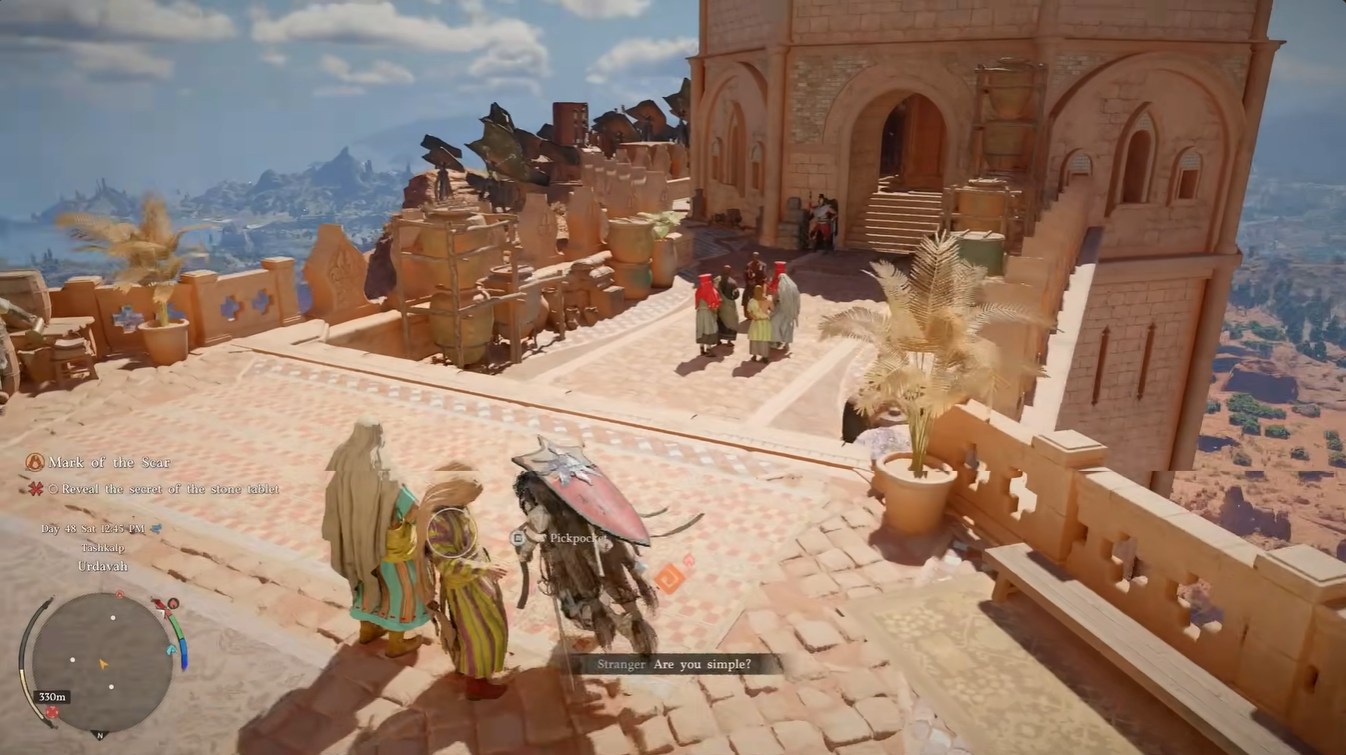
Approach the stone tablet area carefully and explore the surroundings, identifying any interactive elements or visual clues.
Step 7
Interact with environmental triggers in the correct order or position, allowing the tablet’s secret to reveal itself and progress the quest.
Common mistakes that can slow your progress
One of the biggest pitfalls is trying to approach the objective from behind. Doing so may trigger a “new region” error, effectively blocking your progress and forcing you to reroute.
Another frequent mistake is over-relying on stamina-heavy shortcuts. While they may seem faster, they often lead to falls and wasted time. Taking a slightly longer but stable path is almost always more efficient.
Players also tend to overlook environmental clues near the tablet, assuming the interaction is direct. In reality, this quest rewards observation over brute-force interaction.


