
- What to know
- Quick overview of the Dragon’s Stone Chamber puzzle
- Location of Stone Chamber Puzzle in Hernand Highlands
- Understanding the rotated mural clue system
- First clue location near the Abyss drop
- Second clue location past Hernand East Gate
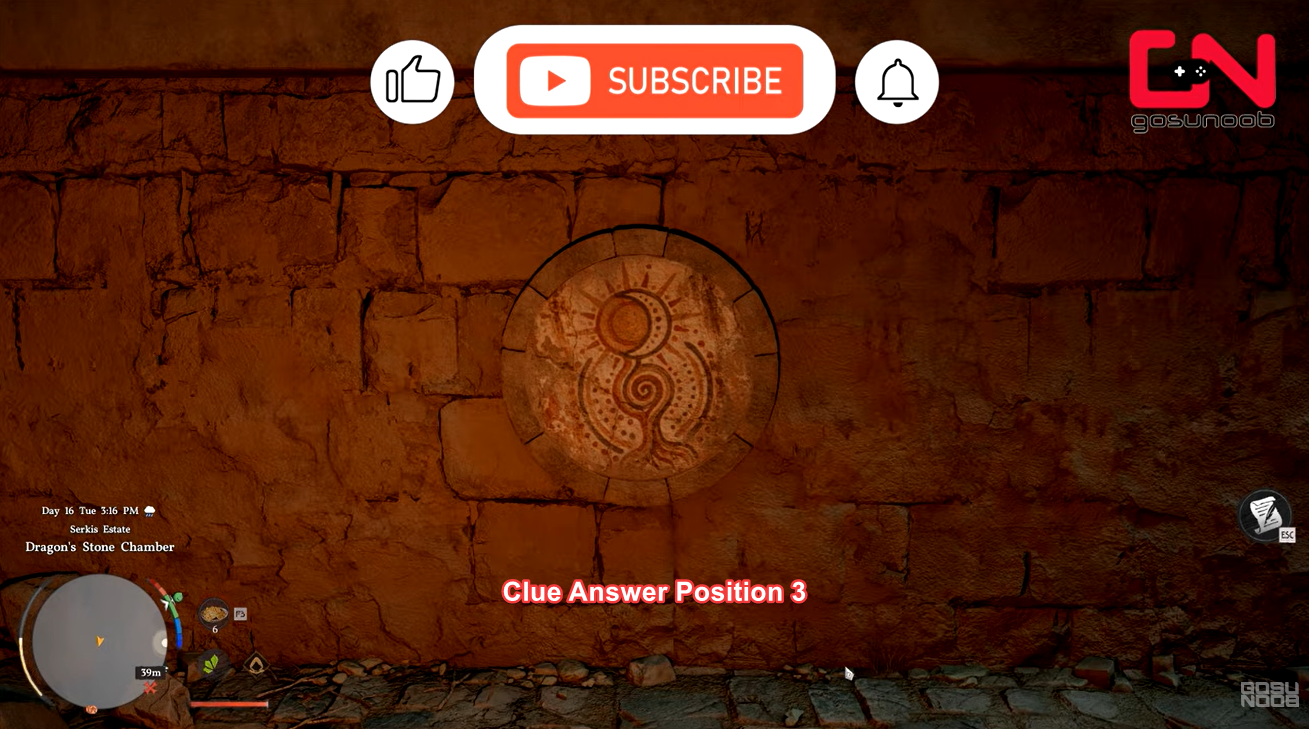
- Third clue location further northeast of the second clue
- How to solve the Dragon’s Stone Chamber puzzle
- Rewards you receive after solving the puzzle
What to know
- The puzzle is hidden inside a collapsed chamber north of Thinker’s Meadow in Hernand Highlands.
- You must match three rotating wheel patterns using mural clues scattered across the region.
- The mural map is rotated compared to your in-game map, which is the main trick.
- Completing it rewards a skill point item and valuable knowledge unlocks.
The Dragon’s Stone Chamber puzzle in Crimson Desert is a clever environmental challenge that rewards observation and patience. As you explore Hernand Highlands, you’ll uncover a hidden chamber that requires you to interpret a misleading mural and track down three distinct patterns before solving its central mechanism.
Quick overview of the Dragon’s Stone Chamber puzzle
| Aspect | Details |
|---|---|
| Location | Northern Hernand Highlands, near Thinker’s Meadow |
| Puzzle Type | Pattern matching using rotating wheels |
| Key Mechanic | Interpreting rotated mural map |
| Number of Clues | 3 patterns |
| Final Interaction | Align wheels to open sealed door |
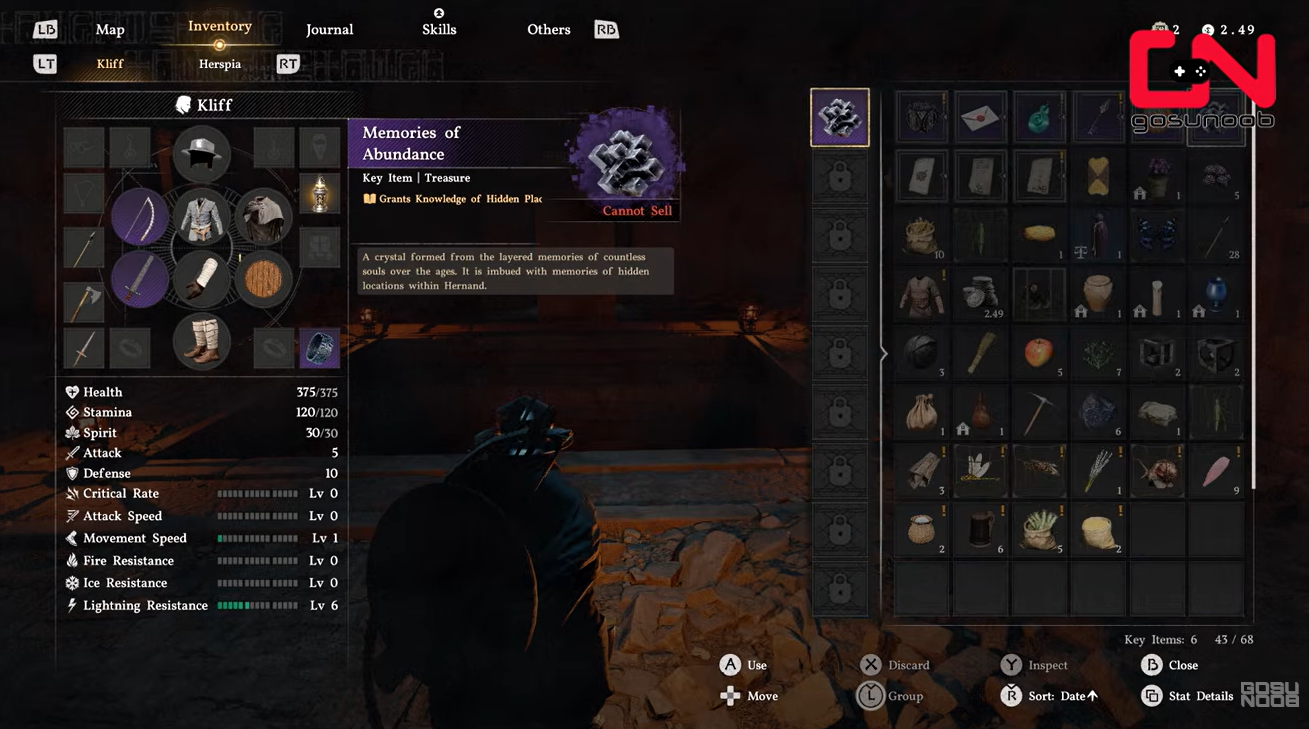
| Rewards | Abyss Cassette, Memories of Abundance |
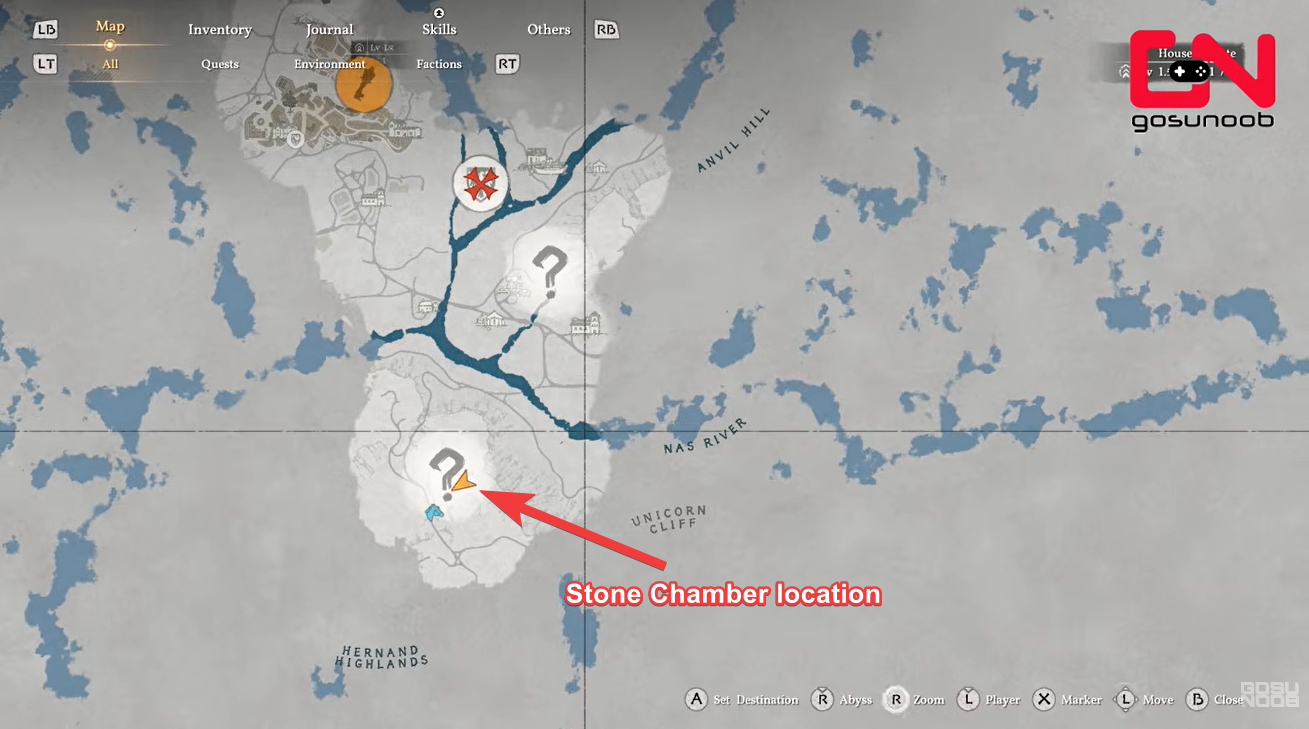
Location of Stone Chamber Puzzle in Hernand Highlands
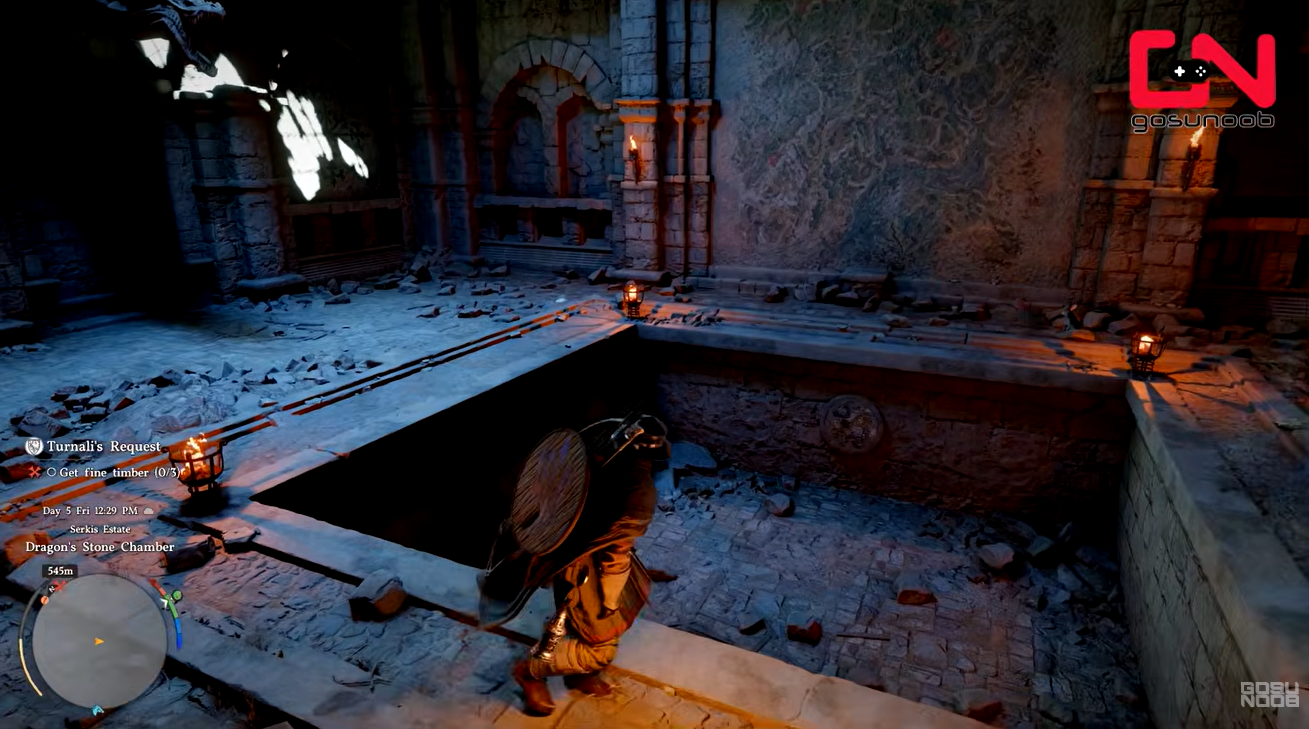
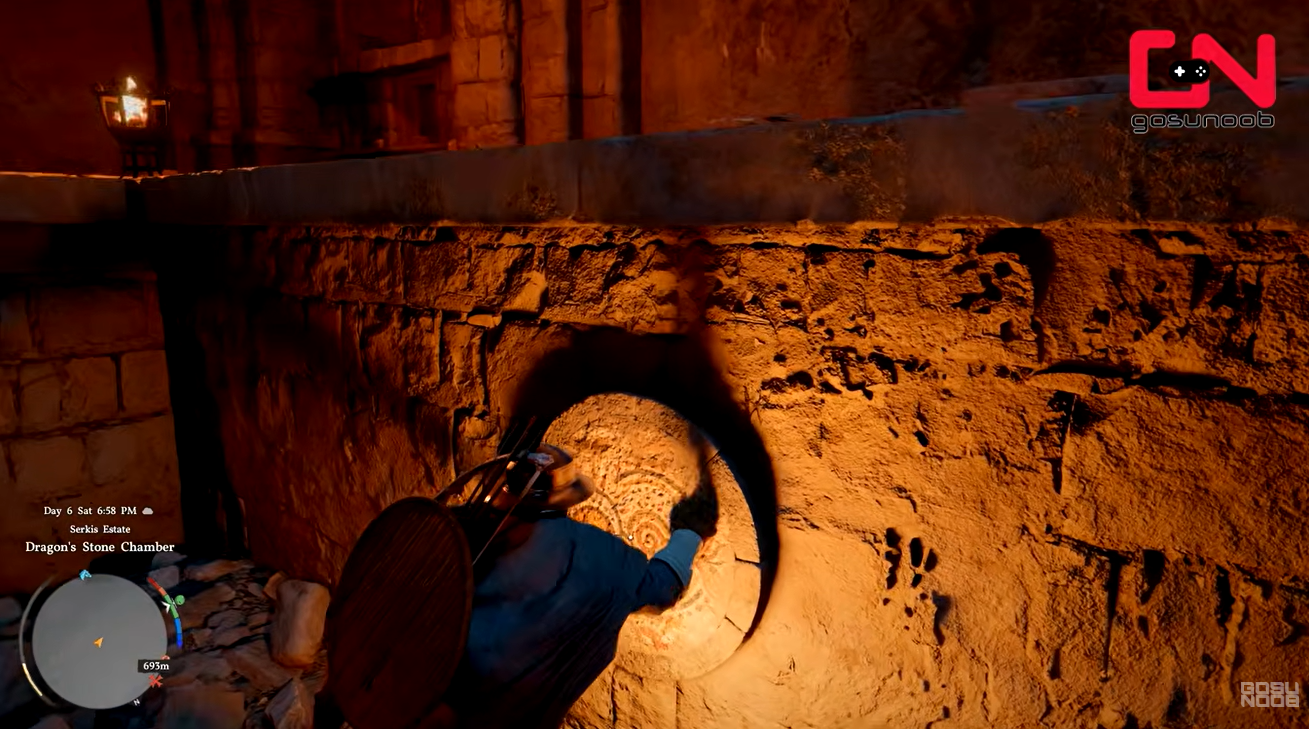
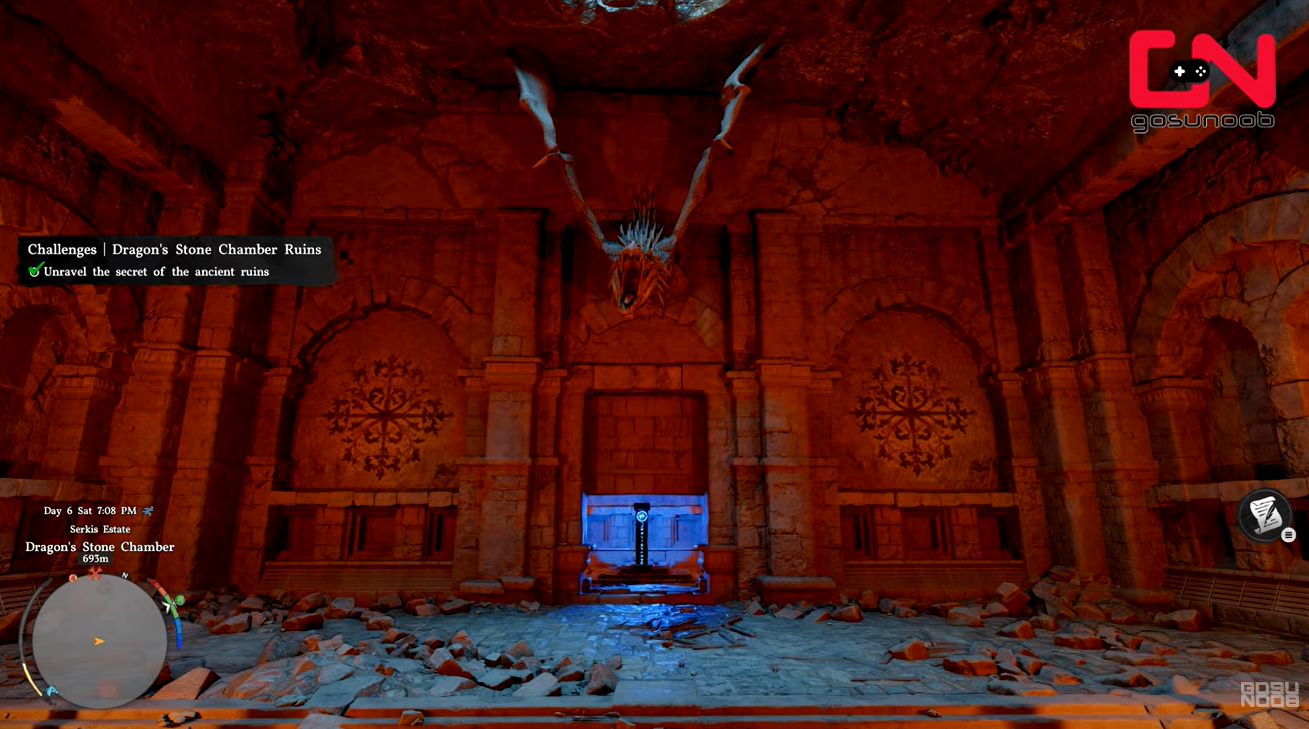
You can locate the chamber inside a massive crater in the northern part of Hernand Highlands, close to Thinker’s Meadow. The entrance is blocked by a large stone slab, which you need to push aside to gain access.
Inside, you’ll discover a central basin with three rotating wheels, but you won’t be able to solve anything yet without first finding the clue patterns scattered across the region.
Understanding the rotated mural clue system
At the heart of the puzzle is a mural that acts as a topographic map of the surrounding area. However, the major twist is that this mural is rotated compared to your in-game map.
This means you must mentally reorient the mural before using it as a guide, otherwise you’ll head to incorrect locations. Each marked point on the mural corresponds to a real-world location where a pattern is engraved on stone.
These engravings are the exact symbols required to solve the wheel puzzle.
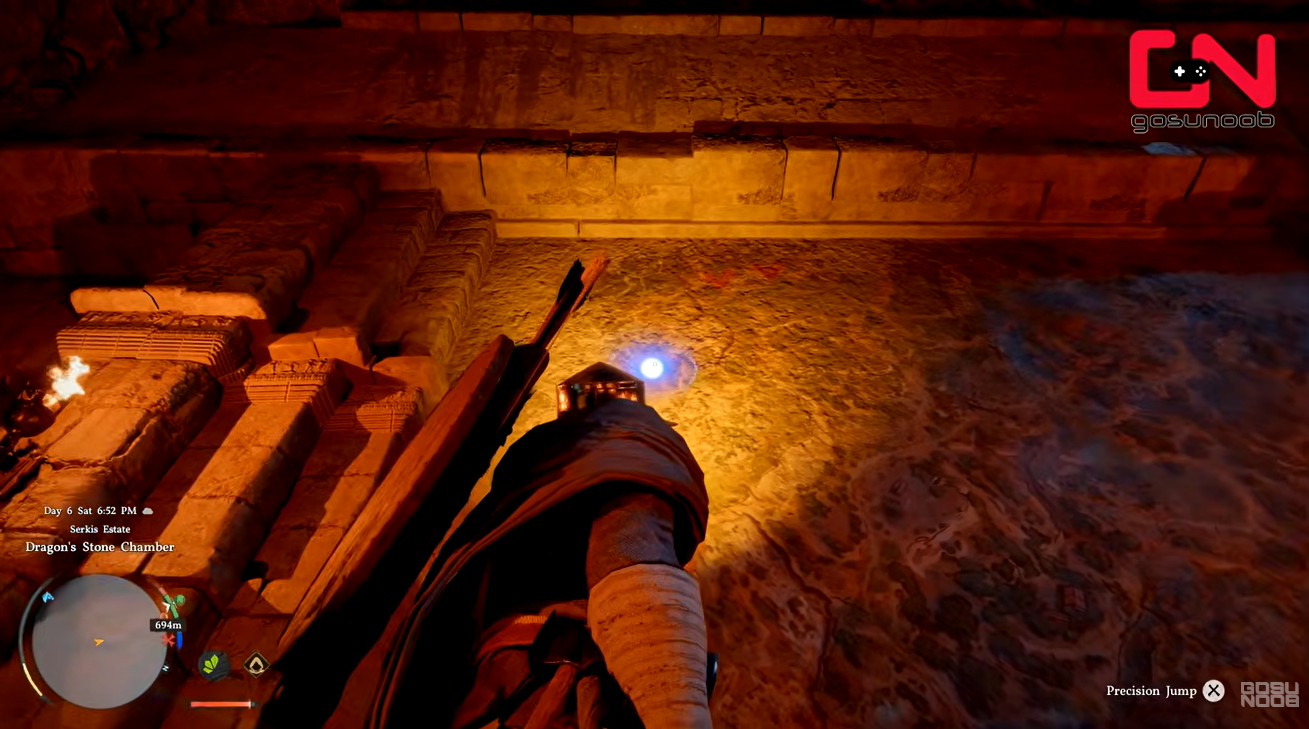
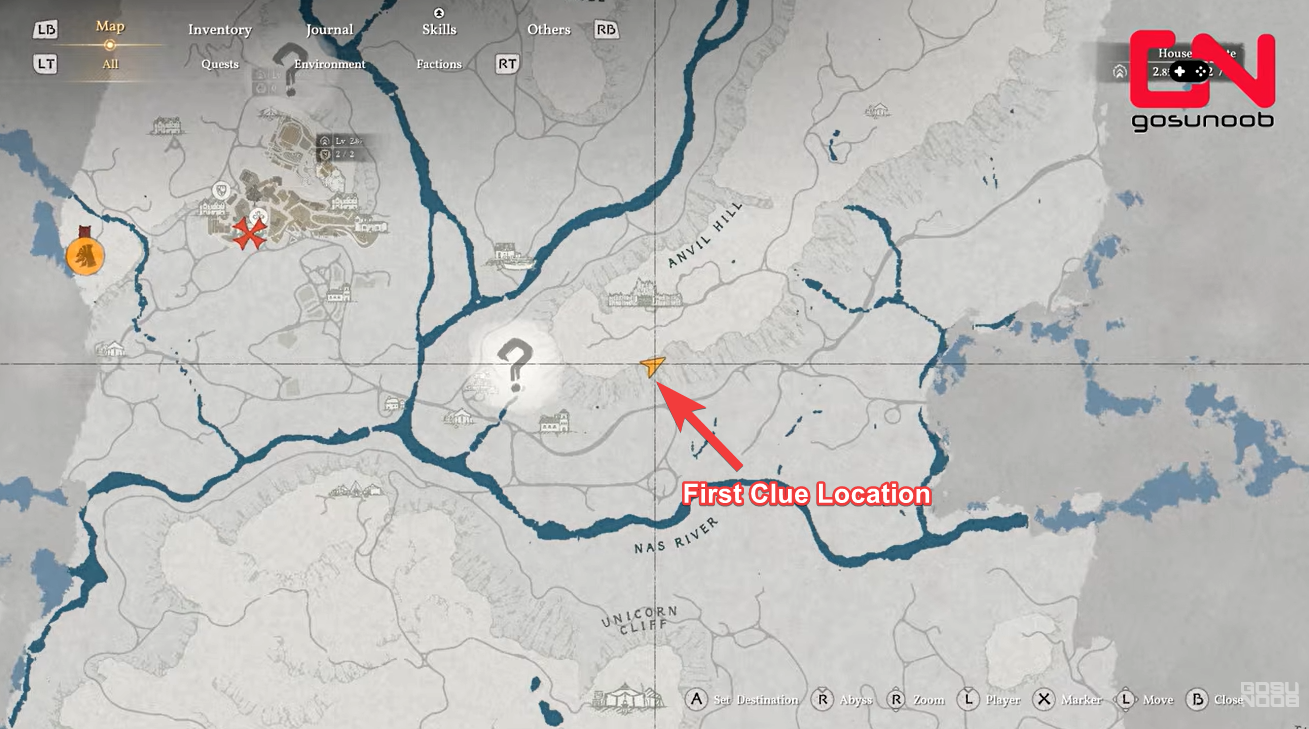
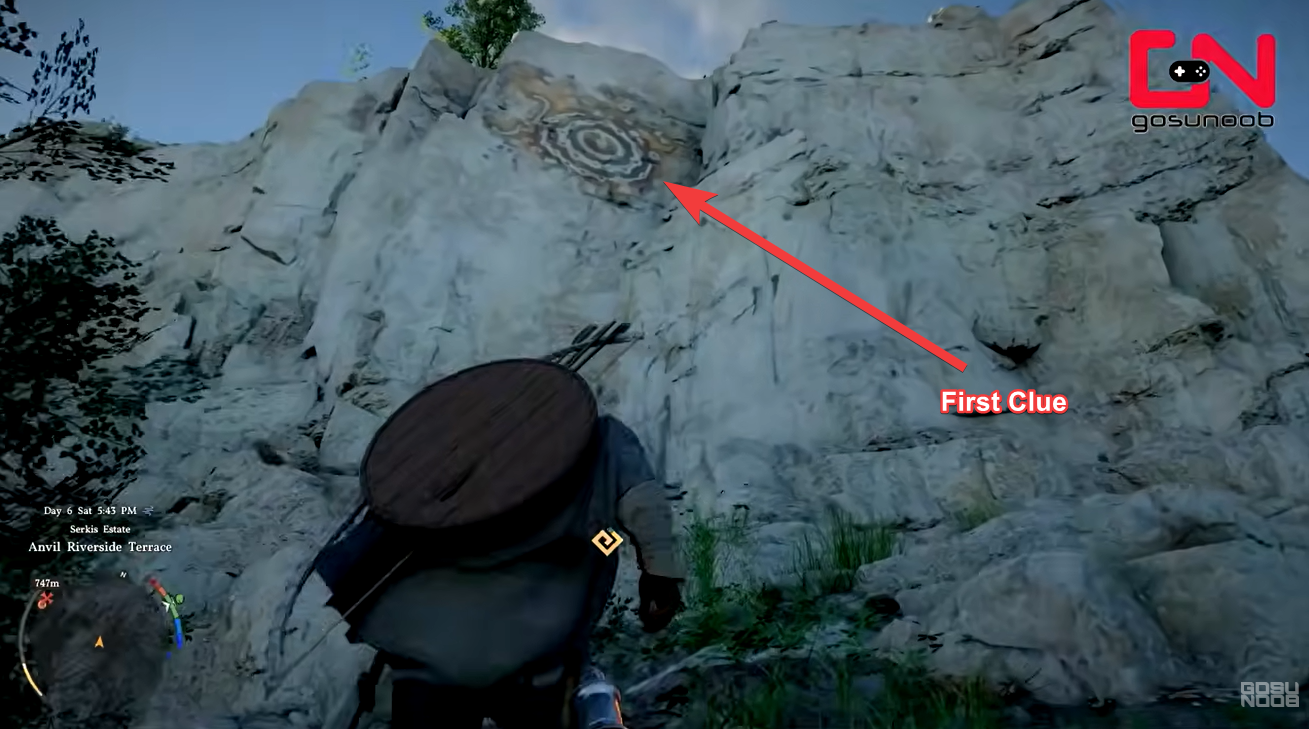
First clue location near the Abyss drop
The first pattern is found in the region corresponding to the red-marked area on the mural. The easiest approach is to head toward the Abyss and drop down carefully to a lower section.
Here, you’ll find a stone wall with a clearly engraved symbol, which serves as your first pattern. Make sure to observe it closely, as precision matters when recreating it later.
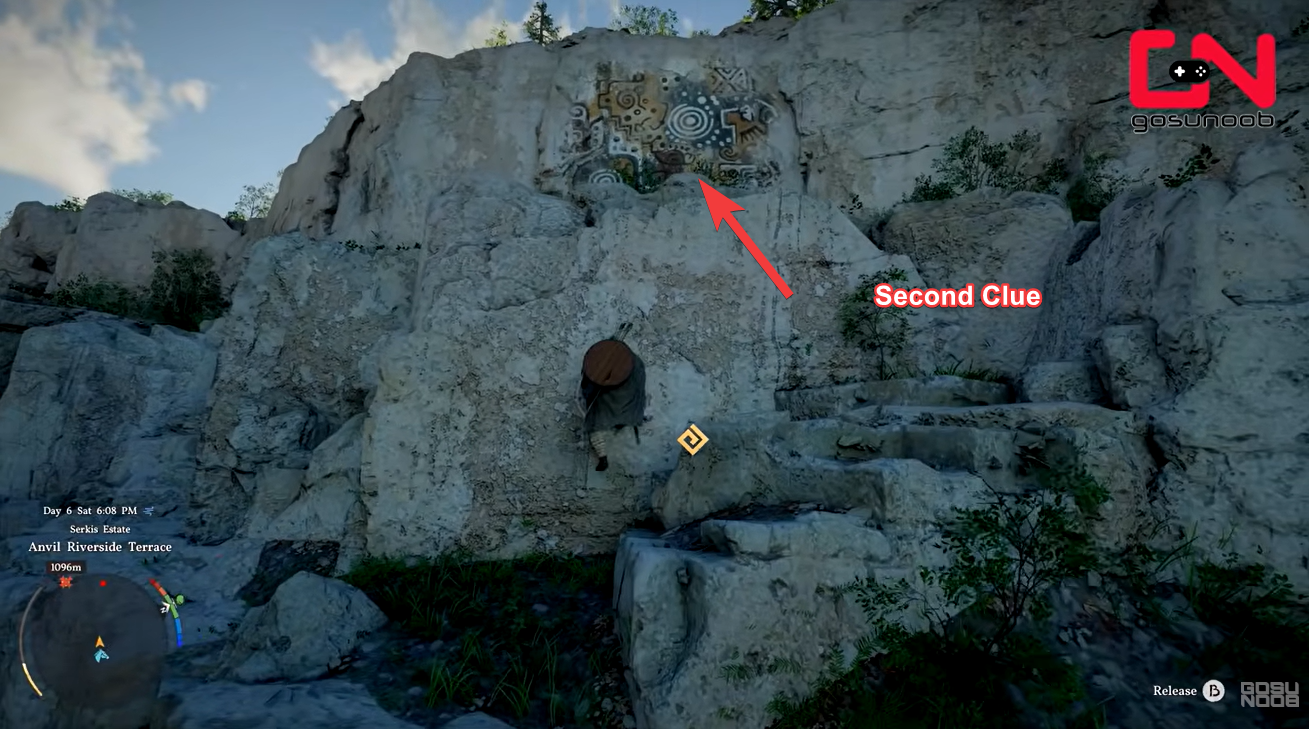
Second clue location past Hernand East Gate
The second pattern is located northeast of the first clue, beyond the Hernand East Gate. This area is easier to navigate compared to the Abyss region.
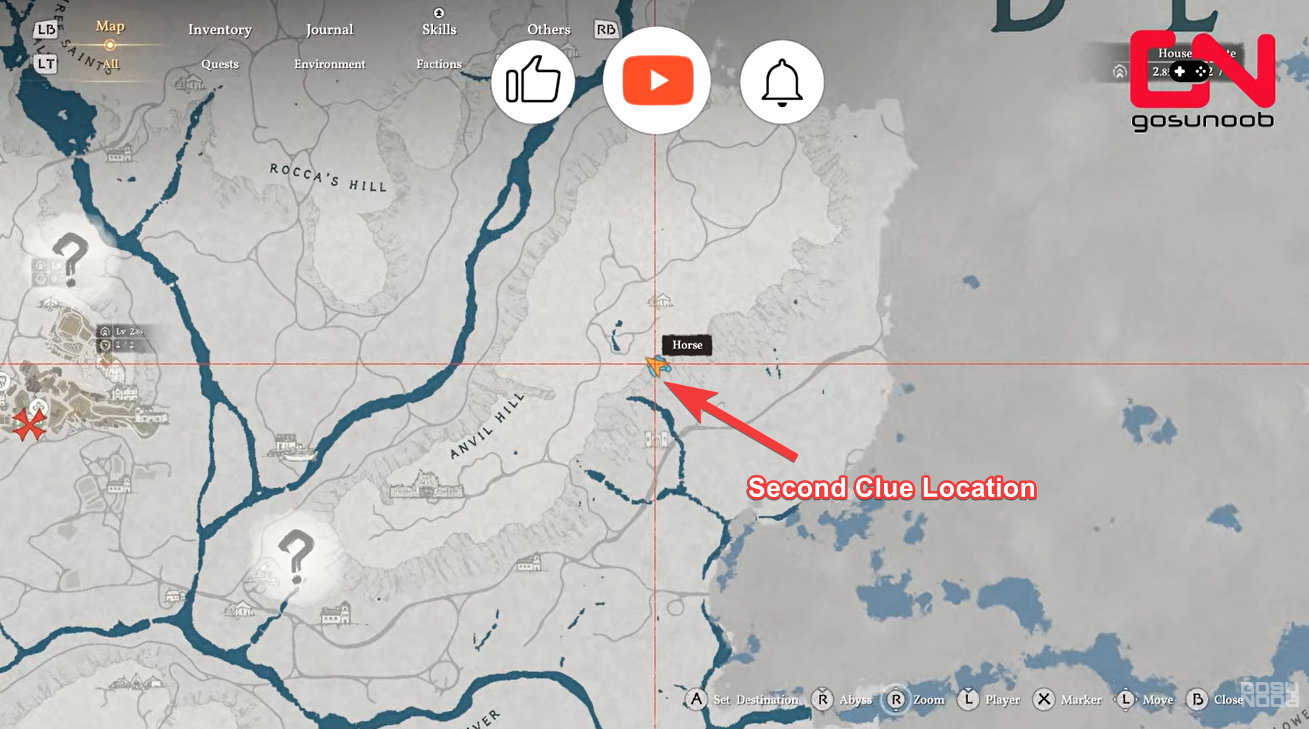
Once you reach the correct spot, look for another stone surface with a distinct engraving, which represents the second wheel’s required symbol.
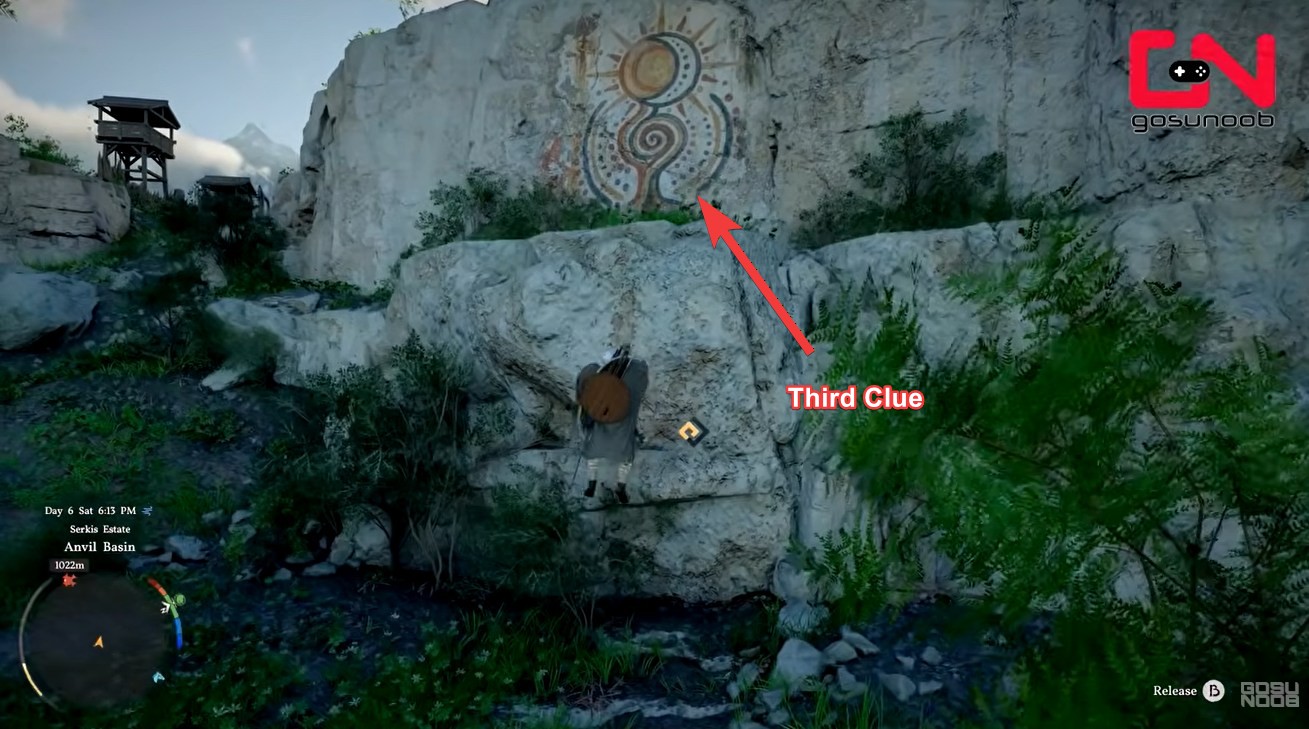
Third clue location further northeast of the second clue
The third and final pattern is also located in the northeastern region, slightly further ahead from the second clue. It is positioned nearby, allowing you to collect both clues in a single exploration run.
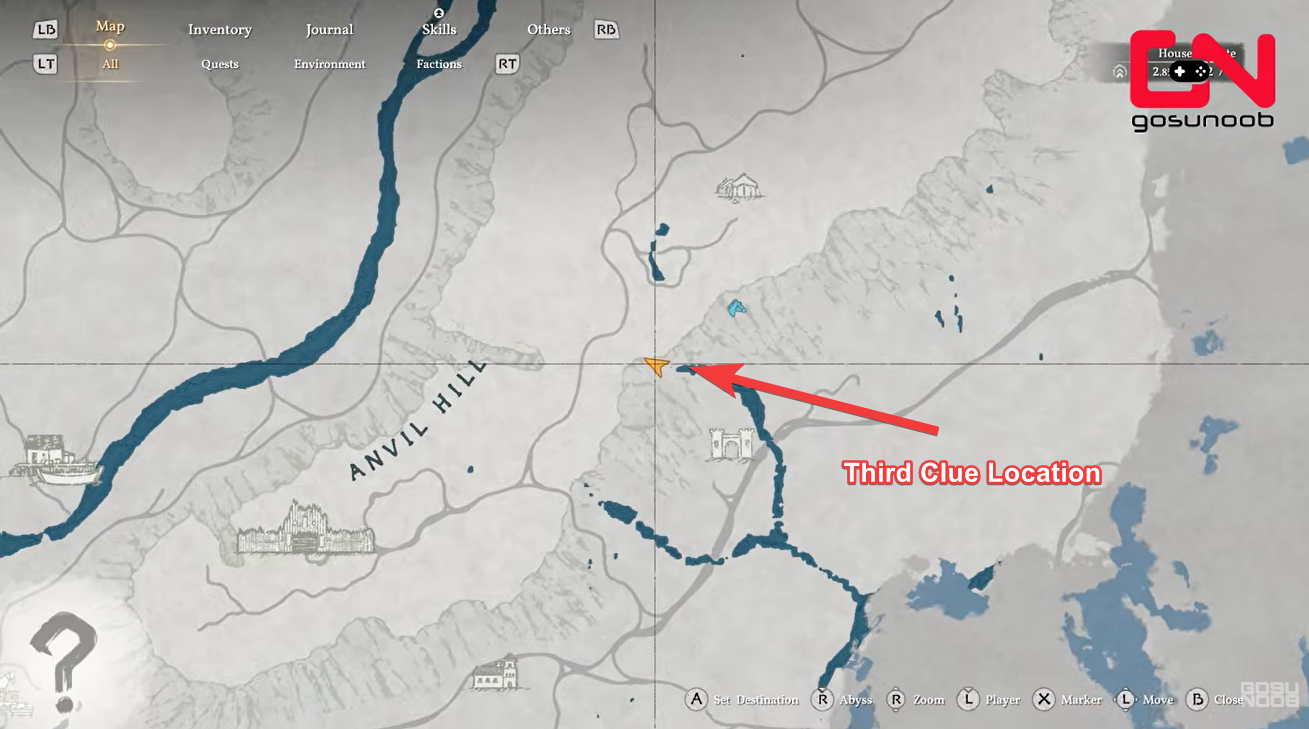
You’ll again find a carved stone marking that completes the set of three required symbols.
How to solve the Dragon’s Stone Chamber puzzle
Step 1
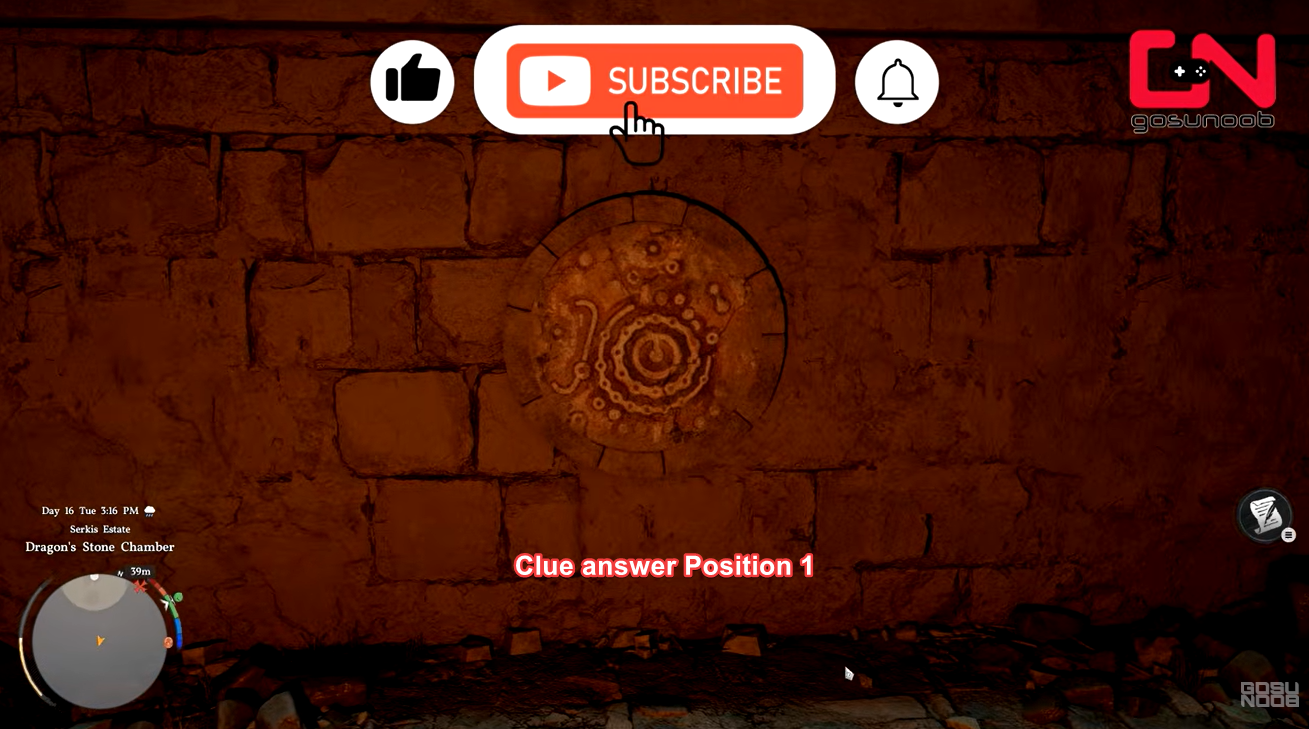
Return to the chamber after collecting all three patterns. Interact with the central basin that contains the rotating wheels.
Step 2
Observe the three wheels carefully. Each wheel can be rotated to display different symbols.
Step 3
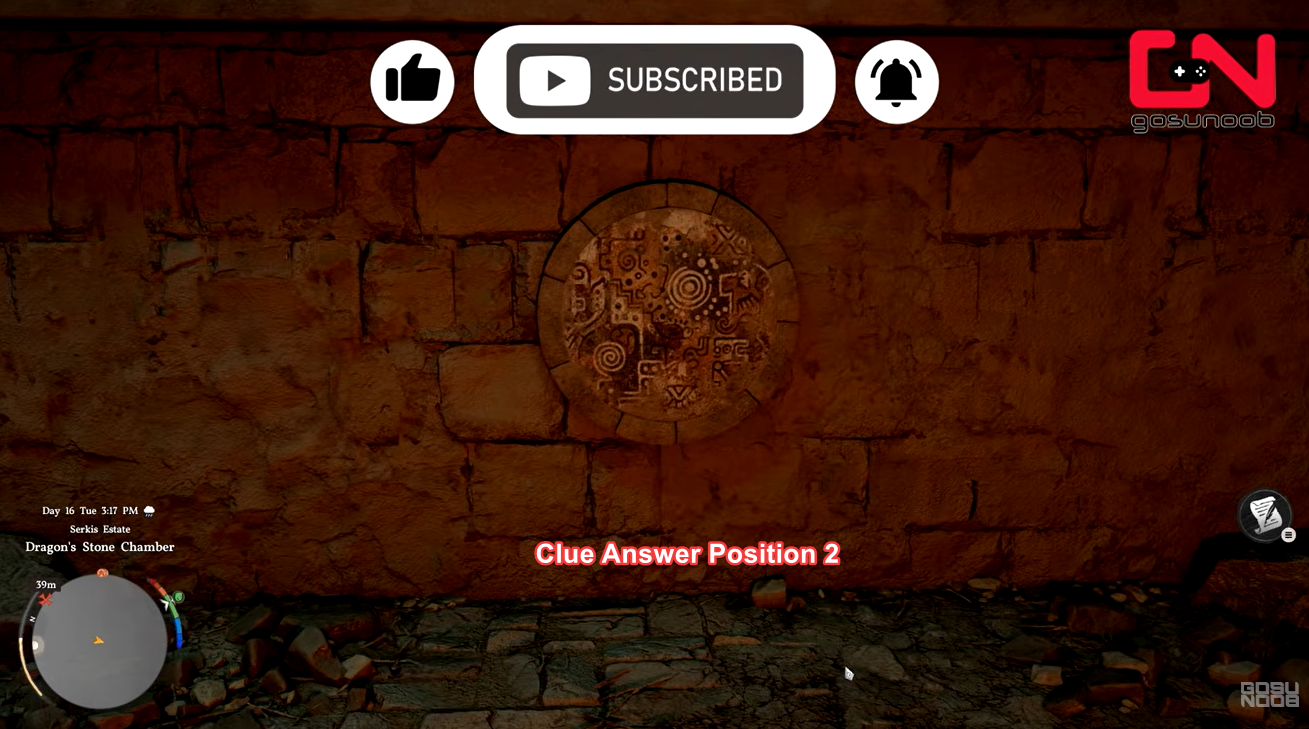
Start matching the symbols on the wheels with the patterns you found. Each wheel must display one of the three correct engravings.
Step 4
Rotate each wheel until the symbols align perfectly. Even small mismatches will prevent the mechanism from activating.
Step 5
Once all three symbols are correctly aligned, the puzzle will trigger automatically and the sealed door will open.
Step 6
Proceed through the newly opened path to claim your rewards and complete the chamber.
Rewards you receive after solving the puzzle
The Dragon’s Stone Chamber puzzle stands out because it challenges how you interpret the game world rather than testing combat skills. The rotated mural mechanic forces you to think differently and pay closer attention to environmental storytelling.
| Reward | Description |
|---|---|
| Abyss Cassette | Grants a skill point, making it highly valuable for progression |
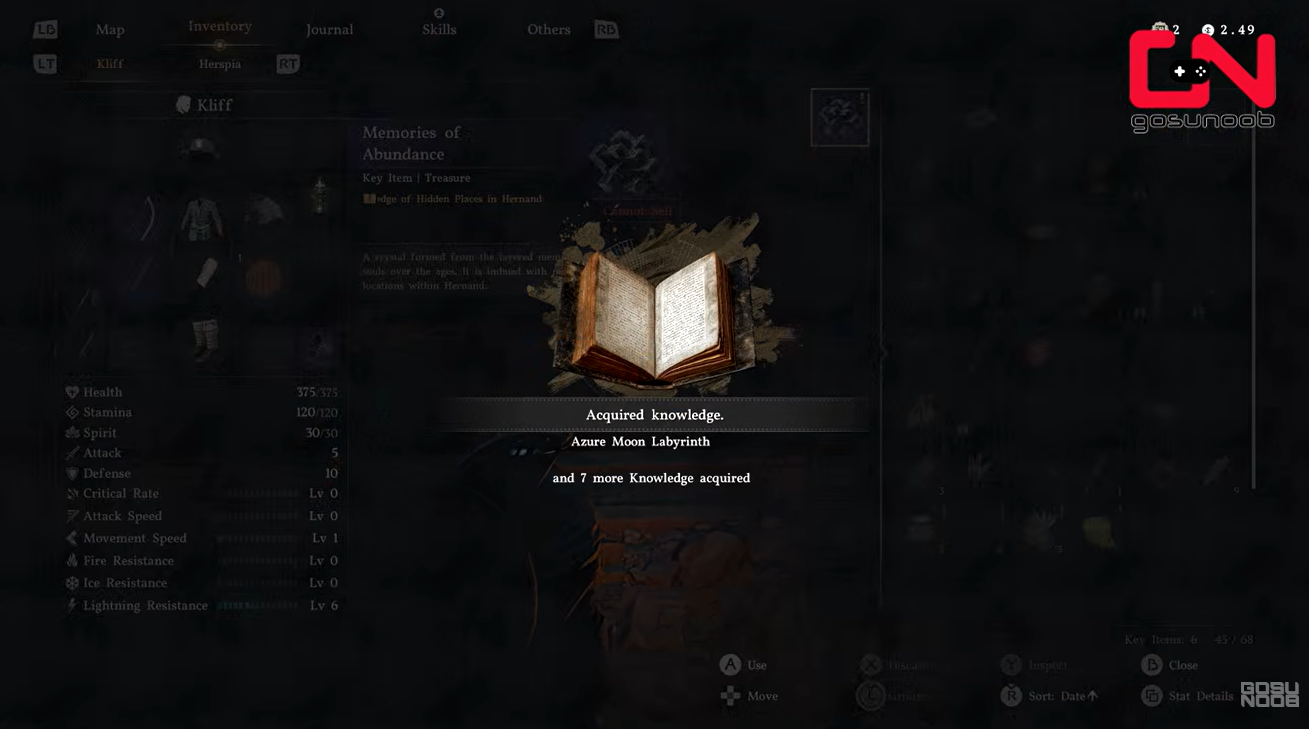
| Memories of Abundance | Unlocks seven types of knowledge, expanding lore and gameplay benefits |
These rewards make the puzzle especially worthwhile, as they directly contribute to both character progression and world knowledge.
By the time you solve it, you’ll not only earn useful rewards but also gain a better understanding of how Crimson Desert designs its exploration puzzles.


