
- What to know
- Crimson Desert Chaos Forest Abyss Puzzle details
- Chaos Forest Abyss location and mechanics
- How to solve the Chaos Forest Abyss Puzzle in Crimson Desert
- How each ability contributes to puzzle completion
- Common mistakes players make during the puzzle
- Rewards for completing the Chaos Forest Abyss Puzzle
What to know
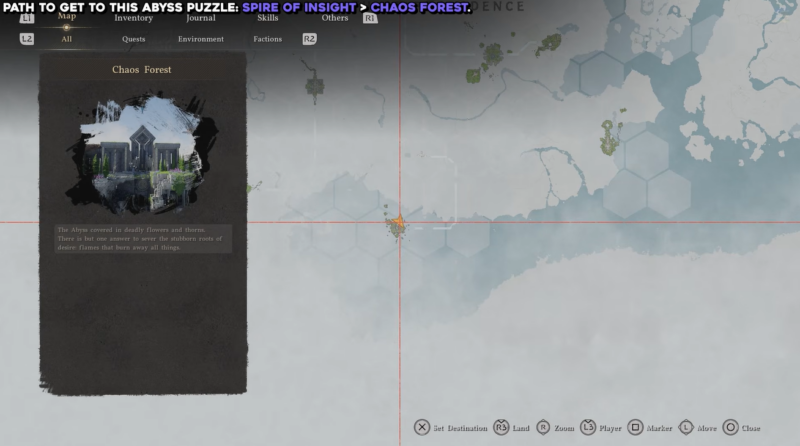
- The puzzle is located at the Spire of Insight within Chaos Forest.
- You must use multiple abilities like Focused Blinding Flash, Force Palm, and Nature’s Grasp.
- Environmental interaction (fire, water, sockets, and gears) is key to progression.
- Final completion requires aligning the central dial using Resist and Force Palm.
The Chaos Forest Abyss Puzzle in Crimson Desert is one of those layered challenges that tests both your combat abilities and puzzle-solving awareness. As you move through the Spire of Insight, you are not just fighting enemies—you are interacting with a dynamic environment that reacts to your skills. Understanding how each mechanic connects is what allows you to solve the puzzle efficiently without unnecessary backtracking.
Crimson Desert Chaos Forest Abyss Puzzle details
| Element | Details |
|---|---|
| Location | Spire of Insight, Chaos Forest |
| Puzzle Type | Multi-stage environmental + ability-based |
| Core Mechanics | Fire, water cooling, sockets, gear activation |
| Required Skills | Focused Blinding Flash, Force Palm, Nature’s Grasp, Glide |
| Final Objective | Activate central dial |
Chaos Forest Abyss location and mechanics
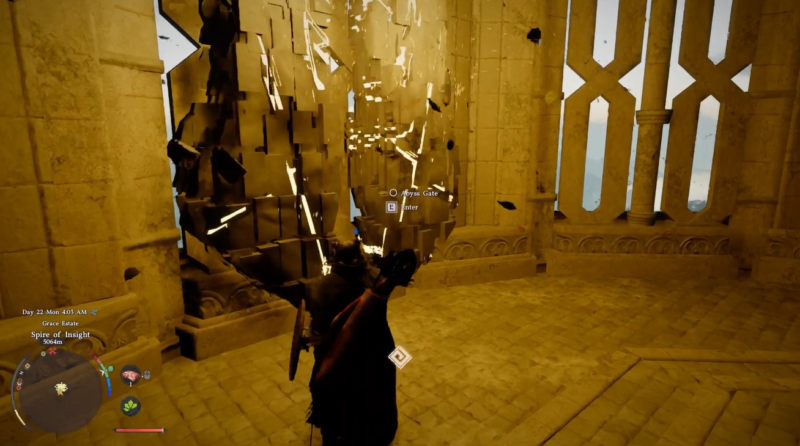
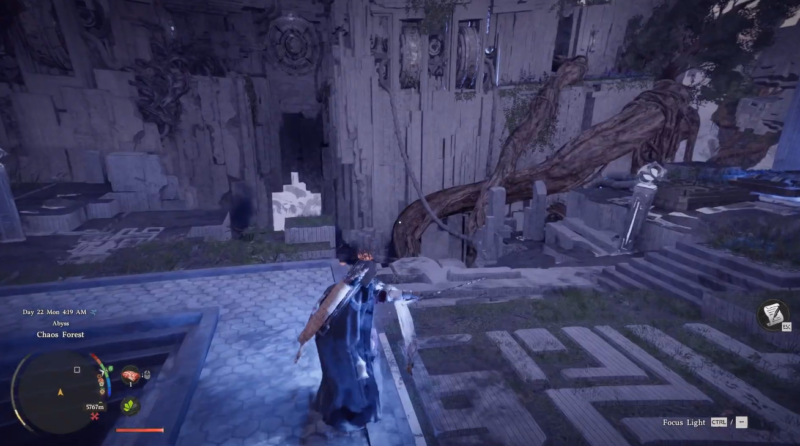
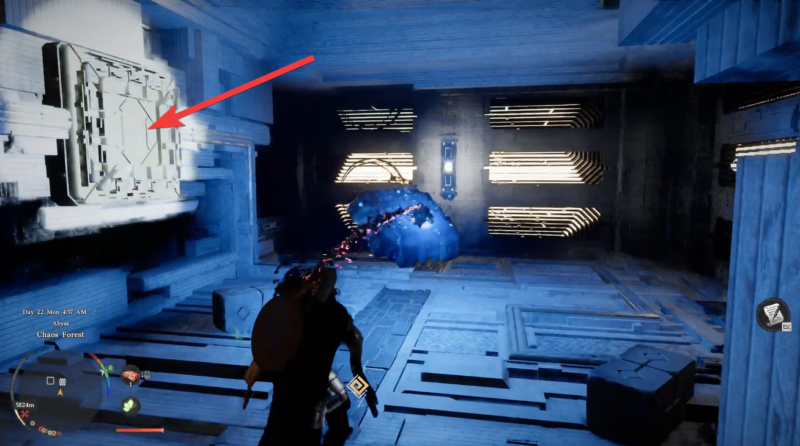
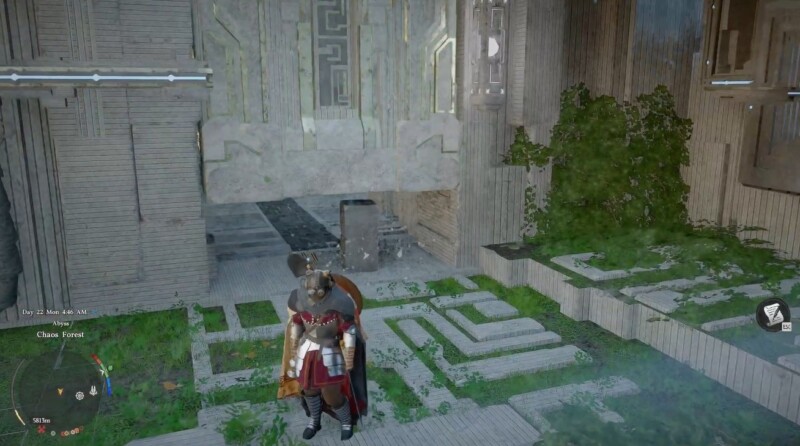
Once you enter the abyss gate, you are placed in a compact but multi-layered arena filled with thorns, locked pathways, and interactive sockets. The layout is intentionally designed to make you revisit the same area from different angles. You will notice circular activation zones, movable objects, and elemental obstacles that block your progress until the correct ability is used.
The key idea here is that every object has a purpose. Burning objects must be cooled, sockets must be filled, and gears must be triggered to open new paths. If something looks out of place, it is almost always part of the solution.
How to solve the Chaos Forest Abyss Puzzle in Crimson Desert
Step 1
Start by locating the activation circle after entering through the abyss gate. Stand on it to activate the Nexus, which essentially powers up the puzzle and unlocks the first set of interactions.
Step 2
Clear the main area using Focused Blinding Flash. This ability burns away the thick wooden thorns that block pathways. Make sure you sweep the entire area thoroughly, as missing even a small patch can prevent progression later.
Step 3
Locate the burning square piece and interact with it carefully. Since it is overheated, you must cool it down by dipping it into the nearby water pool. This step introduces the fire-and-water mechanic that repeats throughout the puzzle.
Step 4
Place the cooled square into the first socket to unlock forward progression. Once inserted, move ahead and prepare for a mobility-based interaction.
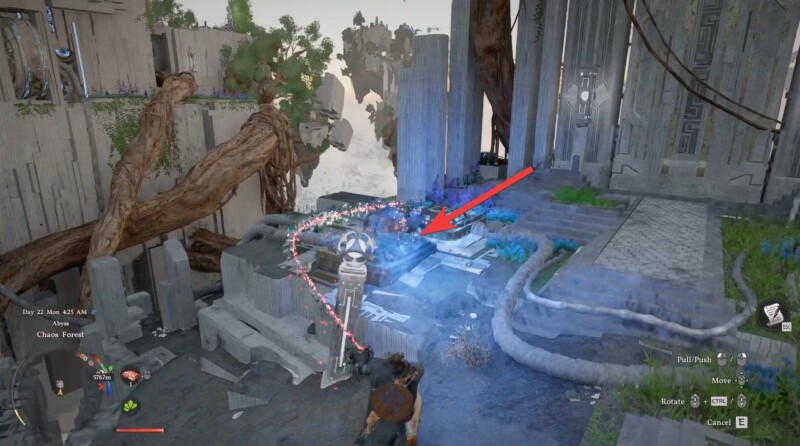
Step 5
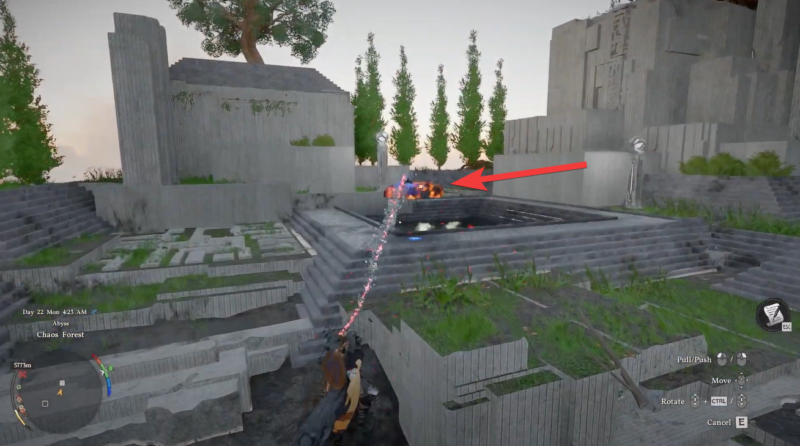
Use Force Palm Bomb while jumping forward to activate the gears. Timing matters here, as the gears will only respond when the ability connects properly. This action opens up the next section of the puzzle.
Step 6
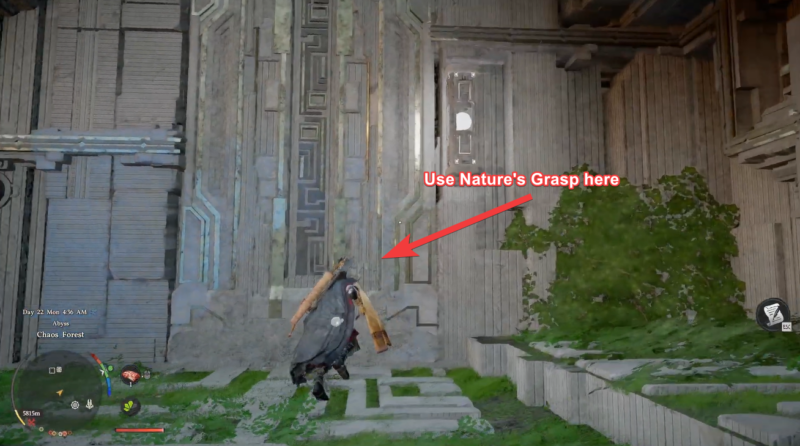
Head toward the left section and burn away additional thorns. After clearing the area, use Nature’s Grasp to open the sealed door.
This introduces a combination of environmental clearing and ability-based unlocking.
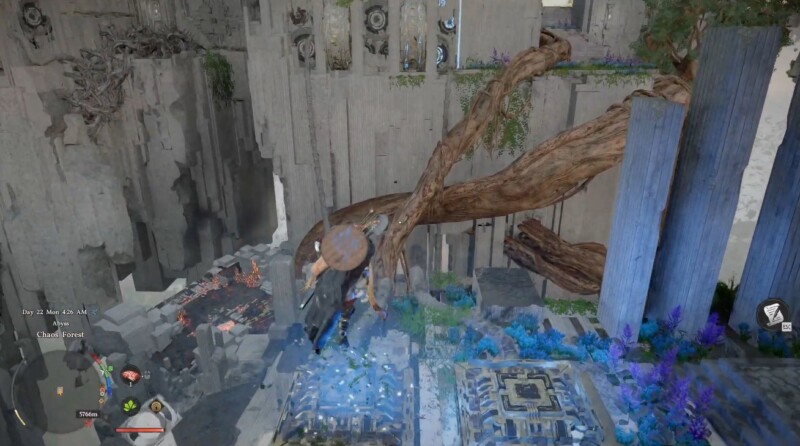
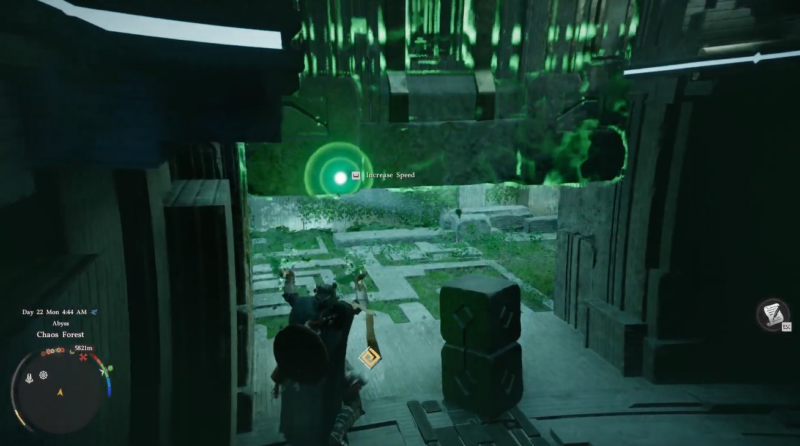
Step 7
Inside the room, focus on aligning the floating square piece with its socket. Use Force Palm to adjust positioning and Glide to stabilize your movement mid-air. Precision is crucial here, as improper alignment will not trigger the mechanism.
Step 8
Grab the stone and return to the doorway. Use Nature’s Grasp again to hold the door open, then carefully place the stone underneath to keep it from closing. This is a classic weight-based puzzle mechanic.
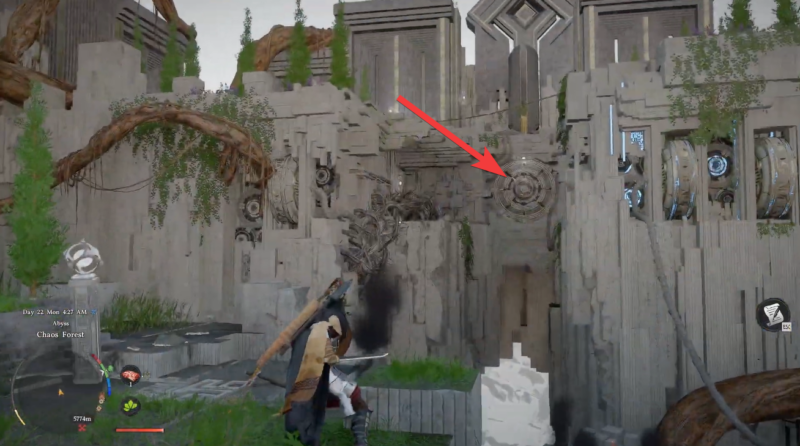
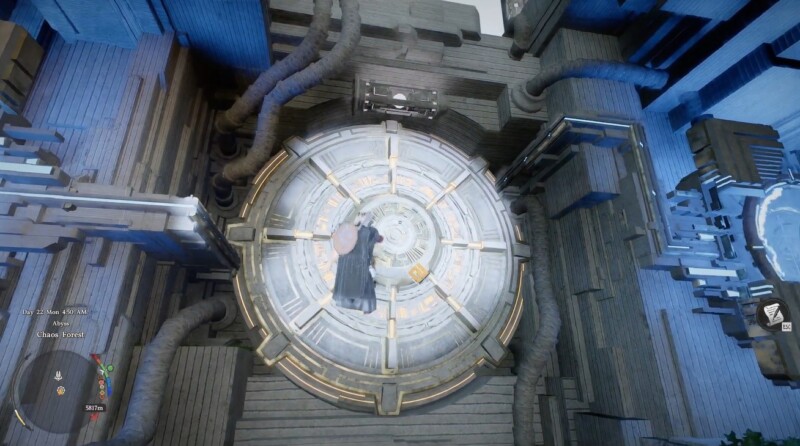
Step 9
With the pathway stabilized, interact with the central dial. Combine Resist and Force Palm to correctly align and activate it. This final interaction completes the puzzle and unlocks the reward.
How each ability contributes to puzzle completion
| Ability | Purpose in Puzzle |
|---|---|
| Focused Blinding Flash | Burns thorns and clears paths |
| Force Palm | Moves and aligns objects |
| Nature’s Grasp | Opens doors and holds mechanisms |
| Glide | Assists in mid-air positioning |
| Resist | Stabilizes final dial interaction |
Each ability is not optional—it is integrated into the puzzle design. If you struggle at any stage, it usually means one of these abilities has not been used correctly or in the right sequence.
Common mistakes players make during the puzzle
One of the most frequent issues players face is skipping environmental cleanup. If thorns are not fully cleared, later interactions may not trigger. Another common mistake is forgetting to cool down objects before placing them into sockets, which prevents activation.
Players also tend to rush the alignment section, but this part requires patience and careful positioning. Using Glide effectively can make a significant difference here.
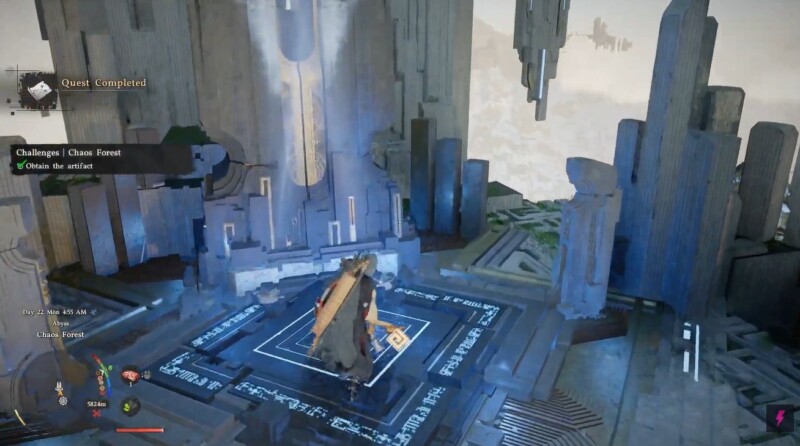
Rewards for completing the Chaos Forest Abyss Puzzle
| Reward Type | Details |
|---|---|
| Progression Unlock | Advances Chaos Forest storyline |
| Loot | Abyss-related gear/materials |
| Experience | Significant XP boost |
| Exploration | Unlocks new pathways |
While the exact rewards may vary slightly depending on your progression, completing this puzzle is essential for unlocking deeper sections of the Chaos Forest.
The Chaos Forest Abyss Puzzle stands out because it blends combat abilities with environmental logic in a seamless way. Once you understand how fire, water, and force-based mechanics interact, the puzzle becomes far more intuitive and enjoyable rather than frustrating.
Take your time, observe the environment, and use each ability with intention—this is the key to solving it smoothly.


