
What to know
- Beastbane I increases your damage against beast-type enemies by 4%
- It is an Abyss Gear that can be socketed into multiple equipment types
- You can find it in Argent Peaks near Silverwolf Mountains in Pailune
- Crafting requires a specific blueprint and two core materials
If you’ve started venturing into beast-heavy zones in Crimson Desert, you’ll quickly realize how valuable specialized damage bonuses can be. Beastbane I is one of the earliest and most effective Abyss Gear items you can acquire to gain an edge in these encounters. Whether you’re farming materials or tackling aggressive wildlife, this item gives you a noticeable combat advantage when used correctly.
Here is a quick overview of Beastbane Abyss Gear in Crimson Desert:
| Feature | Details |
|---|---|
| Item Type | Abyss Gear |
| Effect | +4% damage to beasts |
| Equip Slots | Weapons, Gloves, Footwear |
| Location | Argent Peaks, Silverwolf Mountains (Pailune) |
| Crafting Requirement | Beastbane Blueprint |
| Materials Needed | Destruction I x1, Composure I x1 |
| Upgrade Path | Beastbane II, III, Greater Beastbane |
Crimson Desert Beastbane I Abyss Gear location
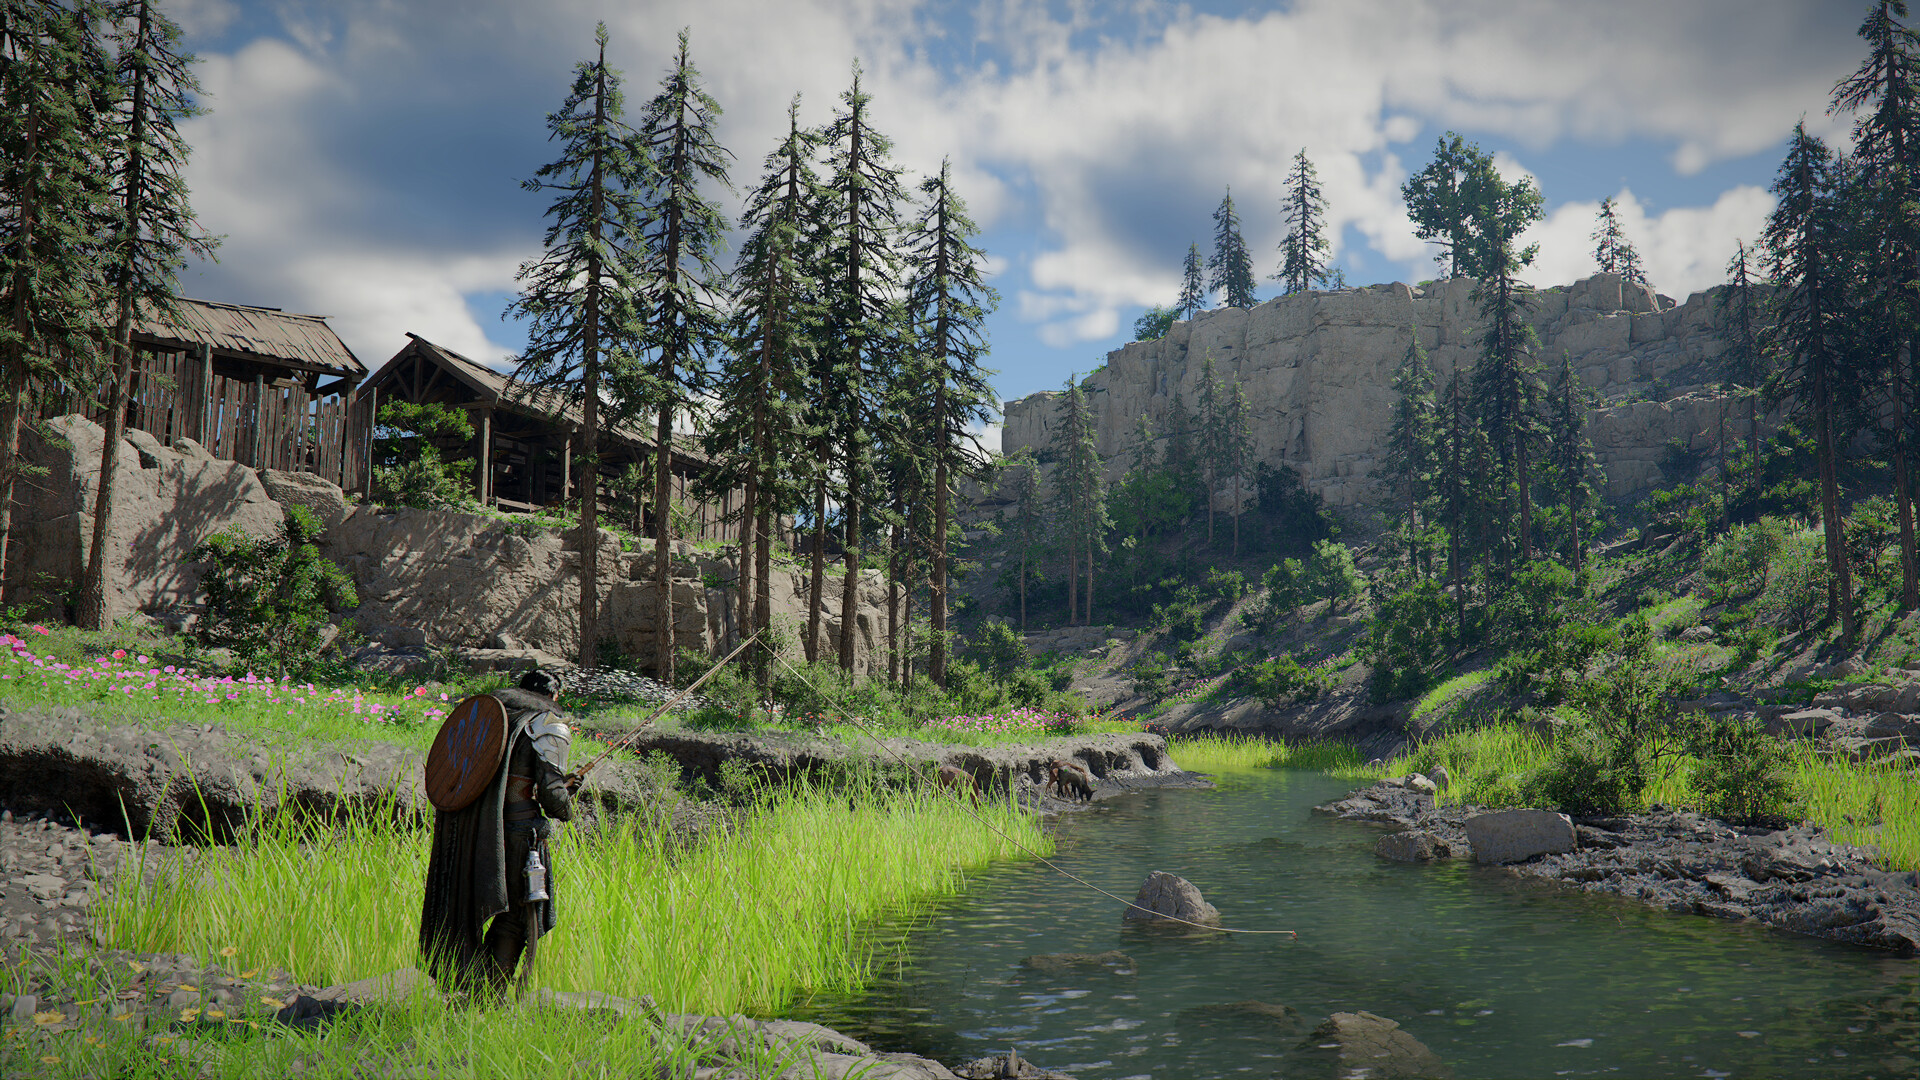
You’ll need to head into the Pailune region, specifically the Silverwolf Mountains within Argent Peaks. The journey starts near Georgeside Hearth, a recognizable fast-travel or landmark point in the area. From there, you should climb toward the highest nearby peak, where the environment becomes rocky and steep.
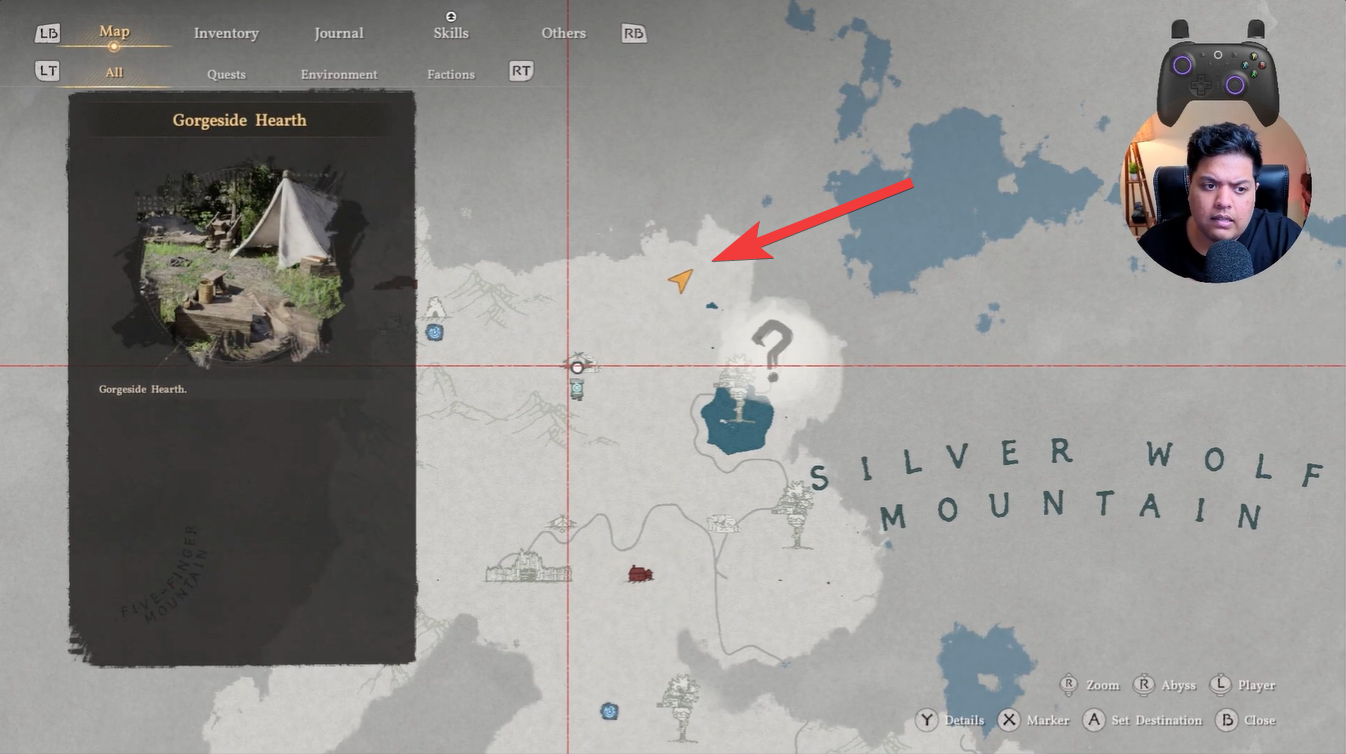
The chest containing Beastbane I is placed in a somewhat isolated position, making it easy to miss if you’re not actively exploring elevated terrain. Expect some climbing and careful movement, as the chest sits near a cliff edge. Once you reach the summit, you’ll find the chest tucked away—open it to claim your reward.

How to use Beastbane I effectively in combat
Beastbane I is not a standalone piece of equipment—it’s an Abyss Gear modifier. That means you’ll need to socket it into compatible gear to activate its effects.
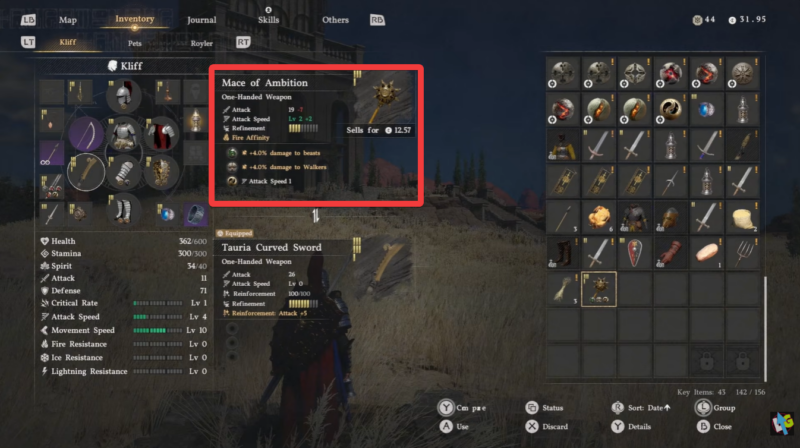
When you embed Beastbane I into your equipment, it grants a passive 4% damage increase against all beast-type enemies. This includes wolves, large wildlife, and certain hybrid creatures found across forested and mountainous regions.
You can apply it to:
- Weapons for direct damage boosts
- Gloves to enhance attack efficiency
- Footwear for flexible build synergy
To manage this process, you’ll need to visit witches located across different regions. These NPCs allow you to embed or remove Abyss Gear safely, letting you experiment with builds depending on your current objective.
How to craft Beastbane I using the blueprint
Crafting Beastbane I becomes important if you want multiple copies or plan to upgrade. Before crafting, you must first obtain the Gear Blueprint: Beastbane. Once learned, it unlocks the recipe permanently.
Crafting requirements table
| Requirement | Details |
|---|---|
| Blueprint | Gear Blueprint: Beastbane |
| Material 1 | Destruction I x1 |
| Material 2 | Composure I x1 |
Destruction I and Composure I are common Abyss crafting materials, usually obtained from combat drops, exploration chests, or dismantling other gear. Once you have both materials and the blueprint, head to a crafting station and create the item instantly.

Understanding upgrades and scaling potential
Beastbane I is only the beginning of a scalable upgrade path. As you progress, you’ll unlock stronger versions that significantly increase your effectiveness against beast enemies.
| Version | Damage Bonus |
|---|---|
| Beastbane I | +4% |
| Beastbane II | +8% |
| Beastbane III | +12% |
| Greater Beastbane | +40% |
The jump to Greater Beastbane is especially impactful, turning you into a powerhouse against beast-type bosses and elite enemies. If your build revolves around hunting or farming beasts, upgrading this gear should be a priority.
When you should prioritize using Beastbane
You’ll get the most value from Beastbane I when exploring regions filled with wildlife threats. Areas like forests, mountains, and certain quest zones frequently spawn beast-type enemies, making this gear incredibly efficient.
If you’re early in the game, this item acts as a low-cost damage boost that scales well into mid-game content. Even later, upgraded versions remain relevant due to their specialized nature.


