What to know
- LEMs are passive modules split into three categories: movement, combat, and survival, each with different rarities (indicated by lines/squares on the icon).
- You can equip up to 3 LEMs per category in early access, but higher tiers will eventually unlock more slots.
- LEMs of the same type stack; for example, two “+30 max shield” LEMs give +60 total, not just +30.
- Higher‑tier LEMs (more lines/squares) are stronger and often provide better bonuses, so prioritize those when looting.
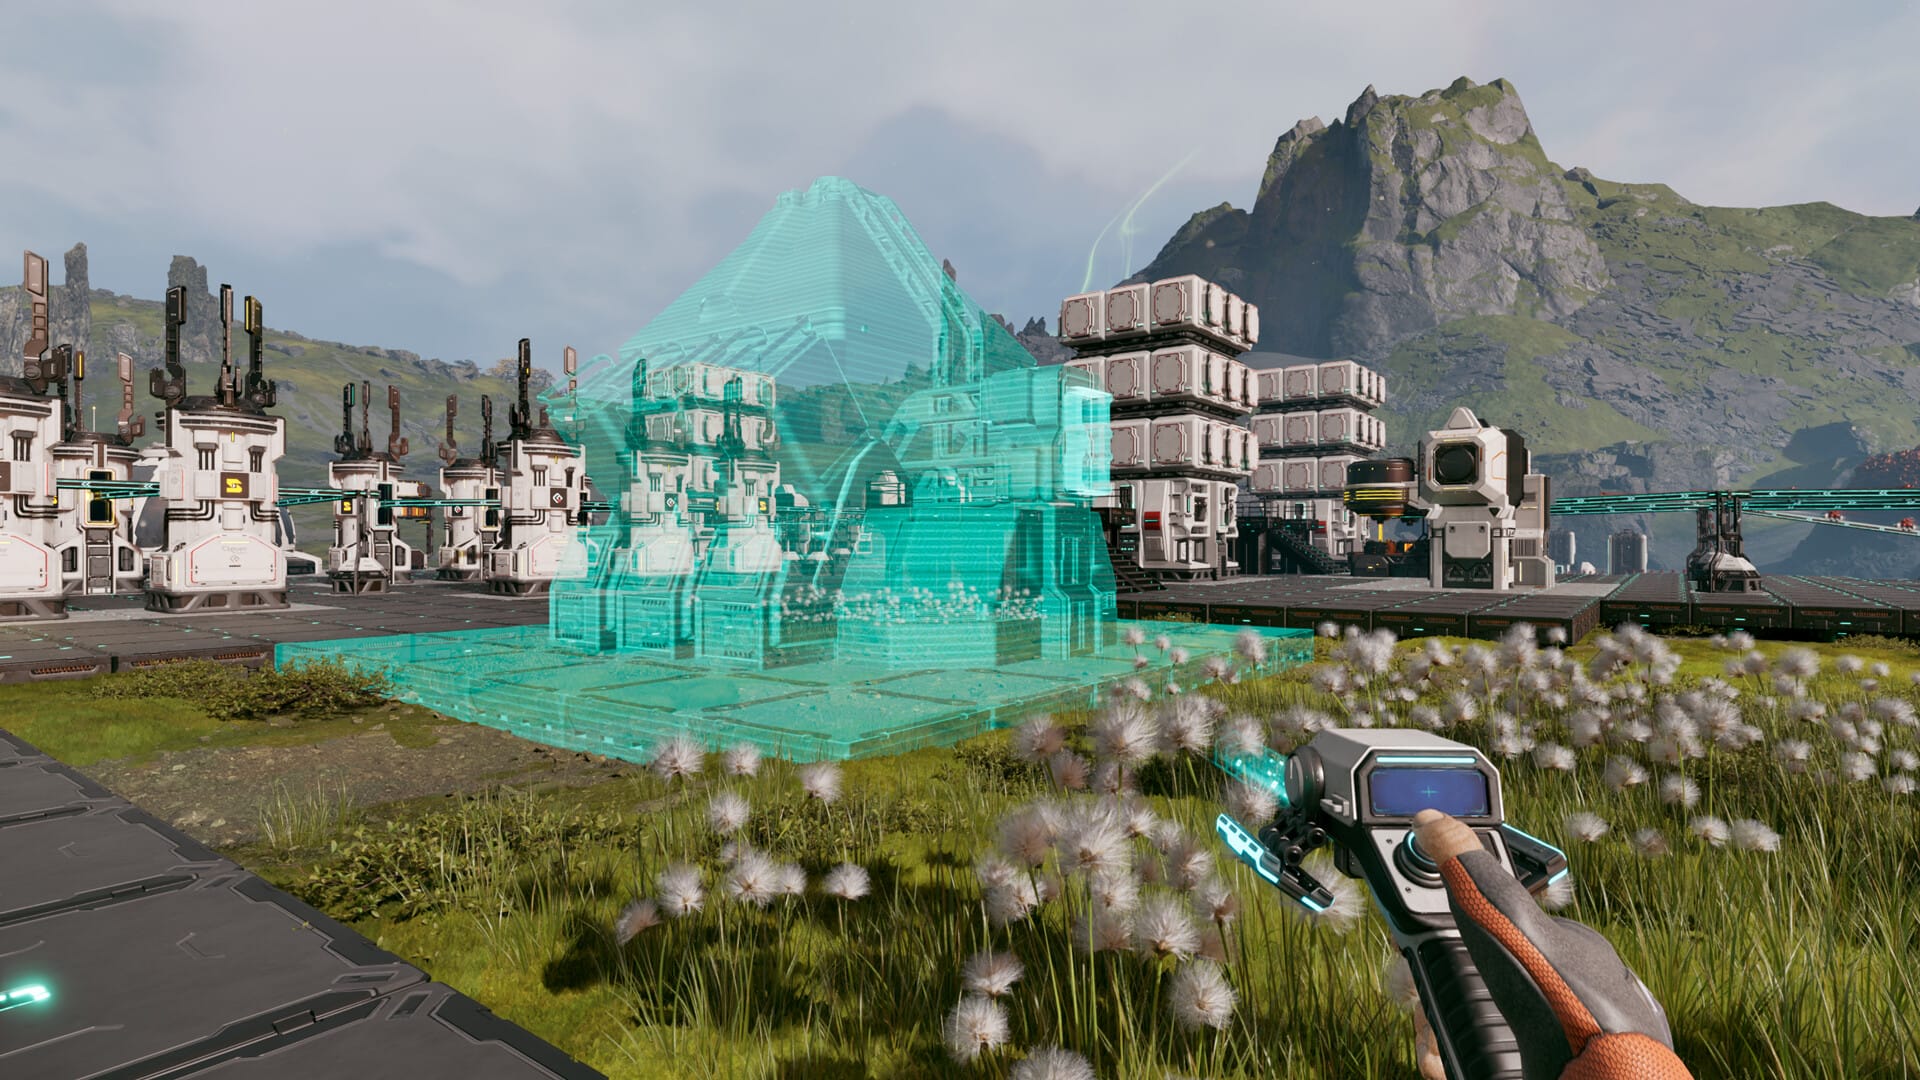
LEM, or Life Extension Module in StarRuptue, are special collectible items that provide permanent passive boosts to your character, improving health, shields, stamina, movement, damage, and resource efficiency. They aren’t weapons or armor; instead, you equip them at the LEM station in your base after finding them in loot containers, enemy drops, or key locations across the world. LEMs of the same type stack, so equipping multiple copies of a module amplifies its effect.
How to unlock the LEM station
To gain access to the LEM station, you must first reach Level 4 with Future Health Solutions. After hitting this rank, you’ll receive a mission that tasks you with delivering Titanium Sheets or Titanium Rods to the corporation. Completing this delivery mission allows you to claim the LEM station via the Corporate Terminal and install it on your base.
LEM types and tiers
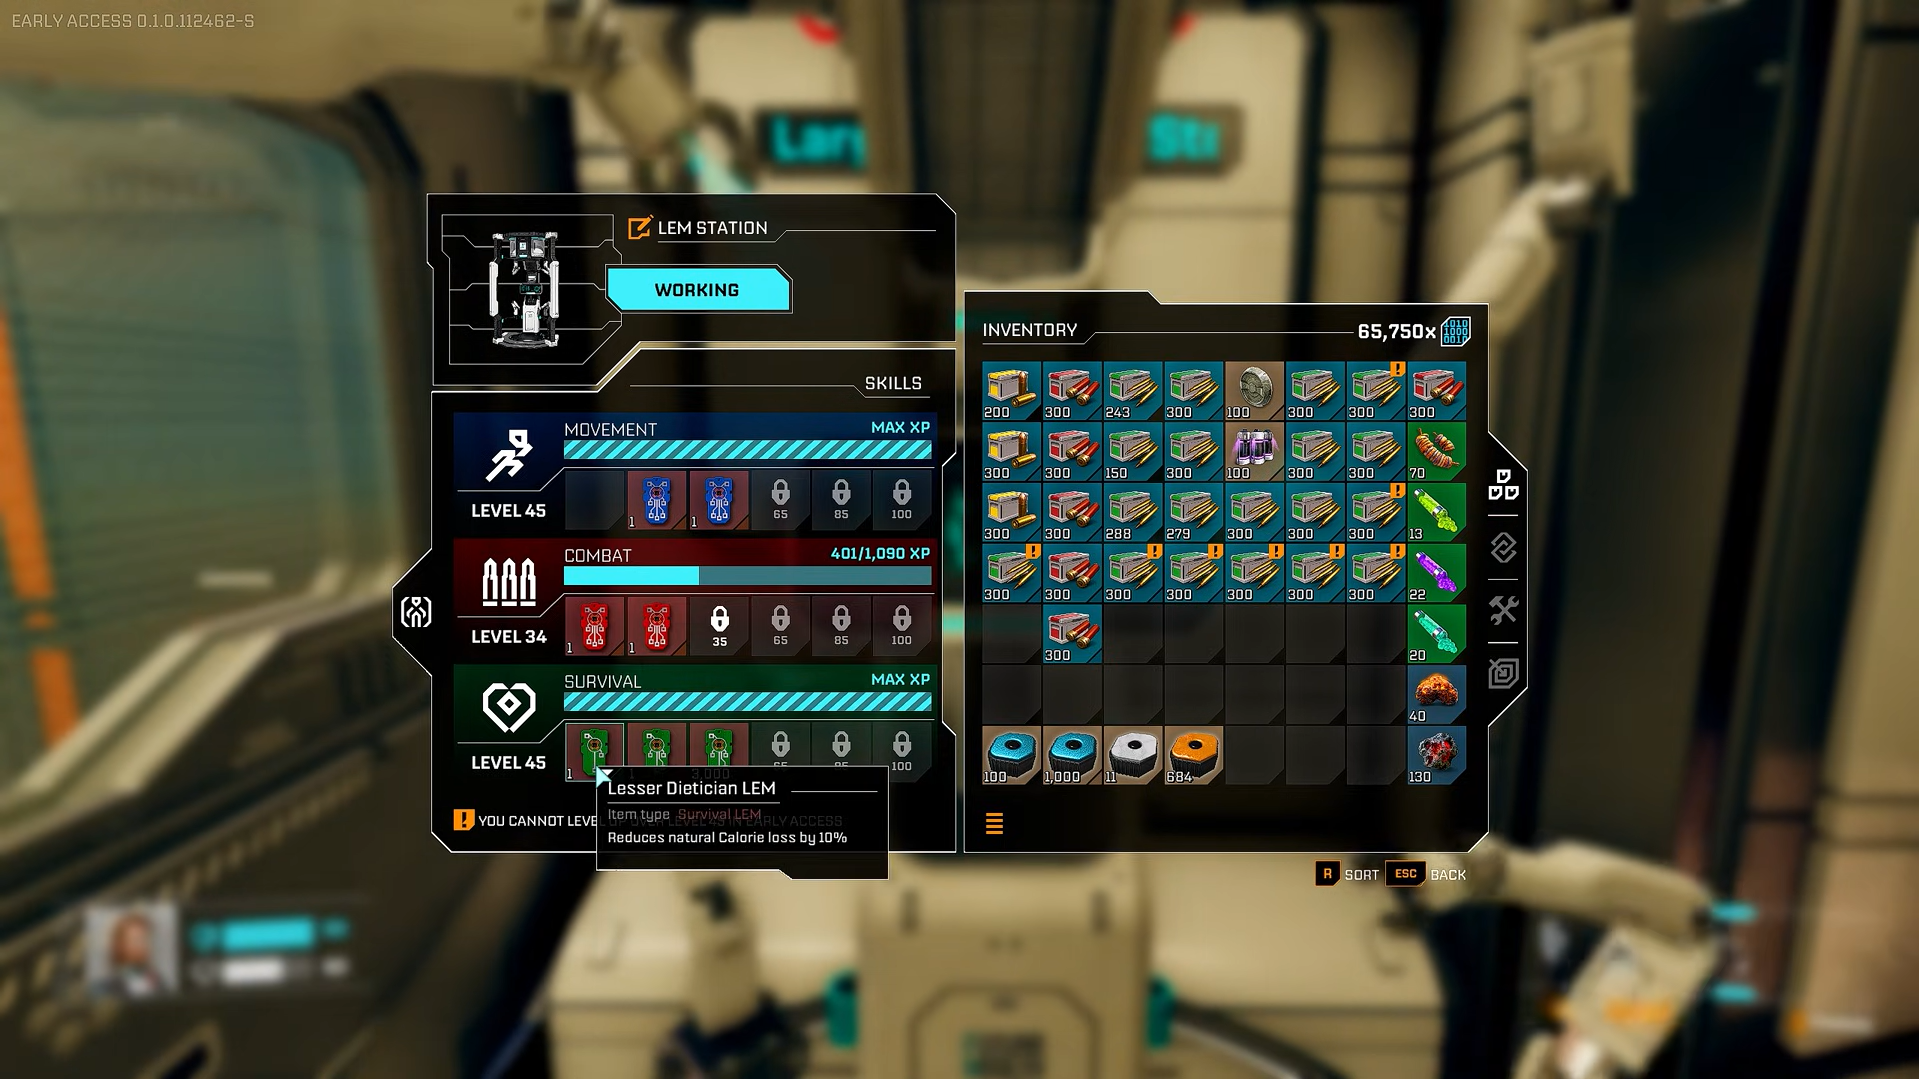
LEMs are divided into three main categories based on playstyle:
- Movement: Enhances sprinting, jumping, climbing, and stamina efficiency.
- Combat: Boosts damage, weapon handling, reload speed, and shields.
- Survival: Improves health, regeneration, resource gathering, and efficiency.
Each LEM has a unique effect (e.g., +40 max shield or +15% sprint speed) and comes in tiers, indicated by lines or squares on its icon. Higher-tier LEMs offer stronger bonuses, so prioritize them when building a specialized setup, whether for tankiness, speed, or survivability.
Do LEMs stack?
Yes, LEMs of the same type stack. For example:
- If you have one LEM that gives “+30 max shield” and another that also gives “+30 max shield,” your total max shield increases by +60.
- The same applies to movement and survival LEMs; multiple copies of the same effect add together.
This makes farming multiple copies of strong LEMs very powerful, especially for builds that rely on high shield, health, or speed.
How to equip LEMs
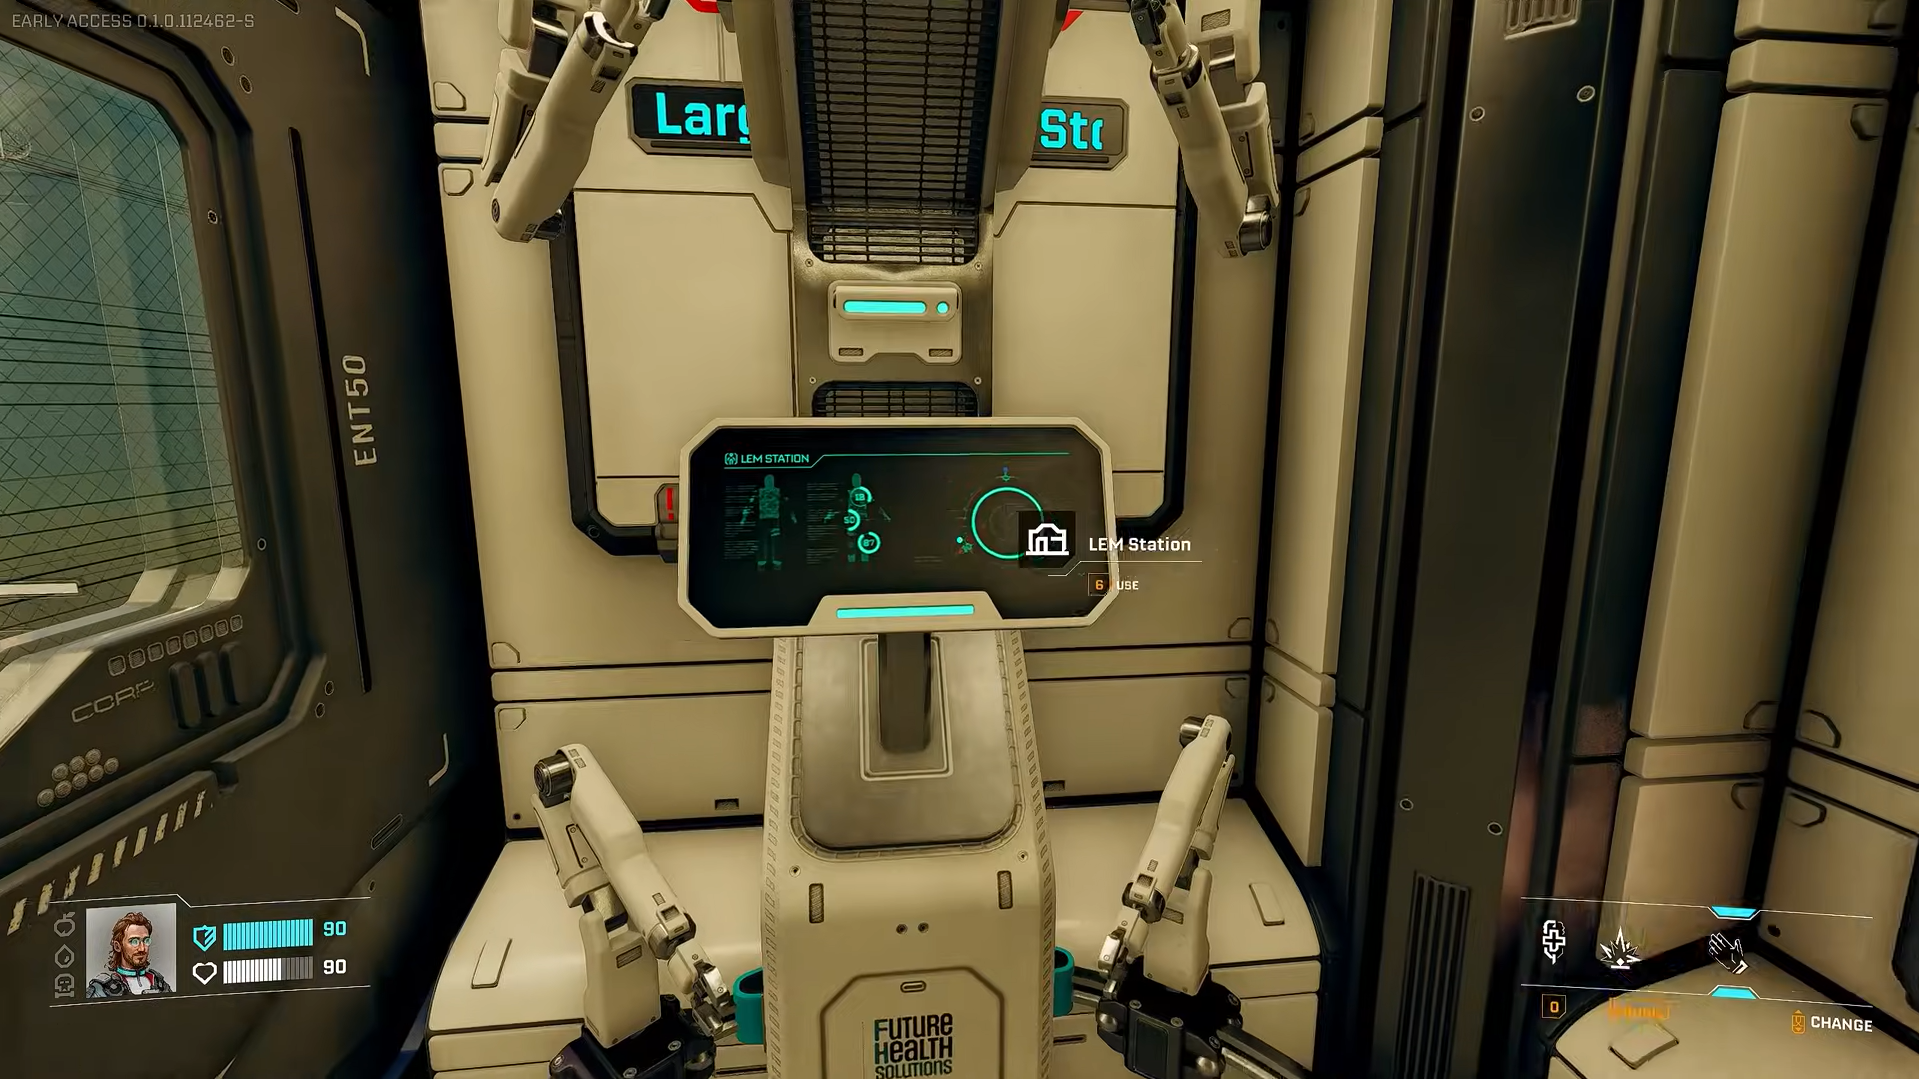
To use LEMs, you need to build and interact with the LEM station in your base.
Step 1: Build and access the LEM station
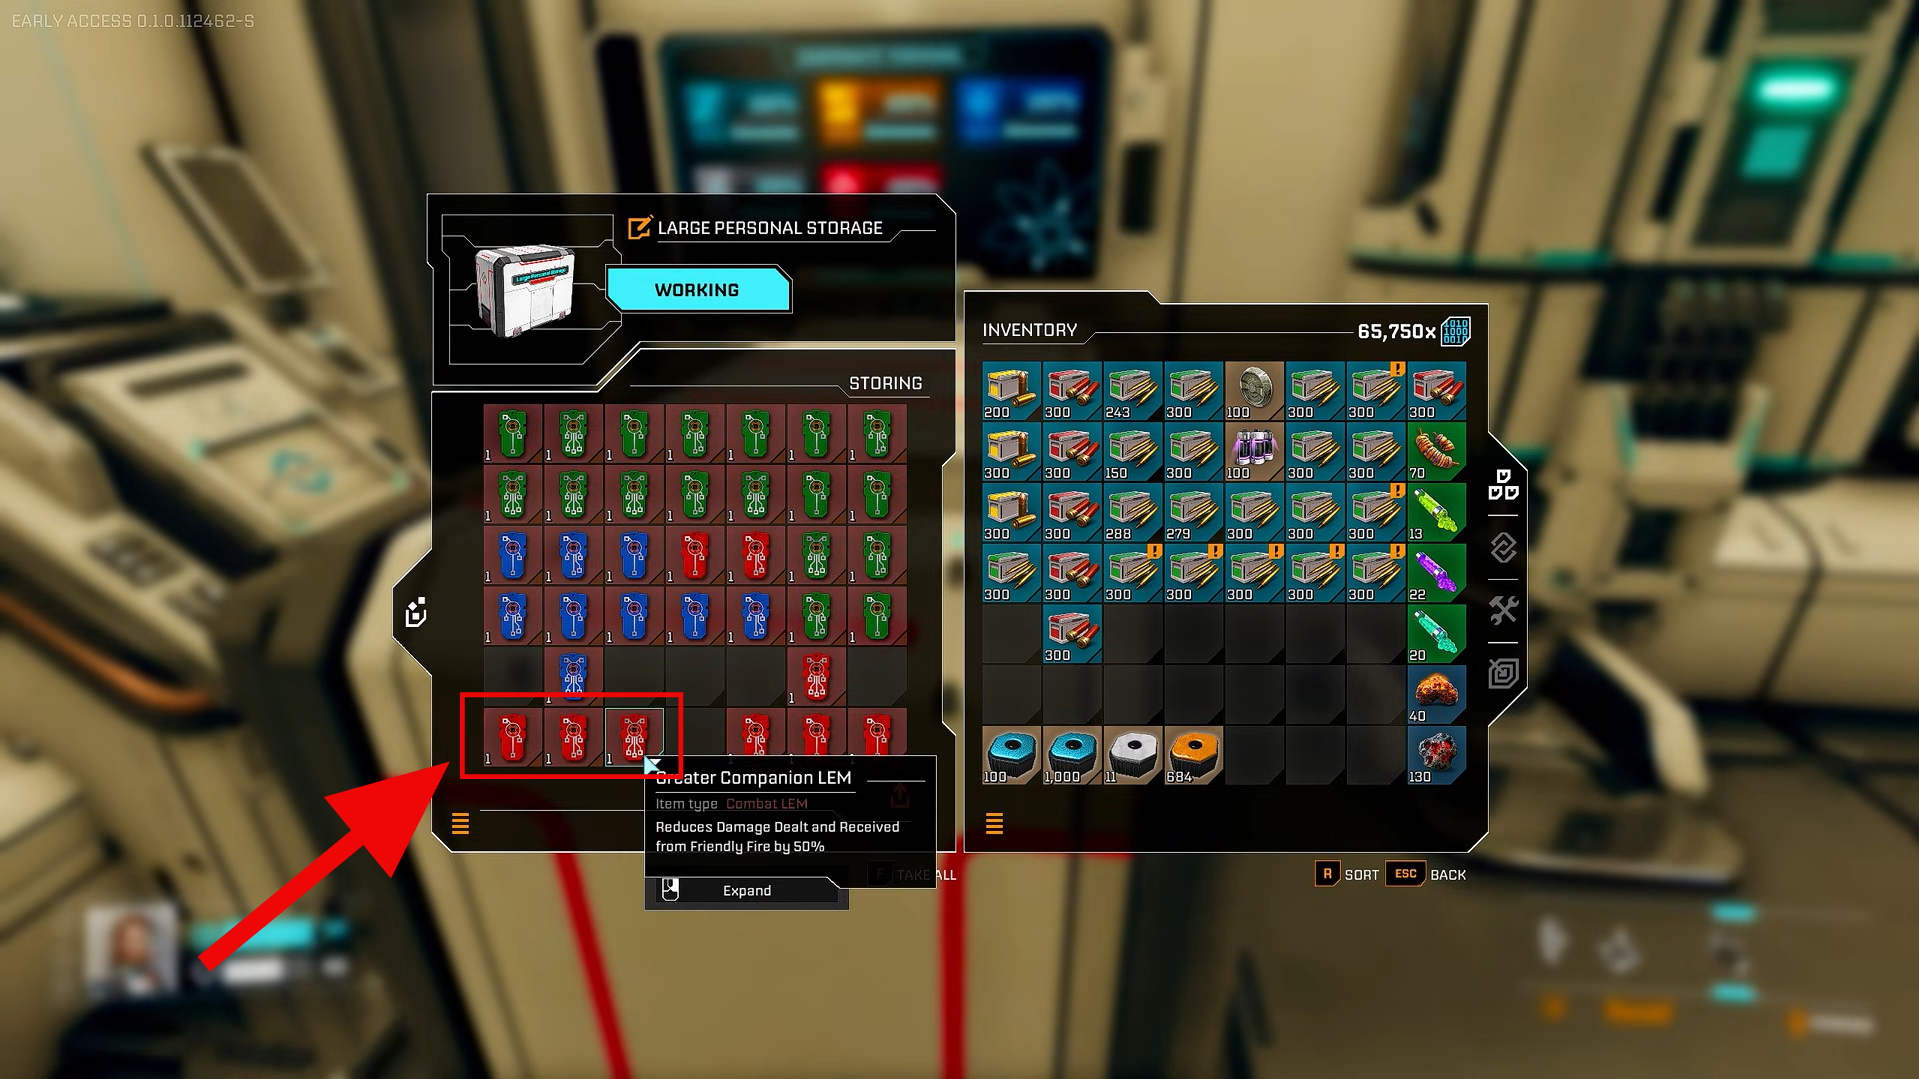
Unlock the LEM station blueprint, place it in your base, and power it like any other structure. Interact with the station to open the LEM menu, where you can browse and equip modules across Movement, Combat, and Survival.
Step 2: Equip LEMs
Drag modules from your inventory into the slots for the appropriate category. In early access, you can equip up to 3 LEMs per category for a total of 9 active modules.
Step 3: Confirm and save
After arranging your LEMs, confirm the setup to apply the bonuses. They take effect immediately and are saved automatically for future sessions
How to find more LEMs
LEM modules are scattered all over the world, so exploring is key.
- Loot containers, crates, and lockers in ruins, outposts, and underground areas.
- Check dead bodies (they often have LEMs and other valuable loot).
- Look for special LEM stations or hidden rooms that contain high‑tier LEMs.
- Use the map to track unlooted orange markers; those often lead to LEMs.
Since LEMs stack, it’s worth revisiting areas later with better gear to farm multiple copies of strong modules.
Building and using LEMs effectively
- LEMs stack, allowing specialized builds:
- Tank: High-tier max health and shield LEMs for survivability.
- Speed: Sprint speed and stamina drain reduction LEMs for fast traversal.
- Efficiency: Survival LEMs to reduce resource use and improve base/factory efficiency.
- Prioritize high-tier LEMs (more lines/squares on the icon) for your main playstyle.
- Rename LEMs in inventory (if possible) to easily track strong modules.
- Avoid placing powerful LEMs in unused categories.
- Revisit old areas after gear upgrades; previously unreachable LEMs may now be accessible.
Mastering your LEM setup in StarRupture
Stacking and equipping high-tier LEMs in your preferred categories can dramatically boost combat, movement, and base efficiency. Keep farming stronger modules and tweak your setup as you go, even a few well-chosen LEMs can make alien waves and long explorations far easier to handle.
Glad you followed along! If you have suggestions, questions, or want more details, just leave a comment—we’re always checking the section.


