Here is how you can complete “Disruption” in COD Black OPs 7 CO-OP campaign step-by-step. Find the complete walkthrough for “Disruption” and get “Lock in shock” emote.
Rewards and details
Rewards
- Mission Completion Reward: ‘Lock in Shock’ emote
- XP: 5,000 XP
Mission navigation:
- Previous: Escalation
- Next: Collapse
Scene:
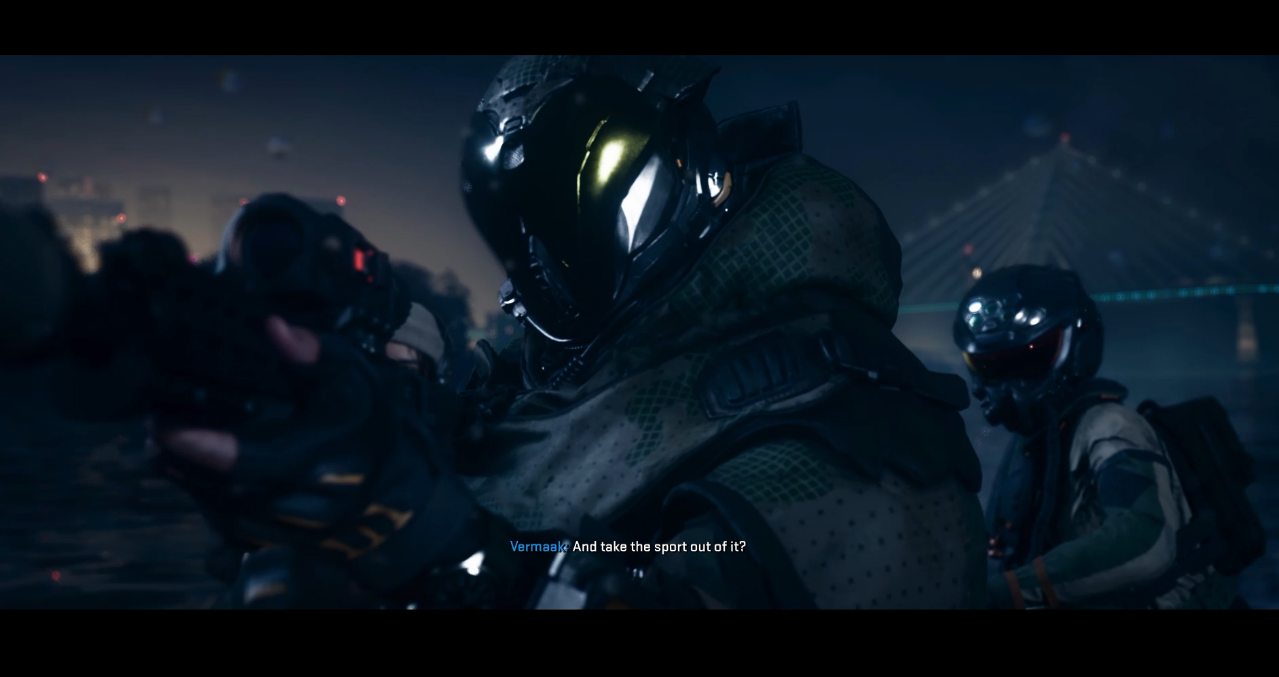
‘Disruption’ is the fifth mission Black Ops 7 campaign. “After the events of “Isolation”, Specter Two, a JSOC unit led by Razor infiltrates a Guild facility known as “The Forge” in order to decrypt the file Karma needs”
“Disruption” Walkthrough
Step 1:
The mission starts with a short cinematic cutscene, after which you will land on a yacht. Your first objective is to head towards the VIP room to capture Fukasawa, which you can also see on your HUD on the left end

Step 2:
Once the gunfight starts all the enemies onboard will be aware of your presence so try not to rush the enemies alone without your squad. Head to the port side of the deck and take a right to enter the cabin. If you played any COD game before you should be able to recognize the layout of the yacht as it is the same map as the famous “Hijacked” map. Clear the first level of the yacht of the enemies, remember to aim at heads to keep the gunfights shorter. Find an opening to the lower levels through a hatch, there are multiple hatches throughout the map, it should look something like this:

Step 3:
Enter the hatch to enter the lower level deck, and clear the area infront of you then head to the left and move towards the bow of the ship, you should find a meeting room with a locked door, if someone in your team finds the area first it will be highlighted in your minimap as you can see below:

Gather infront of the door, the cutscene here will trigger only if all your team members have assembled in the area.
Step 4:
Following the previous step should trigger a cutscene, at the end of the cutscene you should be facing robot enemies, mostly DAWGs and robot soldiers. Once you have eliminated the enemies your next objective will be to find the bridge and ram the ship on the forge. You can find the bridge area on the upper decks. This should trigger another cutscene at the end of which you should find yourself back on land. Here you will find your next objective, i.e Infiltrate the forge which should be visible on your HUD

Step 5:
Move forwards and jump down the skylight and continue killing the enemies. Once the are is clear you will find a lift on north-east side of the area. Trying to start the elevator should trigger another wave of enemies so make sure you are ready. On the north west end you will find this door:

Step 6:
Open it and head inside and move through the passage on the left side of the room you should arrive in an area which is on fire:

Step 7:
You will find the area on your left not accessible but directly but if you head straight on the left you will find a small opening through which you can enter by crouching, inside you will find ammo crates and health kits. Pick up everything you need and head outside on the right end of he burning area you will find a staircase:

Step 8:
Head up and you will encounter more enemies, note that there will be enemies with shields so keep some type throwables, either flash or frag with you to deal with them. Head straight clearing up the enemies at the end of hallway there will be stairs heading downstairs, keep following the objective markers and you will reach the security room. There will be an open terminal in the security room that you can access, which is basically a puzzle mini game, completing it should shutdown the lockdown protocol.

Step 9:
Now head back to the lift you spotted earlier which didn’t work. On your way back you will encounter a boss area which is basically a Gun turret called “Guild Turret”. It will be surrounded by revolving panels and some grunt enemies, the panels can provide you some cover.

Step 10:
The turret will surround itself with some energy shield which will prevent your weapons for causing it any damage, here you will have to use the EMP grenades to lower its shields and then shoot at it. Continue this hit and run tactic and do not stay visible to turret for very long as it cause significant damage. Once the turret is destroyed head to the elevator, it should take you to the next area in the mission.
Step 11:

This area of the map is linear in design and there’s only one way you can go which is straight ahead. Although in the first hall right infront of you when you exit elevator, there are weapons and armor crates on the right end, make sure you restock yourself before heading forward. Keep pushing forward and you will arrive at an arena full of enemies:

Step 11:
Eliminate the enemies and head straight to enter the Quantum computer room:

Step 12:
Here you will have a “Hold the tower” objective, you will have to hold off hordes of enemies while the decryption process completes. Use everything in your inventory from throwables to deployables to hold of the enemies in the passage:

Step 13:
After defending the computer you will find a drive, grab it and head to the left of the room and follow the objective markers. Remember the map design is linear and if any door opens that is where you are supposed to be heading. You will arrive at the end of a tunnel with multiple armoured vehicles, head down the tunnel clearing the hordes of enemies:

Step 14:
Keep following the “yellow brick road” and you will arrive at a subway station:

Step 15:
From here head up to the surface, while heading up you will again encounter enemies and shield enemies as well, remember throwables work the best against shield. On the surface above there will be even more enemies, now your objective is to find a route to “Kawauso Tower”, keep pushing forward till an objective marker appear in the minimap:

Step 16:
You will have to traverse through rooftops while engaging multiple enemies, remember there is a gap between the roofs so jump, do not assume there will be surface right beneath you. you will be jumping through cranes, buildings, roofs, ledges and everything else, so make sure to time your jumps or you will fall.

Step 17:
At the end you should reach an elevator where your objective will change to “Exfil”.

Step 18:
The elevator will take you to a boss fight arena, on the rooftop you will encounter another boss called “Guild VTOL” which is as the name suggests a VTOL. The VTOL will also be equipped with an energy shield so wait for the shield to lower before shooting at it otherwise you’ll just be wasting ammo. The roof will also be filled with enemy grunts and loots and health kits so keep looking around for anything useful. The VTOL has a dash attack where it dashes in a straight line carpet bombing everything in the path so make sure you steer clear of that attack as it will almost certainly kill you. Engage the VTOL preferably with RPGs as they cause the most damage, your firearms will also cause damage but not enough.

Step 19:
Once you shootdown the VTOL the mission will end. You can congratulate yourself on completing yet another mission.
You will receive the ‘Lock in Shock’ emote as a reward.

Tips
- Keep throwables and deployables with you as all the boss fights require them, especially the Turret boss fight.
- Do not rush enemies alone as the map is considerably compact and you wont have a whole lot of cover. Remember you are playing as a team.
- Keep a check of your ammo, don’t waste ammo. Both the bosses have shields so wait for the shields to go down before you engage.


