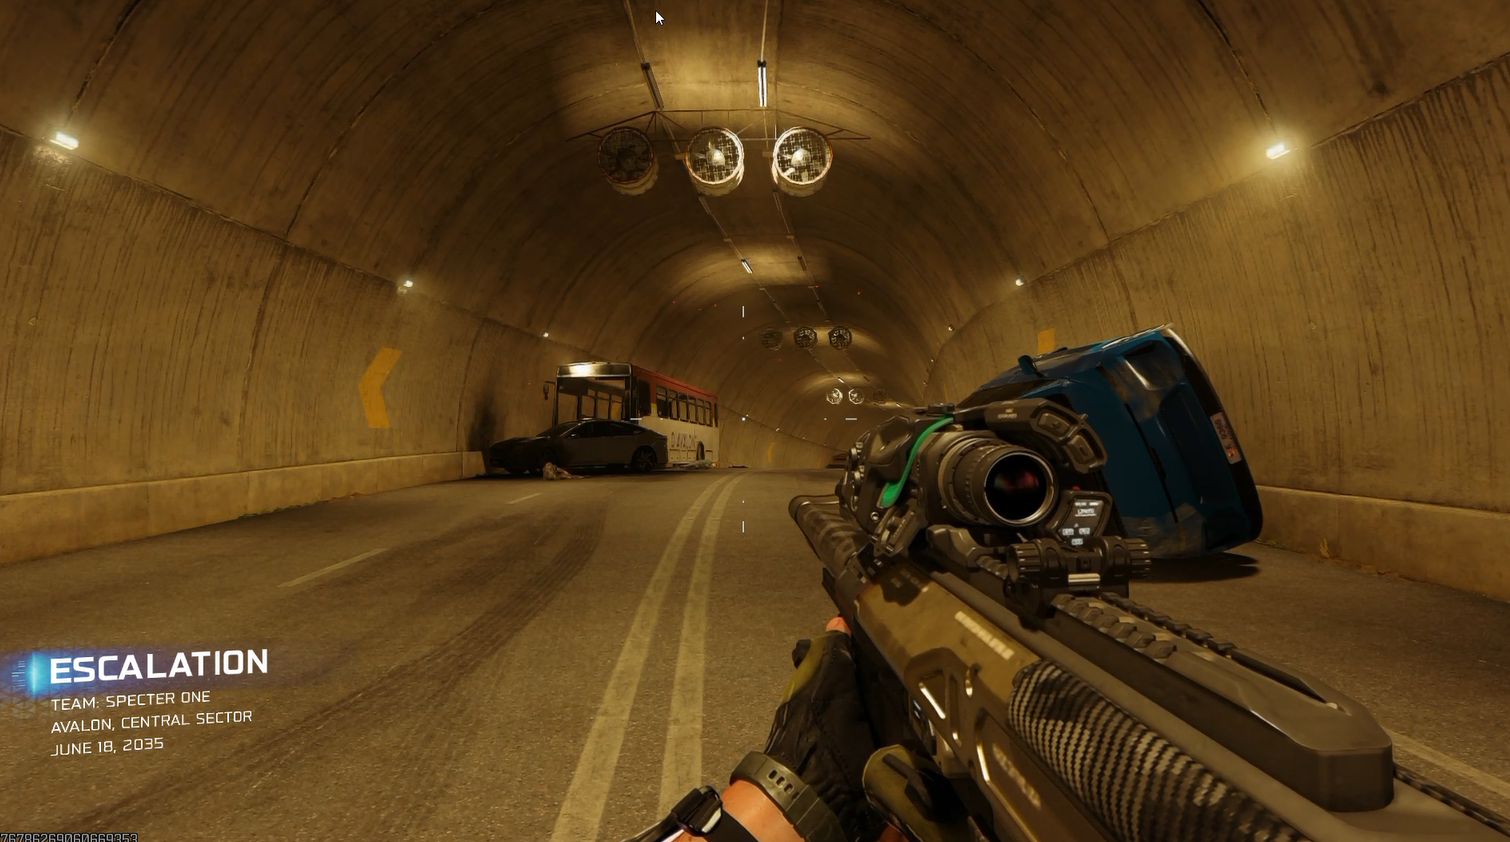
Here is how you can complete Escalation in the Call of Duty: Black Ops 7 campaign step-by-step. Find the complete walkthrough for Escalation and earn the Sniper, No Sniping! Emblem as your reward.
In the mission ‘Escalation’, you will follow and hunt down sniper Priya Zaveri, invade a Guild bunker, spike servers, and recover critical data for Karma. The mission combines tracking, combat and objective-based tasks across multiple locations.
Previous Mission
- Distortion
Next Mission
- Disruption
COD BO7 Escalation mission rewards
After completing the Escalation mission, you will get:
- Sniper, No Sniping! Emblem
COD Black OPS 7 ‘Escalation’ mission walkthrough
Follow these steps to complete the Escalation mission in Call of Duty Black Ops 7:
Step 1
Begin at the Roman Canal and follow the mission signal. Your goal is to locate the person of interest near the Aqueduct. Move carefully along the path, as enemies may appear.

Step 2
At the Aqueduct, approach the parked van. Interacting with it triggers a scripted encounter with a sniper. Be ready for incoming enemies after investigating.

Step 3
A cutscene will show the sniper, Priya Zaveri, highlighting her position and introducing the next objective: hunt her down.
Screen Recording by: NerdsChalk
Step 4
Track Priya Zaveri through the area. As you move, you’ll encounter multiple enemy soldiers; eliminate them all to clear your path.
Screen Recording by: NerdsChalk
Step 5
You’ll come across an Echo Unit (a holographic decoy designed to trick you). Press F to scan it so Karma can track the sniper’s real location.
Screen Recording by: NerdsChalk
Step 6
On the rooftop, locate a supply cache. Open it to acquire the Kinetic Jump minor ability, which will help you jump extreme heights in upcoming missions.

Step 7
As soon as Karma confirms Priya’s location, follow the directions to the Art Warehouse. Enemies may attempt to slow you down, so move carefully while engaging threats along the way.

Step 8
At the Art Warehouse, you will find another Echo Unit. Press F to scan it so Karma can continue tracking Zaveri’s location. Eliminate enemies in the warehouse as you progress.
Screen Recording by: NerdsChalk
Step 9
Head towards the Heliport to reduce the distance to your target. Enemy reinforcements will attack along the path, so stick to cover and clear threats as you move forward.
Screen Recording by: NerdsChalk
Step 10
At the Heliport, engage in the final fight with Priya Zaveri. Use long-range weapons to take out any enemies assisting her. Keep moving to avoid being pinned down. Continue firing until she is down.
Screen Recording by: NerdsChalk
Step 11
After eliminating Priya, pick up her network access card. This is required to access the Guild data bunker and spike the servers in the next steps.
Screen Recording by: NerdsChalk
Step 12
Karma will send coordinates to the Guild Data Bunker. Follow the mission marker to the bunker and prepare to spike the servers while defending yourself from waves of enemies.
Screen Recording by: NerdsChalk
Step 13
Move through the Communication Tower Area to reach the bunker entrance. Inside the bunker, locate the Main Terminal. Use Priya’s access card to enter.
Screen Recording by: NerdsChalk
Step 14
When you reach the Server Room, you’ll need to spike three servers using Karma’s devices. Interact with each server sequentially and defend yourself during the spiking process.
Screen Recording by: NerdsChalk
Step 15
After spiking the servers, recover the drives from each server. Once all Karma’s devices are retrieved, the mission ends with a cutscene, where Karma explains the intel she discovered.
Screen Recording by: NerdsChalk
Tips for completing the Escalation mission
- Stick to cover and clear enemies room by room to avoid being overwhelmed.
- Use long-range weapons against Zaveri and rooftop enemies.
- Staying in one spot too long makes you an easy target for enemies.


