- What to know
- Route view controls and what each button does
- Quick reference table for the route UI
- How to read the route difficulty colors
- Difficulty color scale and early-area expectations
- How to restore the difficulty legend if it disappears
- How to use maps and route planning together
- Route planning checklist table
What to know
- The game’s suggested routes are shown in a dedicated route view you open with the route/map controls.
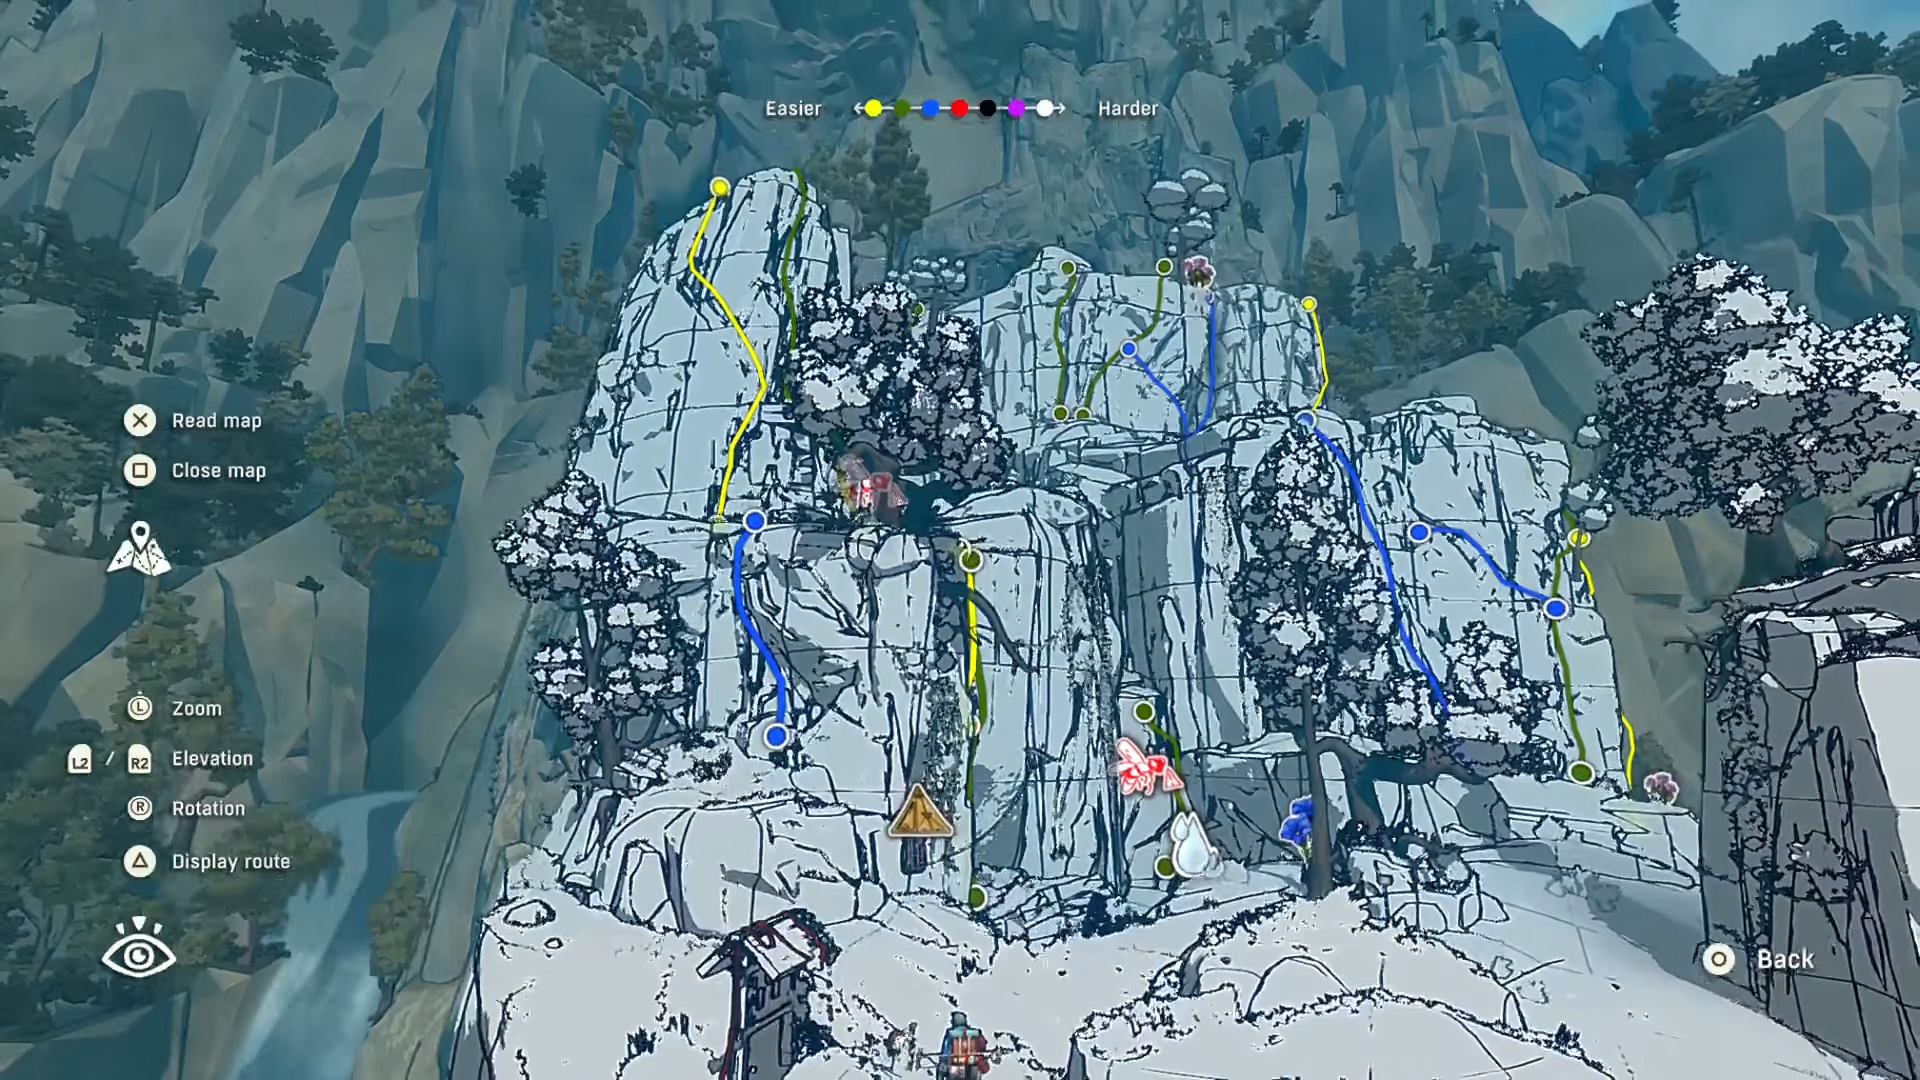
- Route difficulty is communicated with a color scale (easier to harder) displayed at the top of the route UI.
- If the difficulty ranking/legend vanishes after changing camera controls, it can be restored by toggling the route UI.
- Maps found during exploration can also show color-coded route difficulty, helping with safer planning.
Cairn’s route system is built to help plan climbs without locking movement into a single “correct” path, and the difficulty colors are meant to guide route choice rather than dictate it.
Right after arriving in the Escarpment (the early starting area), Cairn prompts opening the route view via the controller route button (notably L1 on PlayStation). In that route view, pressing Square brings up the difficulty rankings/legend at the top, where colors indicate an easier-to-harder scale. Pressing Triangle improves camera movement (free camera feel), but it can cause the route rankings/legend to disappear from the UI until it’s toggled back on.
Quick reference table for the route UI
| Action | What it does | Notes |
|---|---|---|
| Open route view (PlayStation L1) | Enters the standard route viewing mode | This is introduced in the Escarpment area. |
| Square | Shows the route difficulty rankings/legend at the top | Colors represent easier-to-harder difficulty. |
| Triangle | Improves camera movement | Can hide route rankings/legend until restored. |
How to read the route difficulty colors
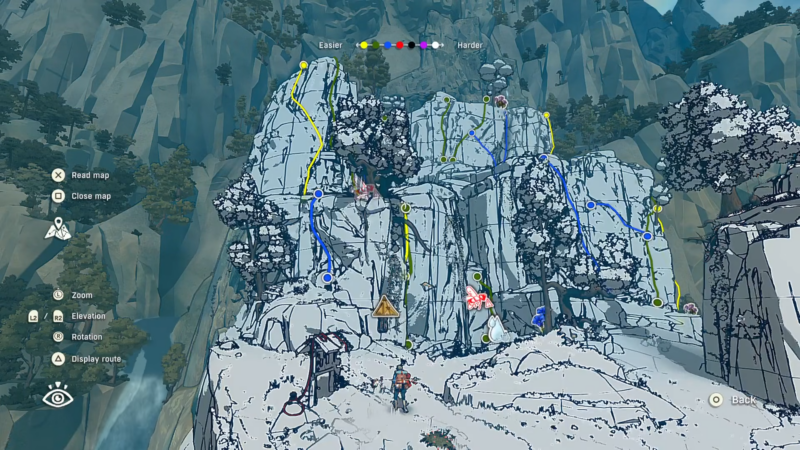
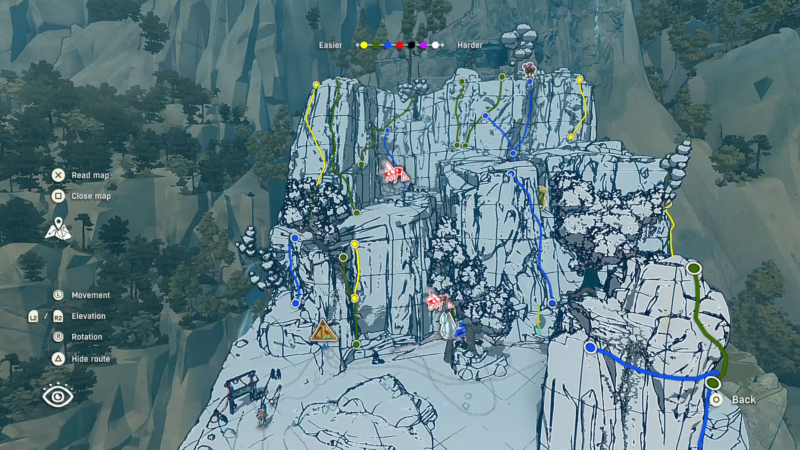
In the route rankings display, yellow is presented as easier, and the scale progresses toward harder colors, with pink and white described as harder at the top end. In the Escarpment area specifically, the available route colors commonly include yellow, green, and blue—consistent with it being an early zone. In later parts of the game, the same system helps pick routes intentionally—choosing an easier option for consistency or a harder one for challenge.
Difficulty color scale and early-area expectations
| Color | Meaning (as presented in-game UI explanation) | Where it commonly shows early |
|---|---|---|
| Yellow | Easiest end of the scale | Seen in the starting Escarpment routes. |
| Green | Above yellow on difficulty | Seen in Escarpment route choices. |
| Blue | Above green on difficulty | Seen in Escarpment route choices. |
| Pink / White | Harder end of the scale | Described as harder on the top-end of the legend. |
How to restore the difficulty legend if it disappears
The most common reason the difficulty rankings vanish is switching camera behavior with Triangle while in route view.
Step 1
Open route view using L1.
Step 2
Press Square to display the difficulty rankings/legend at the top.
Step 2

If Triangle is used for better camera control and the legend disappears, press Square to close the rankings panel, then reopen it (or close and reopen the route view) to force the legend to reappear.
Step 3
Re-check the legend at the top and choose a route color that fits the intended difficulty.
How to use maps and route planning together
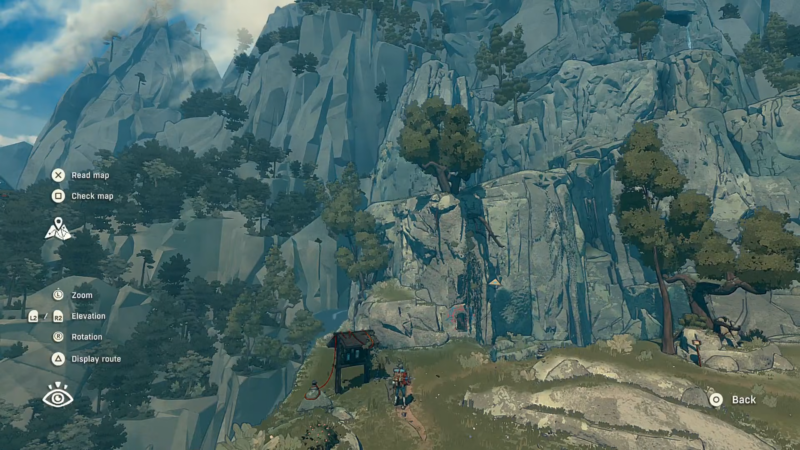
Exploration can reveal maps that show routes and safer paths, and these maps use color-coded difficulty to make route planning easier. Treat the map colors as a planning baseline, then adjust based on conditions like surface texture, available rests, and risk tolerance. When a map isn’t available, route selection becomes more observational—using terrain reading (like looking for cracks and features) to infer easier climbing lines.
Route planning checklist table
| Planning focus | What to look for | Why it matters |
|---|---|---|
| Map availability | Side paths, exploration finds that yield maps | Maps can reveal route options and difficulty colors. |
| Color difficulty | Yellow/green/blue in early zones, harder colors later | Helps pick a safer vs. tougher line intentionally. |
| Camera review | Use route view and camera control carefully | Avoid hiding the legend; restore it if needed. |
We hope this guide offered all the clarity you were looking for and made your experience smoother. If you have any feedback, suggestions, or questions, drop them in the comments below. We actively read and respond, so feel free to reach out whenever you need extra help or guidance.


