What to know
-
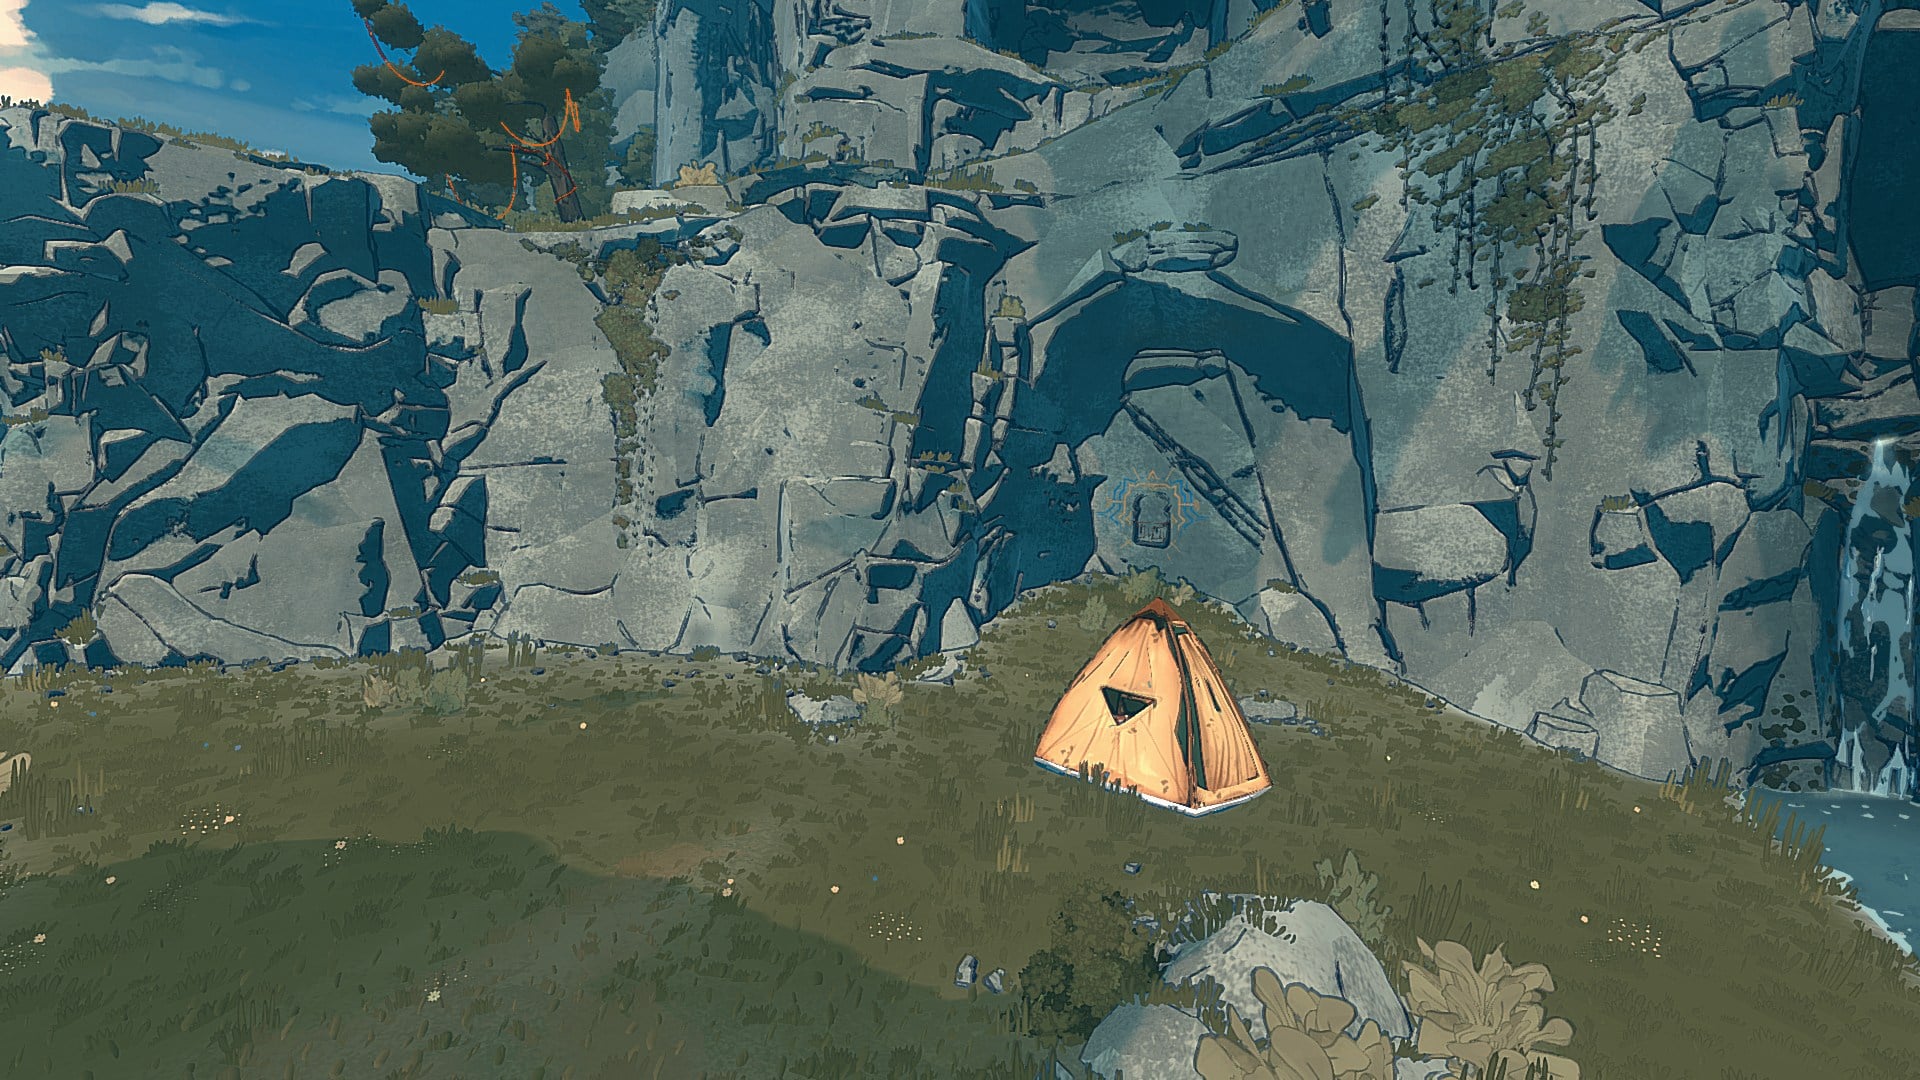
You can set up your tent only at certain marked save spots.
-
The tent is where you handle essentials like repairing pitons, cooking, recycling trash into chalk, taping hands, and reorganizing your pack.
-
Skipping bivouacs is risky because they’re more than saves; they are your main recovery and prep points between climbs.
The tent is not just a save point in Cairn; it is your repair, cooking, and recovery hub between hard climbing sections. You’ll use the tent most effectively when you plan your climb around reaching the next save spot, then do a quick maintenance pass before pushing higher.
| Need | What you do in the tent |
|---|---|
| Save and checkpoint | Use the save point to set up your tent at approved spots |
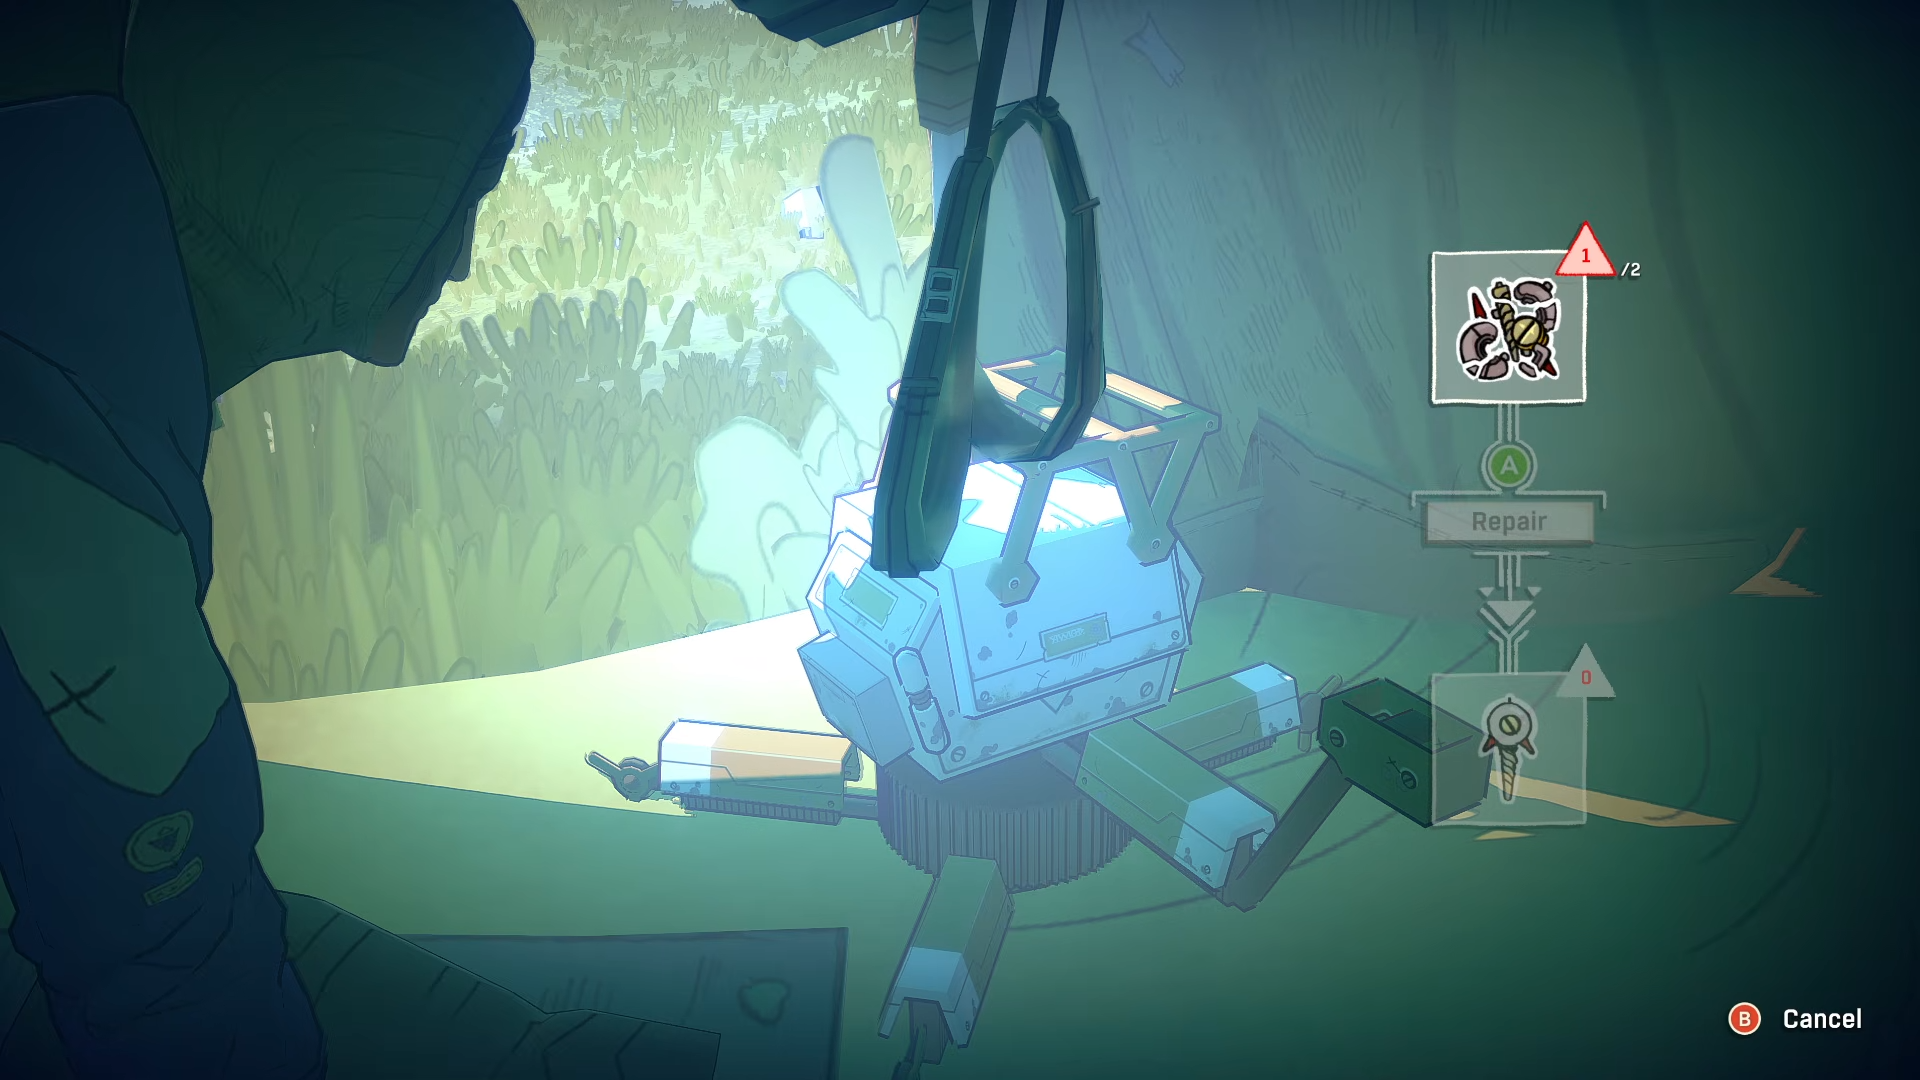
| Repair pitons | Repair damaged pitons while resting, using your robot’s maintenance options |
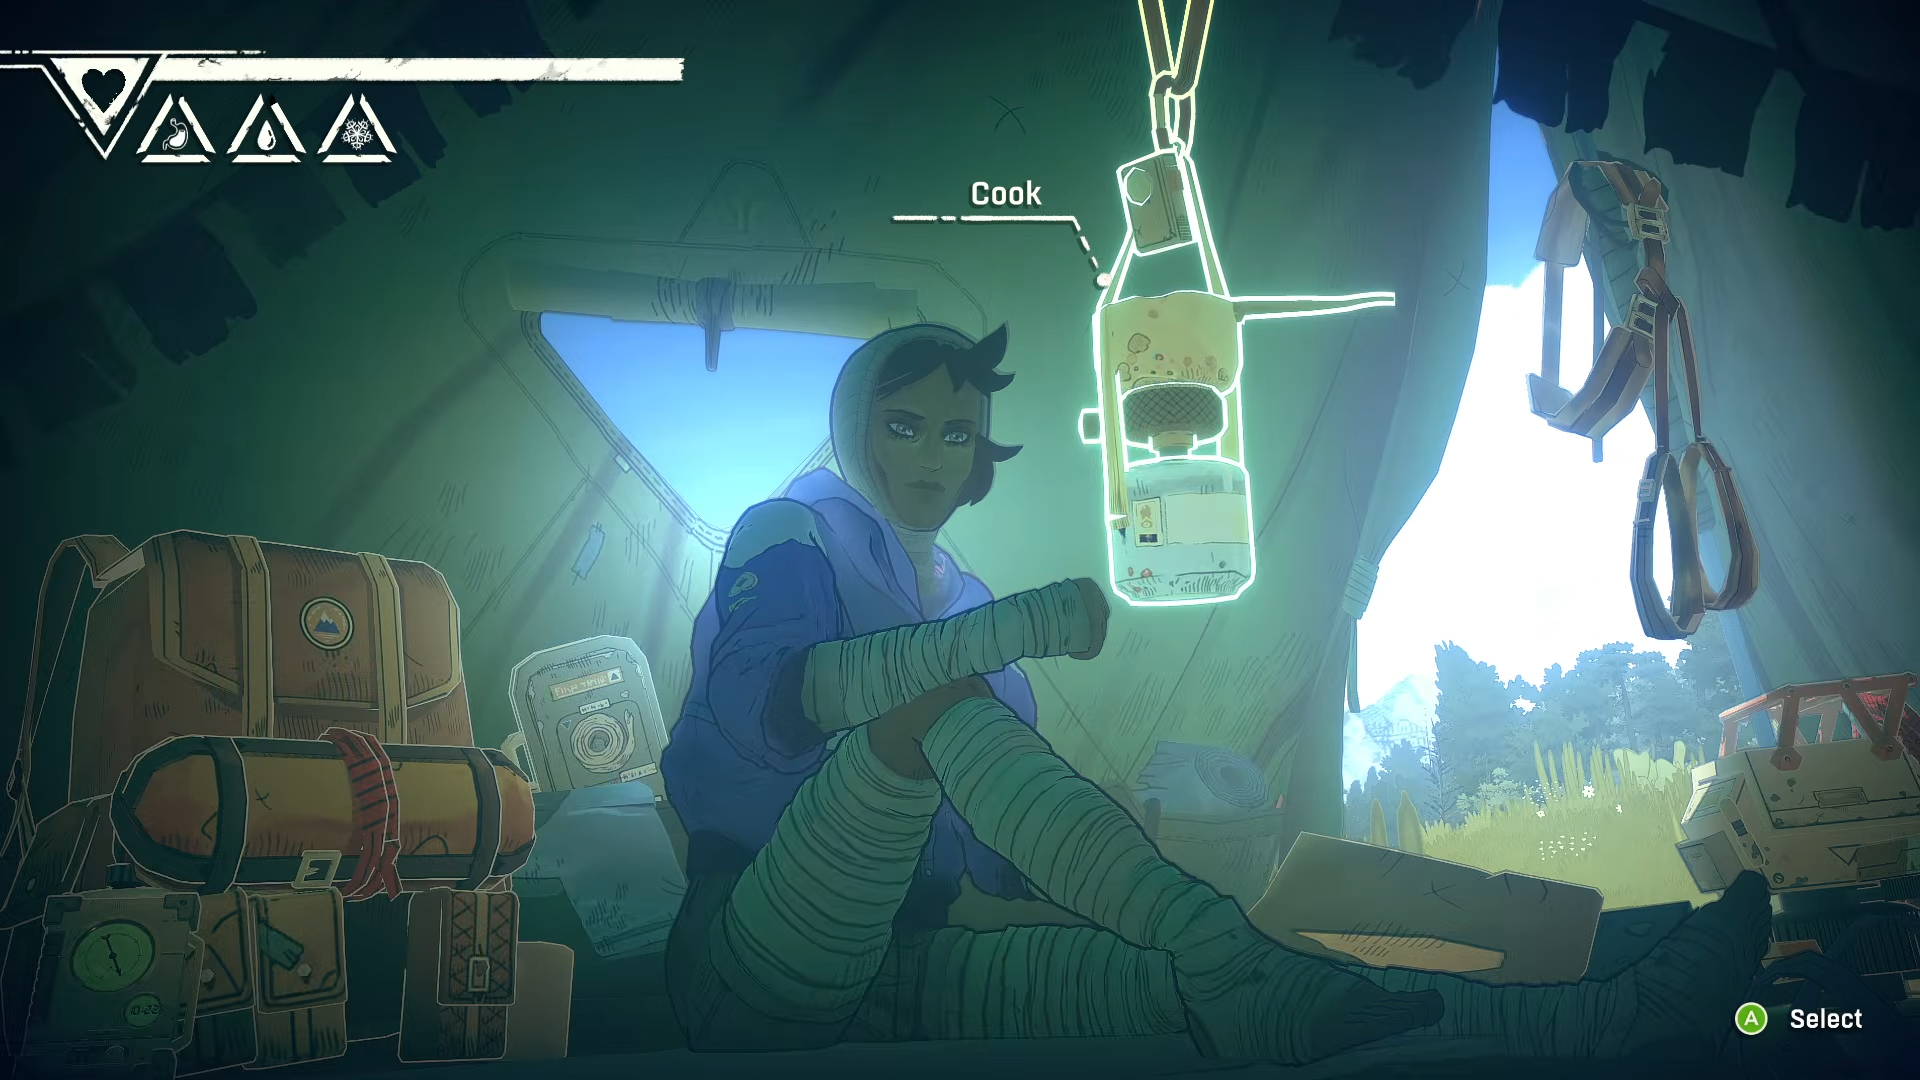
| Food prep | Cook and combine ingredients into rations |
| Chalk and grip prep | Recycle trash into climbing chalk, then refill as needed |
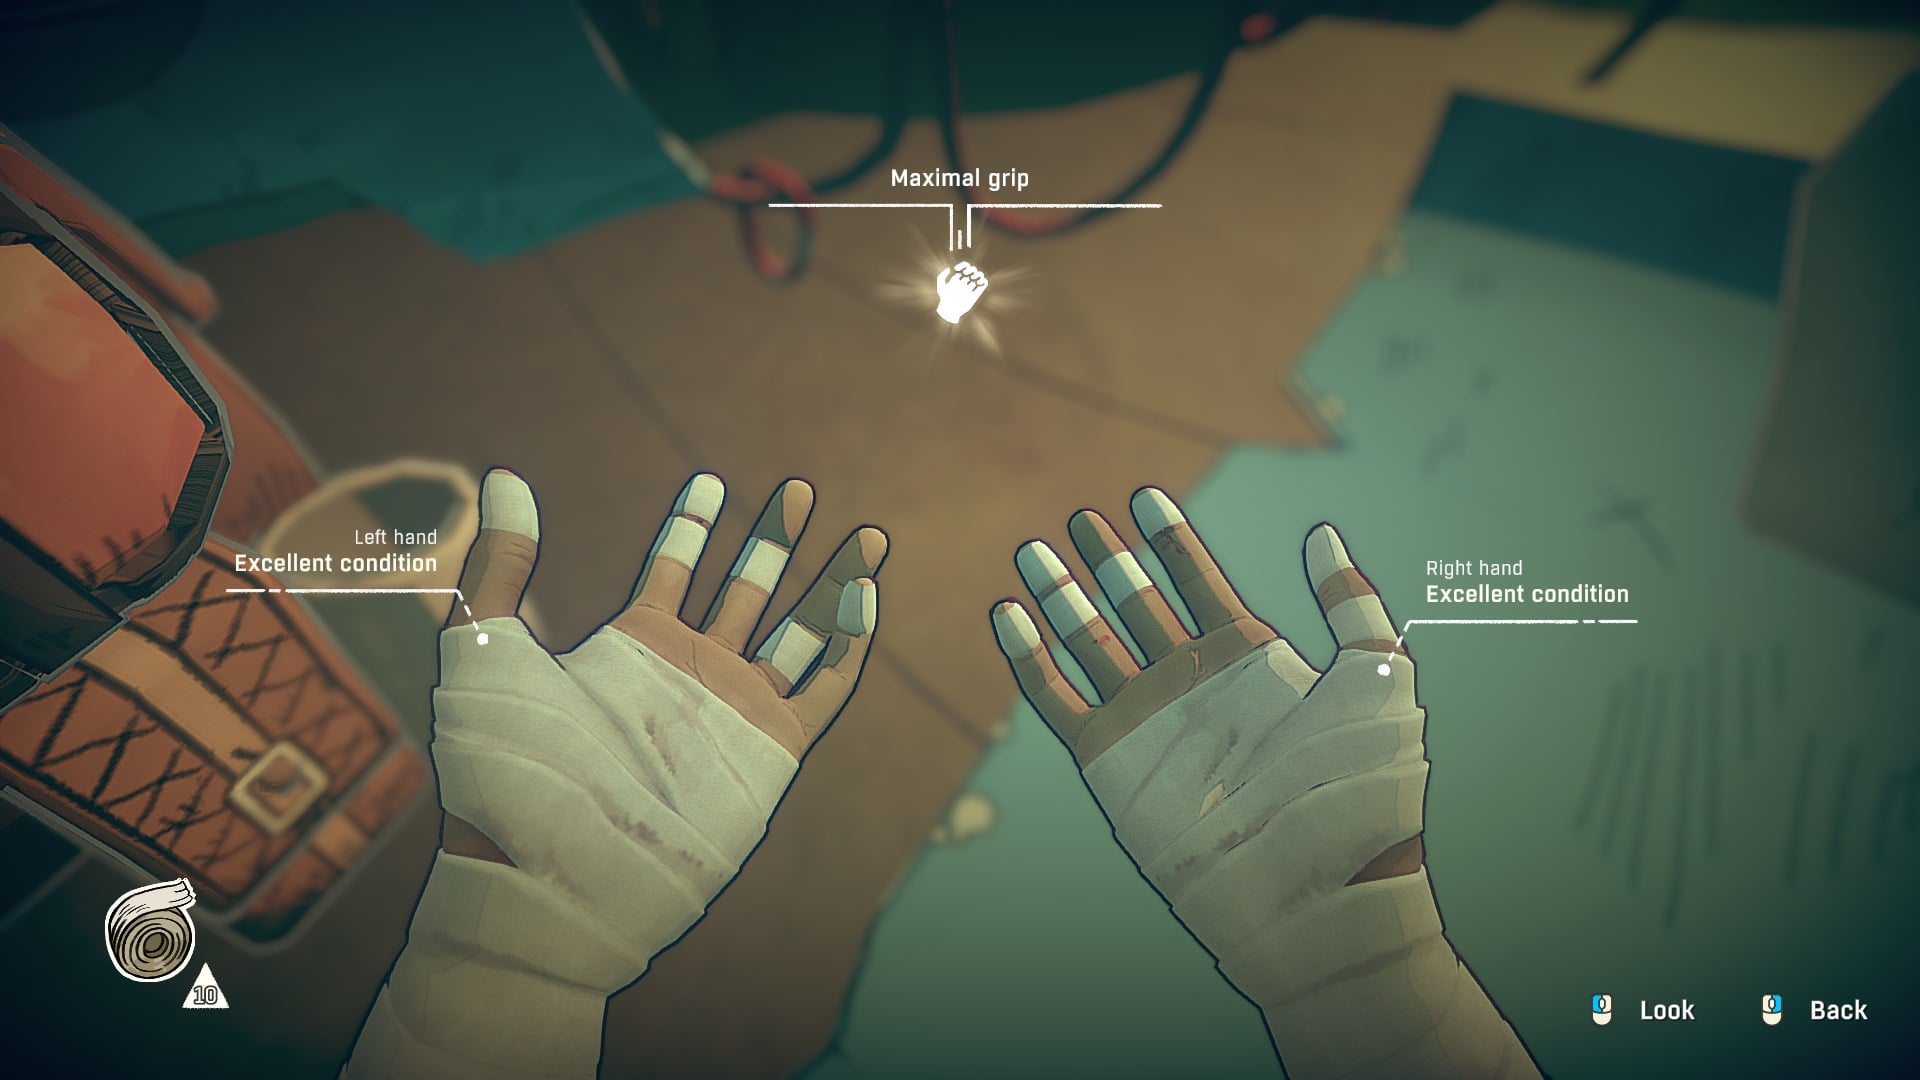
| Hand care | Tape your fingers/hands during bivouac interactions |
| Inventory management | Reorganize gear (including shaking your bag) |
| Weather check and rest | Check conditions, then sleep or pass time before moving out |
Where you can actually place the tent
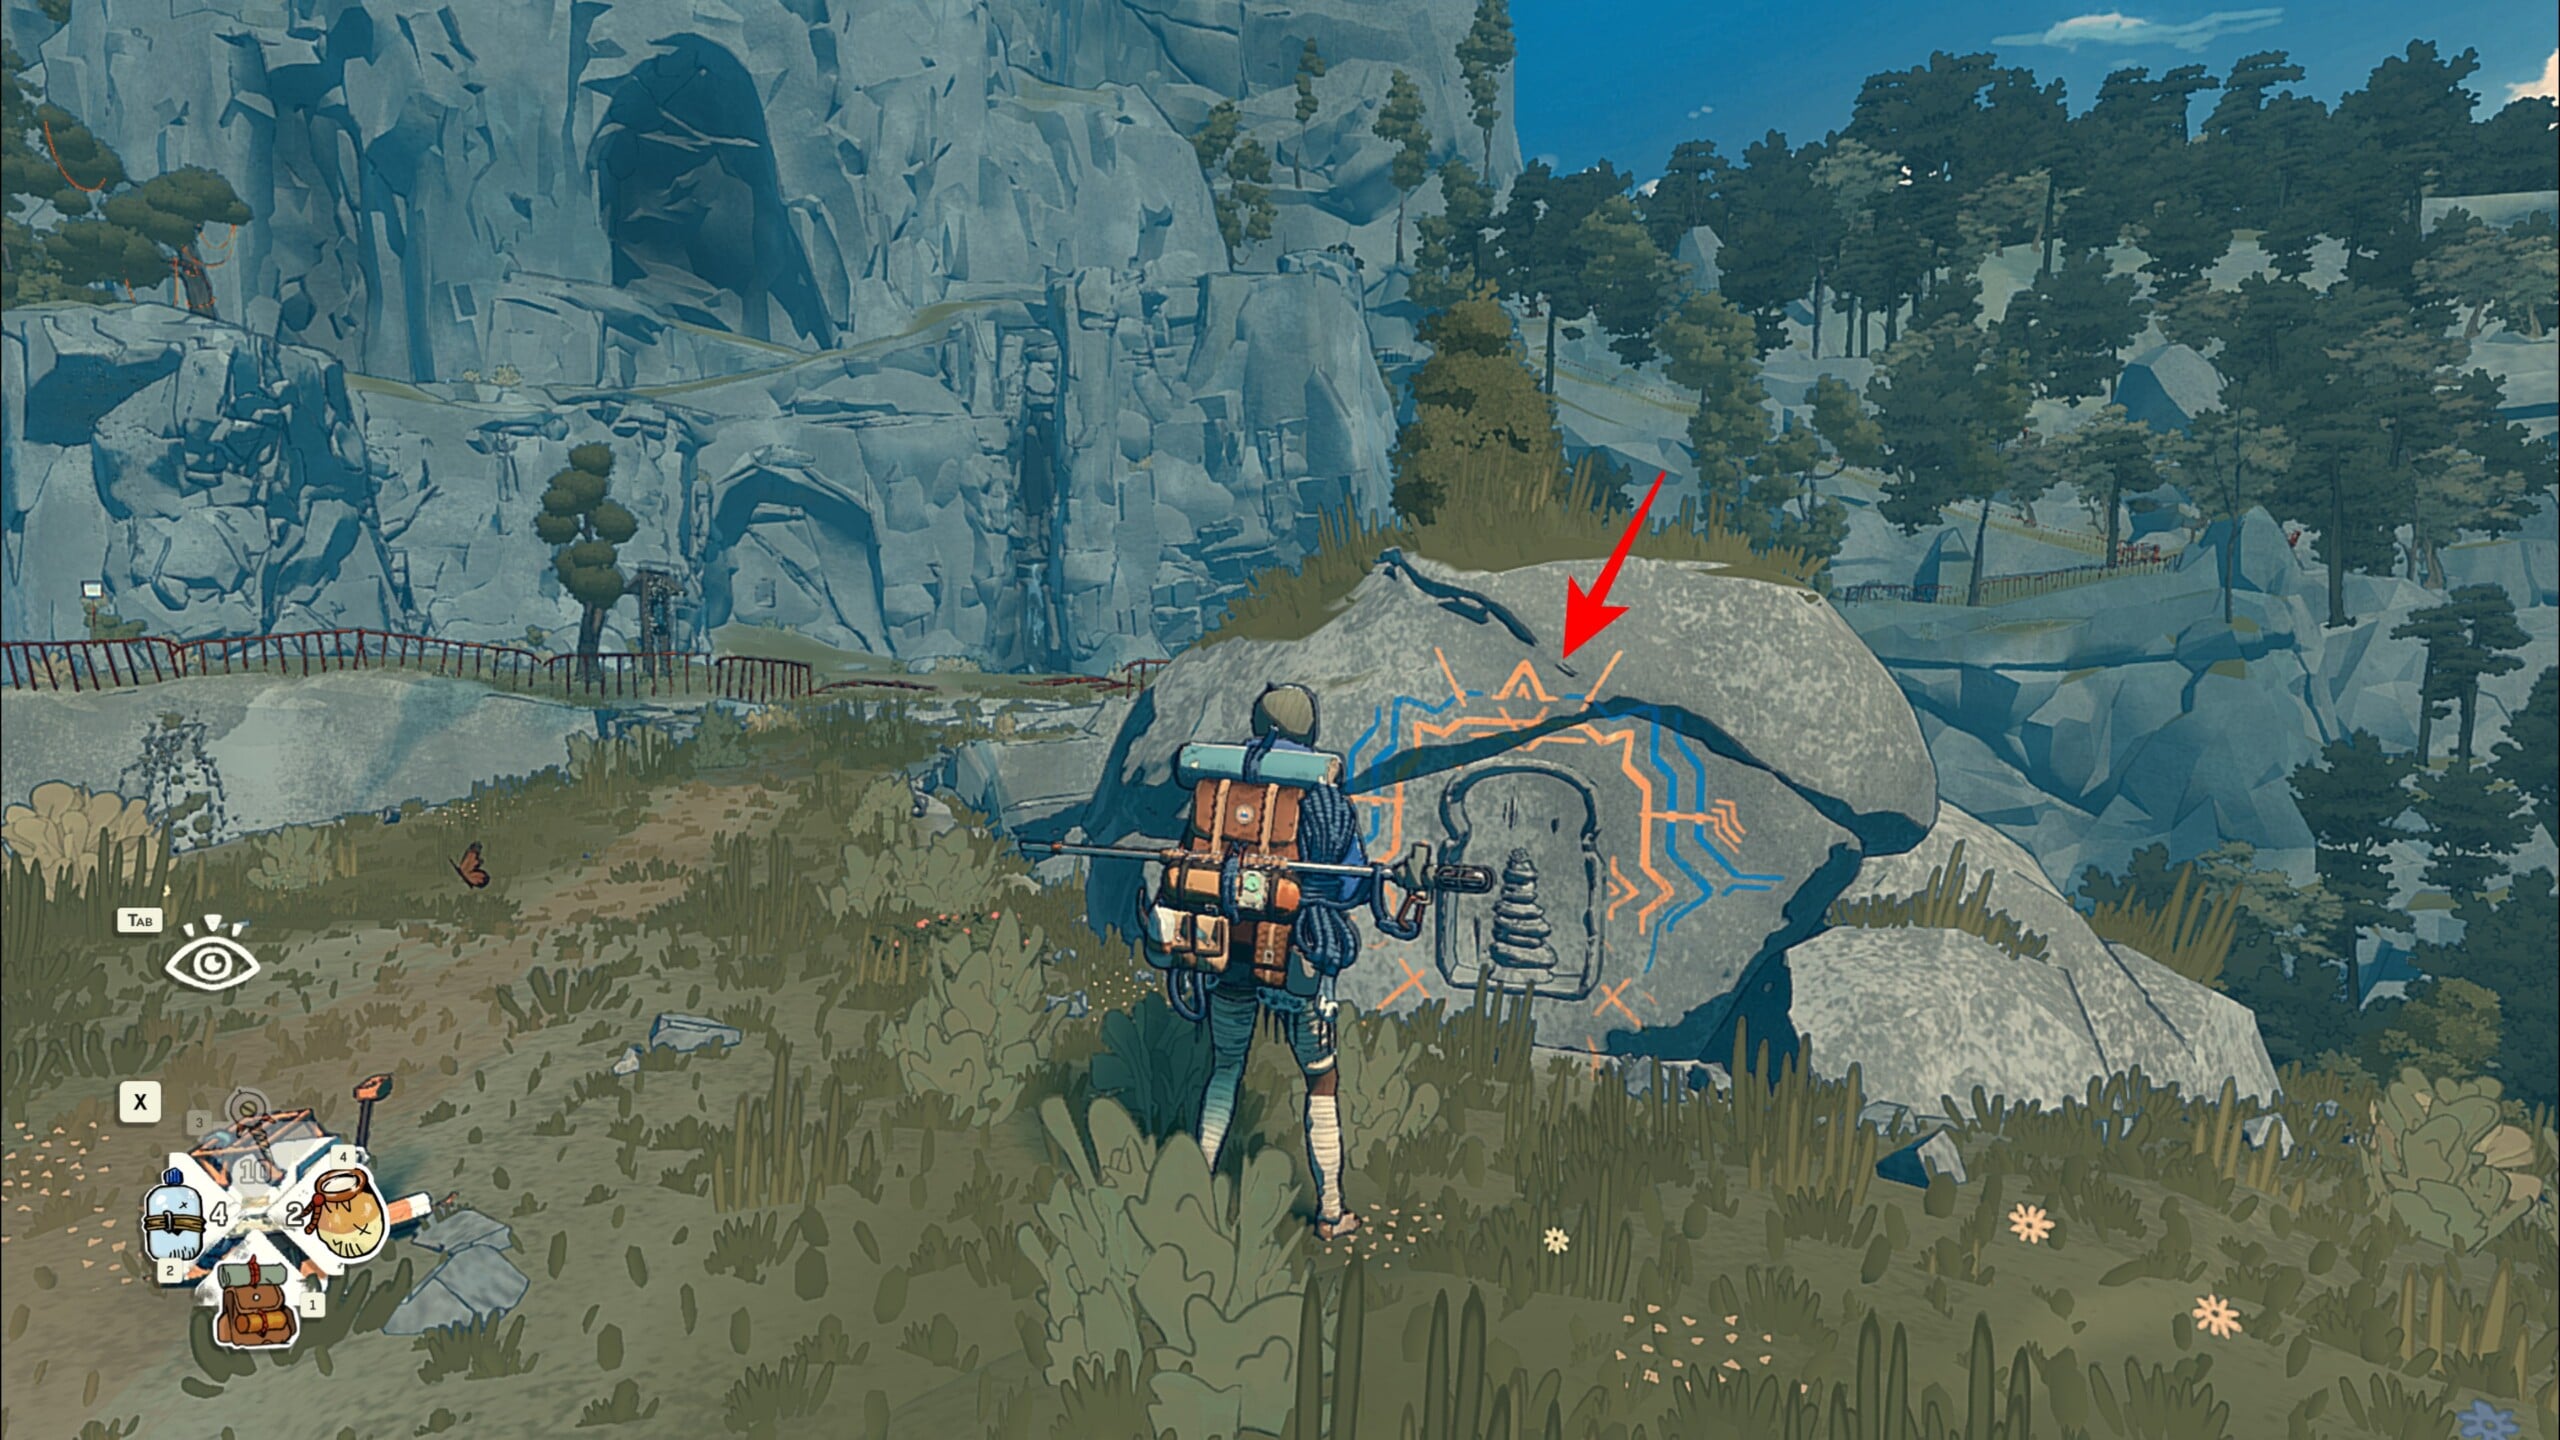
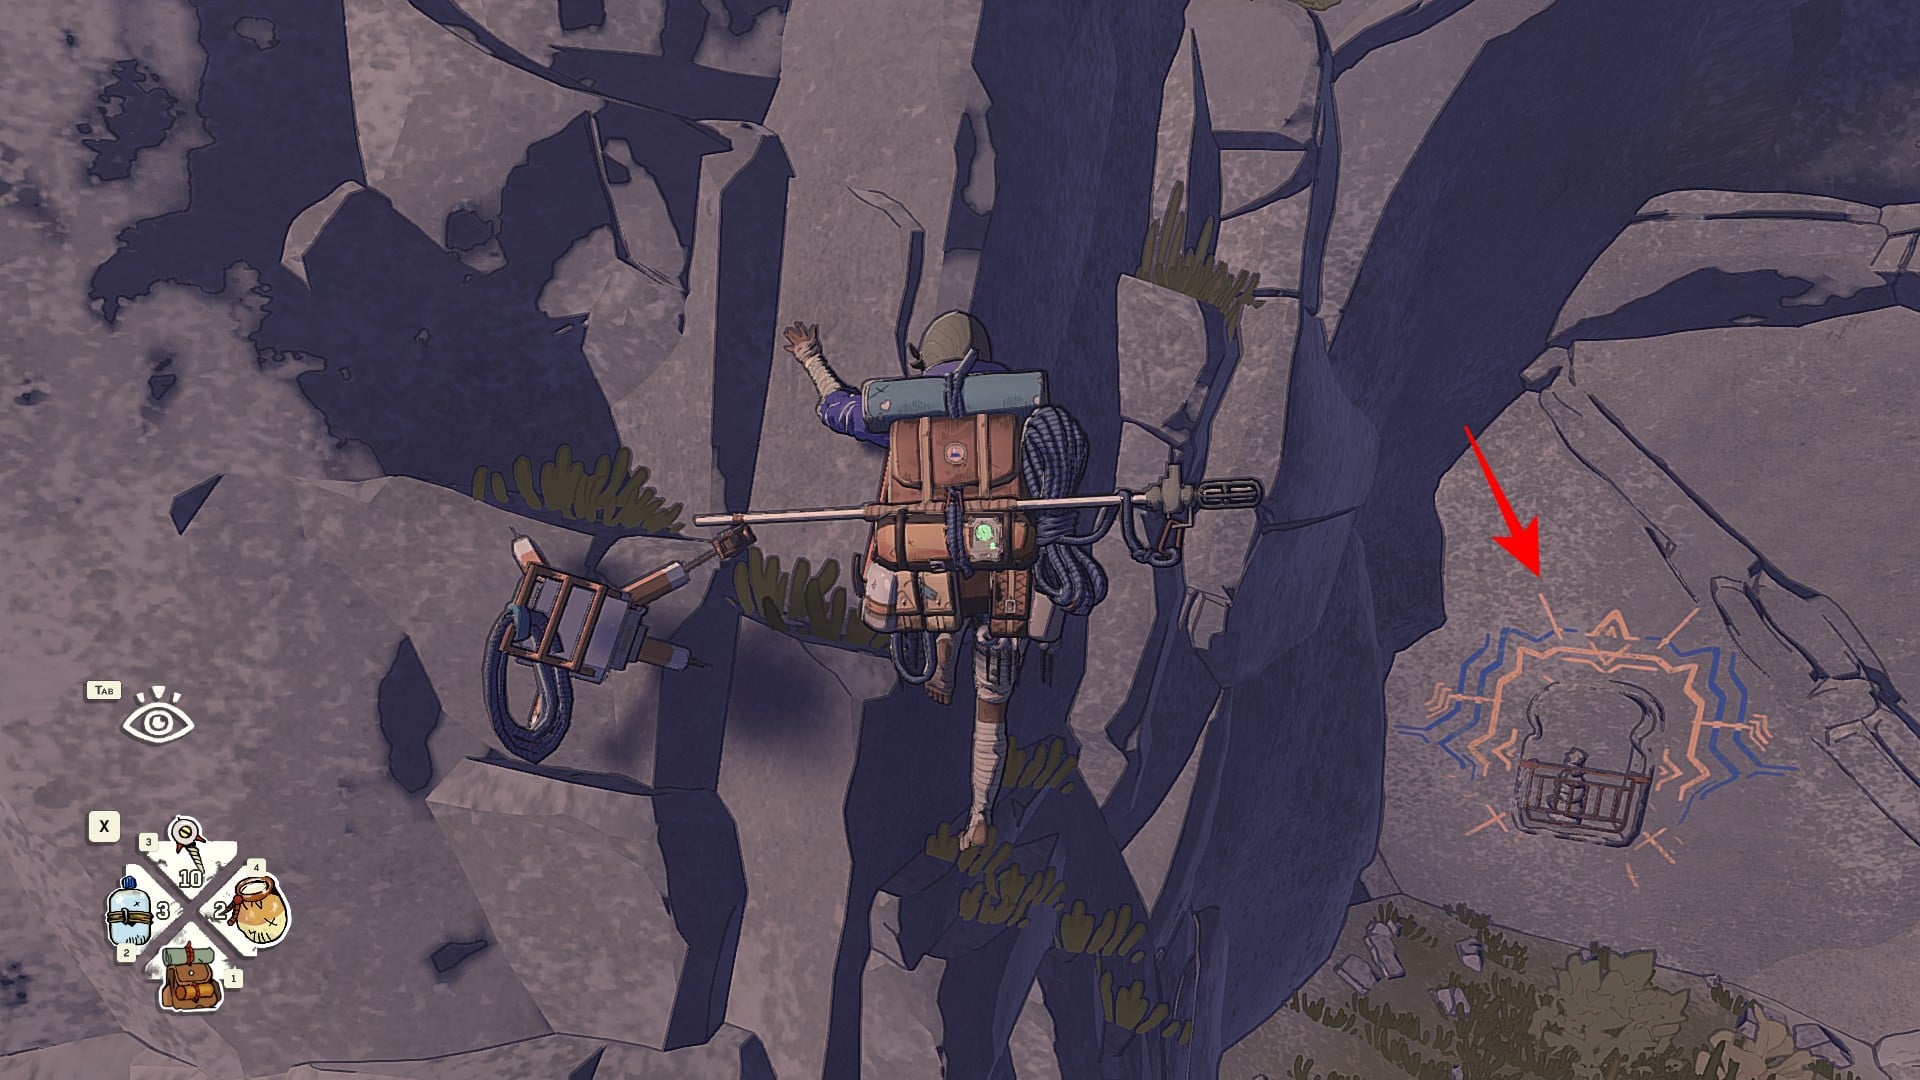
In Cairn, you cannot pitch a tent freely; you need to reach specific save points that also allow you to set up the tent, so your route planning should prioritize getting from one of these safe spots to the next. In essence, you can set up tent wherever you see this spot:
How to set up your tent at a save spot
Step 1
Reach a location that shows a save prompt, since tent setup is only available at these specific points.
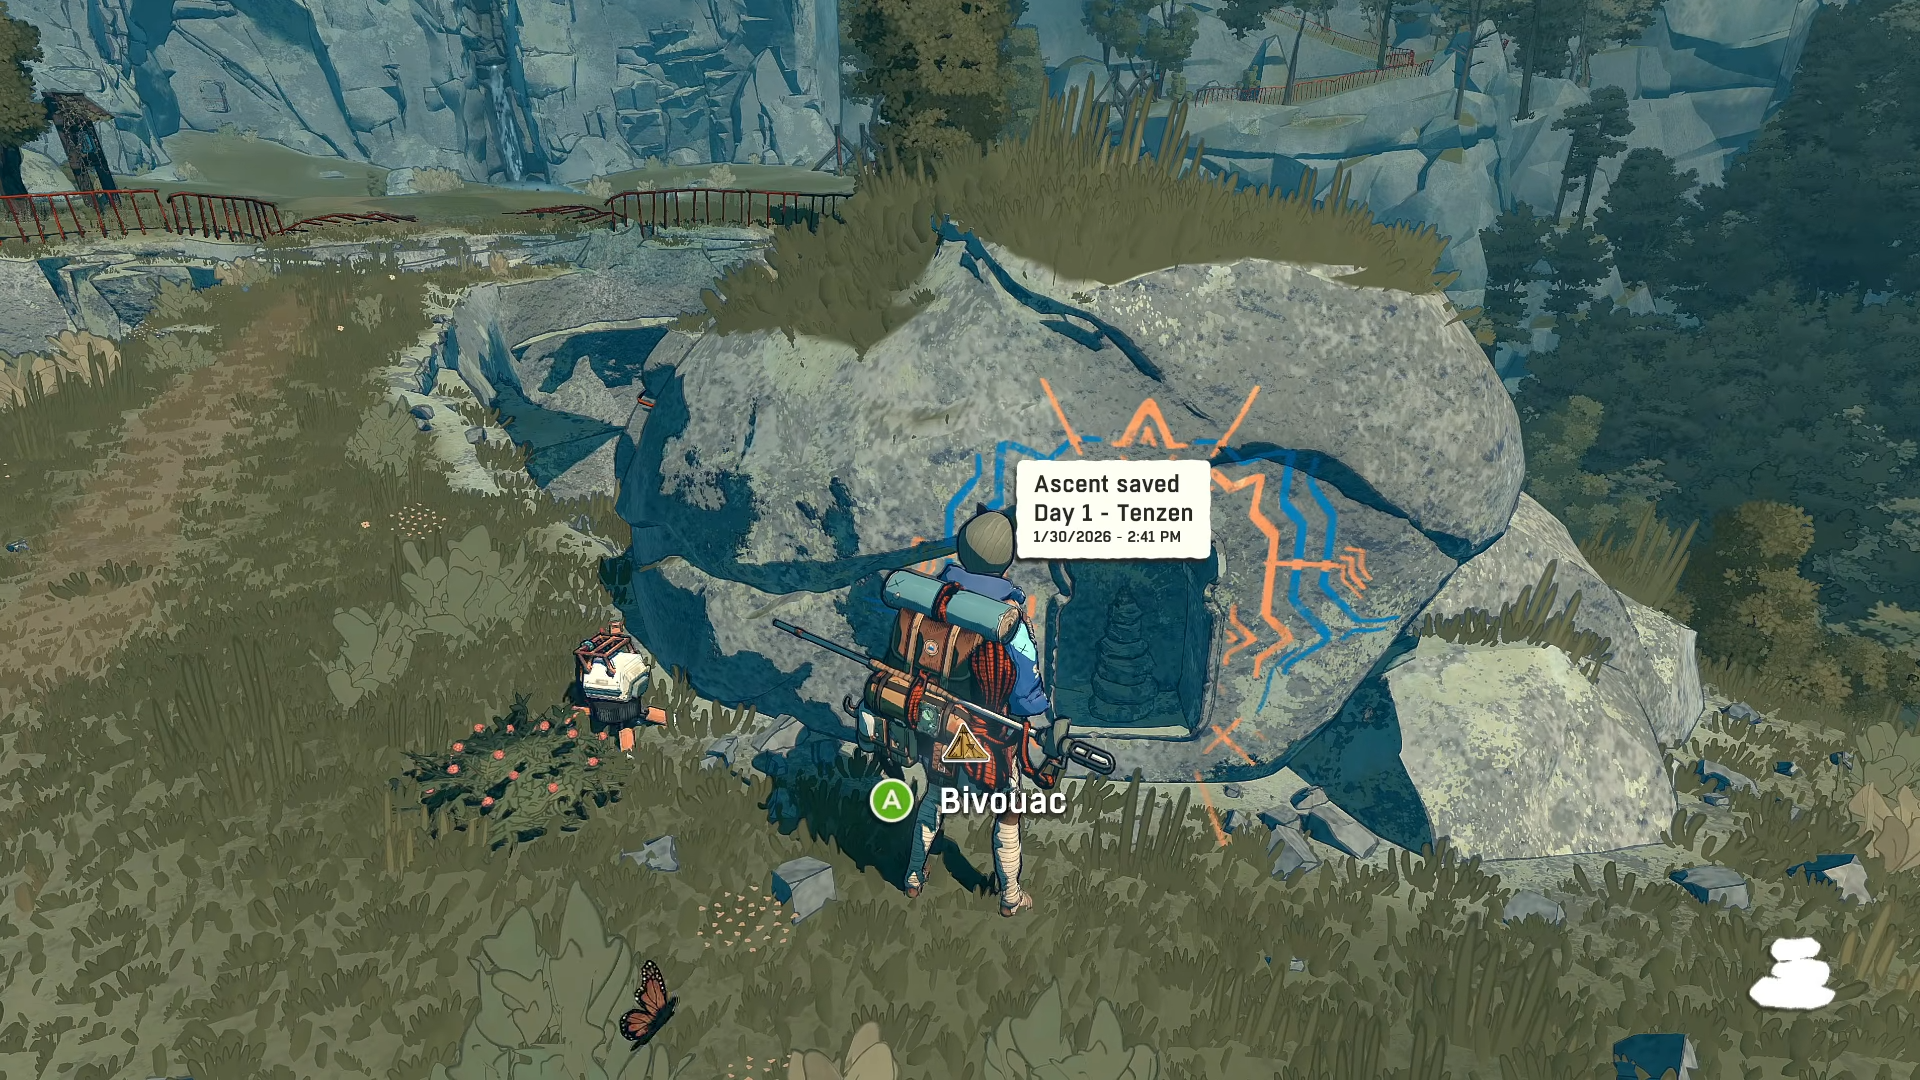
Step 2
Interact with the save prompt to create the checkpoint, then confirm the follow-up action to set up the tent at that spot.
Step 3
Once the tent is placed, take a moment to do your core maintenance tasks before you leave, since this is your main preparation window between climbs.

How to use the tent efficiently once it’s up
Step 1
Repair your pitons first. This way you won’t start the next section with unreliable anchors.
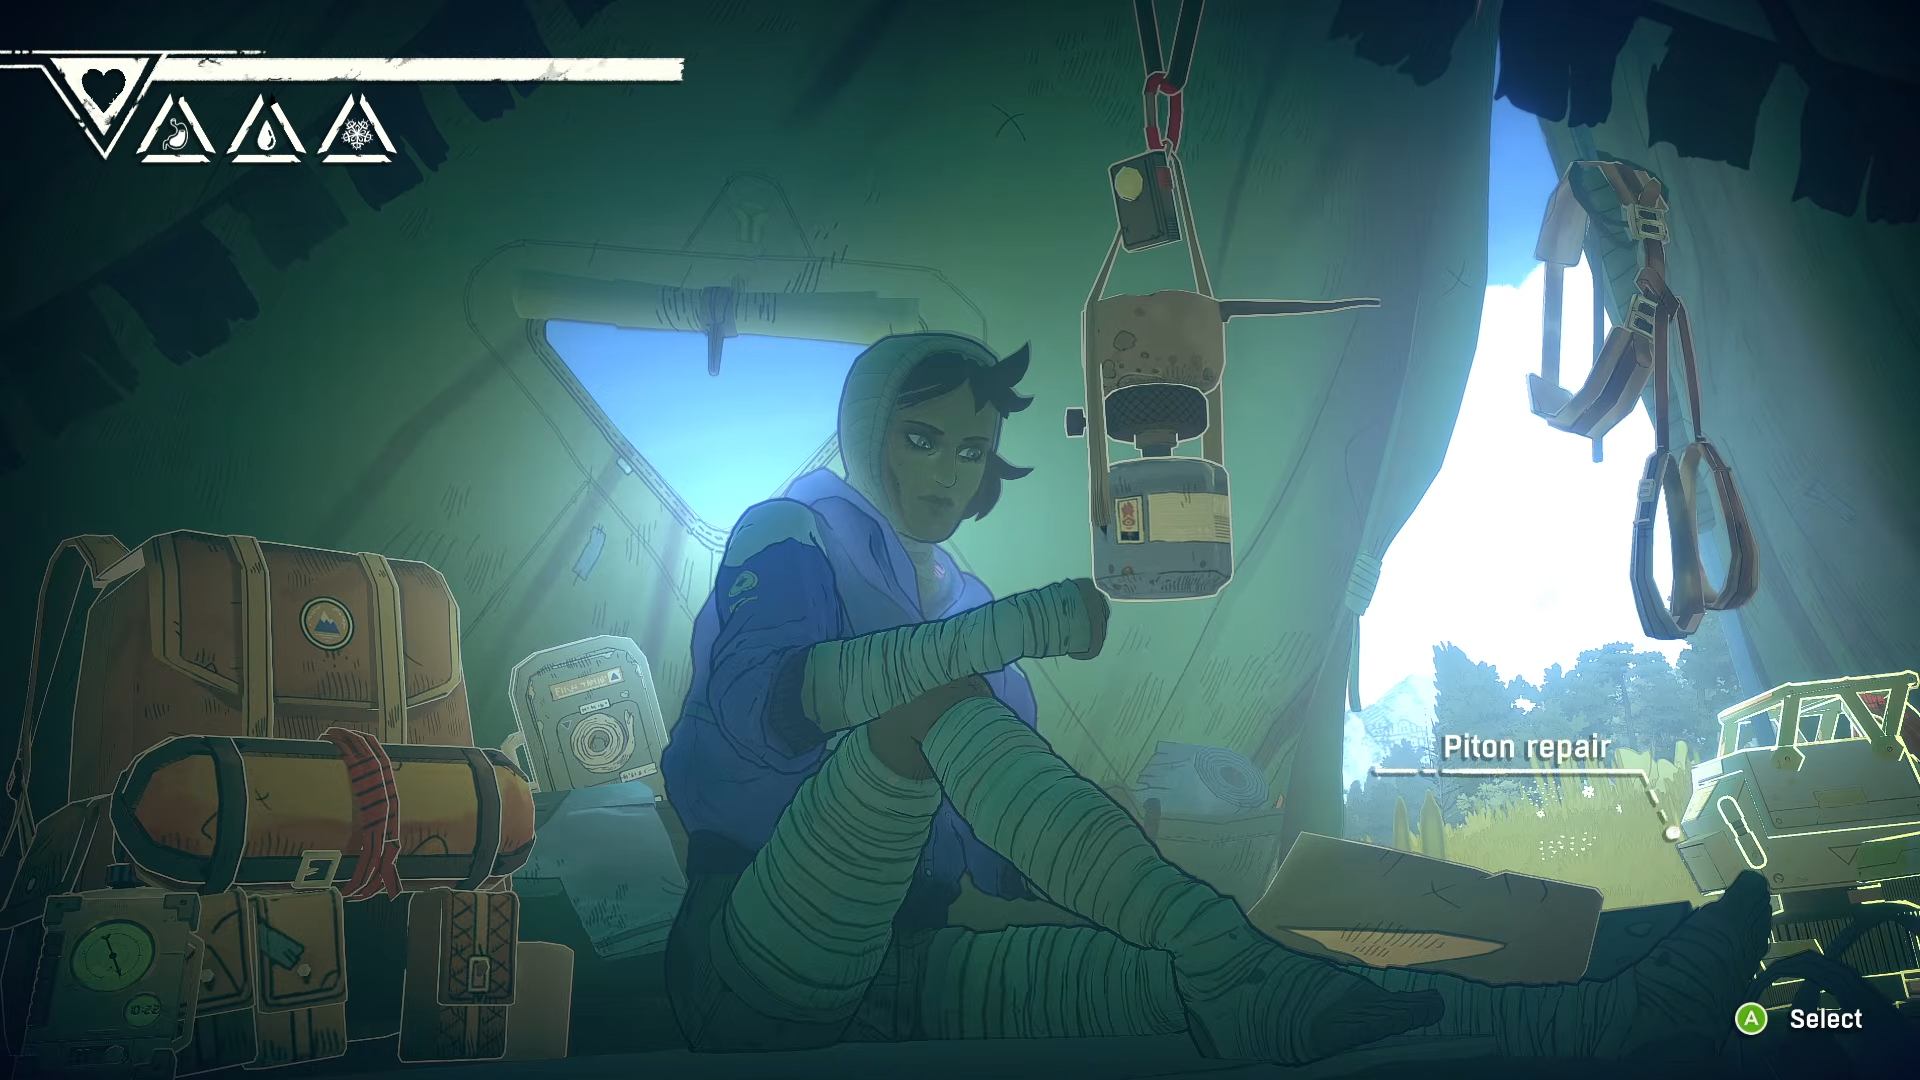
Use the robot maintenance menu while you are resting at the campsite.
Step 2
Cook next, especially if your bag is getting full, because combining ingredients into rations can free space for supplies you find later.
Step 3
Recycle trash into chalk and top off your chalk supply before leaving, since grip support is part of staying stable when the climb gets tense.
Step 4
Retape your fingers/hands if needed, and do it before you are desperate, because the bivouac interaction is intentionally slow and you want to handle it while you are safe.
Step 5
Reorganize your inventory so essentials are quick to access; the tent is designed as the place where all your gear is laid out and manageable.
Step 6
Check weather and decide whether to sleep or move, using the tent as your timing tool rather than pushing into conditions when you are already strained.
Common mistakes that waste tent stops
-
Expecting to place the tent anywhere; you must use designated save points.
-
Treating bivouacs as just save points instead of a full reset loop for recovery and prep.
-
Leaving with damaged pitons instead of repairing them while resting.
If you plan your route around save spots and use each tent stop to repair, cook, restock chalk, and reset your hands, you’ll make your next push feel far more controlled.


