What to know
- Friend’s Map is an origami-style map collectible.
- It’s located in the Palace of the Wind on the second floor.
- The pickup is on the left side of that floor, tucked among clutter near the outer edge/window area.
- The map preview highlights multiple very difficult climbs marked in black, pink, and white.
In Cairn, the main challenge here isn’t a fight or a puzzle—it’s visibility. Friend’s Map blends into the environment because it sits among other objects, so a careful scan of the correct corner matters more than speed.
Cairn Friend’s Map pickup details
This table keeps the location cues tight so it’s easy to verify the correct floor, side, and search zone before spending extra time looping the building.
| Checkpoint | Where to go | What to scan for | What “success” looks like |
|---|---|---|---|
| Correct building | Palace of the Wind | Interior routes that lead upstairs | Standing inside the palace and moving toward upper levels |
| Correct level | Second floor | Balcony/walkway/rooms that clearly sit above the main level | Fully navigating on the second-floor pathing |
| Correct side | Left side (relative to that floor’s layout) | Denser clutter, stacked objects, “stuff” grouped together | A spot that feels more like a storage/left-wing nook |
| Correct micro-area | Near a window/outer ledge edge | Small origami-like item silhouette among props | Interaction prompt appears and the item is collected |
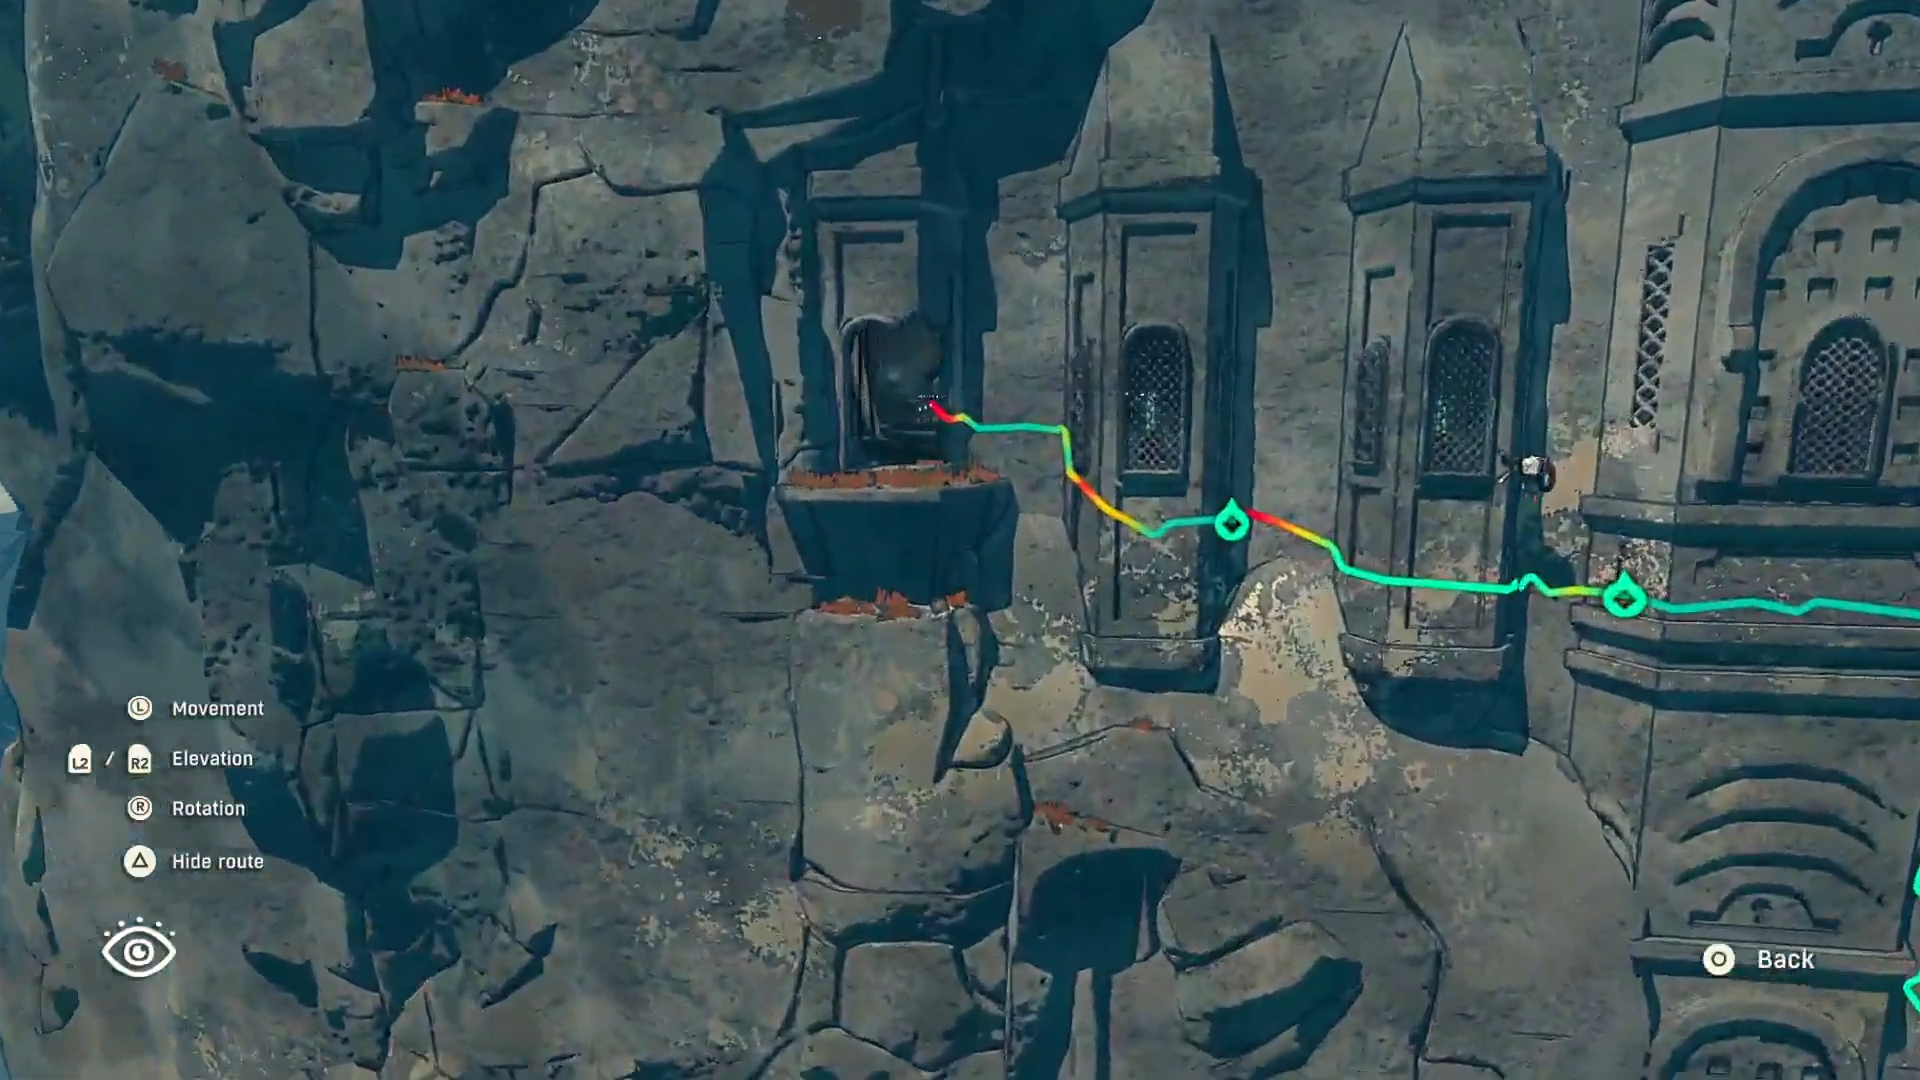
How to get Friend’s Map in Cairn at Palace of the Wind
Step 1
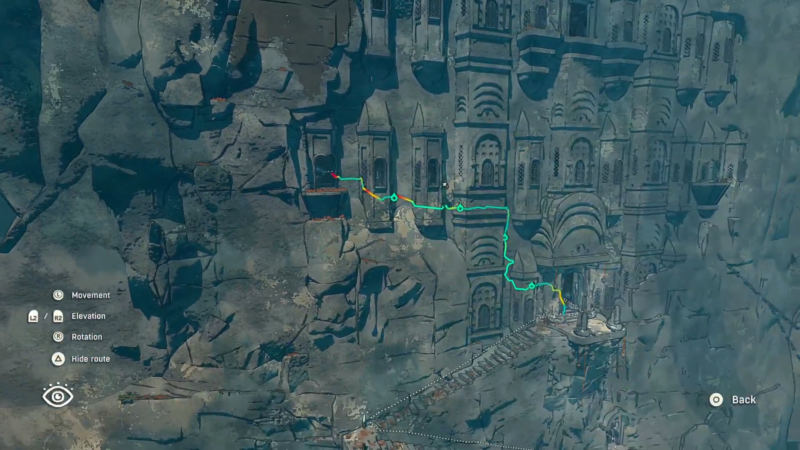
Start in the Palace of the Wind area and open the route toward the second floor.
Step 2
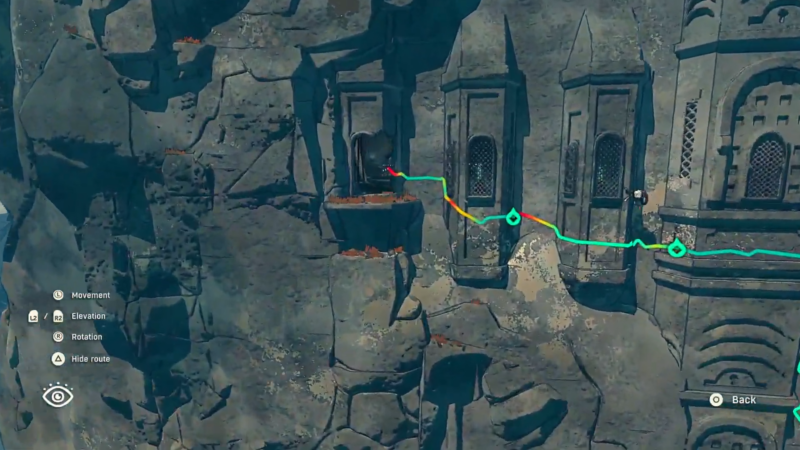
Move along the second floor until reaching the left side of the palace interior.
Step 3
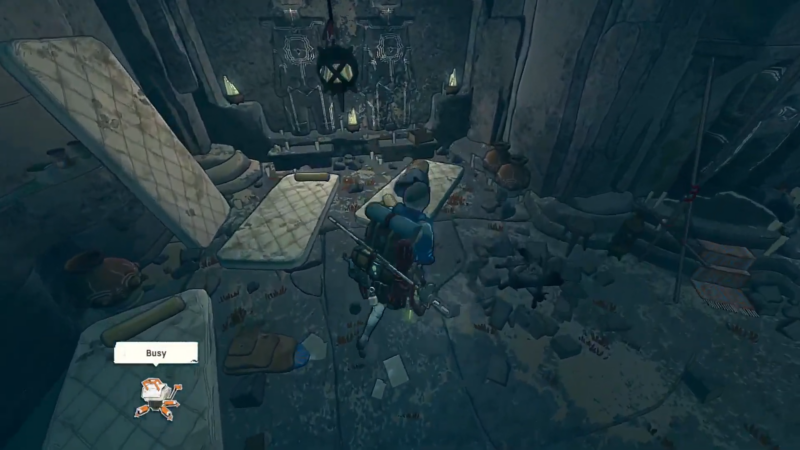
Slow down and scan the cluttered “stuff” grouping; the map is tucked right among those objects.
Step 4

Interact to pick it up once spotted; the collectible registers as Friend’s Map.
Step 5
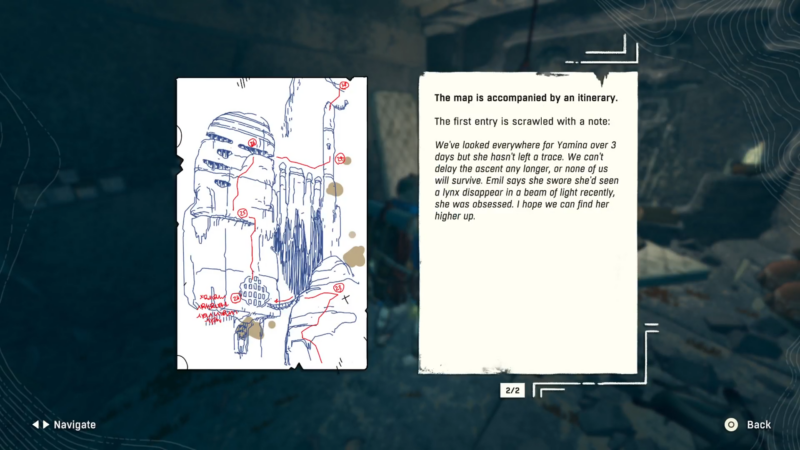
After collecting, check the map preview coverage; it highlights a section with several extremely challenging-looking climbs.
What Friend’s Map does after pickup
Friend’s Map functions as a targeted navigation hint rather than a full-world reveal. It covers a specific slice of terrain and visually communicates that the routes in that area lean toward advanced difficulty.
The key detail to note in the preview is the presence of multiple highlighted climbs, with markers presented in black, pink, and white. If heading there immediately feels punishing, it’s still useful as a planning reference—something to return to later with a clearer route plan.
Common reasons it gets missed
Friend’s Map is easy to walk past because it sits “in the mess” instead of being staged as a centerpiece collectible. It also tends to be near an outer edge/window area, which can pull attention outward rather than down toward interactable objects.
If the pickup doesn’t appear right away, the best fix is a tighter search pattern: sweep the clutter from one end to the other, reposition slightly, and re-check from a different angle so the interact prompt has a clean line.
Small search routine that saves time
A consistent loop helps avoid re-checking the same props repeatedly.
- Confirm the second floor first, then commit to the left-side sweep.
- Break the left side into two passes: one pass tight to the interior objects, a second pass tight to the outer edge/window side.
- Pause briefly at each dense pile of items to let the interact prompt appear instead of sprinting through.
How to use Friend’s Map in Crain
This pickup’s value is informational: it adds Friend’s Map to the collection and provides a preview of a tough climbing zone.
| Reward | Type | Uses |
|---|---|---|
| Friend’s Map | Collectible / map item | Reveals a covered section and highlights very difficult climbs (black, pink, and white routes) |
Thanks for reading this guide all the way through. If it improved your understanding or helped you complete something, let us know below. You can also ask any follow-up questions—we enjoy interacting with readers and are always happy to provide further clarification.


